3 simple ways to make your own hands lathe
Table of contents
-
1 What you need to know about lathes
- 1.1 The first way - to collect the machine from a drill in less than half an hour
- 1.2 Method two - gathering machine with the front and tailstock
- 1.3 Method three - gathering machine for metal machining
- 2 To summarize

These beautiful items you will be able to grind at home on his lathe
Want to make a lathe with his own hands, but do not know how? I offer a simple step by step instructions for assembly of devices working with wood and metal. Collect homemade lathe can from available materials using a simple tool that is sure to have in any home or garage workshop.
What you need to know about lathes
| Illustration | interesting information |
 |
Appointment. Lathe - the equipment for radial machining of the workpiece by the cutter, or a chisel. Regardless of the original shape of the preform, the finished product at the ends get perfect circular shape. |
 |
species. Widely used two types of turning machines - intended for processing metal and wood processing.
In addition, there is a lathe on stone and other specialized equipment. Unlike aggregates is in the characteristics of fastening of the workpiece in the motor capacity, number of revolutions and structural strength. |
 |
Design. The basis of most lathes applied elements such as a headstock, tailstock and frame. The headstock is placed and spindle drive transmitting torque to the workpiece. The tailstock taken clamping device, which holds and centers the workpiece. The frame is a guide on which is mounted a support and related devices. |
 |
Price. The machine is factory-made, even a low-power, cost a lot of money. Price homemade machine for wood or metal stacks of motor cost and readily available materials. |
 |
Build your own hands. Assemble the machine with his hands, everyone can. You can use the tool that is found in most of the workshops or garages. With simple step by step assembly instructions can be found below. |
The first way - to collect the machine from a drill in less than half an hour
To begin with - the most simple assembly instructions woodworking machine without tailstock. We will use for the manufacture or a hammer drill with a drill chuck, pieces of boards or plywood, and mounting hardware.
| Illustration | Description stage |
 |
The blank frame. Prepare 150 mm width and a board of 20 mm thick. That then it was easier to work, the board surface is desirable oshlifovat. |
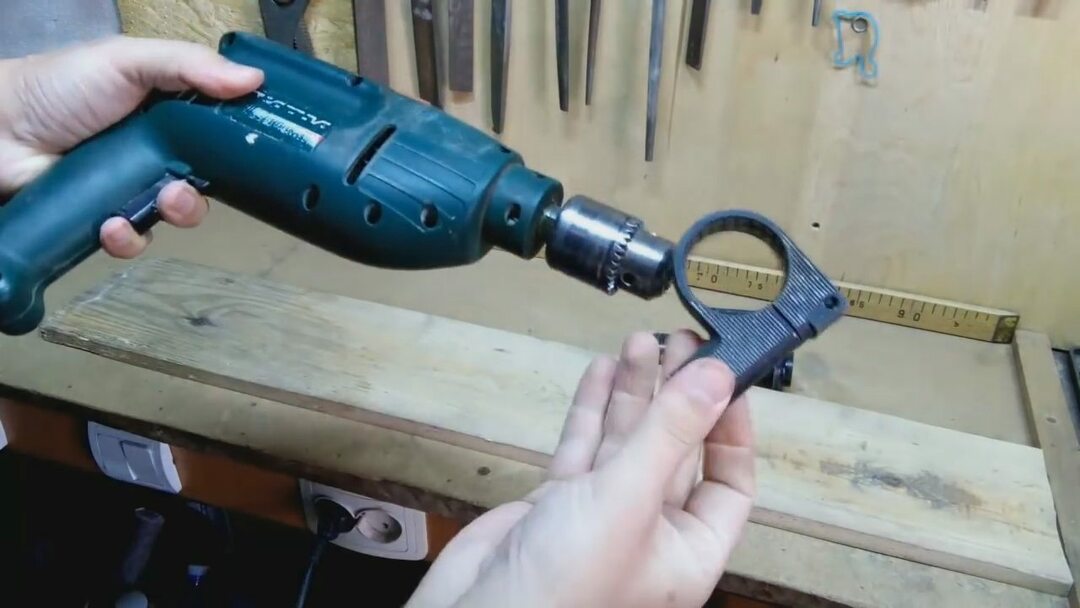 |
Cooking clip. Remove from the drill or punch clamping knob. It must be removed, so that only a part of the clamp. |
 |
emphasis drills. Make a plywood plank under the drill and fasten to the board. To reduce vibration during operation of the machine, a piece of plywood on top Attached need to paste a small rubber band. |
 |
Mounting clamp. The side of the board to strip tin screw fastened. strip location is selected so that the makeshift collar wrapped drill body near the start button. The length of the clip selected with the expectation that the tin is completely wrapped body drills. |
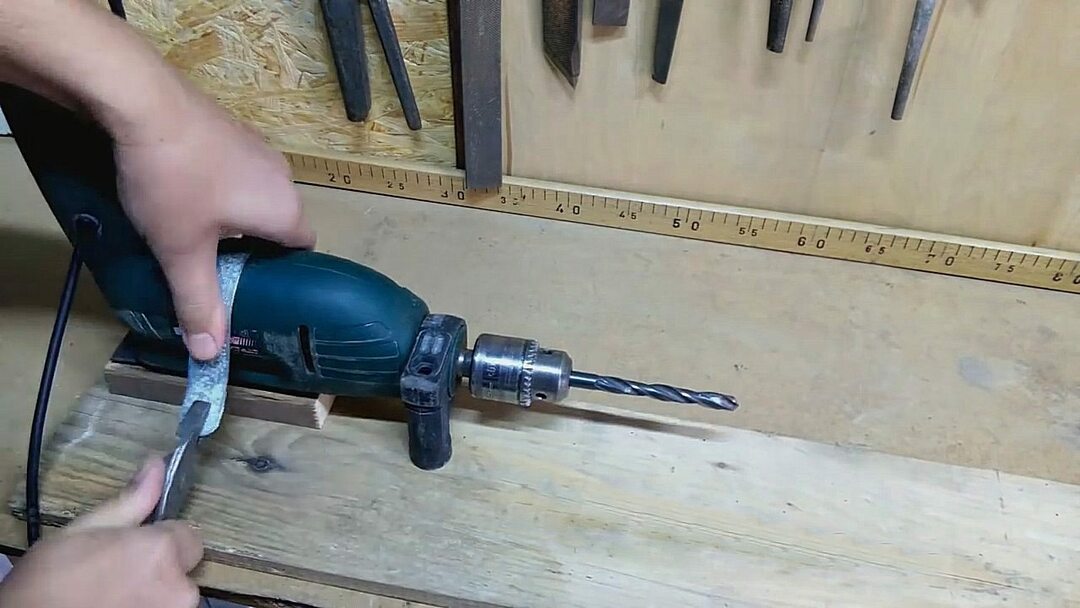 |
We attach clamp drill form. Dress on the drill holder and placed in an inverted state in the rubberized lining. Tin grasp pliers clamp and a tool body wrap. |
 |
fasten a drill. The clamp screw is screwed so that he entered into the board and pulled the strip of sheet metal. Through the holder in front of the drill missing screw and washer and tighten. |
 |
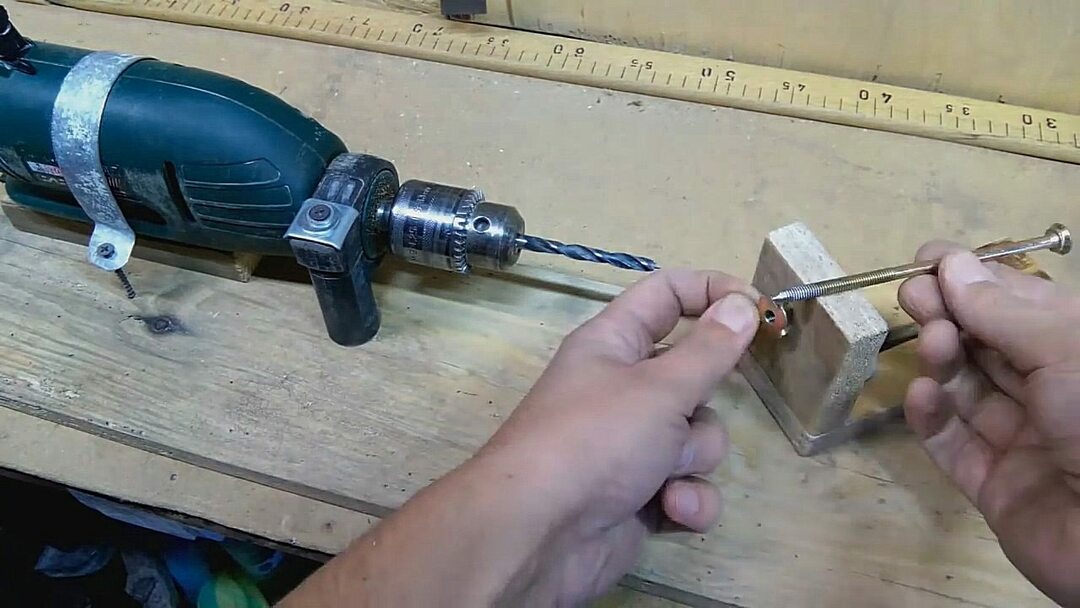
Making workpiece is. With 8 mm diameter screw head or cut off hook, as pictured. Thus prepared tighten the screw in the cartridge. |
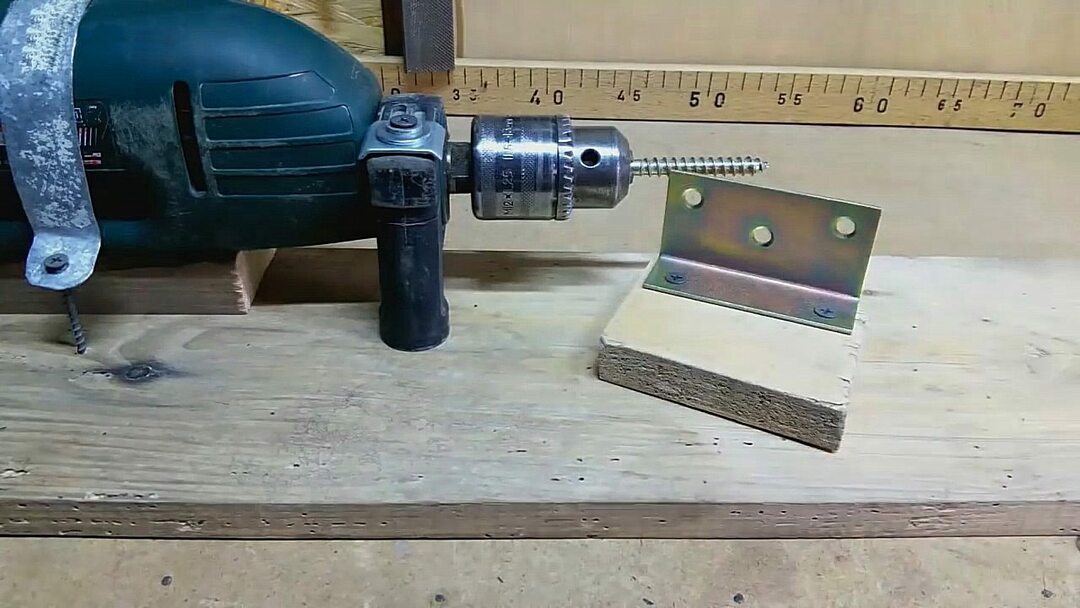 |
Make a support for the cutting edge. For a piece of board needed to fasten metal corner so that the upper part of the structure fell on the center of the drill. Subsequently, the support can be mounted on the frame clamp. |
 |
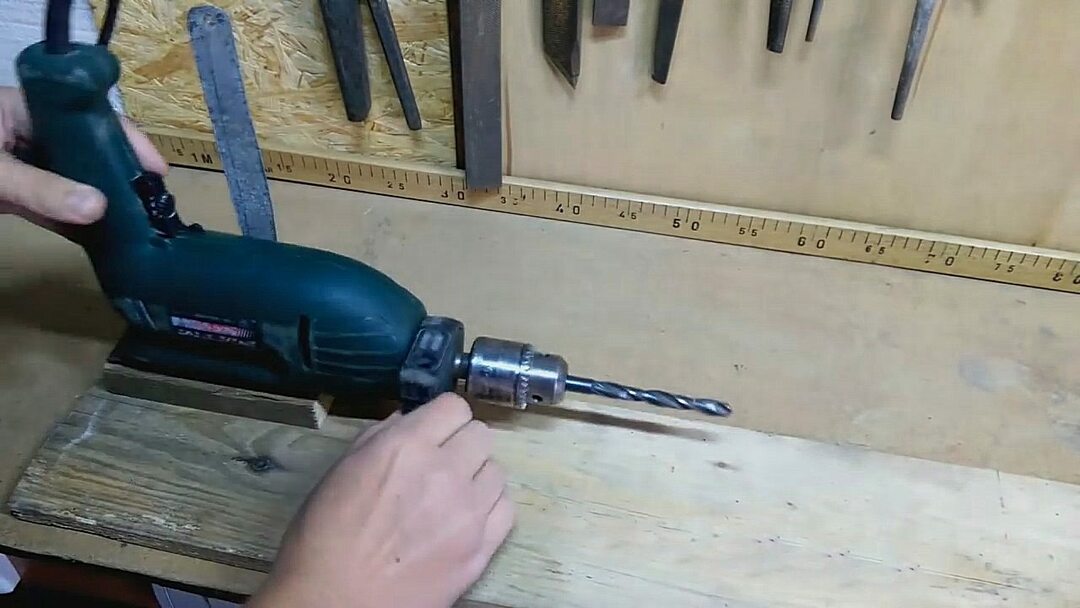
Prepare the blank. We saw off a piece of a piece of wood and mark up its end of the center. Fasten the drill in a drill chuck of 5 mm diameter drill and workpiece. |
 |
Set the workpiece. We take out the cartridge and insert the drill mount made of screws. Turning the drill and a screw is screwed into a pre-drilled hole. Harvesting should reach the stop. |
 |
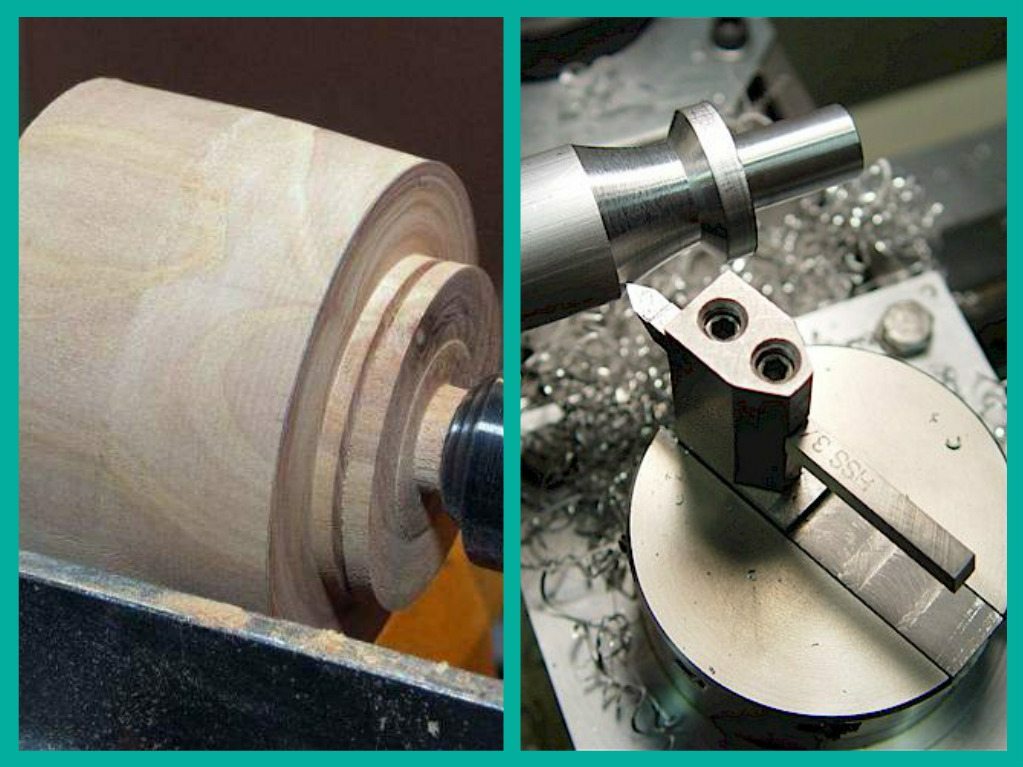
Work on the machine. Expose next to the workpiece support tool, include a drill and sharpen detail sharpened chisel. Given that the drill is not designed for lateral loads, do not provide much pressure on the workpiece. Furthermore, the workpiece can be processed not longer than 20 cm. |
Method two - gathering machine with the front and tailstock
Made in the previous instruction machine has one drawback - there is no tailstock, which means that you can not press the workpiece on both sides. I offer another simple instructions to finalize the earliest made by machine.
| Illustration | Description stage |
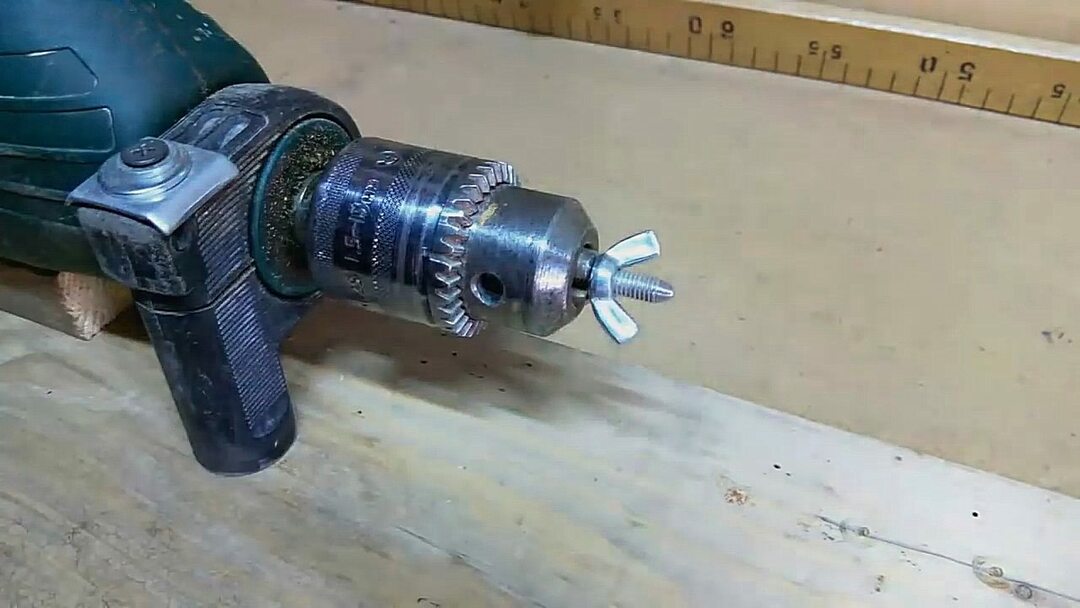 |
Making workpiece is. Sharpen the end of the bolt M8 and cut off his head (hat). Bolt cheat wing nut. Prepared mounting insert and fix in the cartridge, as shown in the photo. |
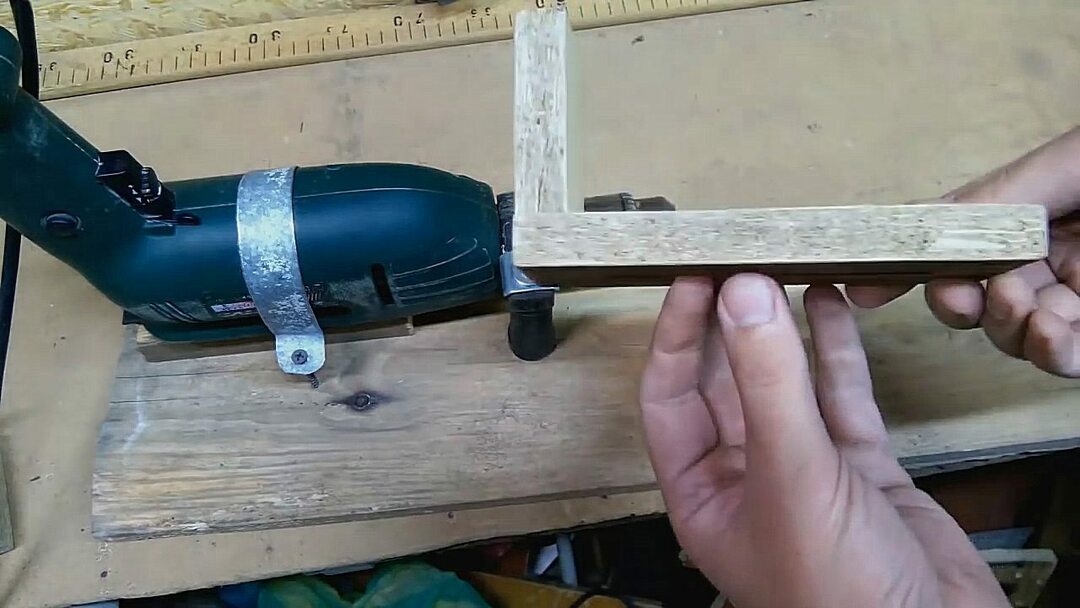 |
Making the tailstock. Chipboard or plywood making back to the bank, so that a short section of the part had a length of 20 cm. |
 |
Make a guide line. Rascherchivaem center line from the middle of the cartridge. Retreat of the cartridge 20 cm and a drill hole a drill of 2 mm every 3-5 cm. |
 |
Making hardware tailstock. Jigsaw or a router, cut in the tailstock longitudinal slot, which should coincide with the orientation line scribed on the machine frame. |
 |
Drill hole for attachment. Move the tailstock to chuck, and a through hole is drilled. |
 |
harvested mount. Sharpen and prepare furniture screw nut. |
 |
Set the workpiece is. Furniture nut nailed over the hole. We slip into the hole and screwed into the screw sharpened it into a furniture nut. Contra usual nut screw so that it is stationary. |
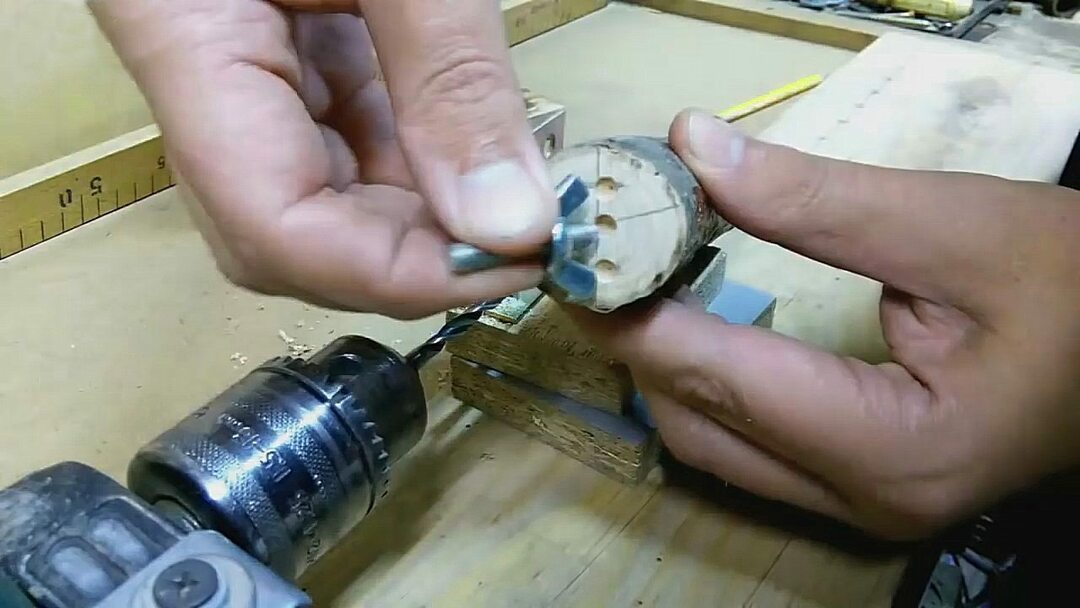 |
Prepare the blank. From end blanks are drilled three shallow holes for bolt and thumbscrew. |
 |
Prepare the blank. From the opposite end of the central drilled hole depth of 1 cm. Hole grease lubricating oil or grease. If this is not done, the tree will be heated and smolder. |
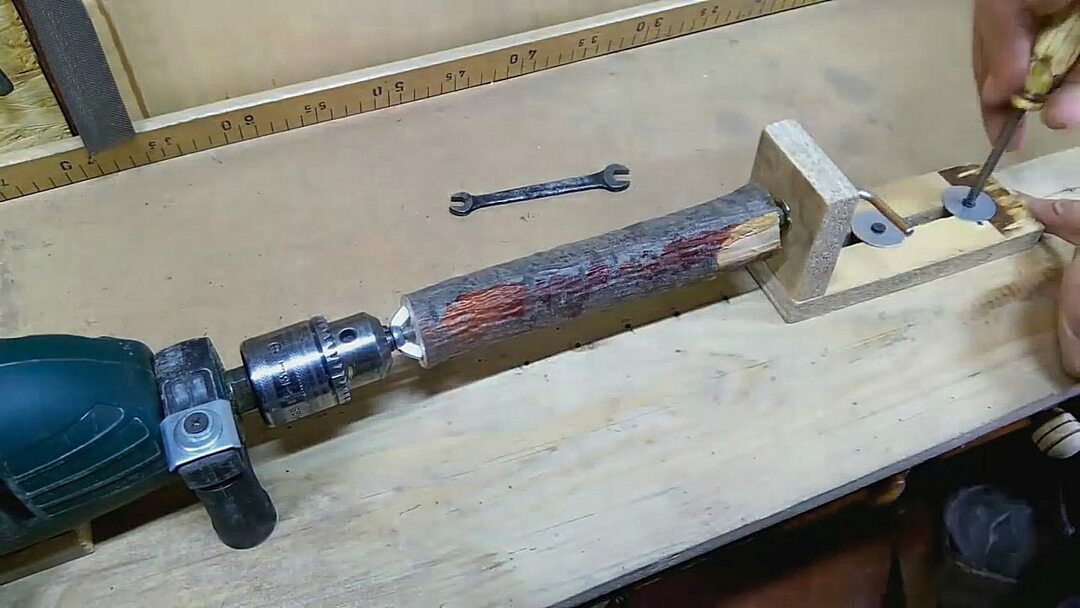 |
Set the workpiece. The preform is set between the front and tailstock. Tighten the screws on the tailstock. As a result, the leading center and center of the slave should stay on the same axis. |
 |
Trial run and work. Turn drill and trying to carve a particular product. Please note that the work on the lathe, albeit on a homemade, involves the use of protective eyewear. |
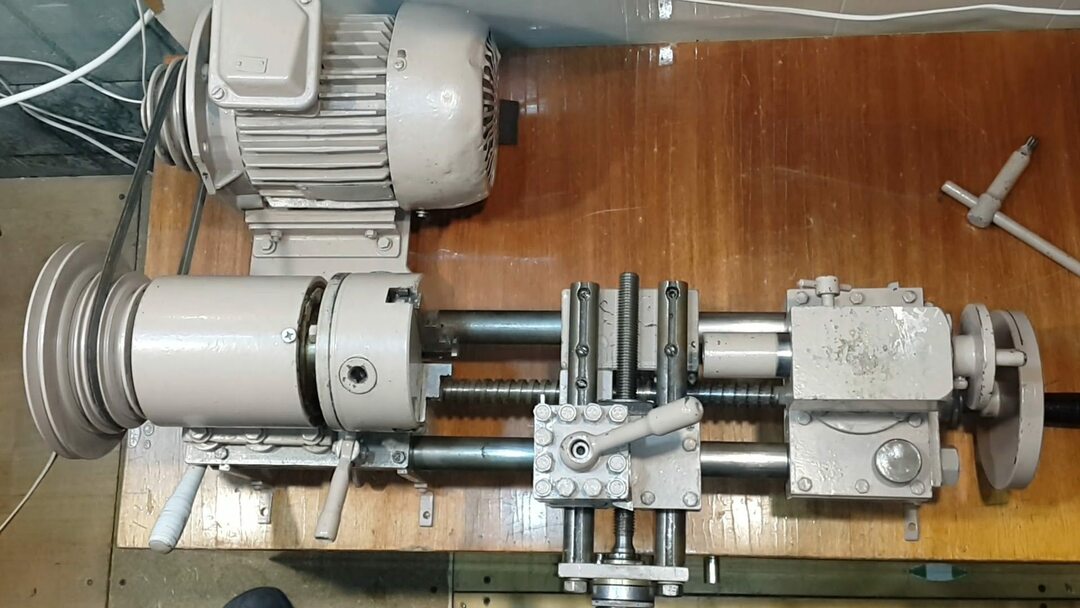
Method three - gathering machine for metal machining
To make the lathe, metal, welding machine and need the tools to work with metal. To lead the assembled machine in action will require the electric motor. Powerful yet economical option - it is the engine of the old Soviet washing machine with centrifuge.
| Illustration | Description stage |
 |
select materials.
|
 |
Putting a frame. Channels welded to the corners. Angles should be located at the edges U-sections at a distance of 60 mm from each other. On the whole assembly will have to a lot of stress, so the quality of the welds must be very high. |
 |
Welded support under headstock. Harvested steel plate of 300 × 300 mm and is located on the corners of aligned vertices. Welded to the corners of the plate. |
 |
weld slide. To a steel plate, as shown in the photo, welds the two corner pieces. One area to be secured on a short edge of plates 300 × 350 mm, and the second area - at a distance of 60 mm from the first. |
 |
We check the workmanship sled. Set the assembly on a frame previously collected. The sled must definitely stand on the rails and, thus, should not be shaken. |
 |
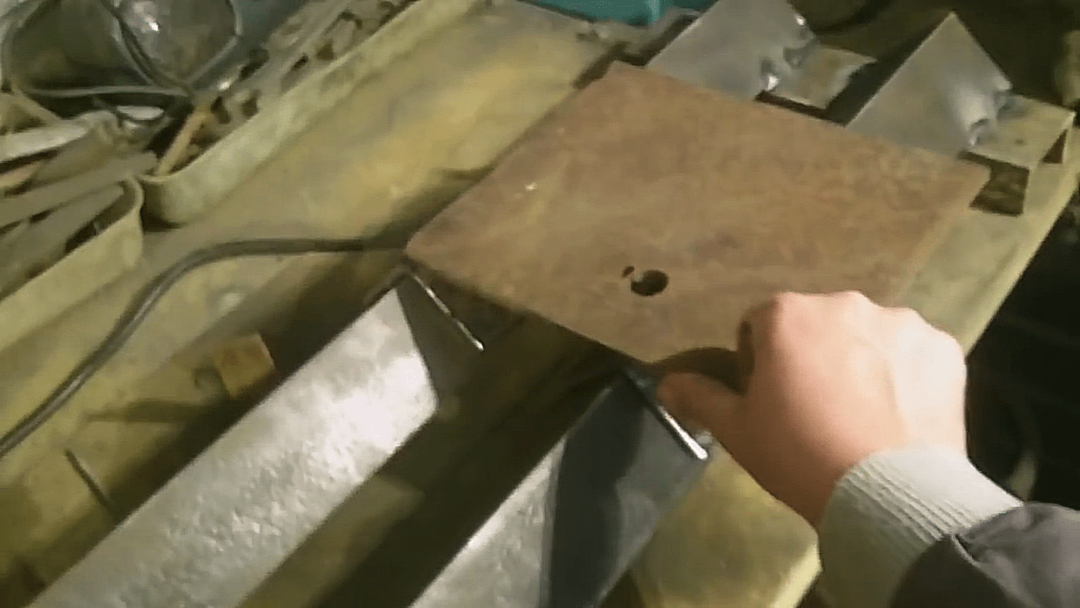
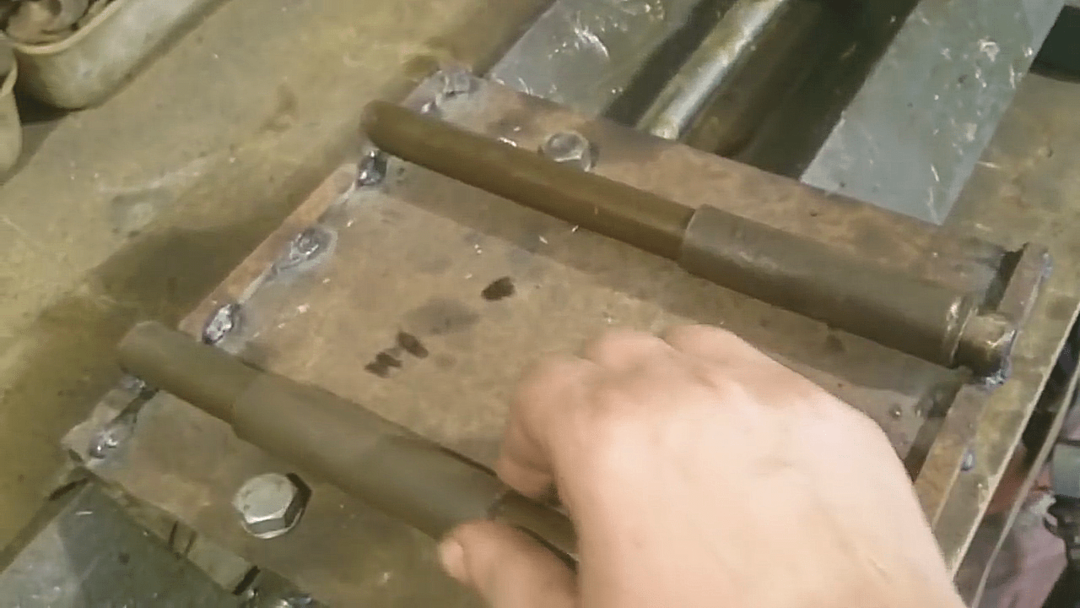
Harvesting a backup. In corner 240 mm long indented from the edges 20 mm drill hole with a diameter of 12 mm. |
 |
Make a backup. Prepared Area overturn point downwards and welded as shown in the photo, the steel strip. Drill holes, which should coincide with the holes in the top corner, and cut them into threads. |
 |
Holes for backup. In the slide, as shown in the photo, diagonal drill holes that coincide with the holes made in the corner. The holes are arranged diagonally and do not reach up to 10 mm over the welded at the bottom of the sled. |
 |
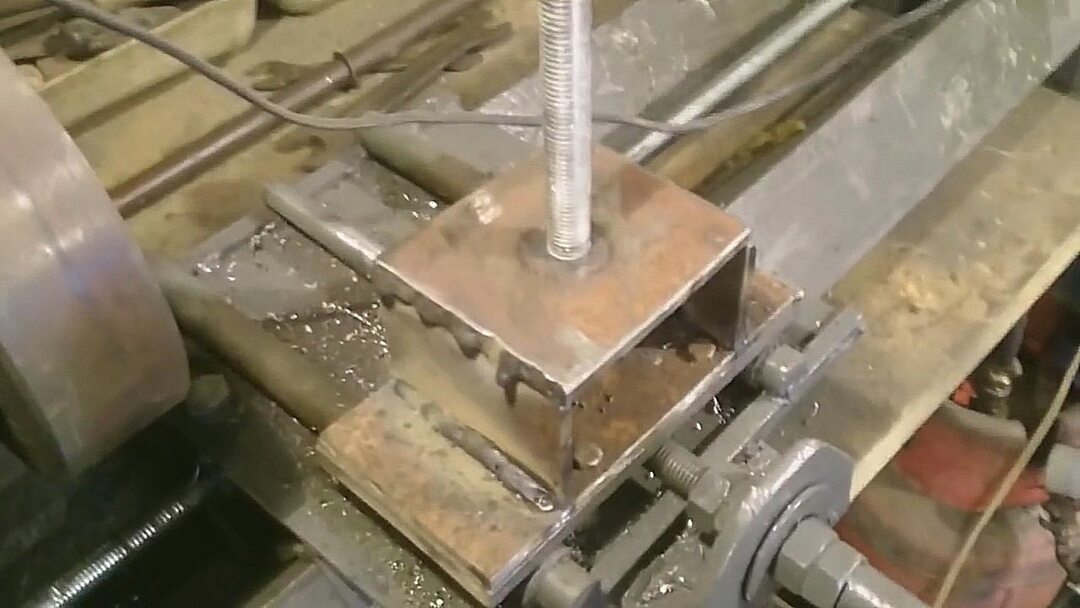
Welded nuts at the guide. Between the corners welds the two nuts at the threaded stud. Nuts can be cooked in the middle of the gap or offset. It is important that the two nuts are arranged in parallel lines over the edge. |
|
Welded studs palm. At the end of the frame, in place of the tailstock welds steel strip at least 5 mm thick. The welded strip drill through hole so that it extends in line with the centers of nuts welded on the slide. |
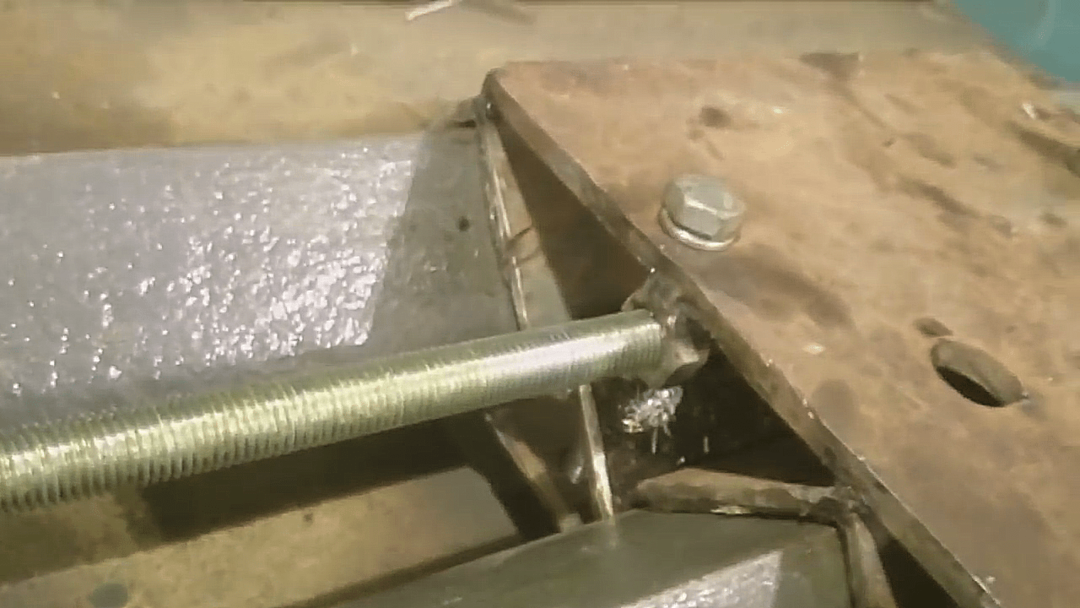 |
Putting frame / slide assembly. Stud is passed through a nut welded to the bottom of the slide and through the lateral abutment. |
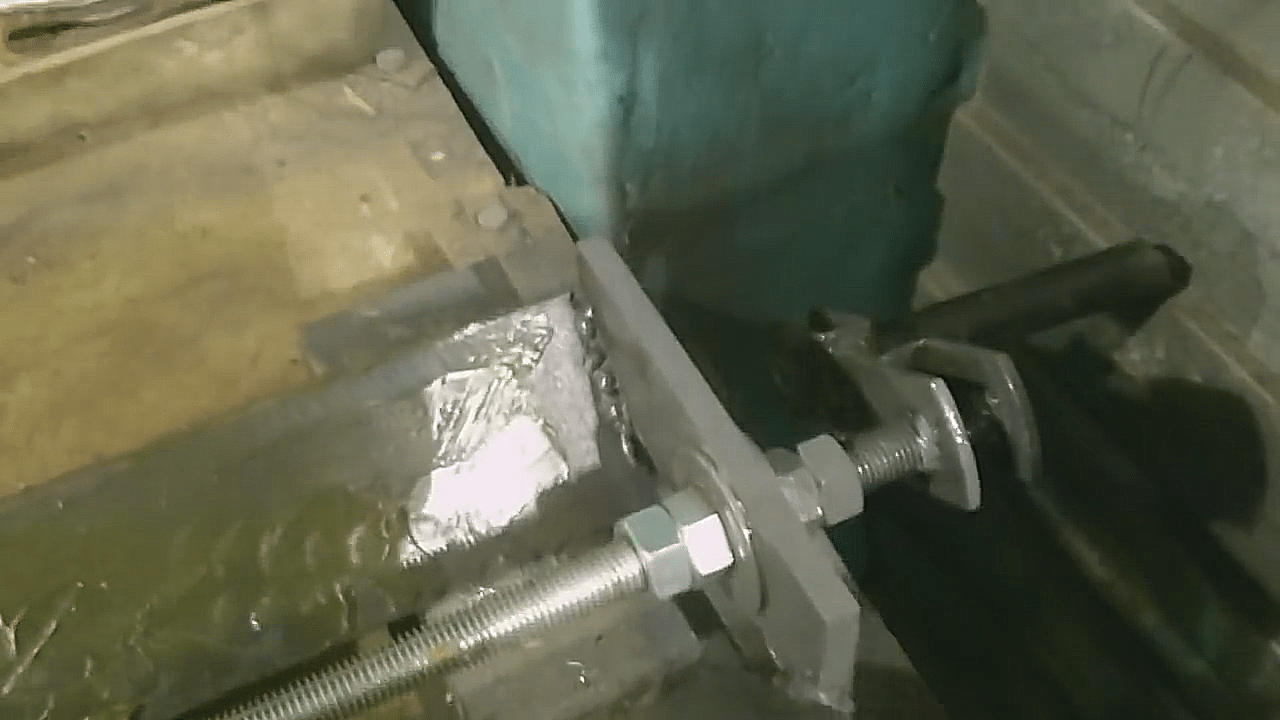 |
Make a handle on the heels. From the side of the tailstock, nuts fix the pin so that it scrolls, but it did not go back and forth with respect to the stop. At the end of stud welded handle, as in the photo. The handle can be assembled from a piece of pipe and the metal strip. |
 |
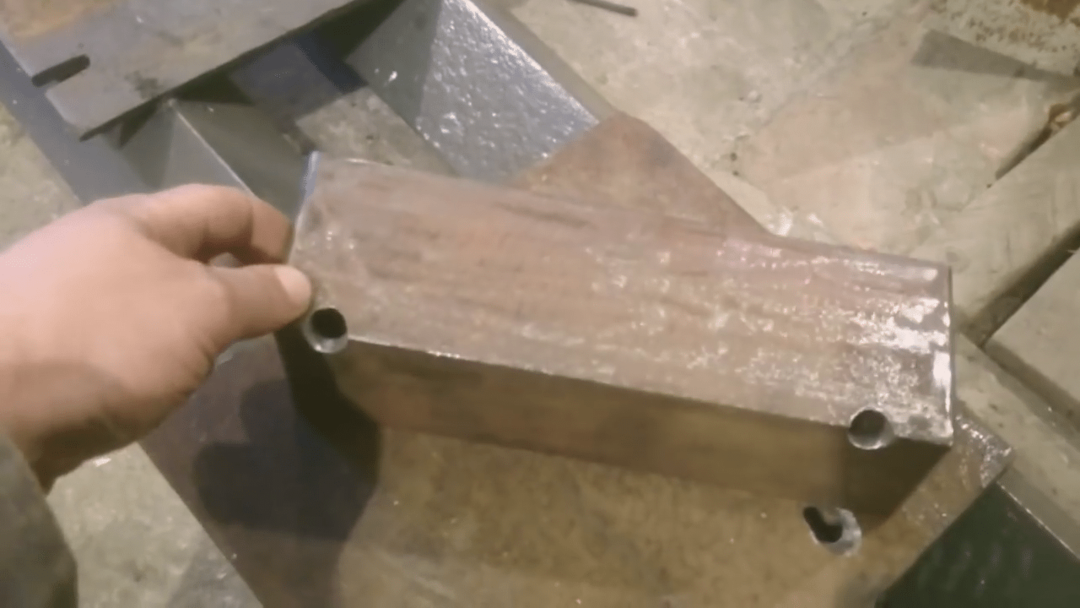
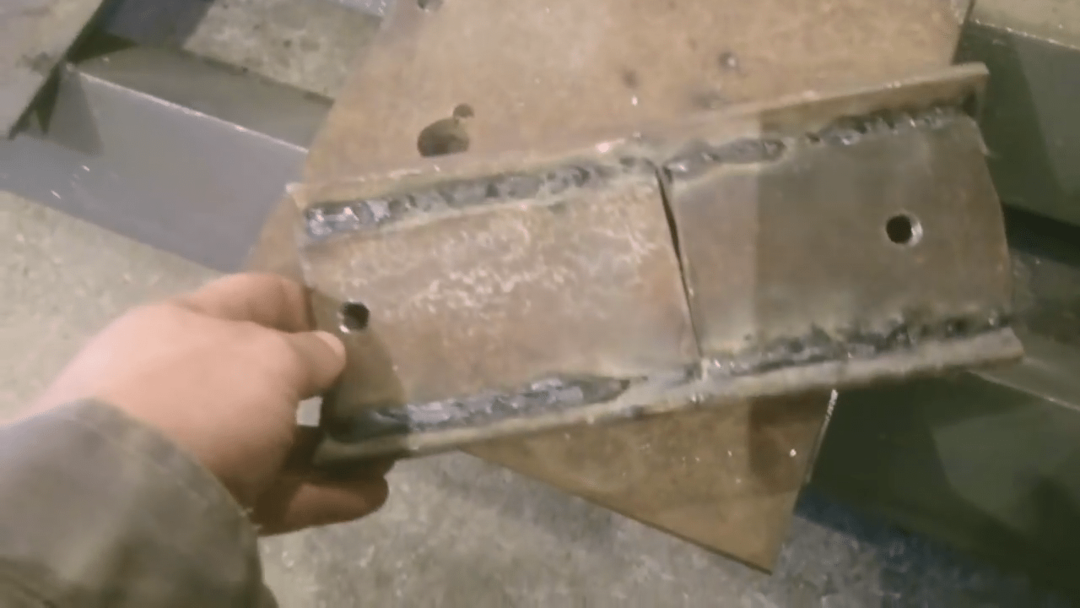
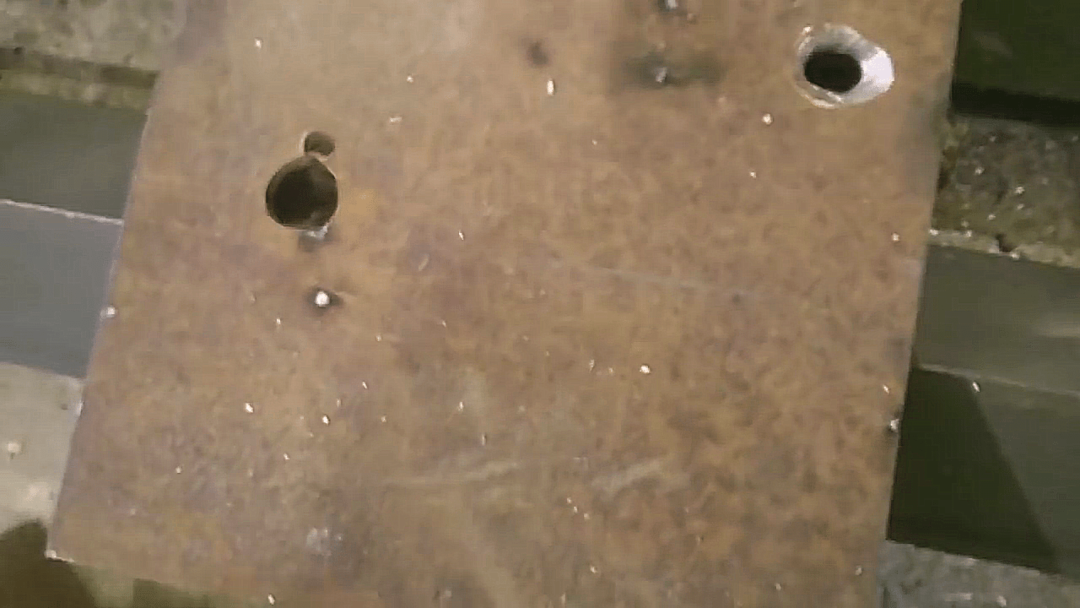
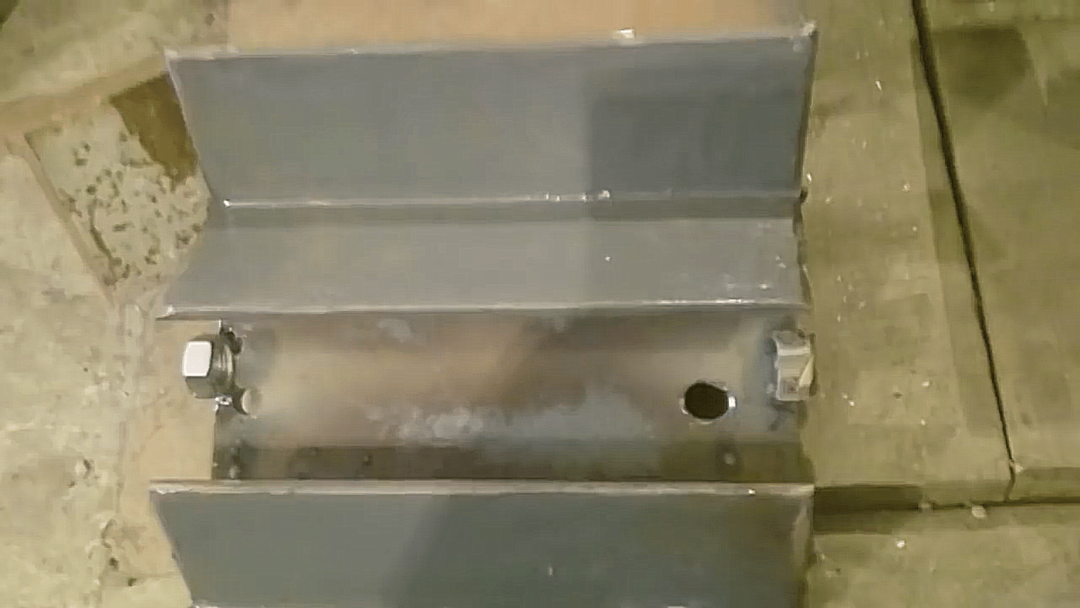
Assembling the headstock. Headstock - is a framework that holds the shaft with a pulley. Dimensions headstock shaft will depend on the size of your discoveries. In this case, the structure is a metallic box with a base 300 × 250 mm. |
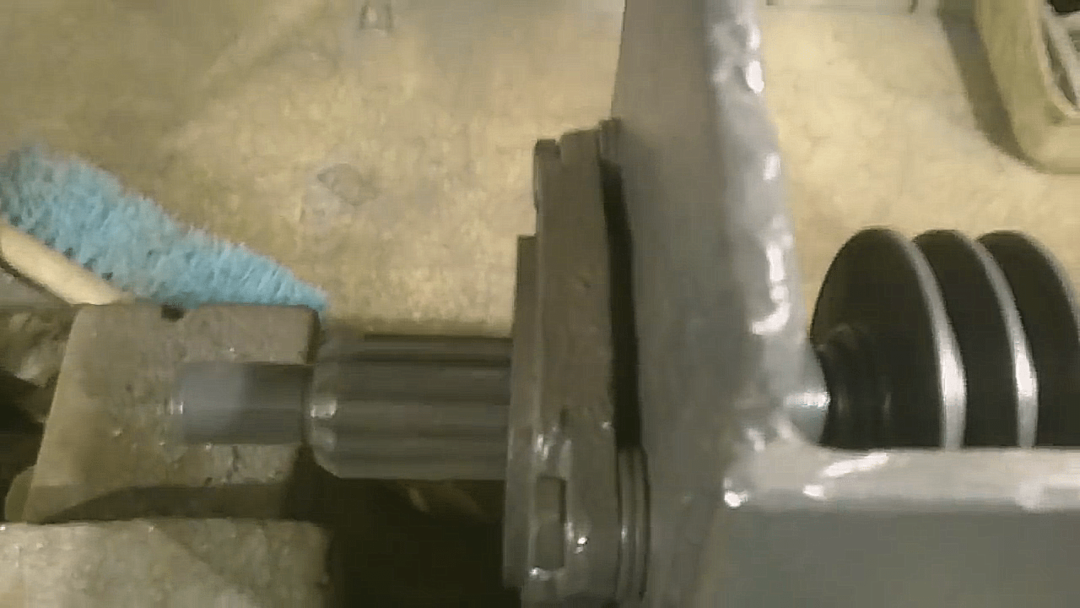 |
Location of the shaft. The shaft set in the headstock so as to set the center of the chuck held at 50 mm above the rails. |
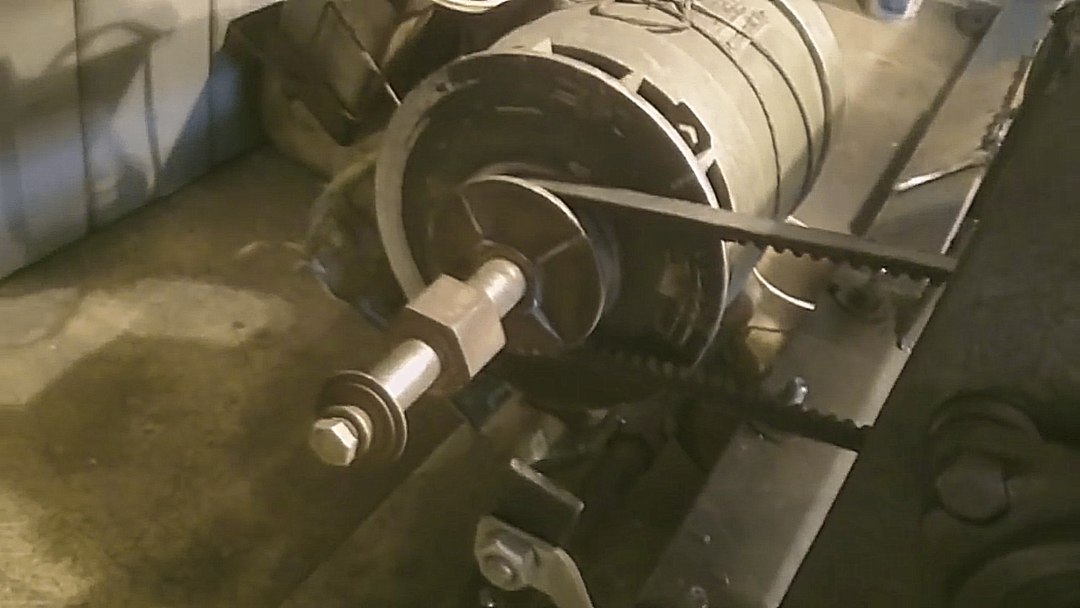 |
engine installation. The engine is mounted so that the driven and driving pulley thereon and the shaft coincide. Furthermore, the distance between the pulleys is chosen taking into account the belt drive length. |
 |
Harvesting under runners cutter. On top of the carriage, as shown in the image, two are welded rod, over which the tube pieces are dressed. Tube should be free, but firmly, to move on rods. Rods must be arranged in parallel with respect to each other. |
 |
Assembling tool feed assembly. By freely walking tube segments welded plate with welded nuts in the bottom part. In front of the slide hinge arranged at the gate, just opposite the nuts on the plate. Through the loop in a nut screwed section of the threaded rod. The end of the stud on the hinge side pressed X's nuts, and then welded handle. |
 |
Stand the tool holder. On top of the movable plate on runners is welded U-shaped design. On the top platform centered in the U-shaped structure vertically threaded studs welded piece. |
 |
Fabrication and installation of the tool holder. From the steel plate is cut into a rectangle with the dimensions 150 × 200 mm. In the center of the plate is drilled hole into which the stud will go. Along the edges of the plate are also drilled holes over which nuts were welded. These nuts are screwed bolts, which can be clamped cutter. |
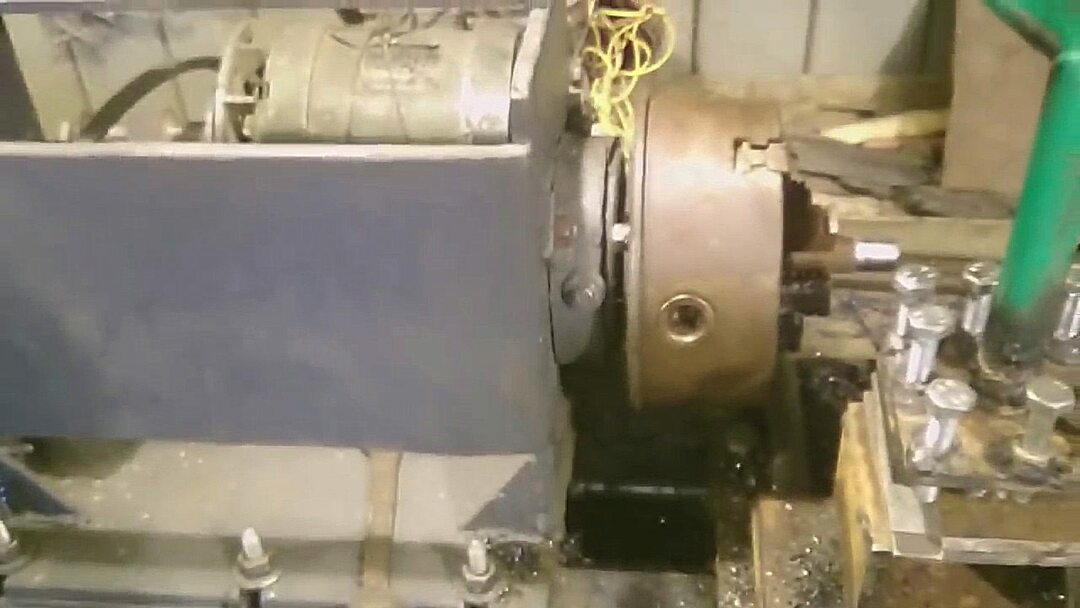 |
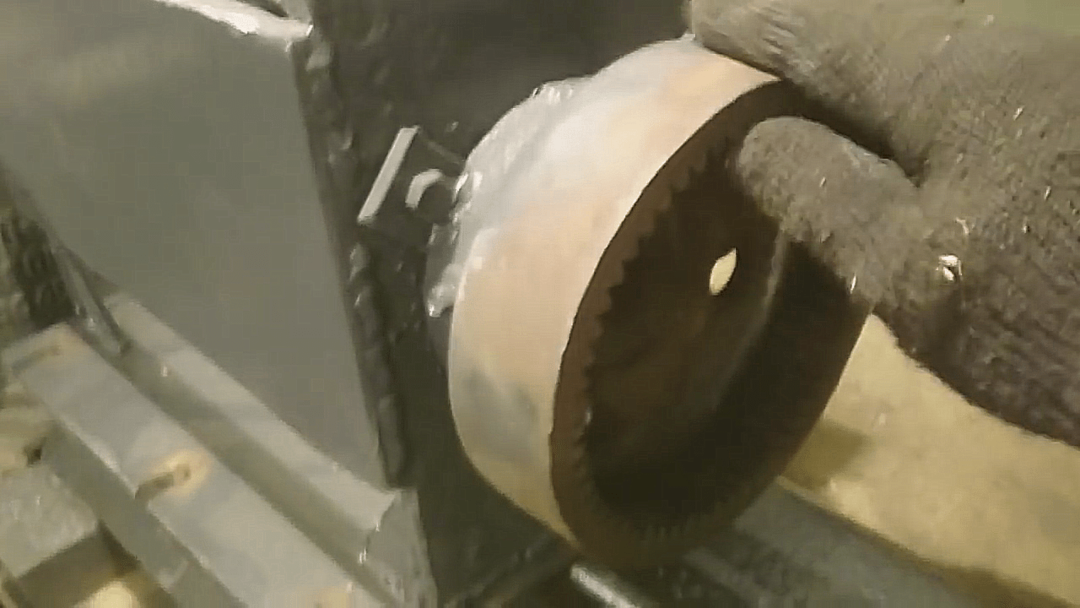
Mounting the chuck. To a cartridge mounted is fixed shaft. cartridge mount can be welded or screwed. Mounted cartridge must be securely held on the shaft and must be centered. |
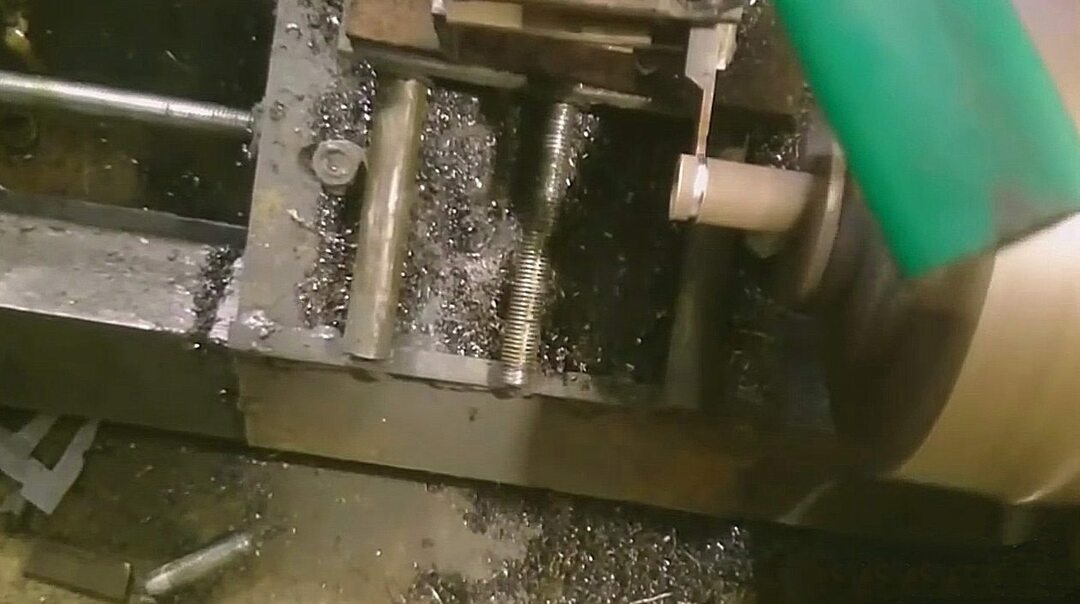 |
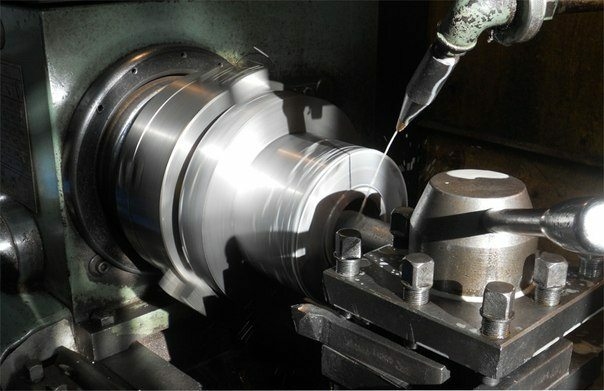
Trial run. Hold the preform and the chuck lathe include metal network. Trying to grind the workpiece in a single pass. Over time remove metal not exceeding 0.5 mm. |
To summarize
Making a lathe for wood and metal on the forces of each. Following the prompts, you can make a safe, effective and inexpensive equipment for home workshop. Be sure to watch the video in this article.