Replacing the wiring 5 basic steps arrangement
Table of contents
-
1 Stage №1: Charting
- 1.1 Basic elements of power that should be considered
-
2 Stage №2: Planning
- 2.1 important stuff
- 2.2 registration
-
3 Stage №3: Preparation and distribution of electrical equipment
- 3.1 Bathroom
- 3.2 Restroom
- 3.3 Kitchen
- 3.4 Hallways
- 3.5 living rooms
-
4 Step №4: Preparation of all necessary
- 4.1 Required tools
- 4.2 Necessary materials
- 5 Step №5: Execution
-
6 Reasons for wiring in older homes need to be changed without fail
- 6.1 The reason №1: replacing aluminum wire with copper
- 6.2 Reason №2: Ground improvement
- 7 conclusion
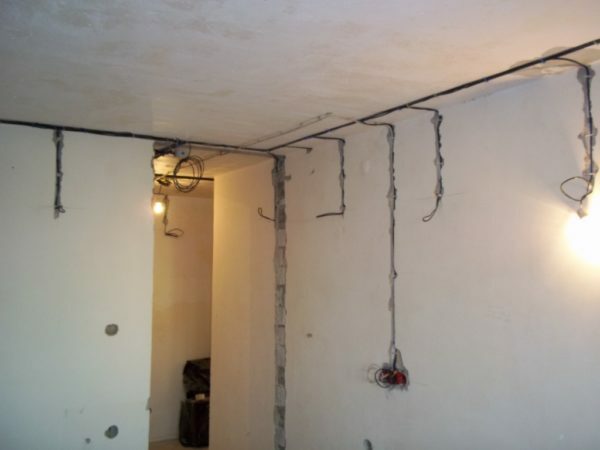
In the photo the final stage of the replacement of wiring in the apartment
Is it possible to perform the replacement of wiring your own hands? My experience suggests that to deal with this problem is real. Let us first find out what stage it is: start with the preparation of the scheme in the different functionality premises, talk about the purchase of parts and finish decorating the already set elements power. To make things easier, in an article I will give step by step instructions.
Stage №1: Charting
Electrical installation can not be performed without an appropriate scheme. For a good example of such a scheme is shown in the photo below:
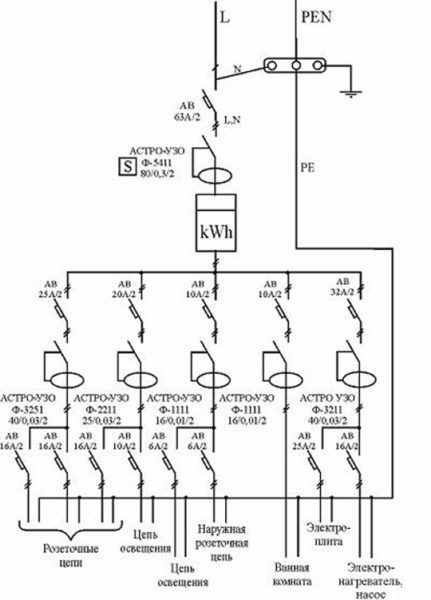
Single-line diagram of electricity supply apartments
Basic elements of power that should be considered
In drawing up the drawing must be considered that the replacement of electrical wiring in the house with his own hands has more room for maneuver:
- for cottages provide power limit of electric power 10-20 kW;
- for apartments as an indicator of only 1.5-4.5 kW, which makes a very careful approach to the distribution of electrical power, so as not to burn the future wiring during operation.
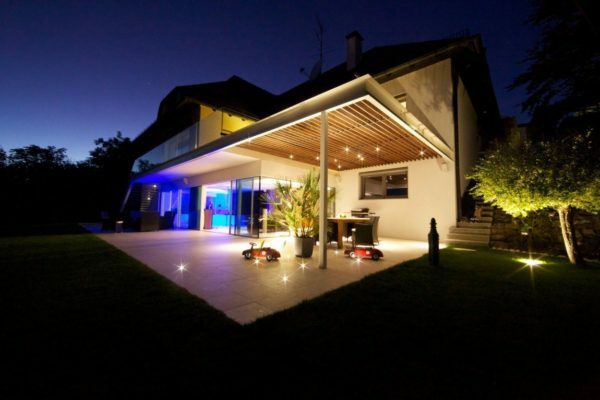
The scheme of illumination in the country cottage is only limited by your budget and imagination, but the apartment will have to reckon with the existing restrictions
In drawing up the lighting scheme of the average urban apartment area of 40-100 square meters can be guided by the following data, which have demonstrated their efficiency in practice:
| Picture | Parameter |
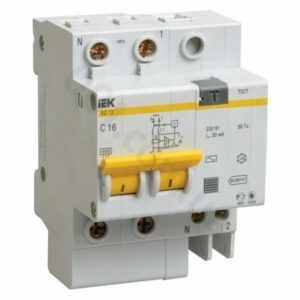 |
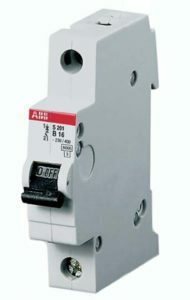
The main machineThat disables the entire house must be designed for the current of 25-40 amps, depending on the power limit. |
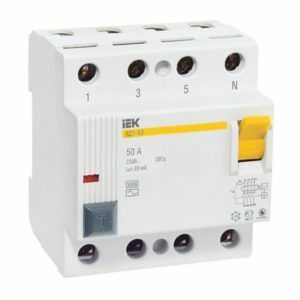 |
RCD(Residual current device) apartments - 50 A to 30 mA leakage current. |
 |
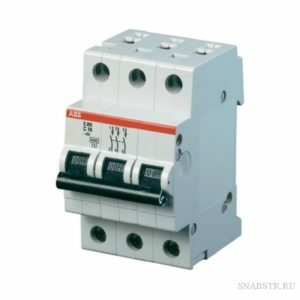
Kitchen Machine 25 A. |
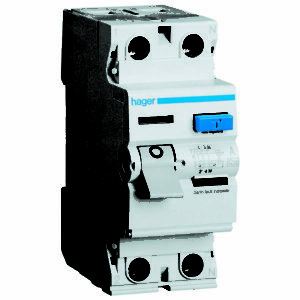 |
RCD Kitchen 30 A with a leakage current of 30 microamps. |
 |
Automatic Air Conditioner 16 A. |
 |
RCD for air conditioning - 20 A to 30 mA leakage current. |
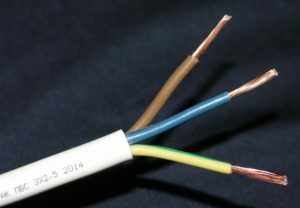 |
copper wire to 2.5 mm2. |
Graphically, this all might look like this:
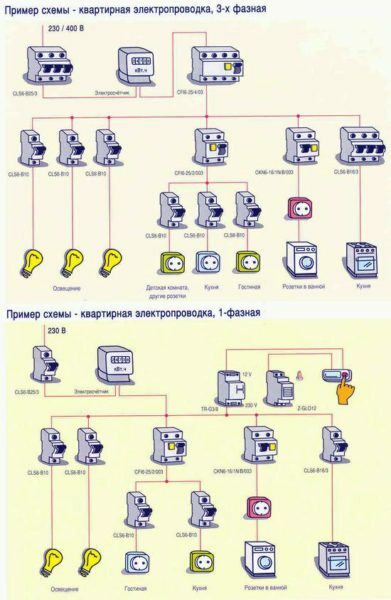
GOST 2.755-87 details all used in the preparation of a single-phase circuit wiring designations apartment
Stage №2: Planning
Further instruction involves making a plan:
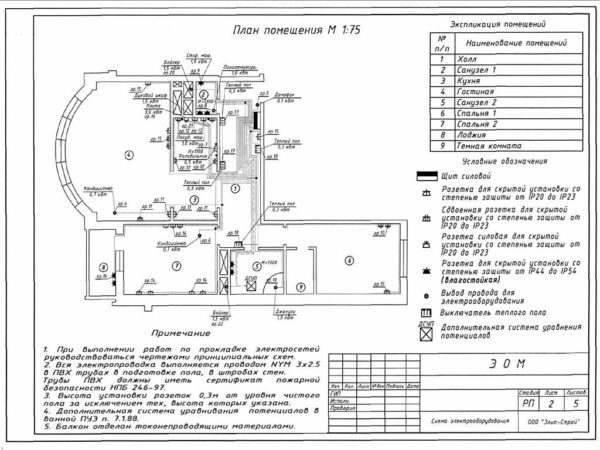
Work plan of electrical wiring in the apartment
It looks daunting, but there are some tricks to make it easier for its preparation:
- Technical certificate. Taken in DEZ (Directorate maintenance of buildings) or in the BTI (Bureau of Technical Inventory) Plan your flat;
- Transfer to a PC. Scan it;
- In the graphical editor delete everything that is part of the old wiring;
- Apply new designations in line with the previously established scheme. If necessary, divide the resulting image on several sheets of A4-size, so it can be piecemeal print on your home printer;
- Print. Check the virtual model, and if some lines are missing, Docherty her pencil.
important stuff
You need to consider the following when planning:
- Location of WC. If it is located away from the kitchen, the complex of sockets provided for it must be installed in an adjacent room;
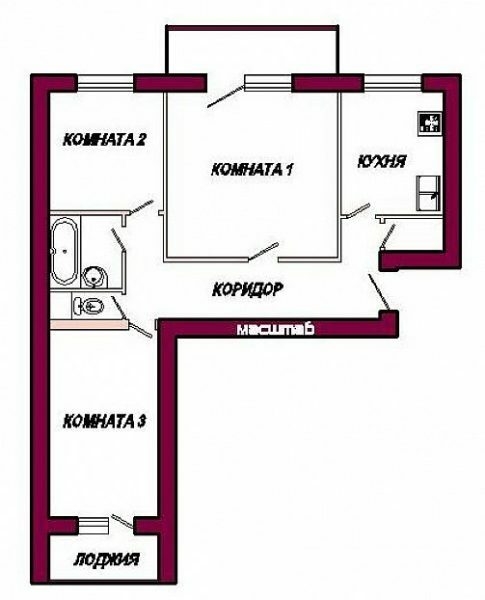
In some apartments, such as in the diagram, a bathroom is located far from the kitchen, forcing her to endure intended outlet in another adjacent room
- Sockets and switches in adjacent rooms better set opposite each other. This saves you time and materials;
- Ceiling lights You must have individual branches power. Connecting them in series or sockets unacceptable;
- Several spotlights It is perceived as a single chandelier. For them, displayed a common branch in the center of the ceiling.
registration
With ready up energy service need to go to where it should be approved. Is free.
I recommend very seriously the planning stage, as the competent instrument in comparison with poorly made will save your expenses more than doubled.
Stage №3: Preparation and distribution of electrical equipment
From switchboard wiring disperse in all other rooms, then it should show to each of them an individual approach:
Bathroom
There also may be located, for example, washing machine, boiler and exhaust fan in need of food. How to be?

Socket for a washing machine located in the bathroom, safe be installed immediately, it is better to bring it to the next room
To avoid short circuit here will be enough to follow some tips for replacing the wiring and installation of electrical equipment:
- New wires. On the fan and boiler, replace power cords for longer and be sure to trohzhilnye. So that they can go through a special hole in the kitchen or another adjoining room;
- Extension with shaped tee, Purchased the device and fix it to the wall using plastic anchors and screws.
Restroom
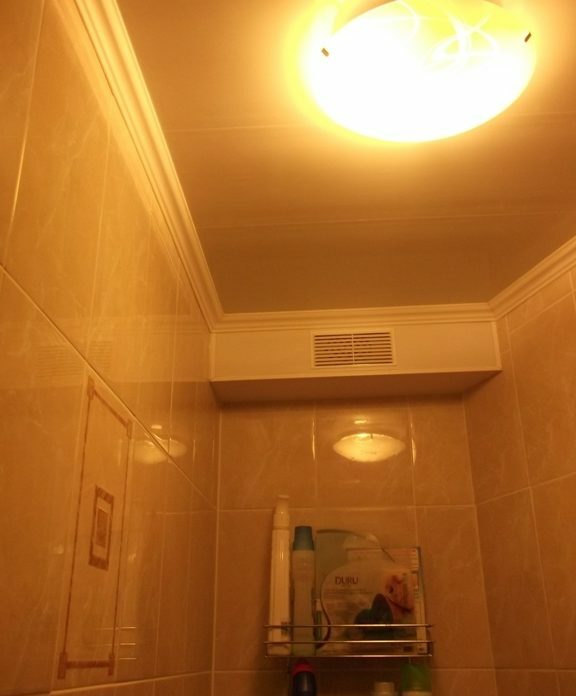
The toilet of the appliances in most cases, can be found only one lamp
Toilet in the operation of electrical appliances are not picky and quite able to do only one ceiling lights, which can be powered in one branch with the bathroom light.
Kitchen
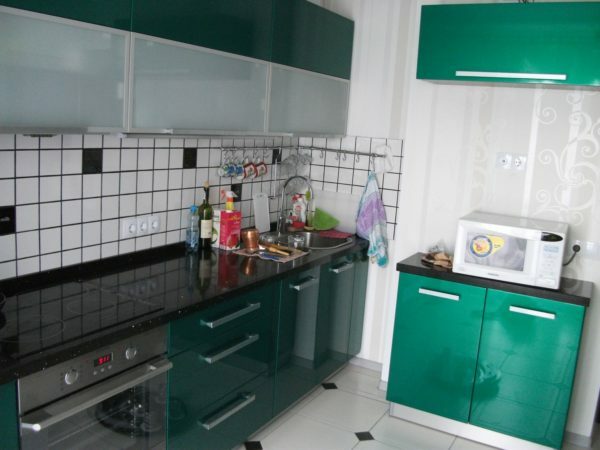
Despite the relatively small area, the kitchen is often distracting to the leaders in the number of electrical appliances
In most residential planning a bathroom is located next to the kitchen. Consequently, this must not only be their own outlets, but also the power supply for the bathroom:
- For the kitchen branch We need two triple outlet. One of them can be connected to a dishwasher, electric oven, food processor, point lamps, as well as an extension cord, hung on the wall, to power a toaster and a vacuum cleaner during cleaning implement. In another - a refrigerator;
- For branches bathrooms enough one triple socket, the purpose of which I have already described above.
Also do not forget about the lighting branch.
Hallways
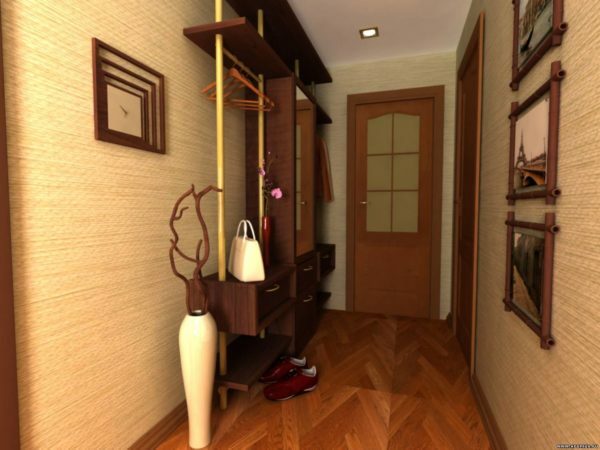
The entrance hall is able to do a minimum number of electrical appliances
Here you'll need only two branches of:
- For the main lighting device on the ceiling;
- For the outlet, which often will be in demand and vacuum drying for shoes.
If your hallway is different over the length and requires an additional source of lighting, you can install sconces from the outlet, and a distant light is already powered on the second line.
living rooms
For example, take two-bedroom apartment with all types of dwellings:
| Picture | Descriptions of the recommended branches |
 |
Living room:
|
 |
Bedroom:
One more point, you can connect through the wall to an additional living branches |
 |
Children:
One more point, you can connect through the wall to the additional branch bedroom or living room depending on the layout of the apartment |
The optimum height for sockets will removal from floor to 250-350 mm. In this case, they will be within reach, and furniture will not interfere, and the eye of an outsider will not be noticeable.
Step №4: Preparation of all necessary
Replacing the wiring is done with his own hands with the help of several tools:
Required tools
| Picture | tool name |
 |
drill with a set of tips:
|
 |
LNA (angle grinding machine) with a circle of stone |
 |
Soldering power of 40 to 60W |
 |
light phase |
 |
multimeter |
 |
All with insulated handles |
 |
LampThat slips over the head |
 |
mounting the knife |
 |
spirit level |
 |
tracer cord |
 |
Putty knife |
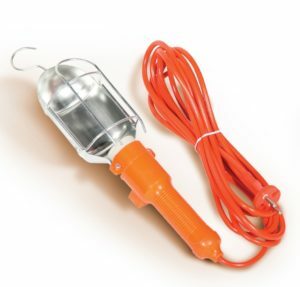 |
portable lamp |
Necessary materials
Materials should be discussed in more detail:
- Terminals. With their help, wiring is performed. They are sold for ten contacts sections, you will need their 3-4 pieces. It is desirable to select those samples in which the opening can freely enter the two cables with a cross section of 2.5 mm2.
Do not take plastic products, since they are not of good quality. Buy several raspaechnyh boxes also do not interfere;
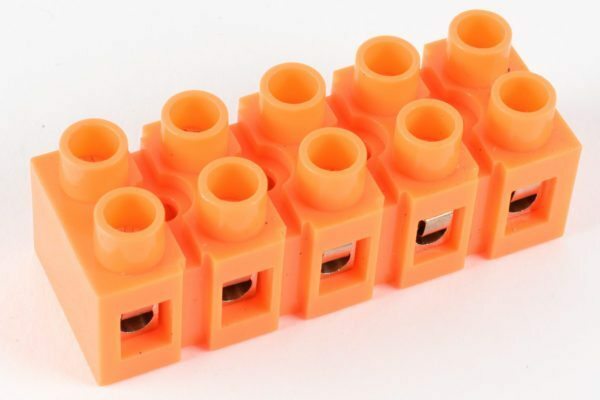
Terminals enable fast with minimal effort to create high-quality and safe wiring
- Enclosures. Necessarily sure that they were on the outside protrusions, allowing to hold in alabaster;

Enclosures are a kind of sockets for mounting sockets and switches
- Cable. It is suitable domestic brands VVG or SPAP. Second cheaper due to less thick insulation;
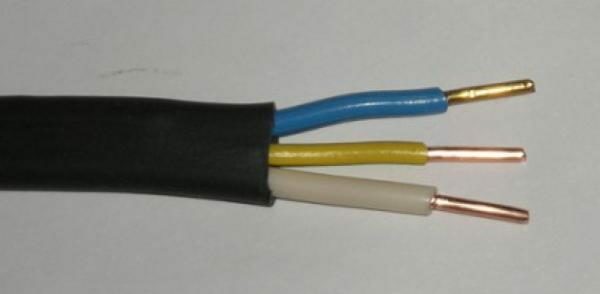
VVG brand wire is more expensive, but the insulation is more reliable
- corrugation. I recommend purchase metallic corrugations, as the plastic in the event of an emergency begins to decompose, releasing a large amount of toxic substances;
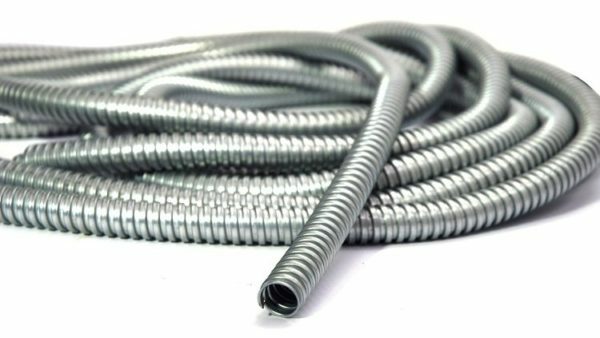
Metal corrugations has high resistance to physical shocks
- introductory shield. Pay attention to the dimensions of the product. In it will have to fit four machine four RCD, four terminals and all the ends of the connecting cords. On average, such a design can cost you 300 rubles.
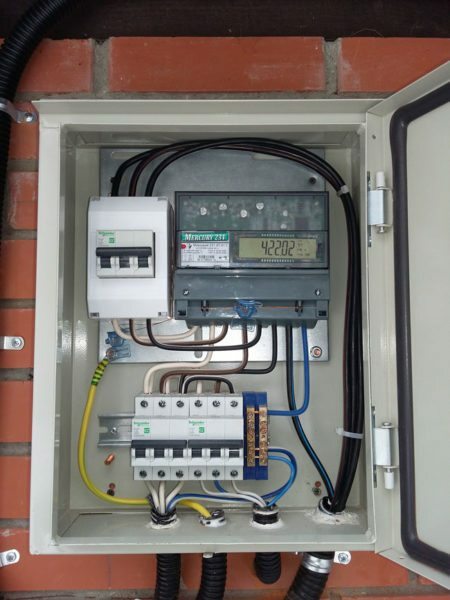
The dimensions of the mounting holes opening panel must comply with cross-sections used in the posting replace corrugated hoses
Step №5: Execution
Now Let us examine itself directly replace the wiring in the panel house with his own hands:
| Picture | Description of action |
 |
Stroebe cutting grinder. Using LNA slotted side line cutting grooves. It is very important that they be strictly vertical or horizontal without tilting, which can further lead to an emergency situation. |
 |
Knock-out punch Stroebe. Now take the hammer and knock out Stroebe sliced between the lines. |
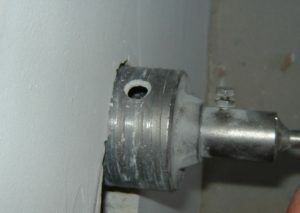 |
Drilling holes for socket. Holes for outlets and switches to the brick walls is performed using the crown. Concrete as it is not suitable, as it can break the teeth of the fixture. Therefore, the concrete wall is necessary to beat the chisel. |
 |
Drilling holes for mounting clamps. Change in the punch chisel on concrete drill bit and drill holes in Stroebe done for installation of clamps that will hold the corrugation. |
]
|
Bookmark the corrugated tube with wires. Laying corrugations threaded with wires therethrough, fixing by means of clamps. |
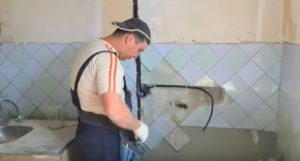 |
Connect wires. Connect the wires to the terminal block in the junction box. |
 |
Connecting the introductory panel. After all corrugations with wires will be laid out, works on wiring replacement is moved to the input panel. Here we start, we summed the ends of the corrugations and are connecting cables to the installed automation. |
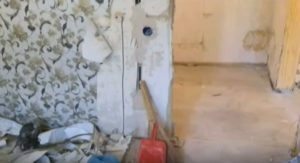 |
installation Enclosures. Enclosures derived from them exactly expose wires using a spirit level and plastered with alabaster. |
Keep in mind that even partial replacement of wiring in the home, that is, that at least one of the stages much will save your family budget.
Reasons for wiring in older homes need to be changed without fail
Replacing the wiring in the old-style apartment - it's not just a desire to update the communication of their homes, but an urgent necessity. And there are two reasons:
The reason №1: replacing aluminum wire with copper
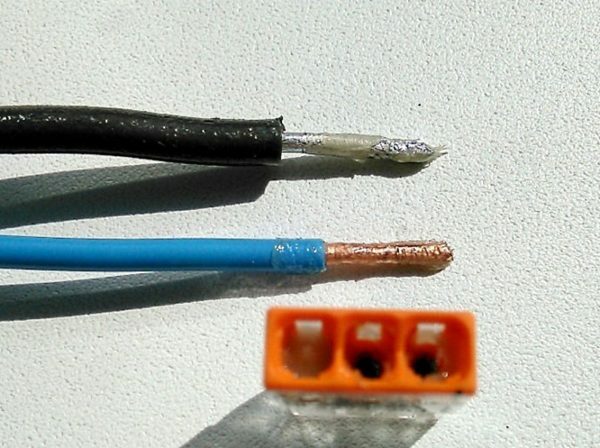
Aluminum wire (top) inferior in many operational performance copper (bottom)
Until the sixties of the last century, of aluminum wire were very widespread due to the following factors:
- cheapness. This material and today is considerably inferior to the price of copper;
- environmental friendliness. During this time period, production of copper wires had a very high level of harmfulness. Immediately, I note that the lack of them have already been eliminated to date.
In consequence it was found out that aluminum is not suitable for use in the installation of electrical networks for several significant reasons:
- Short service life. Twenty years passing electric current through themselves aluminum wires become brittle safe, able to crumble at the slightest mechanical stress;
- hydrophoby. In case of contact with moisture wiring of aluminum is subjected to electro-corrosion. The result is a sudden breakages on the line;
- excessive softness. Aluminum is so soft that is squeezed out from under the screw terminals, thereby reducing twisting. Solder, it's very difficult.
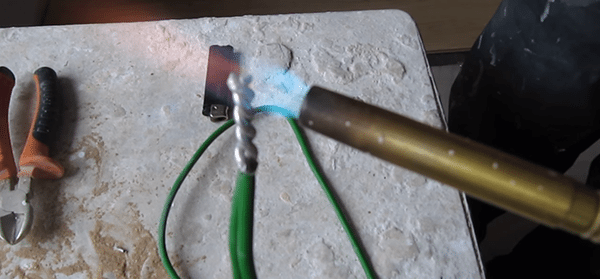
All movements in soldering aluminum wires have to do very quickly to their perepalit
Do not wait, when the apartment an accident occurs due to the failure of the old wiring Aluminum, because its results can not only leave the apartment without electricity, but also cause a fire. Plan and implement a better replacement aluminum wires to copper beforehand.
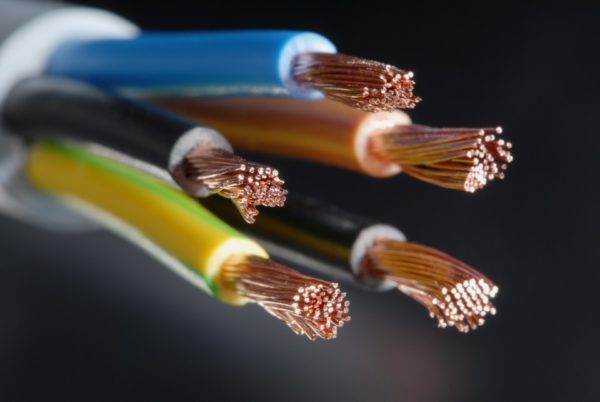
The price of copper wires, though higher than aluminum, but they will last and last much longer without risking your property
Reason №2: Ground improvement
In the Soviet Union there was a very difficult task: to provide a huge country with electricity in the conditions of non-ferrous metals deficit. I solved it was a failure of the protective earth. Nowadays, no one except you hired electricians this defect is not correct.

Modern wiring cable additionally has a third wire, in charge of ground
conclusion
You are familiar with the way you are replacing the wiring in an apartment. The process is complex, but it is obligatory and feasible on its own. Videos in this article contains additional materials, and in the comments, you can ask your concerns.
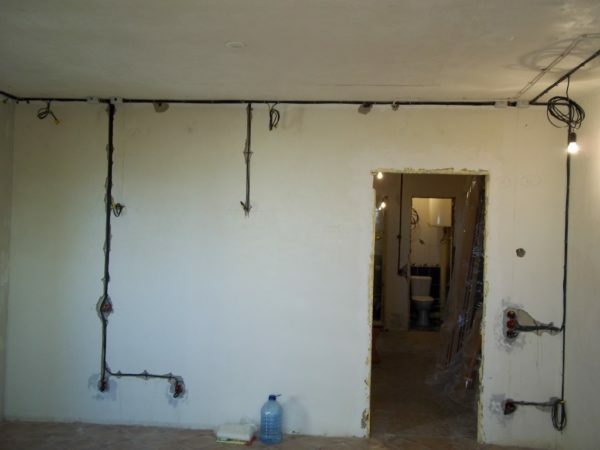
It looks like the work performed by the replacement of electrical wiring in the apartment, the case only for decoration
