Replacing a damaged radiator
Table of contents
- 1 Step №1: training tools and the removal of fluid from the radiator
- 2 Step №2: remove the damaged battery
- 3 Step №3: Assembling and connecting a new radiator
Step №1: training tools and the removal of fluid from the radiator
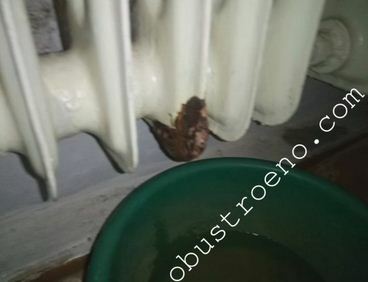 |
We detect a leak |
 |
For repair work will be required:
|
 |
Remove the carpet and set the plastic container under the radiator in the area stubs |
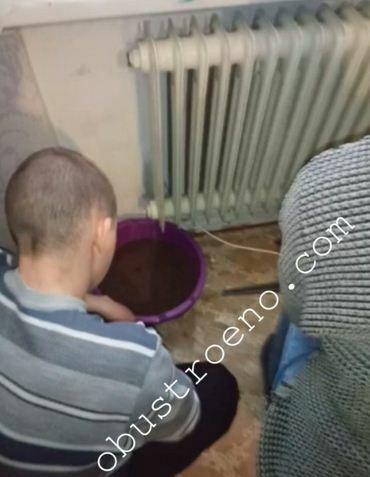 |
Twist the cap and pour out coolant. |
Step №2: remove the damaged battery
 |
Was removed with a knife old tow to release the threaded connection |
 |
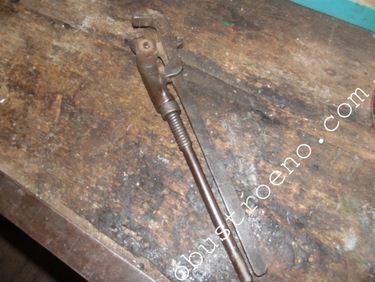
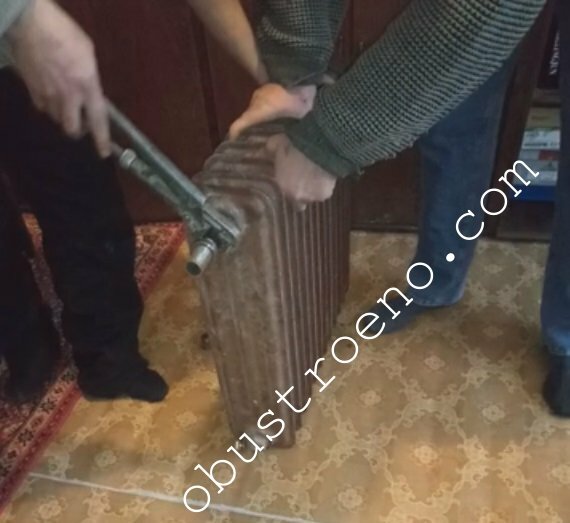
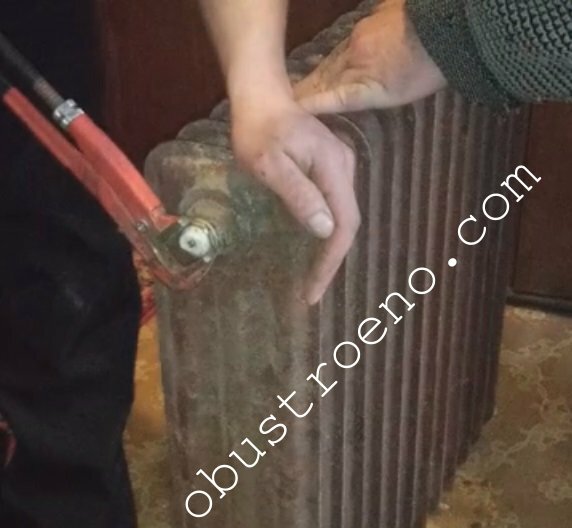
Tong untwist the lower screw connection |
 |
When completely unscrew the clamping nut by a second tong |
 |
Similarly we proceed with the upper compound |
 |
Remove the damaged radiator |
Step №3: Assembling and connecting a new radiator
 |
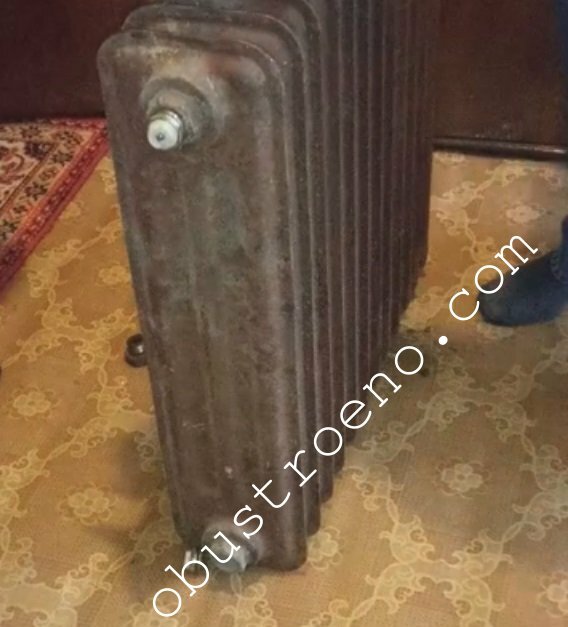
Remove the cap from the new battery |
 |
Set bleed screw into the upper part of the structure |
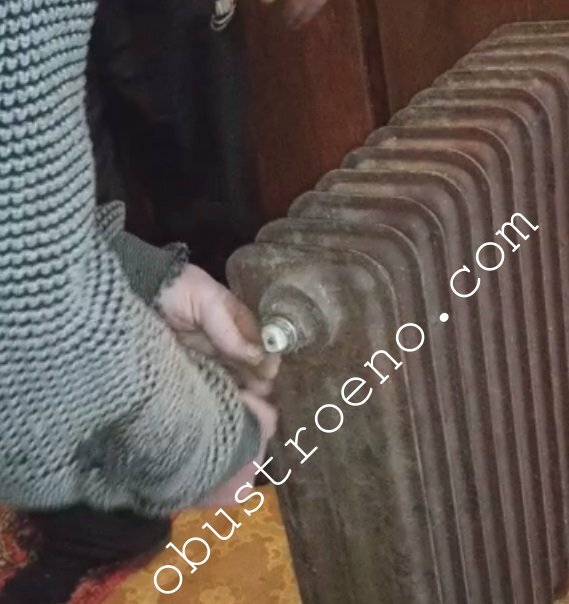 |
Strengthens the threaded connection seal tow |
 |
Finally tighten bleed screw |
 |
We hang the battery pack and tighten the upper clamping nut |
 |
The final action of delaying the lower nut. Repair is over! |