How to glue wallpapers right (photo 39): surface preparation, assembly drawing and marking, gluing and sticking
Table of contents
- 1 Tips for Choosing
- 2 Materials and tools
-
3 The sequence of work
- 3.1 surface preparation
- 3.2 Assembling drawing and marking
- 3.3 adhesive Application
- 3.4 Direct sticky
- 3.5 shutdown
- 4 Summing up
- 5 Photo Gallery
Wallpapers have become a traditional way to design apartments and country houses. Experts say that this type of wallpaper can transform any interior beyond recognition. Make it a modern and seductively beautiful, so the question of how to glue wallpapers on the wall is still relevant.
 Wallpapers were fashionable some time ago, after almost forgotten about them, but ten years later, they again come into fashion and adorn the walls of many apartments and houses.
The only "but" we are talking about quality Mural, because it is often in markets and stores selling dull, poor quality linen.
Tip! If you have a story that you would like to decorate the wall, but in the proposed range you will find it can not entrust production of exclusive photowall professionals.
So, how do you choose fotopolotna?
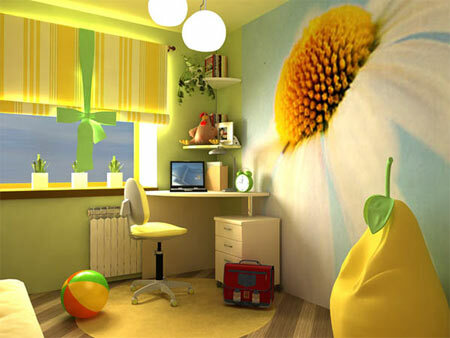
Interior design children's
Tips for Choosing
Before buying should define the plot, which will show off on your wall, and preferred to think about the main colors, while you can overshadow issues such as gluing paper wallpapers and how to be a vinyl or interlining.
Let us dwell on the plot and colors.
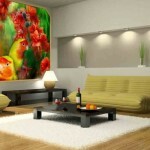
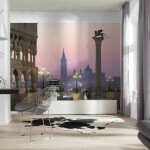
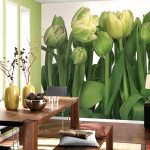
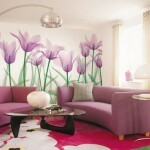
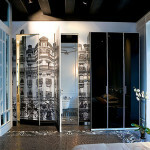
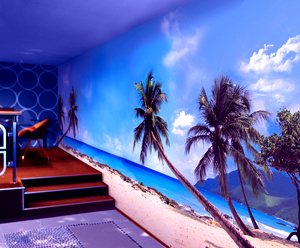
Mural, harmonizing perfectly with the overall design
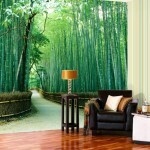
Now considered fashionable exotic landscapes, but before buying this cloth think about whether they fit into the overall picture of the interior of an apartment or house.
The design of the room wallpaper decide everything, do not forget!
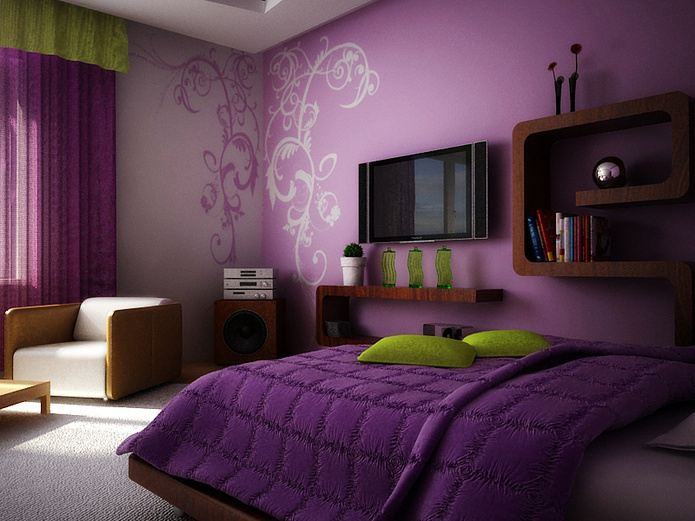
- Remember, for bedrooms and rooms suitable calm and soothing motifs and colors, for a child's room or living room - bright and cheerful, but not aggressive.
- If your room is small furniture, bright wallpapers visually make up for the void and add comfort.
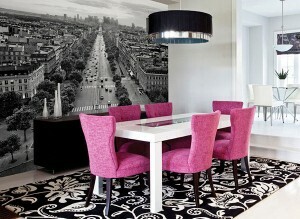
Attention! An important selection criterion is the color scheme. As is known, some colors create the effect of approximation, while others - alienation. So, if dominated by warm tones, the room seems slimmer design of the room walls.
If you need to visually increase or decrease the area, select Desktop, which is dominated by the respective colors.
- Colors that create the effect of increasing proximity object and its size: white, orange, brown, pink, red.
- Colors that create a feeling of remoteness of the subject and reduce its volume: black, gray, blue, blue, purple.
In addition, it is necessary to take into account the overall picture of the interior, in order to avoid contradictions between the photo wallpapers and style of the room. The basic principle of the use of photo wallpapers - appropriate pictures.
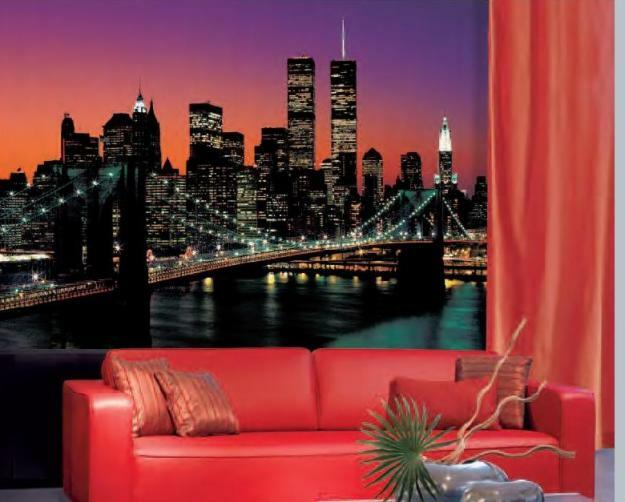
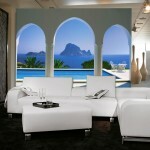
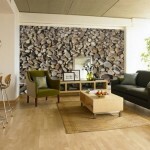
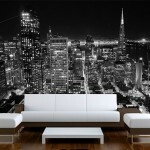
living room design
So, you find wallpapers of your dreams, take into account all the advantages and disadvantages of the room in which they are stuck. Now you have a new problem appeared, how to glue wallpapers.
This is, without exaggeration, the most important and most difficult stage. With this case we will try to help you.
Tip! As you can use stickers on vinyl wallpaper as an alternative to large-scale canvases.
So, Mural on the wall - like glue and not to miss.
Materials and tools
Before you stick the wallpapers, you need to stock up on everything you need.
So, we will use:
- wallpapers;
- Package photowall glue (it should be natural based);
- capacity;
- brush or a brush for applying adhesive;
- rubber roller;
- stationery knife;
- ruler or tape measure;
- level;
- pencil;
- putty knife;
- acrylic primer;
- sandpaper;
- spoon or stick.
The sequence of work
Now that we have everything, you can start to consider how to stick wallpapers.
surface preparation
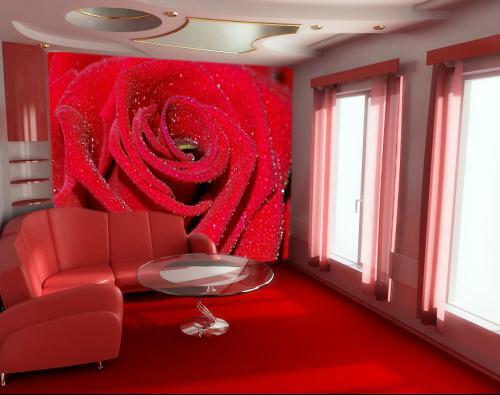
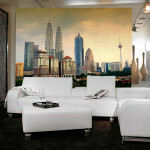
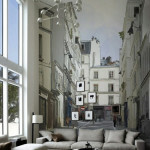
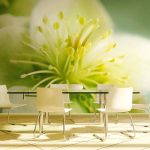
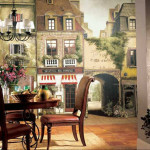
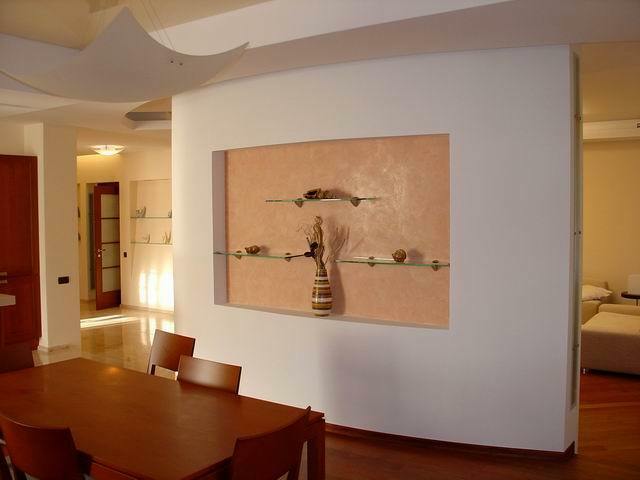
Mural in the interior of the hall
- Thoroughly clean the wall of the old building is aligned all the errors, cover the top of the primer. For this perfect acrylic primer, but it can be replaced with a fine plaster or gypsum filler.
- The wall must be smooth. Before mounting surface must be completely dry.
- If you decide to stick the blade on a sliding surface, it is first necessary to sandpaper. This we do in order to at gluing pattern is not distorted and well "sat" on the surface.
Note! The air temperature in the room during the work should be from +5 to +20 ° C. Also eliminate the possibility of a draft in this room.
Assembling drawing and marking
- Located on the floor and begin to collect the image by measuring its area. For these measurements we will build our position sketch drawings on the wall.
- Also on them measure out the space on the wall for each picture element, given the distance from the ceiling, corners, floor. For this step, we need to level and ruler.
adhesive Application
Before you glue wallpapers, it is necessary to prepare the adhesive, following the manufacturer's instructions on the package. The resulting mass should be easy to apply and smooth.
Now for application of an adhesive. We begin to apply it to the back surface of the left upper member with a brush or roller.
Glued piece is not folded in half, as is customary with conventional glueing wallpaper.
Apply glue to the top-left square of the wall, on the spot at which we will strengthen our glued elements.
Note! Wallpapers that we have infiltrated the glue must be secured no later than two minutes.
You can do a little bit different - soak the glue first wall, and then the wallpaper. The sequence depends on the quality of the glue and paper weight wallpaper.
Direct sticky
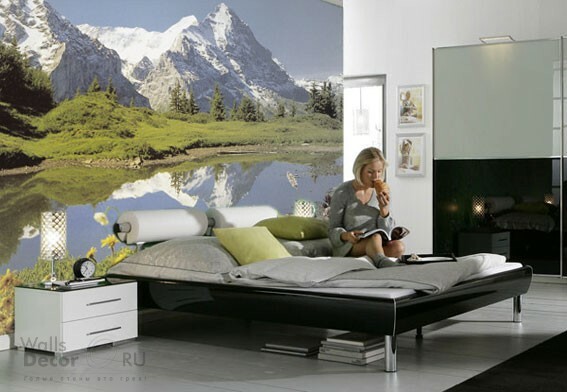
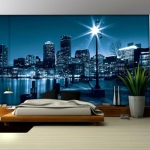
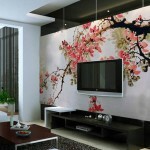
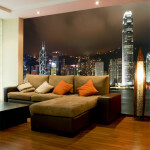
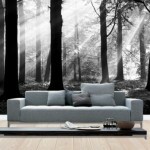
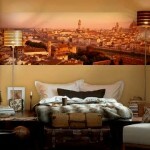
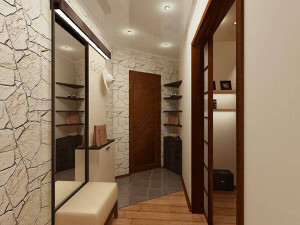
Mural in the interior of a bedroom
- The web is glued to the upper left corner of the composition and with the same picture element angle. Smoothes the paper with a rubber roller.
- Moving vertically continue gluing elements. Pokleit one vertical strip, move to next, again from the top down.
- Each element is necessary to adjust the formatting and avoid imposing joints.
- If the front of the image to appear glue droplets or wipe them with a cloth, sponge easily blot.
shutdown
When you are finished with glue, cut the excess fabric office knife. If the image takes up the entire wall, mount the plinth on top of the image.
Now we know how to glue wallpapers to get a great result.
Summing up
We hope our article has been helpful to you. In order to more accurately understand the technological and practical issues on our website provides detailed photo and video instruction, in which you will find useful information on the question.
Photo Gallery