Decorating the bathroom PVC panels - 3 terms for successful work
Table of contents
-
1 Three stages workflow
- 1.1 Stage 1 - the purchase of materials and tools
- 1.2 Step 2 - preparation of surfaces and construction of the carcass
- 1.3 Step 3 - mounting panels
- 2 Output
If you need an economical finishing the bathroom, the best solution will be the PVC panels. But to get the best results, it is necessary to carry out the work and to choose the right quality materials. This review will help you understand the process and decorate their own room. Follow all the recommendations outlined above and you will get results as good as the professionals.
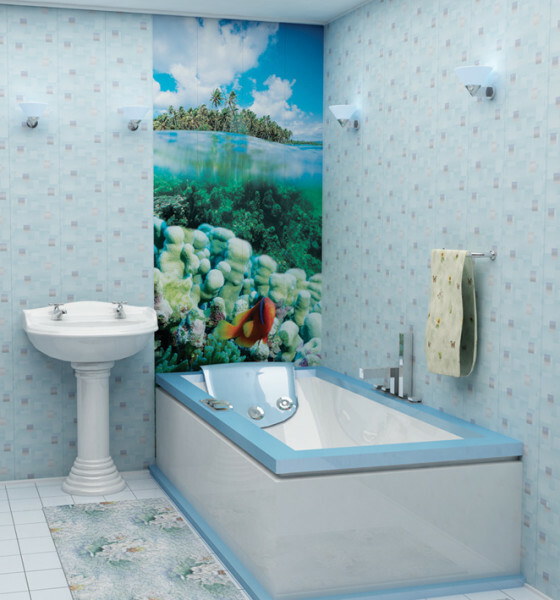
Photo: panels can be real pictures
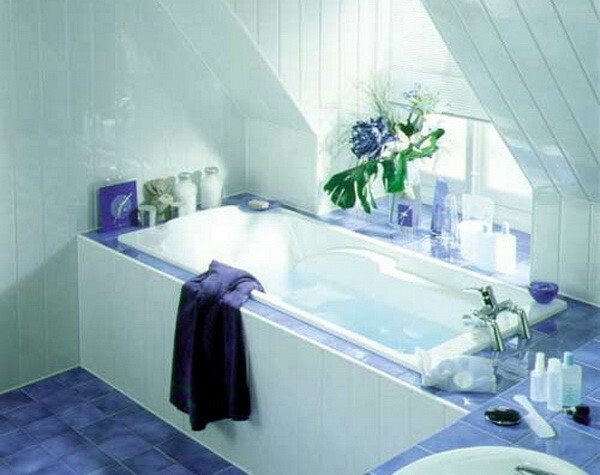
PVC panels are particularly good for areas with a complex configuration
Three stages workflow
The workflow comprises three components:
- The acquisition of necessary materials and tools;
- Preparation of surfaces and construction of the chassis;
- Fastening of panels and components.
I talk about the most simple and reliable technology that has tested hundreds of times. The result will be not only attractive, but also very reliable.
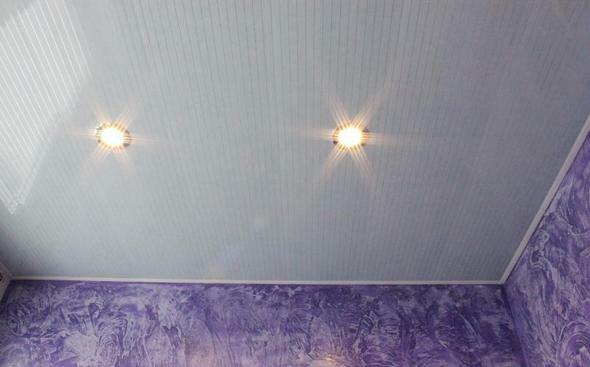
The panels are suitable for both wall and ceiling
Stage 1 - the purchase of materials and tools
To finish the bathroom PVC panels must collect specific list of materials. For simplicity, the information listed in the table.
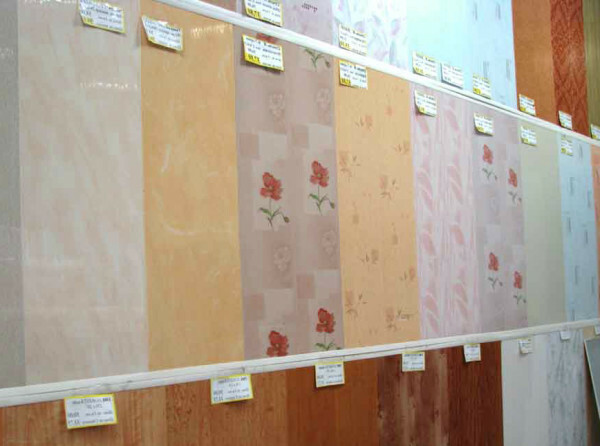
You can choose PVC panel for the bathroom with the imitation of any invoice to realize the most interesting ideas
| Material | Recommendations for choosing a |
| PVC panel | Plastic panels are a wide number of options. It is best to use the product width of 25 cm. The length is selected so that the installation does not have to join elements, it may be from 2.5 to 4 meters. As for the price, you will have to pay from 150 to 500 rubles per one element size 25h260 mm |
| Accessories | To finish looked carefully, you must purchase a starter profile, angles and other elements (if necessary). The products are sold in running meters, so you need to advance to conduct all measurements. The diagram below shows the main items, select what you ought to |
| profile metal | Installation will be carried out on a profile for drywall. He is much stronger than wood and plastic, the frame will retain strength for decades. Uses the basic and near-wall elements, the number is calculated from the area of a finished |
| fasteners | To trim profile wall mounted with dowels quick installation. A frame connected between the special screws-bugs. Mounting panels are self-tapping screws to press the puck 16-19 mm |
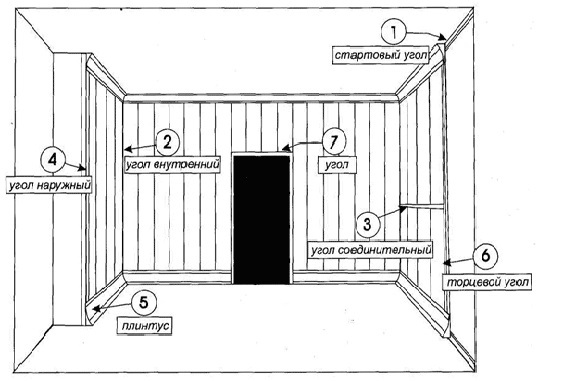
Components are calculated based on the features of the room
you need to collect the necessary tools in preparation for the installation of PVC panels:
- Perforator with drill on concrete for drilling dowel holes;
- Screwdriver to tighten the screws with PH2 bat;
- Scissors for metal cutting profile;
- Hacksaw or hacksaw on wood with a fine tooth for cutting PVC panels;
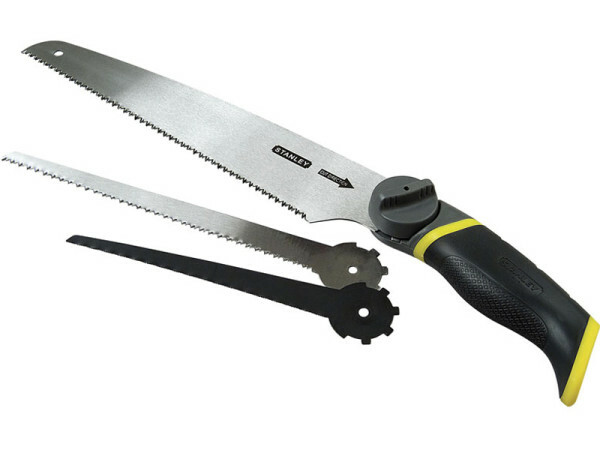
It is very convenient to operate this type of hacksaw
- The level building, roulette, and pen angle for measurement and control plane;
- To get to any part of the surface, use a stepladder or desk.
If you need to cut holes in the panels, you can use an ordinary knife construction. It is better to use a variant with a trapezoidal blade, it is more rigid and cuts the plastic is much better.
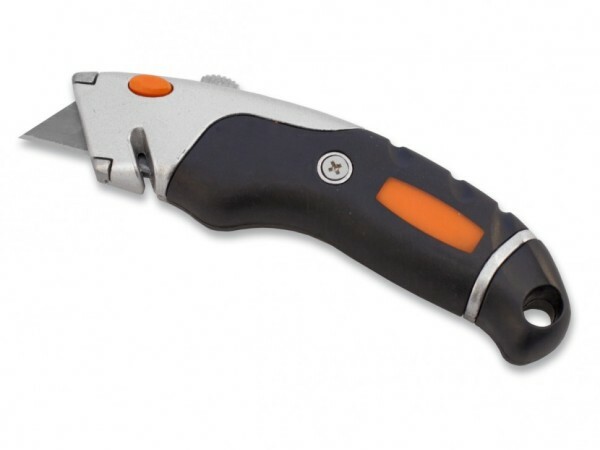
Thus knife can cut holes of any shape
Step 2 - preparation of surfaces and construction of the carcass
When working with your hands you will not only strengthen the panel, but also to prepare the surface.
We look at how the preparation is carried out of ceilings and walls in the bathroom:
- First of all, all surfaces should be freed to them had free access. It is better to remove all the pieces of furniture and objects, plumbing, so they do not interfere;
- Carefully inspect all the bases if they have pockets of mold, then they must be eliminated by special trains. Even if there are no problems, the treatment will not interfere with an antiseptic solution. Everything is simple: the composition is applied to the surface of a roller or brush, then it should wait for the complete drying;
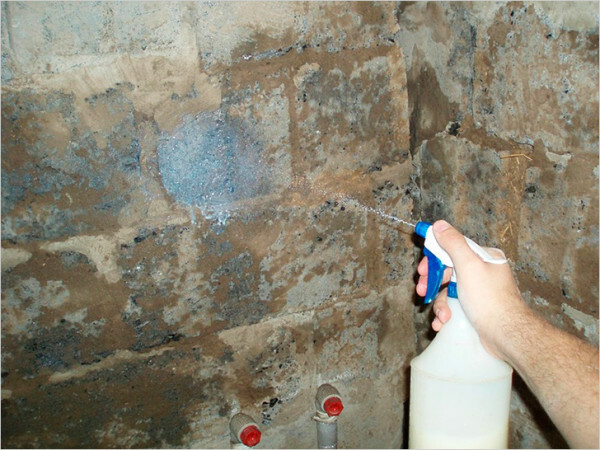
All mold pockets necessarily eliminated Dangerous Drugs
- In the presence of cracks are best repaired with cement mortar. No need to leave everything as it is, the problem could get worse later, but you can not do anything, because the surface will be closed;
- If you need to lay wires or pipes behind the panels, then do it in advance. For maximum safety, better positioning of the cable in Stroebe. Pipes is also easier to sink into the walls, so that they do not take up valuable space.
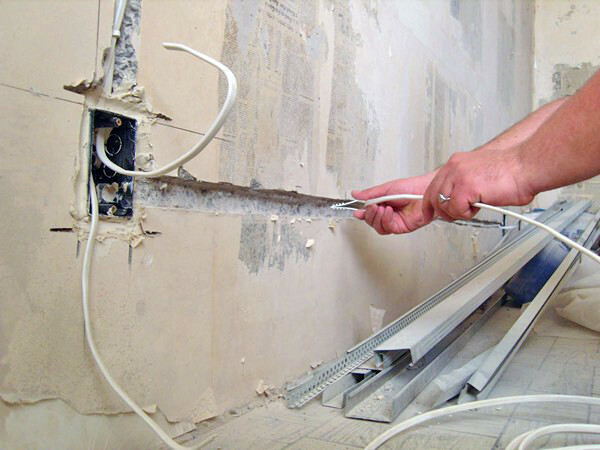
Grooves can hide the wiring and protect it from moisture
Next part of the work - the construction of the frame, on which will be made wall decoration in the bathroom PVC panels. Instructions for the operation is as follows:
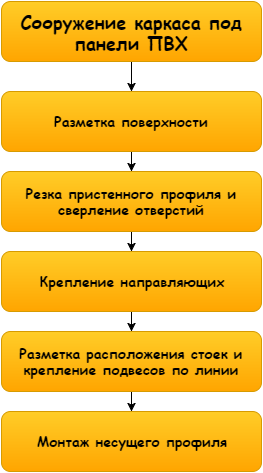
Process scheme looks exactly
- First you need to hold a markup for guiding profile. Vertical lines easier and faster to just do with a plummet. Put it to the desired location on the ceiling and make a mark on the cord to the floor. Horizontal lines are made using otbivochnogo cord or building level;
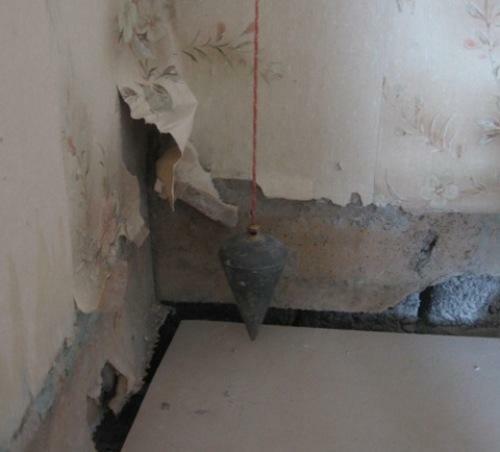
Plummet quickly and accurately marked vertical
- The guide profile is cut into pieces of desired size, and then on the walls made the mark for drilling holes at the place location. Remember that mount on the edges should be at a distance of 5-10 cm from the end. If there is no hole, drill it in your profile. The drilling perforator is made under the dowel, the depth should be more fasteners length 5-10 mm;
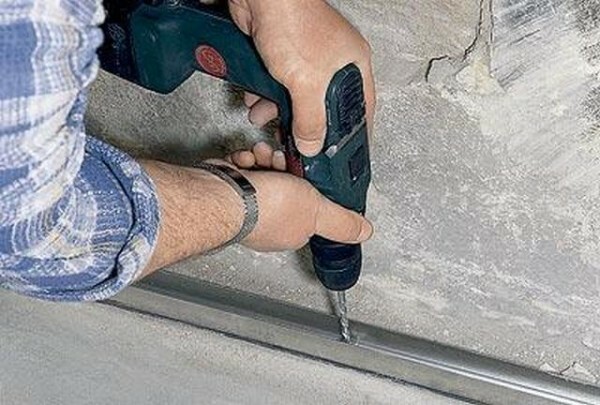
It is possible to drill the wall and the floor right through the profile
To make the holes required depth, you can just stick on the drill in the right place a piece of tape. Then you will have a clear target.
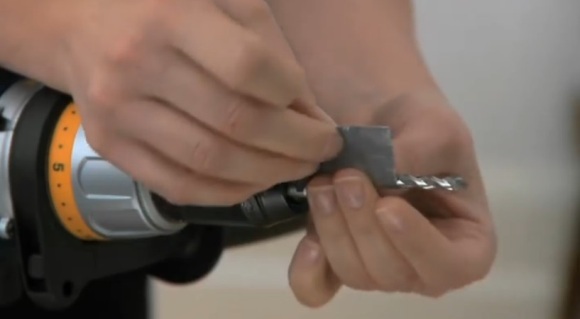
Affix tape and all the holes are of uniform depth
- Profile Mounting is made very simple. Element put to a surface in the hole to lock the plastic plug is inserted, it is hammered screw percussion. To angles were stronger insert guides each other during assembly;
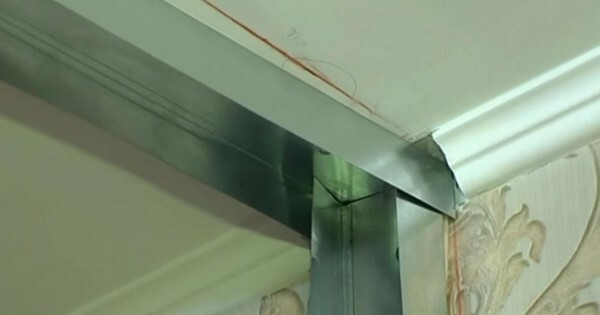
The corners of the profile is inserted into one another
- Every 40 cm is necessary to position the rack, they are always positioned perpendicular to the mounting panel. In the first place on the wall made the line on which it is necessary to consolidate the direct hangers every 50 cm. They are fixed dowel-nails 6x40 mm;
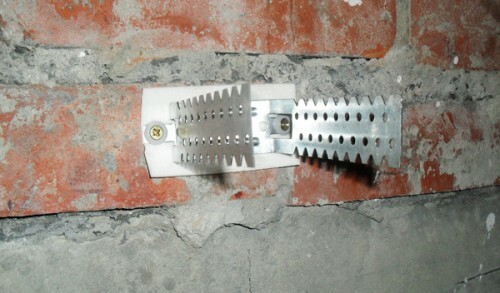
For sound insulation under the suspension can put a special tape
- The last part of work - fixing the basic profile. The elements are inserted into the guide, and then exposed in the desired position and fixed with screws-bugs. Next, using a level determined optimal position of the element, and it is fixed straight suspensions. The result is a smooth and rigid structure.
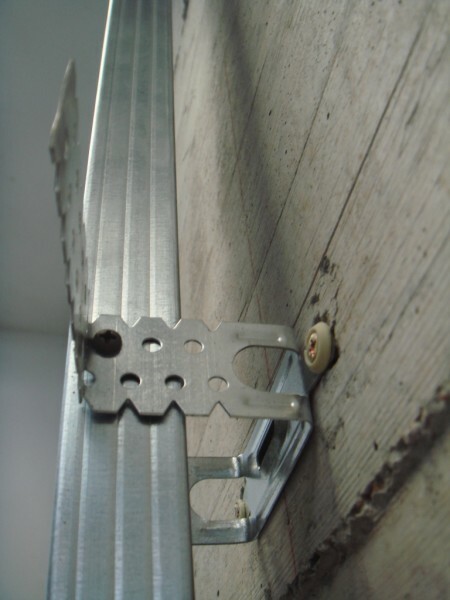
You can easily set the desired position of the profile and fix his suspension
Step 3 - mounting panels
Decorating the walls of PVC panels made in the following sequence:
- The first fixed a starting profile. That he will be the starting point from which we will build. Must start with the most prominent corner plastic element is fixed by means of screws with a pitch of 40 cm. Everything is simple, as long as the starting strip was flat;
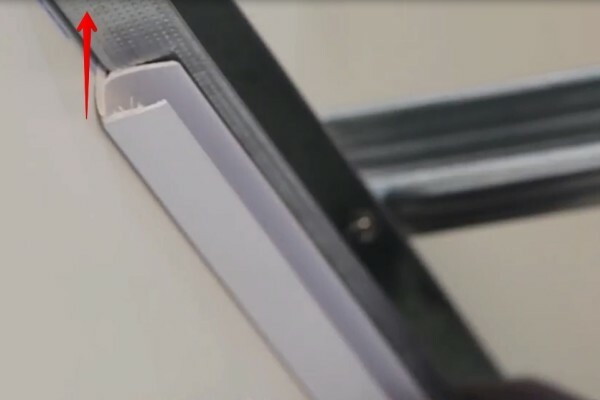
Starting profile allows to hide the first end panel
- Installation of panels begins with length measurements. Do not forget that you need to leave indented 5 mm from both sides, the plastic is not deformed and takes the place freely. The element is put into the starting profile of the protruding side, wide fastening part must be behind. Fastening is done with self-tapping flat hat, which is arranged as shown in the photo;
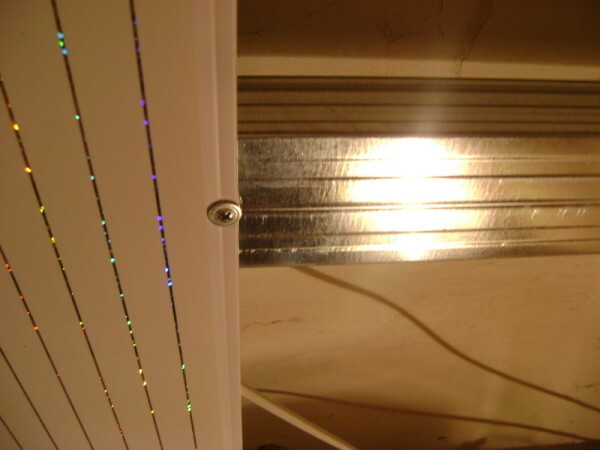
That's so simple and fast is attached panel
- The next element is inserted and fixed in the previous similar manner. It is important to control the joints, the panels into each other very closely, and on the surface should remain barely visible seam. The last panel on the wall is cut lengthwise, and then attached directly over the top of the edge. But you can use liquid nails, they are well fixed on the plastic profile;
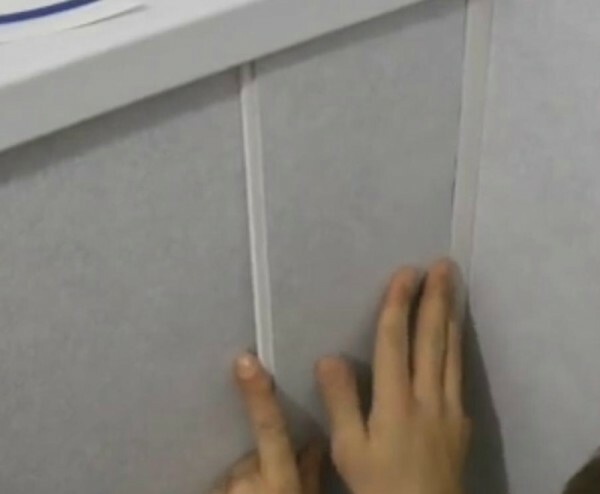
Can be mounted on the end of the profile and cut the panel so that it was already a void of 10 mm, then you can make it without additional fasteners
- Along the perimeter of the door opening angles are fixed, and they can be put, and after fixing the panels. They are mounted on the liquid nails.
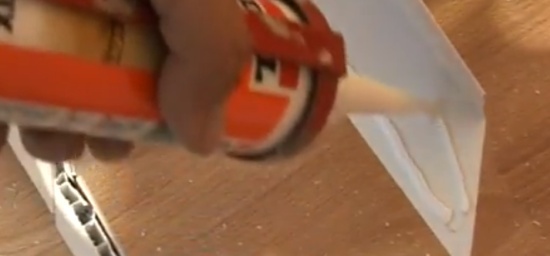
At the corners of the adhesive composition is applied and they are glued
When decorating the room with plastic panels instead of a metal frame, you can use wood. In accommodation, the humidity is low, so you can and save.
Choosing a panel, always check their quality, press a finger to the right side, if it bends, it is better to look for another option.
Output
As you can see, to sheathe the bathroom PVC panels - simple task, especially if you know all the nuances of the technologies outlined above. Videos in this article will help you understand the topic better, and if you have any questions, please write them in the comments below, we will examine your case and make recommendations to address the problem.
