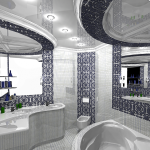
Renovated bathroom (51 images): video instruction
Table of contents
- 1 The beginning of works - dismantling
- 2 Laying of new pipes
- 3 Laying tiles
- 4 plumbing installation
- 5 The final stage
- 6 Summing up
- 7 Photo Gallery
Especially if this is the first before proceeding to independent repair bathroom experience, you must carefully read the instructions, and then see how the work is done "I live". So today we will talk about how to make a bathroom renovation: video, photos, the recommendations of experts, all at your disposal.
The beginning of works - dismantling
Step by step repair of a bathroom can be divided into two stages: dismounted and mounted.
Begin with the removal of the old plaster, tiles and other decorative materials, dismantling plumbing and pipes in the following order.
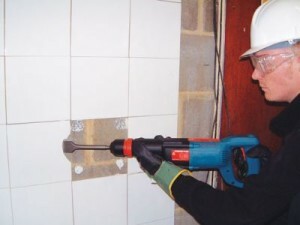
In the photo the dismantling of old finishing materials
- spun drain pipe, then close the hole with a stopper;
- carefully dismantle the bath and carried out of the room;
- similarly spun drain trap and a drain pipe shells, close stopper hole;
- dismantle and take out the sink;
- cut the pipe;
- shoot down tile on the walls and floor.
Tip! If the sink is not necessary to change, to avoid damage during the repair process such plumbing covered with a blanket, then oilcloth.
Laying of new pipes
Now we go to the mounted stage, which includes the purchase of necessary materials, installation of new pipes, plumbing and decoration. Gasket should perform yourself only if you already have experience of similar works, since this process requires a precise calculation.
New pipes are installed with the old in the same plane with a neat smooth seam. Particular attention is given to the calculation of the installation of the mixer - the distance to the wall thickness of the solution should take into account and tile layer.
Work after installation:
- pipes for hot and cold water is diluted by the points;
- is connected to a heated towel rail;
- replace the valves in the pipework;
- fine filters are mounted;
- adjusted pressure regulators and manifolds.
Laying tiles
Next, conduct the necessary work on the wiring, connecting the light and the hood, start lining with ceramic tiles.
Tip! When buying tiles required to make an accurate calculation of the required quantity and add to it a small margin. If the calculation were allowed errors (or more rings will be damaged), it is difficult to purchase the selected collection.
Video with detailed step by step instructions tell you how to perform the trim correctly and beautifully.
After watching the laying process will not seem so difficult, provided strict adherence to the instructions will be under the force of even a novice.
Now you can go to the repair of the ceiling in the bathroom, which is finished with PVC panels (price - from 230 rubles. per sheet).
plumbing installation
If you're ready to repair the bathroom - the video will tell you how to properly install a bath.
Installation of sink:
- overlap valves for hot and cold water;
- applied the sink to the wall and mark the places of installation of the fastening bolts;
- using a drill at the marked locations drilled holes;
- if the wall is finished with drywall, be sure to set the steel structure;
- establish sink and tightening the screws;
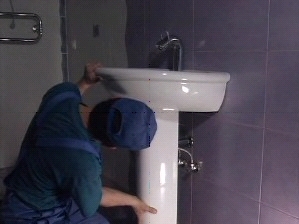
installation of sink
- if you sink "tulip", it is necessary to mount the leg;
- Connect renovated bathroom faucet and siphon;
- all the cracks are filled with silicone.
After mounting the sink must be stable in a horizontal plane, not swing and be securely fixed.
Tip! Before buying a shell on the leg you must measure the distance from the water supply line to the floor. Often, this height is 80 cm, but it is better to check to avoid problems during installation.
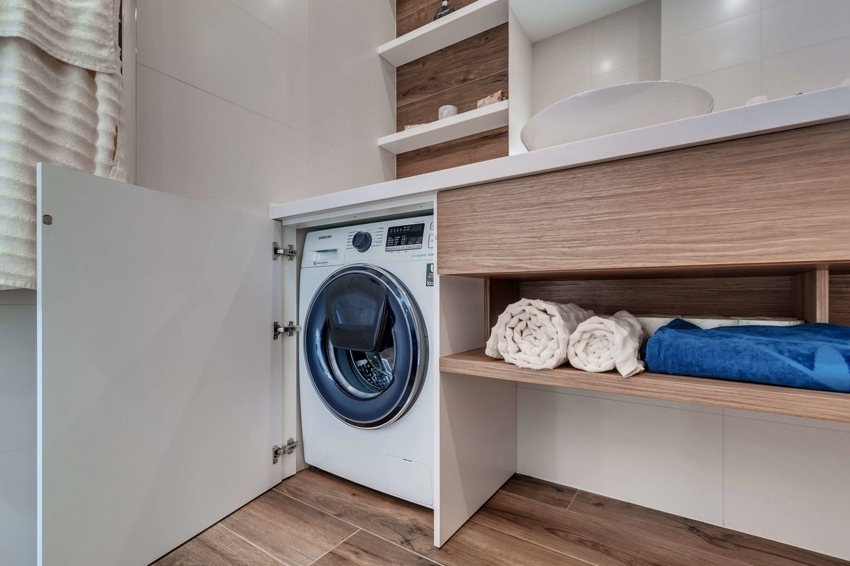
The final stage
End finishing with their hands includes the installation of heated towel rails, mirrors, shelves, and perhaps connect a washing machine.
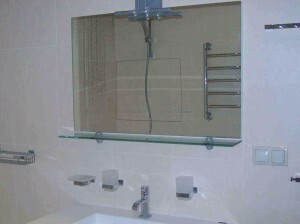
Install towel rails, mirrors, shelves
When everything is ready, check the results carefully. In the case of small defects, correct them immediately.
Summing up
We hope our article has been helpful to you. In order to more accurately understand the technological and practical issues on our website provides detailed photo and video instruction, in which you will find useful information on the question.
Photo Gallery