Tiled floors are most often laid in rooms with high humidity: in the kitchen, in the bathroom, as well as in the hallway. The floor tile has good decorative qualities, it is easy to wash, it is not afraid of humidity. At the same time, the tiled surface is cold touch, and creates discomfort when walking on it without shoes. The solution to this problem is the warm floor under the tile. You can do it yourself, without capital alterations of the floor and large financial costs.

Floor under the tile with your own hands
Materials for the underfloor under the tile
You can fill the warm floors in several ways, but the simplest and most effective of them is the warm floor under the tile with the use of heating mats. Heating mats are made using a two-wire cable in a shielding shell, laid "snake" on a self-adhesive mesh. Mats are produced in different lengths, their length depends on the power and heat transfer. To cut a heating cable it is impossible, therefore before purchase it is necessary to draw the plan of a layout and to calculate length of a mat. The width of the mat is 0.5 meters, the heat output is from 90 W per square meter.

Materials for underfloor heating for tiles
In addition to the heating mat, the required length for a warm floor is:
- Thermostat. The choice of the thermostat depends on the type of room and the mode of its use. For example, for a bathroom it is more convenient the thermostat with manual control - you can quickly turn it on for maximum heat and warm and dry the floor.
- Tile and tile adhesive. You can use both tile and porcelain tiles. Adhesive is selected depending on the type of tile and operating conditions.
- Drill with a crown for the installation of a thermostat, a bulgarian with a circle of concrete, a construction tool.
- Multimeter for measuring cable resistance.
The technology of making a warm floor for a tile with your own hands
- Choose a place in the wall to install the temperature regulator and drill a hole with a drill and a bit on the concrete. When choosing a location, you must consider the possibility of connecting the ends from the floor sensor and the supply wires.
- Make a stroba under the wires in the wall and in the floor. The width and depth of the groove must be at least 20 mm.
- Prepare the roughing floor: repair cracks and potholes, if necessary, perform a black screed, remove debris and dust.
- The floor is primed for better adhesion to the concrete screed throughout its surface and allow the primer to dry. The primer is easy to apply with a roller starting from the corner opposite the door.

Mounting the
- thermostat Mark the roughing floor, outlining the surfaces on which warm mats can not be laid. These include the installation of heavy furniture, household appliances, as well as other heating appliances. For example, in the bathroom do not make a warm floor under the shower and bath, in the kitchen - under the kitchen set. Start laying the heating mats from the far corner to the thermostat.
- When laying the cable, the mats can be cut without touching the power cable. Each next piece is laid next to the previous one, making a loop from the cable. You can not stack mats in several layers.
- The distance between adjacent mats and hinges of the cable must be at least 5 cm. The distance to walls, furniture and other heating equipment is not less than 10 cm.
- After laying mats, the supply wire is laid in the grooved groove and removed to the thermostat opening.
By the way about connecting the thermostat to the warm floor read on our website.

Installation of heating mat
- Check the integrity of the cable by measuring its resistance. It should be within the limits specified in the passport for mats. The laying plan and the measured resistance value are recorded in the passport in the appropriate box - they can come in handy for repair work that requires drilling the floor and when checking the heating system of the floor.
- Begin the installation of a sensor that measures the floor temperature. Place its laying should be at an equal distance from the neighboring loops of the heating cable.
- The sensor along with the wire before laying is placed in the corrugated pipe that is attached to the kit, and the end of the pipe is tightly closed. The sensor in the pipe is laid in a prepared groove.
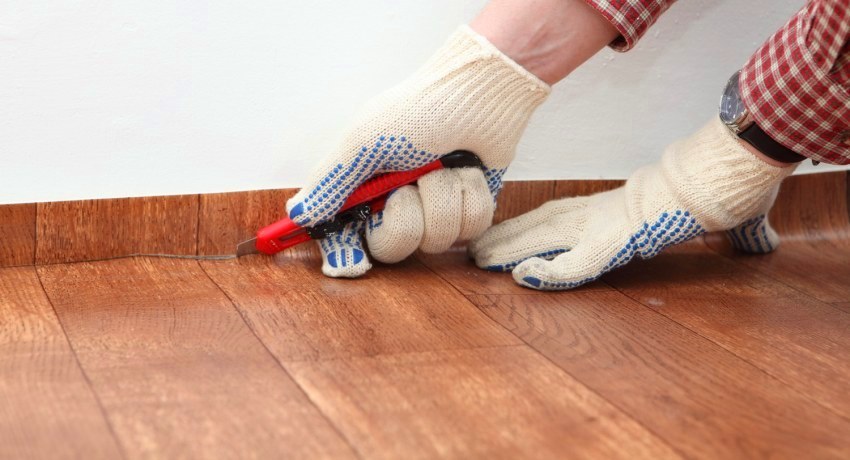
- The ends of the wire from the sensor are output to the thermostat. At the same time, the bending radius of the pipe is checked at the place where the plinth passes - it should be at least 5 cm.

Check the electrical work of the
- . Place the sensor in place with a tile adhesive, level the floor and allow the glue to dry.
- The ends of the wires from the sensor must be cut to the required length, cleaned, soldered with a soldering iron and connected to the thermostat. The connection diagram is usually indicated in the thermostat passport.
- The ends of the heating cable and the power cable from the 220 V network are also connected to the corresponding terminals of the thermostat.
- Supply power to the regulator and set the average temperature value using the buttons or the touch panel. Turn on the heating with the toggle switch or buttons. When power is applied to the cable, a light click is usually heard.

Connecting wires to the
- thermostat Check by hand to heat the cable on all sections of the floor. Switching on without a concrete screed should not be prolonged to avoid overheating the cable.
- Mix the tile adhesive according to the instructions on the packaging. Apply the glue to the mats, filling all the voids and carefully smoothing it. The thickness of the adhesive layer should be at least 10 mm.
- The adhesive is smoothed with a notched trowel, spreading it over the mats and removing excess glue.
- Start laying the tiles. Begin laying from the far wall. Tile tightly pressed and check it by level. Under the tile there should be no voids, air, distortions.

We test the workability and proceed to laying the tiles
Before starting the operation of the warm floor it is necessary to completely dry the glue. The time of its drying is indicated on the package.
Tiled flooring is durable, not afraid of moisture and aggressive liquids, and with proper care serve more than 30 years. Heating mats allow, in addition, to get a comfortable temperature and reduce the humidity in the room, create a pleasant microclimate. The technology of laying heating mats can also be used for making warm floors for laminate, linoleum and other coatings.
Also recommend reading about the floor under the linoleum with your own hands.