Sticky vinyl wallpaper (36 photos): preparation of the walls and fabrics
Table of contents
-
1 Preparatory stage
- 1.1 Preparing walls
- 1.2 Preparing the canvas
- 2 The sequence of work
- 3 Summing up
- 4 Photo Gallery
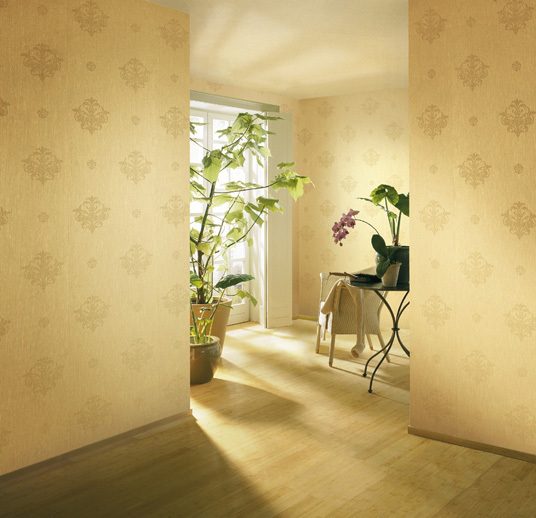
Already it is no secret that the vinyl wallpaper are the most popular. Sticky vinyl wallpaper with paper backing was the alternative to the expensive materials, the ability to create a modern interior design. On the intricacies of the selection process and today in this article.
Preparatory stage
Preparing walls
- The porous walls of plaster
The first thing to do before decorated the walls with his own hands - is to apply a primer designed specifically for gypsum. You can also use a primer adhesive. Make it should be at least one day prior to sticking. Later this simple procedure will protect the wall from damage.
If your room is a wall of gypsum boards, primed surface thereof sure.
- painted walls
If the room in which you plan to refresh the wall, painted, wash them with a special tool, which can be purchased in a store building materials, and then rinse with clean water.
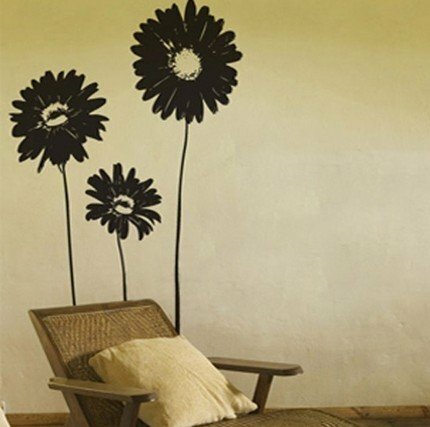
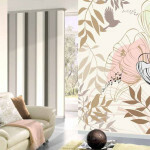
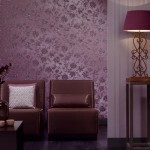
Design with vinyl stickers
After that, it is recommended to treat the surface of the sanding plaster. This must be done before gluing the vinyl wallpaper in the room.
- Walls, wallpapered
Immediately proceed to the removal of old coatings. Will make it easier by using a special solution to remove the wallpaper. It is diluted with water and applied to the surface. Leave it for about 10-15 minutes.
After that, using a spatula, remove the remnants of the wall decoration.
Use a steam cleaner is only recommended in cases where it is impossible to remove the finish to dry.
- damp walls
Before you start gluing vinyl wallpaper, the walls are treated with a special primer for damp walls. Do not forget to observe the primer drying time specified on the package.
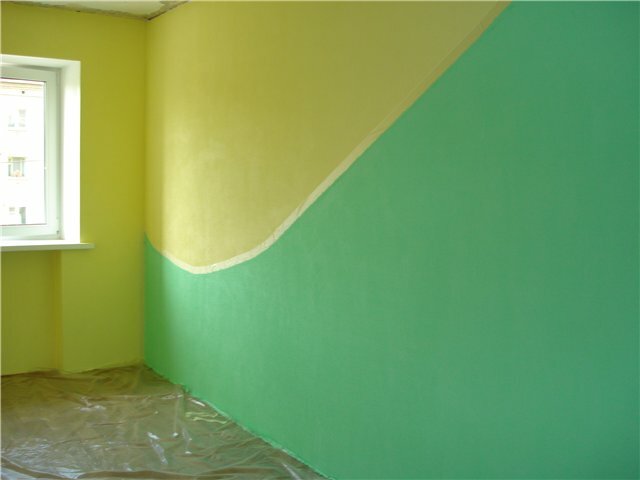
Note! Before you begin pasting, make sure that the walls in your room are not only clean, dry but smooth. If their surface is uneven and has some defects repaired with putty.
Pasting of the corners
If there are holes in the wall or a crack, clearing them and only then start to putty. To eliminate the need to seal the cracks of masking tape and smooth the surface finishing putty.
Once it is dry, treat sandpaper and wipe the dust soaked sponge as gluing vinyl wallpaper on non-woven backing only after the work.
Preparing the canvas
It is important to know that the gluing vinyl wallpaper technology provides training and walls, and paintings.
- Prepare the first strip. To do this, measure the height of the wall (without plinth). This distance plus 5-10 cm, measure on a roll and cut. To cut straight, use a large and sharp scissors or knife stationery.
- If you have a canvas that drawing does not require interfacing, cut several strips. Subsequent band you can cut, putting first.
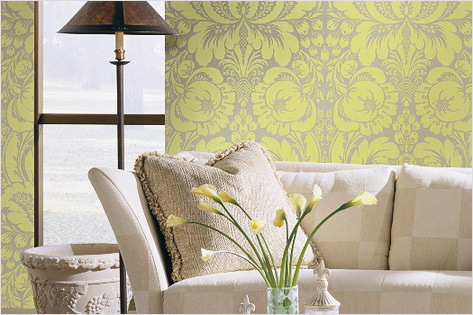
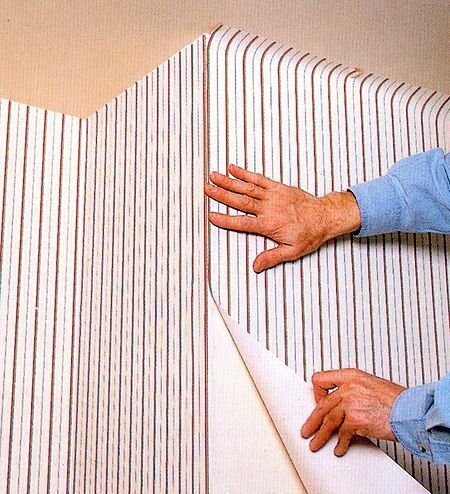
Decorating the walls
- Do not forget to follow the direction of the drawing. If the pattern requires interfacing the entire roll is not recommended to be cut immediately. It is better if you do it as the work.
- Glue the fabric from the window. So as not to pop the bubbles, spots and wrinkles, make sure the temperature regime. Vinyl covering should dry for at least a day.
The sequence of work
- Artificial drying or drafts may cause peeling. Thus, the optimal temperature of the room can be considered +23 ° C.
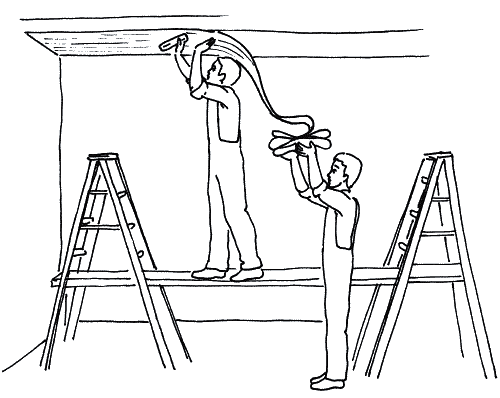
- In preparing the adhesive must withstand a minimum of 10 minutes for its swelling. Brushing apply glue to the first half of the strip, fold it in half and proceed to the second half.
- Using a plumb line, draw a vertical line at 50 cm from the window.
- Leave the strips on the table, put them face down.
- Most often, when gluing the vinyl canvases smeared with glue only the wall, but if you need to paste the wallpaper in hard to reach places, you can miss the mark, and canvases.
Keep the joints nor lead to empty space.
Note! Cut a new strip after the last of them stuck. Thus, you will protect yourself from errors in fitting the pattern.
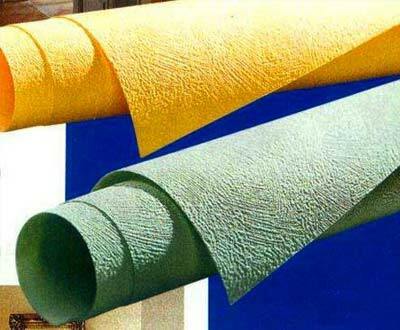
EXAMPLE textured finish
This is very economical and the most by way of a warning error, unfortunately, never write. Often need to cut new canvases alternate between 2 or even 4 rolls, depending on the figure at the top. Using this method, you can save 20 to 30% of the material.
Professionals advise when namazyvanii adhesive strips to put on top of each other (stacked), but this advice is only good for fine fabrics. If you have purchased a high-quality vinyl wallpaper, this advice is not for you!
Take care that the glue got as little as possible on the front side. Keep a dry cloth, which can eliminate the problem quickly.
Summing up
We hope our article has been helpful to you. In order to more accurately understand the technological and practical issues on our website provides detailed photo and video instruction, in which you will find useful information on the question.
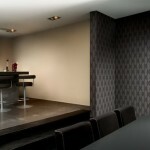
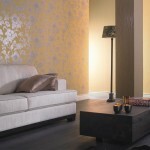
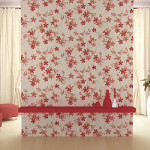
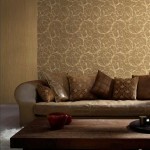
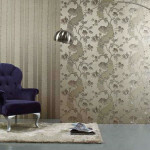
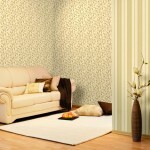
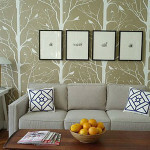
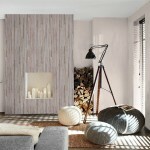
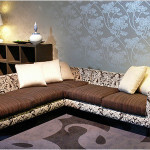
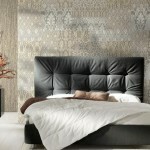
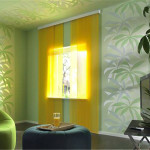
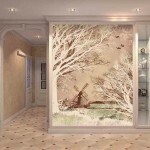
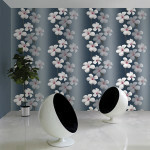
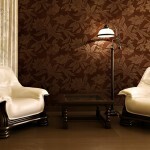
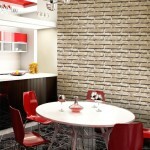
Photo Gallery