 To get a perfect result, you need to learn how to make smooth the corners of plasterboard Drywall - the most common variant used for residential apartments. It is easy to install and quite plastic, which allows you to create absolutely any designs from it. The ceiling can be made with plasterboard without the help of a professional master, however, special attention should be given to the corners. This part of the ceiling space when installing gypsum boards requires special care and concentration. How to properly mount and trim GCR in the corners - read on.
-
- installation frame under drywall corners
- Processing angles in the ceiling plasterboard
- As decorate the ceiling angle of the drywall
- rounded corner of the ceiling plasterboard: design subtleties
- angles decoration plasterboard ceiling(video)
- design angles of the ceiling of plasterboard( photo examples)
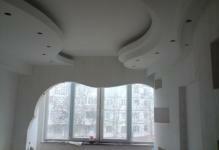
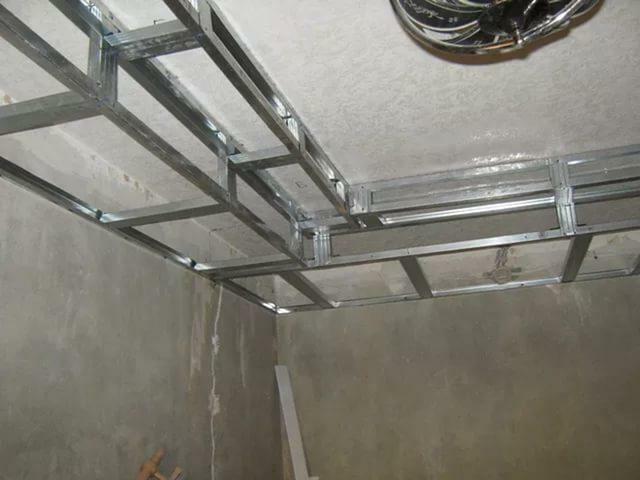
installation frame for gypsum board in the corners
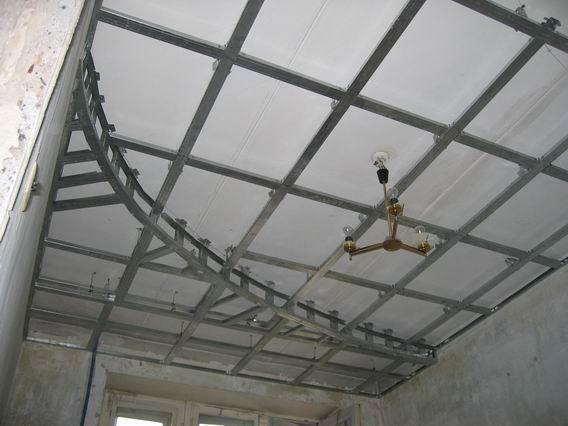
first phase of installation of the drywall on the ceiling - itAssembly of the frame, it is thanks to him that the construction of the GCR is so strong. The basis for gypsum board can consist of metal profiles or wooden beams.
 Special mounting technology provides additional mounting point
guide profiles for the frame under the FCL are cut off just below the right angle and are mounted right next to each other.
In a skeleton and a lath of straight corners on a ceiling there is no that difficult. You can even say that this part of the ceiling does not need to pay special attention. The only difficulty can be only joining in the corners of the guide profiles, but if they are properly cut, then such a problem does not arise.
If you want the corners on the ceiling of plasterboard to have a rounded shape, then here you still have to do some additional work, namely, to make a rounded frame. For this use profiles with transverse slits, which are easy to bend into the desired shape. On the frame are mounted sheets of plasterboard. They are cut at a right angle or in the form of a semicircle to the desired size and fastened by means of self-tapping screws.
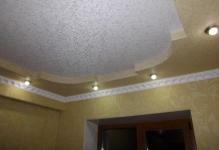
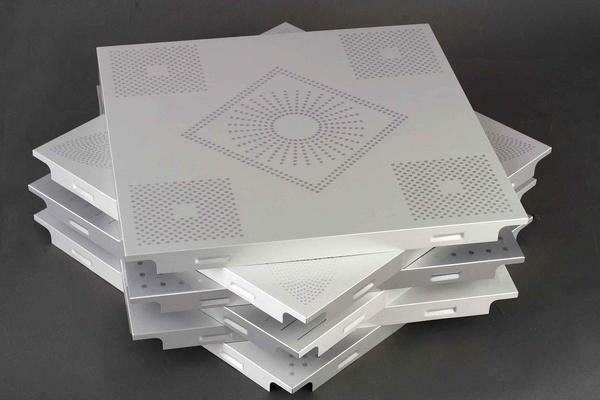
angles Processing ceiling plasterboard
When drywall sheets are mounted on the ceiling, before their putty, it is necessary to strengthen the corners between the walls and the ceiling space. This is necessary in order to increase the life of the structure, and that the plaster does not begin to crumble at the most inopportune moment. Strengthening the corners of plasterboard ceilings is due to metal tape and gypsum plaster. The process itself is simple and it is quite possible to cope on its own.
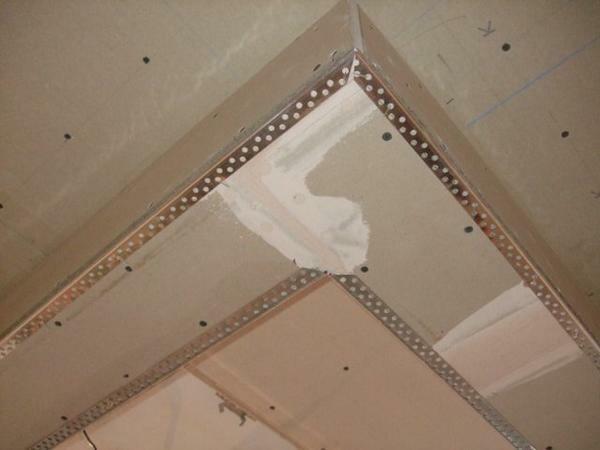 Just install the sheets is not enough, it is important to properly handle, especially on difficult areas
plasterboard ceiling corners Strengthening:
- Cut the metal strip according to the dimensions of the walls. It is better to prepare all the elements in advance, and not cut them as necessary.
- Bend the tape along in half to get a flat angle.
- Knead the solution. It should not be too thick or very fluid.
- Apply the mixture to the angle between the ceiling and the wall. The solution should go 2 cm to the wall and 2 cm to the ceiling. The solution layer should be thick enough.
- Press the corner into the corner between the ceiling and the wall, and spread the excess solution over the ceiling.
- Scratch the entire space of the ceiling and walls.
When attaching a corner to a corner, do not use a thickened filler, otherwise it can create irregularities under the metal tape after drying. Such a mistake is difficult to correct, you have to remove the entire tape and clean the frozen solution.
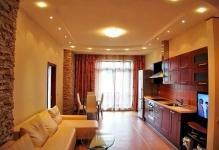
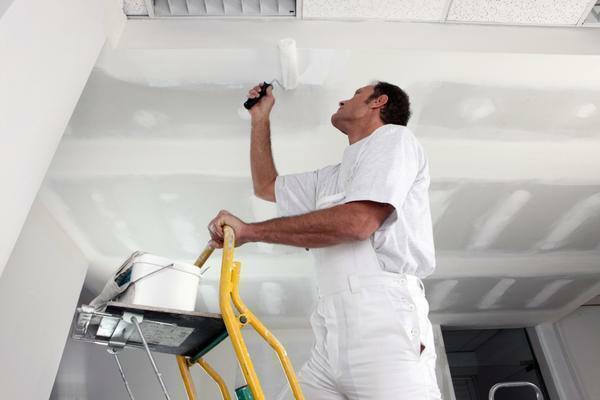
How to trim the ceiling angle from plasterboard
After the corners are strengthened, you can go directly to their finish with putty and other decorative materials. Puttying the ceiling of plasterboard should be two or three times.
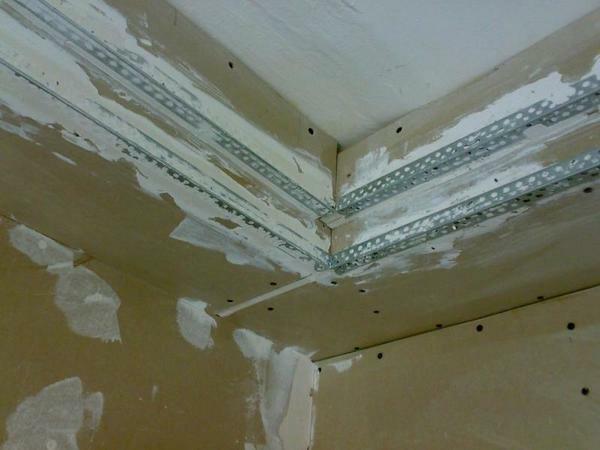 Puttying the corners of plasterboard ceilings directly depends on the correct installation of the reinforced corner
Steps for decorating corners from plasterboard on the ceiling:
- At the first stage, you need to clean up any irregularities that formed after the reinforcement of the corners with tape. For this you need to clean off the excess plaster filler.
- If the whole ceiling is already covered with one putty, then you can start applying a layer of white finish. In the corners, it is more convenient to apply such a compound with a narrow spatula, and then gently pull it onto the wall and onto the ceiling with a wide spatula.
- The last layer of finish putty is applied after the previous one has dried. This is done using the same technology as the second layer, but you need to do everything with the utmost care. You may have problems with leveling the plaster in the corner between the two sides of the ceiling and the wall. In this place it is better to work with a filler while it is quite fresh, and correct minor defects when the applied layer thickens a little.
- After the last layer of the finish putty has dried, it needs to be well sanded and primed, paying special attention to the corners. After that, you can decorate the corners and the rest of the ceiling with wallpaper or paint. You can also decorate the corners between the ceiling and the walls with special skirting boards.
As you can see, the corners are the most difficult part of the ceiling. However, if you carefully and carefully approach their finishing, you can deal with them yourself.
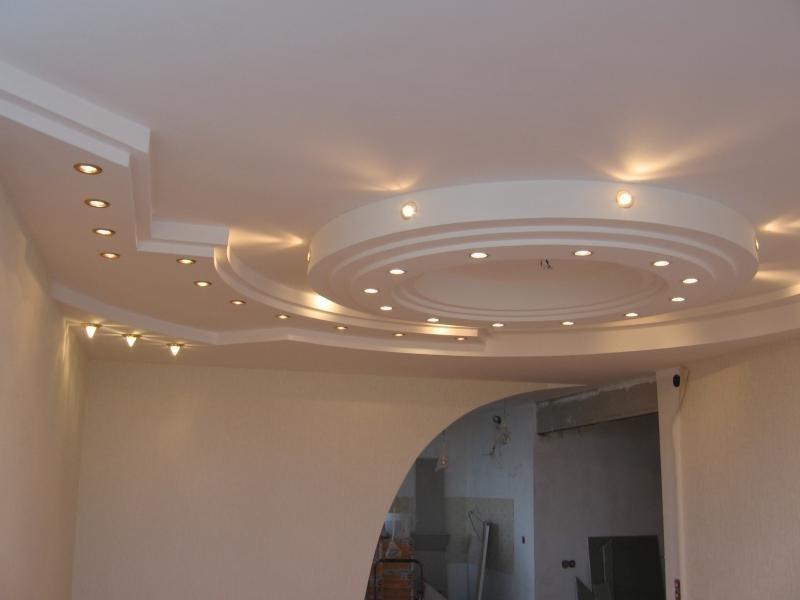
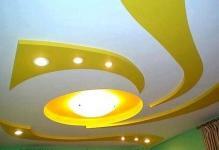
Rounded corner of the gypsum board ceiling: details of the
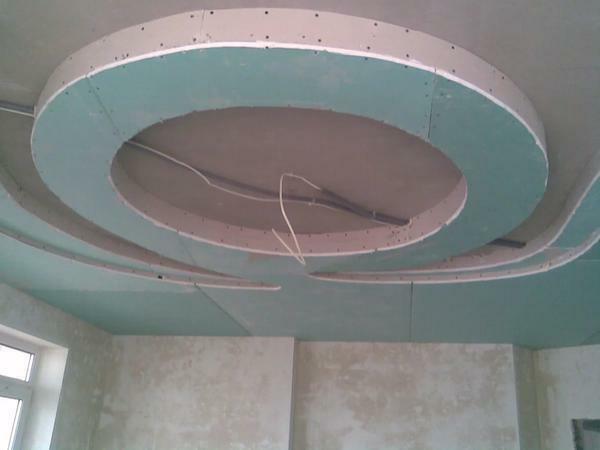
The rounded corner on the ceiling looks very impressive. Such designs are becoming increasingly popular. With their help you can make the architecture of the room softer.
 For those who have not yet dealt with this material, it may seem that this is impossible. But it is enough to look at the photos of the implemented projects to make sure the reverse is true
Unfortunately, the process of creating rounded corners is rather complicated, so it will be difficult to handle a newcomer who does not have a mathematical mindset and a good building base. For such designs, you need to make a good design, otherwise, the rounded corners of the drywall will soon collapse. An important role in such buildings is played by a frame. It should consist of carefully measured and well fixed metal profiles and hangers.
Before you cut out the necessary figure from the plasterboard, it's best to make a stencil out of a Whatman paper.
After the frame is assembled, it is necessary to cut out the necessary figures from the sheets of gypsum board. Not everyone can handle this task.
Decoration of corners from plasterboard on the ceiling( video)
When installing gypsum plasterboard ceilings, pay special attention to the corners. Despite the fact that when installing the frame, the corners do not require any additional carriers, they need to be strengthened after installing the drywall. Remember that the finish of the corners of the ceiling depends on how neatly your apartment looks.
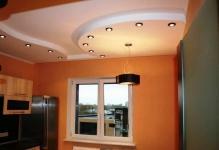
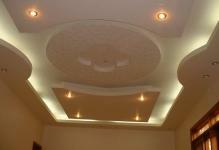
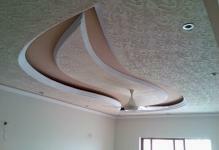
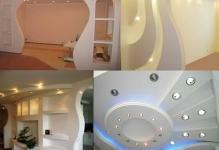
ceiling corner design of plasterboard( photo examples)