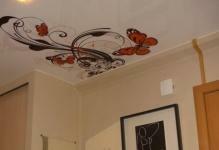
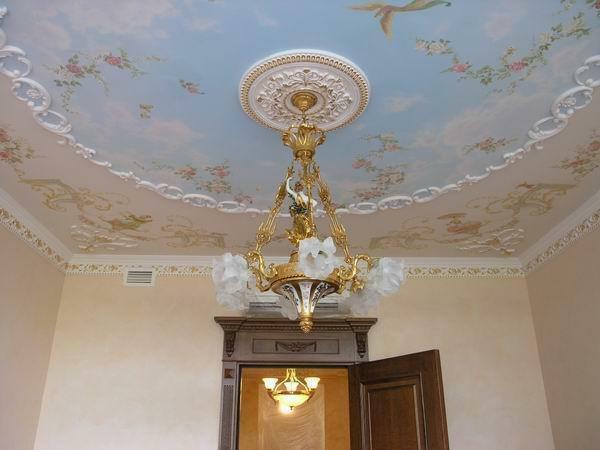
 Art painting of ceilings - the original way of decorating the room If your home is spacious and has high ceilings, you can decorate it with the help of such a technique as artistic painting. This process is quite complicated, but at the same time fascinating. Even a simple twig or rainbow, drawn by yourself, decorates any home, and will be an excellent addition to the interior. Before you start, it is advisable to carefully think over the composition, and take into account the design of your room.
-
- How to combine the pattern and color of the ceiling
- How to create a 3D ceiling image with your own hands
- Create drawings for walls and ceiling: step by step instruction
- Ceiling Painting( video)
- How to draw clouds onStretch ceiling with your own hands
- How to draw an arc on the ceiling: step by step instruction
- Create a pattern on the ceiling with a stencil
- Decorative ceiling painting( video)
- Figures on the ceiling( photo)
How to combine the pattern and color of the ceiling
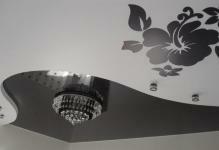
Of course, the color scale of the ceiling and the pattern should be harmoniously combined. If your interior is made in the style of minimalism, you can paint the surface with a dark or coffee colored ornament. Such a composition will look great on a white ceiling.
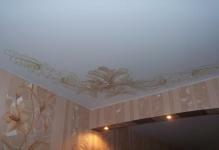
If your room is not on the sunny side, and you want to visually fill it with heat, give preference to the beige ceiling. On it it is possible to put drawing of any known artist. This can be done with a special stencil and a sprayer.
When choosing the color scheme of the picture, take into account the following factors:
- Room size. If your room is spacious, then the images of the color of the sea wave harmoniously fit in it.
- Functional features of the room. The interior of the bedroom does not fit catchy drawings, but clouds or a sea wave - this is what you need.
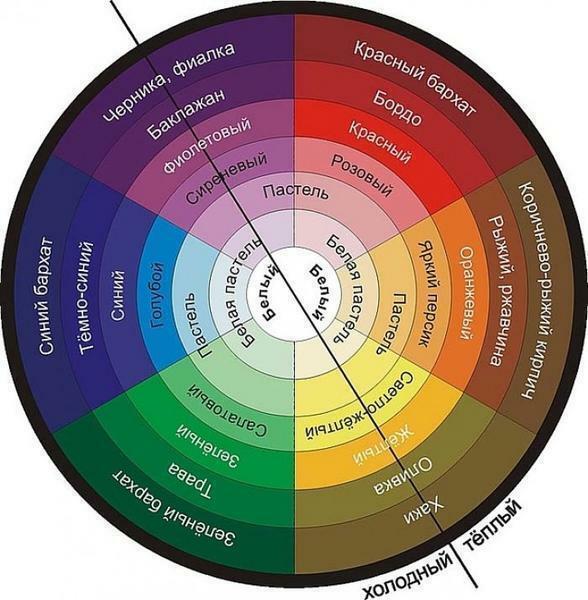 The correct shade selection plays an important role in the color palette of the painting. It is important to observe the combination of warm and cold colors.
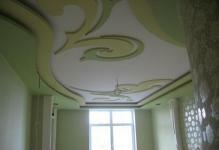
How to create a 3D ceiling image with your own hands
The volumetric drawing on a simple ceiling is an unusual decoration of the interior. Drawing such a composition is easy when certain rules are observed. To create a voluminous composition, you will need a slide projector, multicolored pencils, brushes, paints.
The work begins with a contour drawing. This can be done with the help of a slide projector. In it, you need to insert a slide with an image, and design a drawing on the surface of the ceiling. Then pencil out the outline of the composition. Then paint the pattern with the help of colored paints and brushes of various thicknesses.
 For a high-quality painting of the ceiling and walls, brushes of different thicknesses are needed. All of them must be of excellent quality.
During operation, the following rules should be observed:
Keep the creamy consistency of the colors.
- Put the used brushes in a glass with water. Otherwise, the paint will quickly absorb, and damage the instrument.
- Smears apply only smooth movements.
- When creating a composition, try to make the central part of the image brighter with respect to the edges.
- First, paint large elements of the picture.
- If you want to erase an unsuccessful smear, use a special sponge.
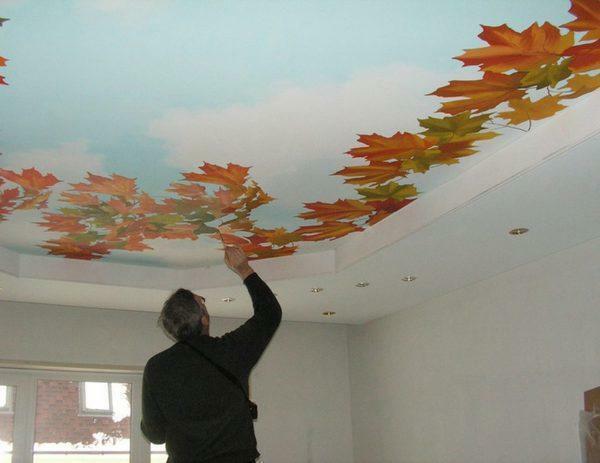 To apply a volumetric pattern to the ceiling, carefully prepare the work surface
After finishing the work, apply a protective layer of varnish to the drawing. This will protect your composition from contamination. It is desirable to apply the varnish with a spray. If desired, the dried surface can be polished with a dry brush.
Create drawings for walls and ceiling: step by step instruction
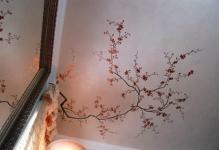
Before creating a picture on the ceiling and walls, carefully think over the composition. If you are a beginner, you can draw an abstraction or plants. Such a composition will "forgive" all the shortcomings, and will bring a zest to your interior.
To create a picture on the ceiling and walls, it is very important to choose a good beauty. Experts recommend giving preference to acrylic paints. They fit well on any surface, are easily amenable to mixing and do not wear off.
Before drawing a picture on the structure, print a picture of your future composition on the paper. An integral step in drawing a drawing is the preparation of the walls.
Preliminary steps should be performed in the following order:
- First, carefully inspect the surface of the walls and ceiling.
- If there are any defects, put the putty on the surface, and allow it to dry.
- If the wall or ceiling curves, then align them with a primer.
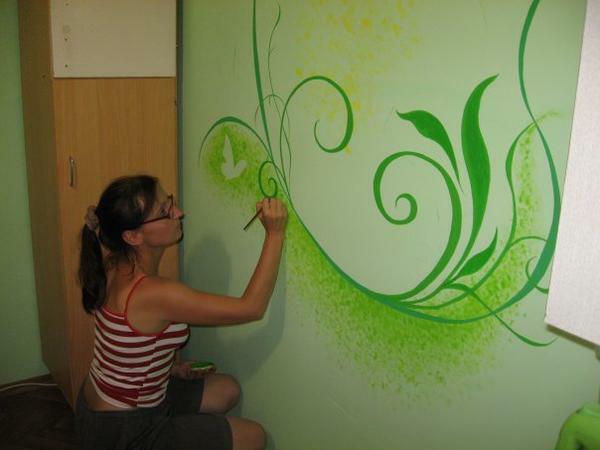 Wall painting is an exciting activity. It is important to choose a color palette so that any shade is in harmony with the interior of the room.
Next, draw a sketch on the surface. Experts recommend first to note the lowest and highest part of the picture. So you can carefully plan the composition. Then start drawing the largest objects in your drawing. If you decide to give preference to abstractions, you can create a work of art in any order - everything will depend only on your imagination.
After drawing the picture, start painting it. Acrylic paint diluted with water until creamy consistency. First paint the largest objects in your drawing, and then proceed to small details. After finishing the work, you can apply varnish to walls and ceiling with a spray or special brushes.
Ceiling painting( video)
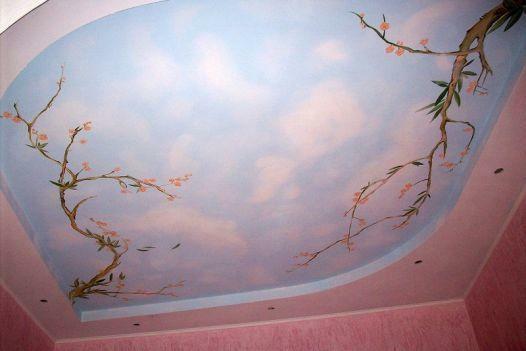
How to draw clouds on a stretch ceiling with your own hands
The clouds will look spectacular on the stretch ceiling. This composition harmoniously fits into the interior of any bedroom. To create a picture you need a sprayer, water-based paints of blue and white, a porous sponge.
Before creating a composition, you need to take into account the interior of your room. For example, if it is designed in the style of minimalism or Empire style, the canvas with clouds will look flamboyant and tasteless. In addition, ceilings with painted clouds are not suitable for decorating some rooms. For example, in the kitchen or in the living room such a composition will be discordant with the interior.
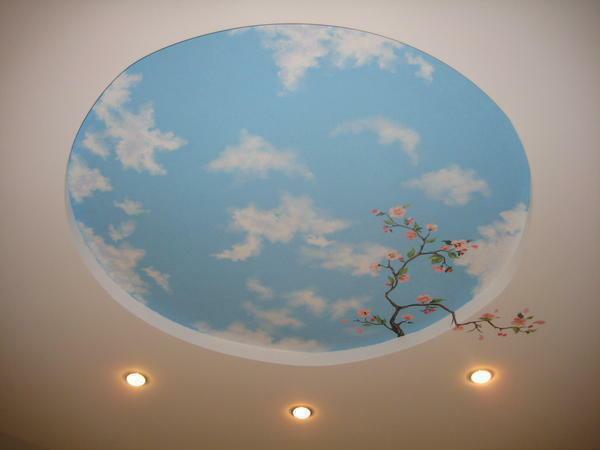 The sky always attracts a person. Very often this theme becomes the main theme in the design of the
ceiling. The ceiling clouds are necessary in the following order:
- First you need to clean the surface of the dirt.
- Next, paint the ceiling with a spray gun in blue. The paint must be applied with a double layer, after which it must be allowed to dry out within 24 hours.
- Then you should start drawing the clouds with a porous sponge and white paint. In order for the drawing to look realistic, draw clouds different in configuration and size.
- After applying the clouds, allow the paint to dry for at least 24 hours. If desired, you can apply a special lacquer on the ceiling.
The wave needs to be drawn using the same algorithm. The only difference is the configuration of the strokes when composing a composition.
How to draw an arc on the ceiling: step by step instruction
Sometimes when mounting curly suspended ceilings, it becomes necessary to draw an arc on the ceiling. To do this simply enough with the help of measuring instruments, templates, pens and millimeter paper.
First you need to measure the length and width of the ceiling. Then select the optimal scale, for example 1 m of the wall - 1 cm on the graph paper. After you draw a square, use a curve and draw an arc at the desired point on the plane. Select several random points on it.
Then, taking into account the scale, transfer these points to the plane of the ceiling. Connect these points in segments, and then complete an arc along them.
 To decorate the ceiling, often used figures in the form of an ellipse, different arcs, circles. The smoothness of the lines brings harmony into the design and gives the finished painting
Create a pattern on the ceiling with a stencil
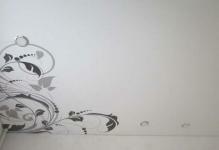
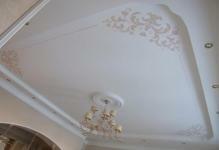
If the interior of your room is made in a classical style, you can decorate the ceilings with a stencil painting( this term refers to the type of painting that provides for the creationUniform composition over the entire perimeter of a certain surface).It is easy to make a blank with your own hands. To do this, you need to apply a certain pattern to a piece of cardboard, and cut out the stencil with a knife.
If you want to create a multi-colored composition, then do some work. It is recommended to moisten the olive stencil after this. This technique will increase the strength of the workpiece.
Create the composition in the following order:
- For the beginning, the work surface is painted in the required color, and allow the paint to dry.
- Press the stencil against the surface, and gently paint the picture with a brush. To avoid dripping, do not use a stencil brush with a brush chaotically. From time to time, wipe the workpiece with a cloth.
- After finishing the work, remove minor defects and cover the surface of the ceiling with paint.
Decorative ceiling painting( video)
Creating a picture on the ceiling is a fascinating process. Even a primitive composition with a stencil can contribute to the interior of your home. Figures should be chosen taking into account the functional features of the room. For example, in the kitchen interior, any ornaments fit organically, and in the interior of the living room - a landscape. And to create comfort in the bedroom can be applied to the ceiling of the clouds or abstractions.
Figures on the ceiling( photo)