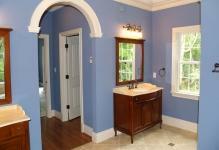
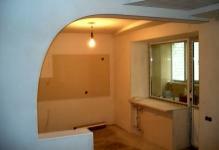
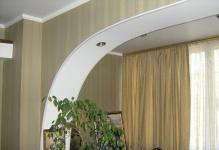
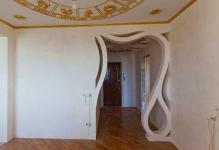
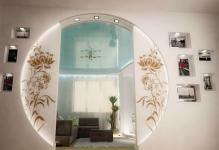
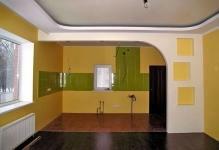
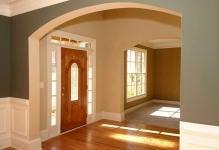
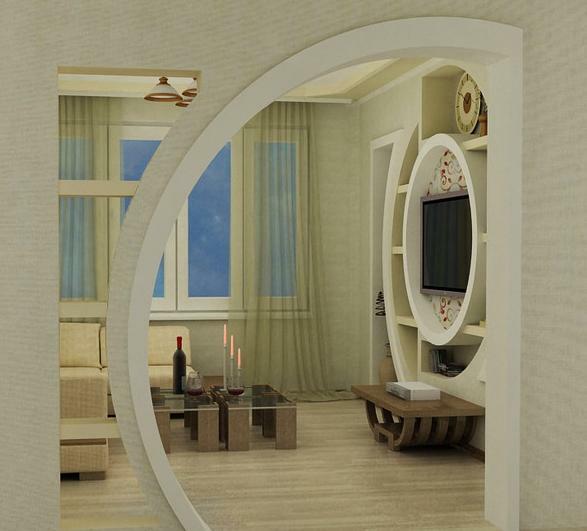
 Arched constructions in the interior remain at the height of fashion for many years: they allow you to beautifully decorate the doorway in those places where it is not possible for any reason to put the door. The most common options for using gipsokartonnyh semi-arches - inside living quarters. Such arches and semi-arches will become a worthy decoration of the doorway or part of the interior partitions in the living room, they will be convenient in the kitchen or in the corridor - in those places where the daily patency is high enough and will add charm to the interior design. Simplicity of work with gypsum cardboard, the basic material for semi-arches, allows to make such a design with your own hands even for novice masters.
-
- Poluarka plasterboard: where to start training
- Step manufacturing poluarki own hands from
- drywall How do poluarku of plasterboard with their hands: bending drywall
- Final processing poluarki plasterboard
- Step by Step Instructions(Video)
- Examples of semi-arches of plasterboard( photo interiors)
Half-arches of gypsum plasterboard: where to start preparing
What is semi-ark?This is a design that has, like the classical arch, a basically circle, but if half of a circle is taken to make an arched arch, it is only logical for a half-arch to have only a quarter.
Important: GCR has a small thickness( up to 6.5 mm), which allows it to be easily bent to create curvilinear parts. In the absence of GCR, a ceiling gypsum plasterboard GKL can be used.
Quite often semi-arch is a variant of overlapping aperture with one rounded corner, the second one can remain straight. The rounding can be based on the diameter of the circle for a classic arch inscribed in the opening. Another option is a semi-arch created on the basis of a circle of a larger diameter than the width of the opening, then the fillet rounding will be small.
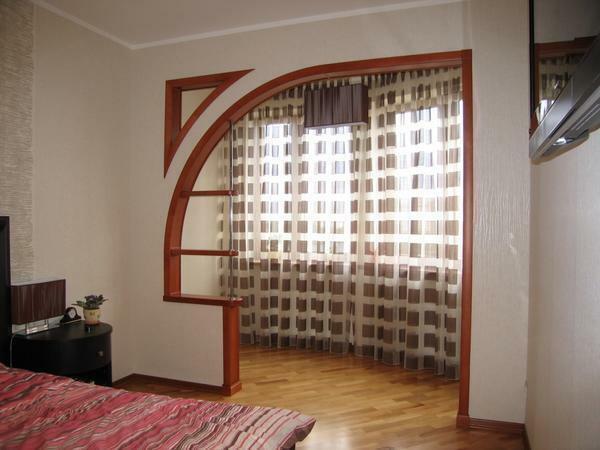 In order for the arch to be practical and reliable, only high-quality materials should be selected for the operation of the
The following materials will be needed to create the semi-arches themselves:
- Archwall gypsum board( GCR) sheets;
- Profiles for mounting drywall: directing 27x28mm and ceiling 60x27mm;
- Putty on plasterboard;
- Reinforcing tape( serpent);
- Acrylic primer;
- Putty for interior work;Corner arch protected( plastic or aluminum);
- ;
- Self-tapping screws for gypsum boards 25 or 30 mm in length;
- Dowels-nails for mounting rails( size 6hch0 or 6x60);
- Seal for profiles.
The number of materials is calculated depending on the size of the opening and the shape of the semi-arch.
In addition, a special tool is also useful:
- Knife, paint for cutting gypsum board( you can use a jigsaw);
- Roulette;
- Level of water or laser;
- Shears for metal for cutting profiles and angles;
- Hammer;
- Rotary hammer;
- Screwdriver;
- Spatulas.
The production of semi-arches is a simple and inexpensive process, but it requires carefulness in measurements and accuracy in calculations.
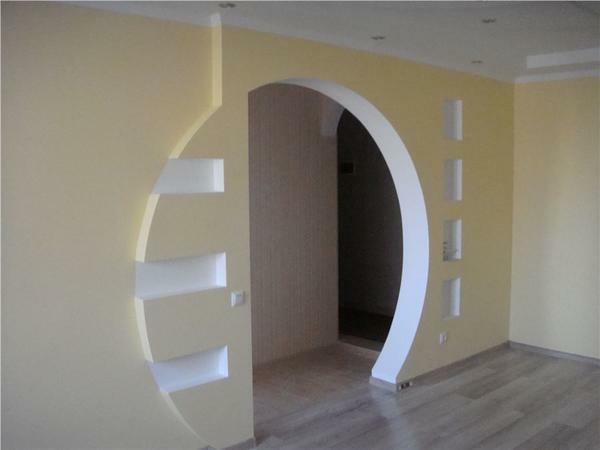 Before starting to install the arch from the gypsum board, you first need to take measurements of the
opening. This is the beginning of all the work on creating a semi-arch in the opening:
- Take measurements from the opening;
- We plan the shape of the semi-arch and calculate the amount of necessary material;
- We make a template( template) for cutting curvilinear elements;
- We clean the opening from the remnants of the old finish( we remove the platbands, remove the old putty and plaster);
- Using the tape measure and the level, we mark the places where the arch rail guides will be fastened.
After all the preparation work is completed, you can proceed directly to create a profile frame and cut out the drywall.
Step-by-step manufacturing of semi-arches with own hands from gypsum board
The first step in the manufacture of semi-arches is the fastening of the guide profiles. They are mounted on the sides of the doorway at a distance from the edge equal to the thickness of the drywall sheet on both sides: so the edges of the semi-arch will not stand out against the wall. Fasten the guides with a dowel-nail with a step of about 40cm. Then, if there is a sealing tape for the guides, we fix it on top. We measure the arc of the future semi-arch with a tape measure. Cut the guide profile of the same length and make on its sides notches every 5-6cm along the entire length - it will serve as the lower guide arch.
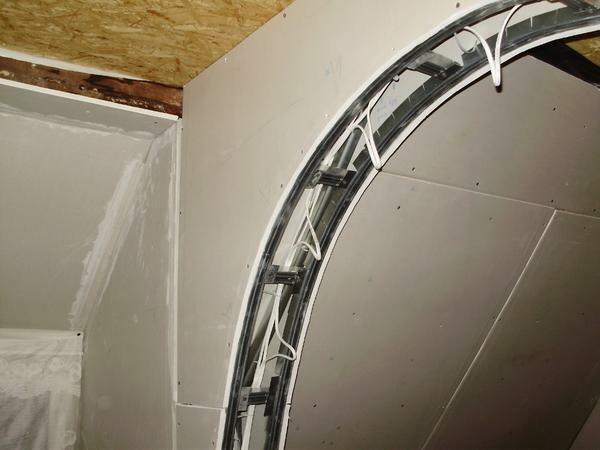 You can make the arch yourself, the main thing is to correctly and reliably install the profile and gypsum boards
After that it is necessary to draw an arc of the desired size and diameter on the sheet of gypsum cardboard and make the second similar part in a mirror image - they will beFastened on both sides of the opening.
Finally, fix the drywall and the lower guide in the opening.
This can be done in two ways:
- First fix the sheets of gypsum cardboard with the self-tapping screws to the profiles already mounted, and then, gradually bending, fix the lower guide profile to them;
- It is possible to fix the guiding profile to the bottom of the arc from the gypsum board first, and then the entire assembled structure is attached to the side profiles in the opening.
Both methods require a certain skill, but at the same time they will accurately fix the drywall structure in the opening.
How to make semi-arches of plasterboard with our own hands: bend the drywall
Before the finishing work is very little: you need to fix the lower band of gypsum board in the semi-arches. The end strip is cut from a gypsum board with a length equal to the arc length of the half-arch, and the width is equal to the depth of the opening. To fix the drywall on a curved surface it must be bent.
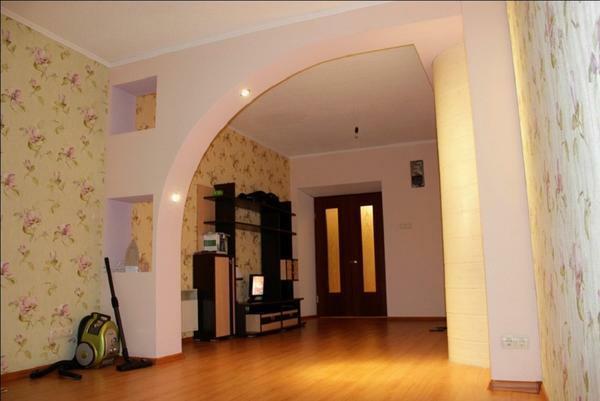

 It is not difficult to make a semicircular arch, the main thing is to properly bend the gypsum board and then to finish the work
 This can be done in several ways:
- For a small bend, you can use a "dry" method -Support and lightly load in the middle of a small weight, until the drywall has the desired shape;
- Can be applied to the inside of the notch every 10 centimeters and gradually bend the strip with your hands, immediately fixing it with screws on the profile;
- The most common is the "wet" method: moisten the inner surface of the strip with water using a wide brush and set it at an angle so that it bends under its own weight.
Important: the curved "wet" way can be screwed directly onto the screws, and you can leave it to dry if it bends in the right arc.
Now it remains to perform the processing of semi-arches and carry out finishing works.
Finishing processing of semi-arches of plasterboard
To start the joint of drywall sheets should be pasted with reinforcing tape. It is attached to the primer and immediately covered with plaster on plasterboard. The edges of the arch and the finished opening are trimmed with protective corners. For straight lines, you can use plastic corners, and cut the arc itself with aluminum.
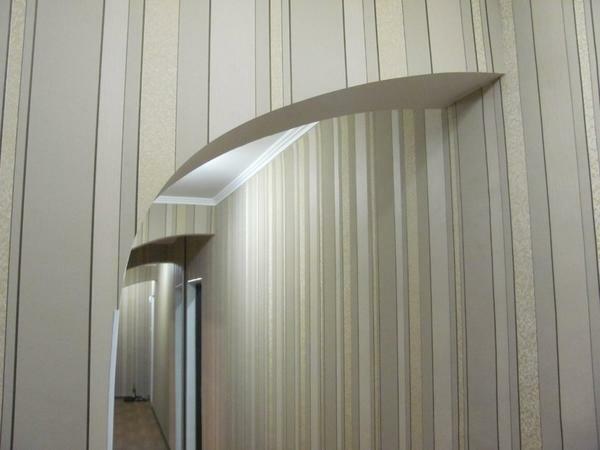 In addition to decorate the arch of plasterboard can be beautiful wallpaper that will be in harmony with the interior
Mount them on liquid nails or putty, carefully adhering to the surface. You can even "put" the corners on the screws in some places for reliability.
After the installation of the corners, the entire surface of the half-marble must be primed, and then covered with putty in several layers. After that, the finishing works are continued in the same way as with the usual walls: stripping, polishing and coating with paint, wallpaper or other types of finishing.
Step-by-step instruction for creating half-arches of gypsum board( video)
Half-arches of plasterboard - it's beautiful and convenient. It gives the room a lightness, visually raises the ceiling and fills the space with light. Mount it is quite simple and inexpensive. Observe the accuracy in the measurements, the sequence in the installation and carefully fasten all the elements - and the finished half-car will long please the eye. Examples
