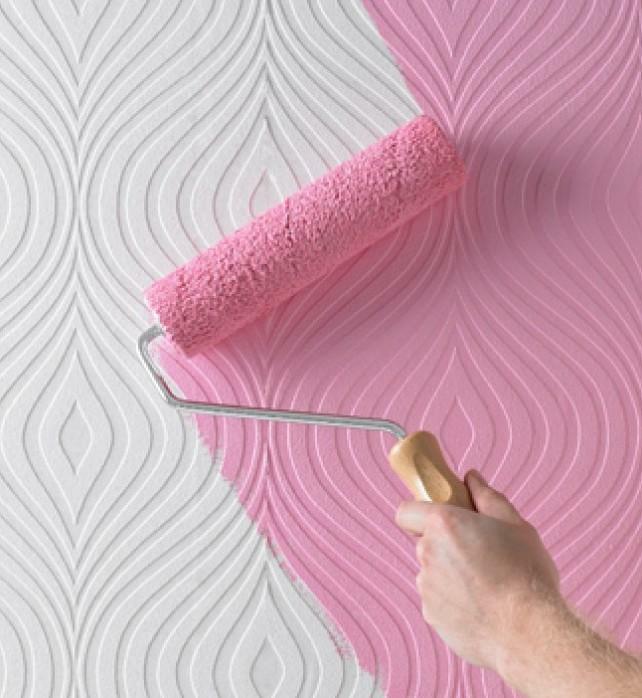
Quick and inexpensive to make the walls smooth and smooth will help drywall One of the easiest ways to level the curved walls is to coat them with plasterboard. Mount the drywall can be both on the glutinous mixture, and on the crate. Today it will be about how to build a frame for gypsum board. The lining is made from galvanized profile for gypsum board, but many, for the sake of economy, often make a frame of wooden racks, so consider both options.
-
- Walls for plasterboard: what is important to take into account before installation
- Profile for gypsum board wall: basic characteristics
- Dimensions of the wall profile for gypsum board: basic standard
- Stages of installation: how to fix the profile to the wall forGypsum board
- Instruction: how to make a plasterboard for a wall( video)
Wall gypsum plasterboard: what's important to consider before assembling
The metal( or wood) depends on the type of surface. If the gypsum board is attached to wooden walls( and this happens), you can use ordinary bars or slats from softwood, for concrete or brick walls metal is more suitable.
Wood is an environmentally friendly natural material, which in strength is not much inferior to the metal profile. And with proper processing, wooden structures can last long enough.
Chemical treatment of wood significantly extends its service life.
You can rarely find on sale wooden slats already fully prepared for use: often material processing is done by yourself.
 The material for the battens should be selected taking into account the surface on which the
What it is for:
- The processing of laths with antiseptics prevents the appearance of fungus or mold;
- Helps to withstand the effects of insects and rodents( impregnated with chemical composition, the wood becomes inedible, and small inhabitants lose all interest to it);
- Prevents rotting, which can arise from excessive moisture and condensation in the room. What to impregnate the material?
The modern market offers a variety of antiseptic compounds of various manufacturers. Often we, buying this or that building material, elementary overpay for the brand, and the composition of a brand can not differ from a little-known manufacturer that has not yet proved itself in the world market of products. The simplest way to protect your future frame is to process the slats before installing them with sodium fluoride. This is a composition of deep penetration, which has all of the above properties and is inexpensive.
When treating wood with antiseptic compounds, you can damage your health, so use a mask and protective gloves.
And how to choose the material for metal battens?What is the profile and what are its characteristics?Let us consider this point in more detail.
Profile for gypsum board wall: basic features
The metal profile for gypsum board is famous for its lightness and reliability. Its installation is not difficult, so even a beginner can cope with the installation of the frame.
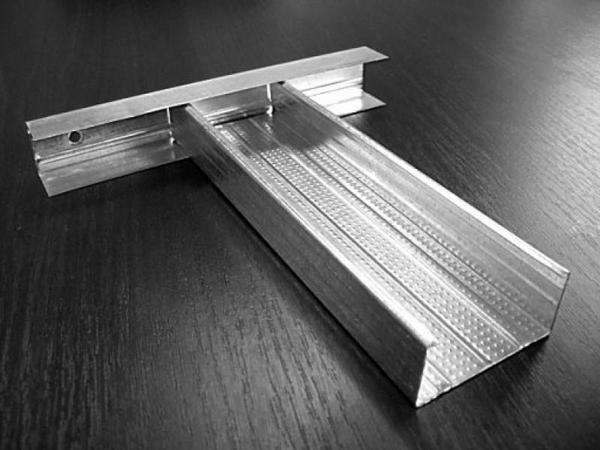
Two types of profiles are used for wall cladding:
- Planar - used to build a frame for gypsum board when covering wall and ceiling surfaces.
- Wall - used to create a load-carrying crate, on which the main load falls. The profile has increased stiffness, so it is used to construct interior partitions or partitions for room zoning, furniture from GKL or other structures.
 You can install the profile on the wall by yourself, the main thing is to choose high-quality and reliable tools for the work
In addition to these two types of profile, there is also an arched variety. In addition to arches and figurative elements of the multi-level ceiling, the profile is actively used in the construction of a frame for round niches in walls and other decorative elements.
By the way, the arched profile can easily be replaced with a conventional wall, making incisions along the entire length of the rail.
Let's consider in more detail what dimensions the wall profile for plasterboard has in order to feel confident when shopping.
Dimensions of the wall profile for plasterboard: basic standard
The standard profile dimensions for walls and ceilings are in the width of the cross section. They differ only in the thickness of the metal and in the width of the rails.
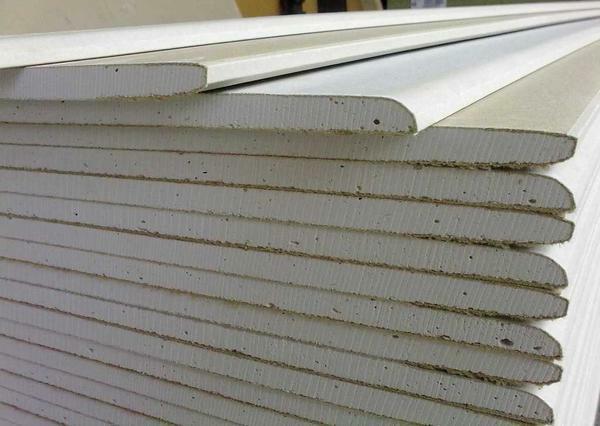 For wall finishing, it is best to choose the profile and plasterboard sheets of standard dimensions.
. Dimensions for the walls:
- Guide profile( UD). Installed on the contour of the future design. The height of the profile is 27 mm, width - 28 mm. The length can be different: 3 m and 4 m, and the thickness is from 0.4 to 0.6 mm.
- Bearing profile( CD). It is embedded in the guide and forms the frame itself( the basis for mounting the GCR), assuming the main load. The width of the profile is 60 mm, height 27 mm. Length is also from 3 to 4 m.
As for the wooden battens, different types of timber are also used here. As a guide used a beam with a minimum section of 70x40 mm, and as carriers carrying slats with a section of 50x30 mm.
Stages of installation: how to fix the profile to the wall for drywall
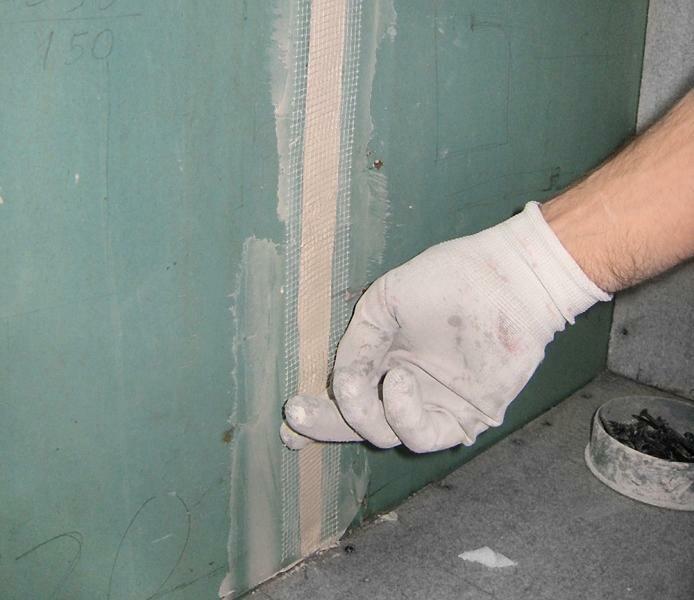
Before installing the battens, first prepare the surface of the walls. Ideally, it is not necessary to smooth the putty with walls, but to get rid of the remnants of the old finish and the crumbling plaster is worth it. If there is little damage, it is enough just to cover the holes with the starting putty, but in the case of the stucco that falls off the cakes, it must be completely knocked down.
Drawing for a carcass under gypsum board is a waste of time for a professional installer, with a beginner craftsmen should pay attention to it.
Drawing
First you need to measure the length and height of the sheathed wall. Adding these values and multiplying by 2, we get the perimeter of the surface. If there are window or door openings on the wall, you also need to measure their perimeter and apply it to the compiled project. When drawing up a drawing, it is necessary to immediately take into account the fixing points of the suspended furniture elements, if any.
 Before starting to install profiles, it is necessary to make measurements and draw a drawing
If a drawing is available, it will be much easier for a newcomer to determine the amount of materials required for the frame and estimate the range of work to be performed.
Preparing the
tool Before you begin, prepare the necessary tool.
Namely:
- Rotary hammer;
- Screwdriver;
- Construction level and plumb bob;
- Hammer or mallet;
- Measuring tape measure;
- Hacksaw or electric jigsaw( in the case of wooden frames);
- Bulgarian or scissors for metal( for cutting metal profiles);
- Building or simple pencil( you can use a marker);
- Fasteners( dowels, self-tapping screws, crocodile brackets and traction arms).
The fastening elements for the wooden frame and the metal are significantly different. The metal profile is fixed by brackets, and the wooden beam is self-tapping.
It is more convenient to use dowels-nails "quick installation".They are universal, economical and easy to use.
When the tool is ready, you can proceed with the installation of the frame. Let's consider both options in detail.
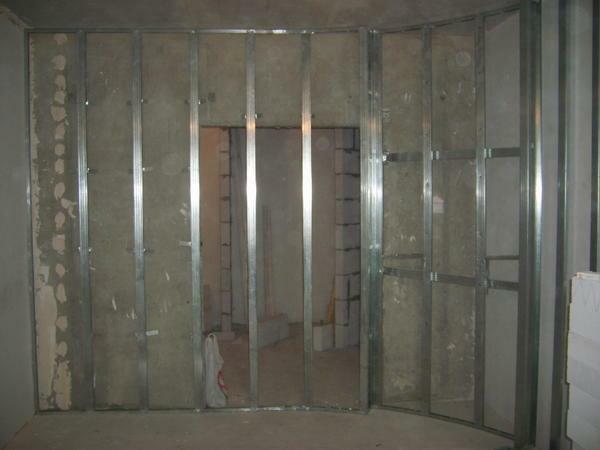
Installing a metal crate
If necessary, first a drawing of the future design is transferred to the wall in accordance with the scale and a clear vertical / horizontal( for this there is a building level and suspension or a laser level that immediately gives a clear vertical, horizon and if necessary diagonal).
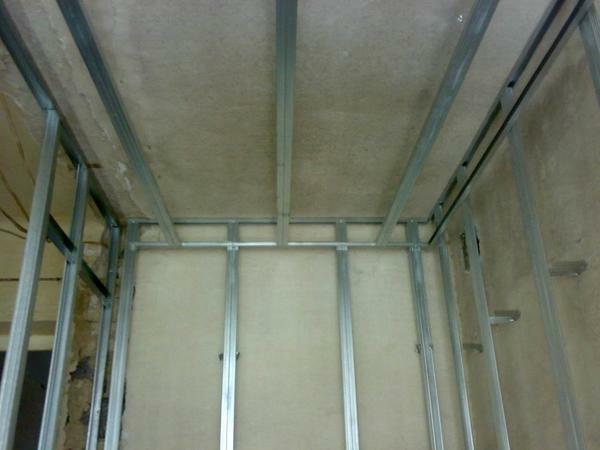 In order for the metal crate to be strong and reliable, it must be properly installed
Assembly step-by-step:
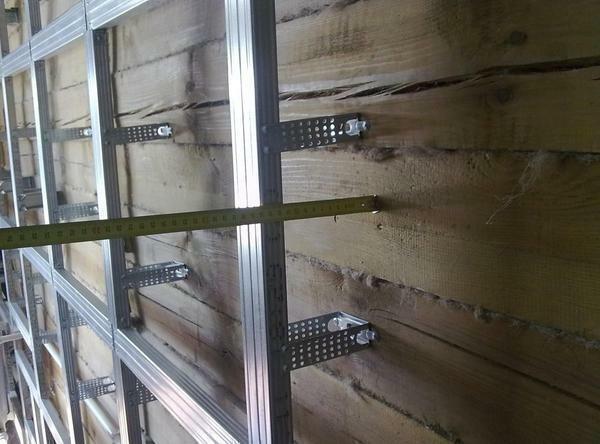
- The installation begins with fixing the guides along the perimeter of the surface, taking into account the door and window openings( if any).The distance from the wall is determined according to its unevenness.
- Vertical racks are mounted in the rails and fastened to the wall using brackets, dowels and self-tapping bugs. The optimum fastening step is 60 cm. Each stand is attached to the wall in three places( not less).
- If a wall is planned to be insulated before plating, a mineral wool or other insulation is laid between the profile.
Mounting of a wooden crate
A wooden frame for a GCR is installed in a manner similar to that described above. As a guide used a beam of 70x40 mm, and for racks - racks of 50x30 mm. The material is fixed to the wall using dowels, a step of 50 to 60 cm. In the case of wall insulation between the posts, mineral wool, foam or other selected material is fixed.
Instruction: how to make a crate for plasterboard on the wall( video)
Gypsum plasterboard is an important part of the whole wall repair. Its strength will depend on the strength and durability of the future sheathing. Do not save on materials and your time, increasing the pitch of vertical racks or reducing the amount of fasteners.
Successful repair!