 Stretch ceiling - an economical and practical solution for interior decoration of a residential area Stretch ceilings have become more popular and popular, from the very moment when this type of finishing has ceased to be the prerogative of only the powerful of this world. When the goods become many, it noticeably falls in price, and stretch ceilings are no exception to the rules. And for a long time already, stretch ceilings have ceased to be a luxury, and representatives of the so-called middle class can afford such a finish.
-
- How to pull the ceiling with your own hands: everything is real
- How much tension stretch ceilings: factors a lot
- How to tighten stretch ceilings: consider in detail
- What you need to prepare for a successful job: nothingDo not forget
- Preparation of the room: no less important
- Stretching ceiling installation process( video)
- Stretch ceilings in the apartment interior( photo)
- This work is performed by the same people as you, therefore, with the appropriate diligence and patience, you will succeed and you can do everything yourself;
- Before starting to work, you need to prepare a tool, and also prepare a room for safe and comfortable work;
- In each package, there are instructions on the ceilings that need to be carefully studied;
- It is necessary to study photo and video materials, in order to avoid annoying mistakes during installation;
- Accuracy and cleanliness of the workplace - the key to successful work!
- You need to tell yourself before work: - We will pull the ceiling correctly!- Himself and his assistant.
- Observing all the installation rules, you will do everything yourself, without the help of professionals.
As for the stand aloneErection, this is quite feasible task, but only for this you need to know how to stretch the stretch ceilings - and all will be added!
How to stretch the ceiling with your own hands: everything is real
This process is caused by a lot of homeowners by a strong and rather steady fright - and not to break anything, or the ceiling will not hang afterwards?
Yes, this process is significantly different, say, from gluing wallpaper or linings of linoleum, but, nevertheless, having studied the articles and the corresponding video and photo materials, and with this you can easily cope.
If you want to save on hiring of labor, then this work can be done with your own hands, and nothing is impossible in this. But, as they say, closer to the point.
So, you need to remember the following:
 This work is not an example of something particularly creative - you just need to be careful and careful.
How many tension ceilings stretch: factors a lot
It's impossible to say exactly how much time, because it depends on many factors.
On a single-level kitchen ceiling, as well as the ceiling in the bathroom and the hallway, it usually takes 2-3 hours, on the ceiling in the room 3-4 hours. On a two-level ceiling - 8-10 hours.
As a rule, a qualified team is able to issue up to 30-40 m2 of this coating, in one working shift.
The factors on which it depends:
- Fixtures. The installation of a single point light, for example, takes 15-20 minutes.
- A large amount of furniture in the room also significantly increases the execution time of these works.
- The height of ceilings influences. If the ceilings are above 3 meters, then the installation in a room of 15-20 meters, is delayed by approximately 1.5 hours in time.
- Wall condition. With weak walls, the ceiling profile is subject to additional reinforcement by means of spacers.
- If there is a ceiling cornice, it also takes extra time.
- This number also depends on the number of angles.
- Pipes, ventilation, air conditioners, etc. From this installation also does not become more rapid.
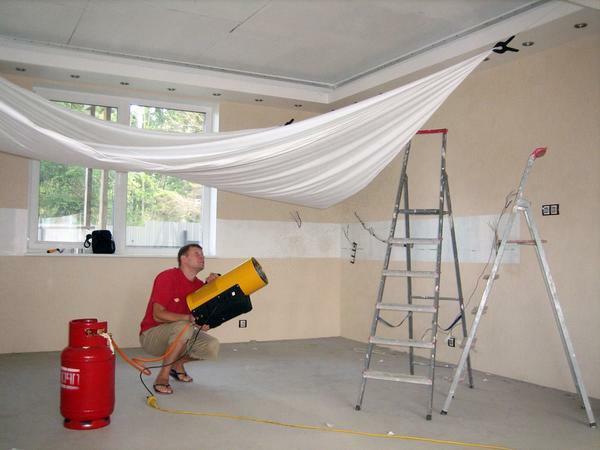 When installing the stretch ceiling, it is necessary to warm the room with the heat gun to the required temperature.
Of course, if installation is done by lay people, and for the first time, the work may take a bit longer.
How to properly stretch ceilings: consider in detail
So, to properly stretch the ceiling, first you need to warm up the room with a heat gun.
The optimal temperature for warming up the room before installing the ceiling cloth is a temperature of + 40 ° C.
Temperature, of course, can not be called comfortable for someone who will work with ceilings, but there is simply no other way out in this situation.
So, step by step:
- The material is removed from the package only with clean hands. The floor on which the stretch ceiling will be laid should be clean, not to mention the absence of debris on it and metal sharp objects.
- Fasteners of the linen should be started from the corners, and, diagonally: first we fix the angle of the base, and then - the next, as already mentioned, diagonally. The angles are warmed up by the gun. Do not forget to read the enclosed instruction!
- Angles are attached to special clips with a lining, called "crocodiles".
- Gradual warming, starting from one of the corners, is accompanied by the dismantling of the "crocodile".Next, in the course is a corner blade, which is introduced into the groove of the liner.
- The canvas is carefully inserted into the baguette. Moving in this way, the previous section is held by hand, to avoid falling out of the profile.
- We do the same with other corners. It should be taken into account that the closer to the finish the work is, the more difficult it is to mount the canvas in the corners. It is quite reasonable to take the help of a friend( assistant).
- Fixing all the corners, we fix the film on straight sections. Here you need a straight blade.
- Care should be taken not to create wrinkles, distortions and wrinkles. In time, the corrected defect is easily eliminated!And if all the same wrinkles are allowed, then they need to be removed with the help of a heat gun, warming up this site and smoothing it with his hand.
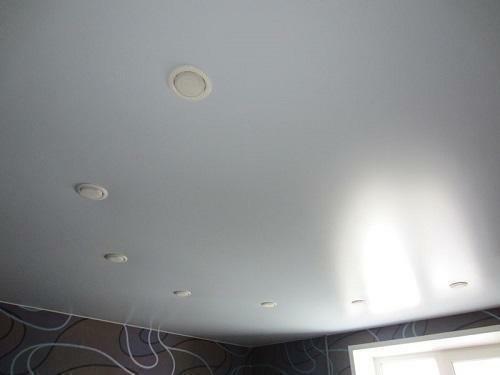
- After completing the installation, you need to start installing the luminaires, which must be installed on the racks provided for this. Very carefully make holes in the required areas.
- Next, the cap of the stretch ceiling is fixed. It is a special ribbon, of any color that is installed in the technological gap, between the wall and the ceiling. The plug is easily installed in this gap, and pressed down with fingers.
- If you do not have any desire to tinker with a stub, you can get out of the situation by installing a wide ceiling skirting board.
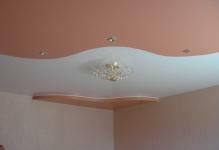
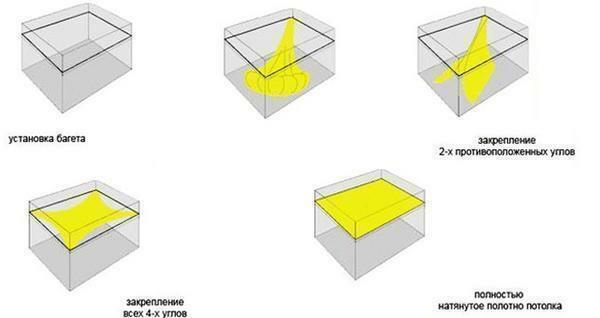 Stretch ceiling installation phases
It only remains to add that when choosing a fabric ceiling, the need for a heat gun is completely eliminated.
What you need to prepare for successful work: Do not forget anything
In order not to break away from work, without end breaking into the store, in order to buy the most necessary, you need to provide everything in advance.
Do not be afraid to buy a little extra profile or dowels - you will not save much money on this, and time will certainly be lost.
Do not use a substandard tool - you will get more expensive, in the end!Of course, do not buy a gun if you are not engaged in the device ceilings professionally. However, the gun can be used in the future, for example, for heating the garage. As for the laser level, it can be borrowed for a while from a friend, or from a rental company.
So, let's prepare the following:
- Laser level;
- Thermal gun;
- Painter's knife;
- Blade;
- Rotary hammer;
- Cylinder with liquefied gas;
- Dowels.
 In order to easily cope with the work of installing a stretch ceiling, you should have at your disposal the necessary tools
Needless to say, you can not do without a ladder. And, of course, it is necessary to measure the room, that is, its perimeter.
Must be purchased:
- Baguette( fixing profile).It is plastic, or aluminum, it will be stretched film( membrane).Plastic, of course, is cheaper, aluminum is stronger and more reliable. The material is purchased in the required quantity, taking into account the water and heating pipes, and it is better to take it with a small margin.
- Dowels( self-tapping screws).Again, with some margin. Do not save on dowels.
- Cloth ceiling. It can be both fabric and vinyl. By the way, the choice of the tool depends on the material of the canvas. Fabric canvas can stretch the ceiling in a cold way, that is, without the help of a gun.
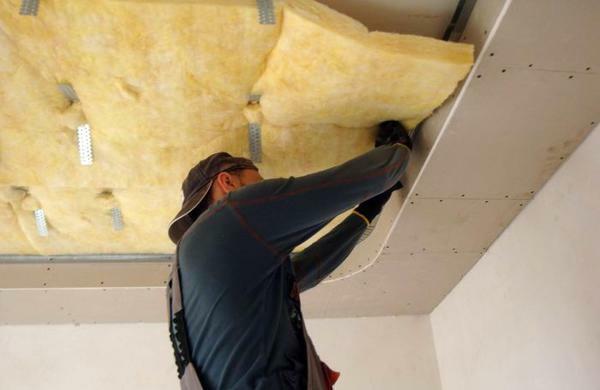
- If desired, you can purchase soundproofing. Well, this is if your neighbors are too fond of making noise!
From the above, it is now clear that it is necessary to prepare for normal, high-quality and uninterrupted work on stretching the ceiling.
Preparation of premises: no less important
Before starting this very important work, it is necessary to produce one very important event that will ensure the quality and safe operation.
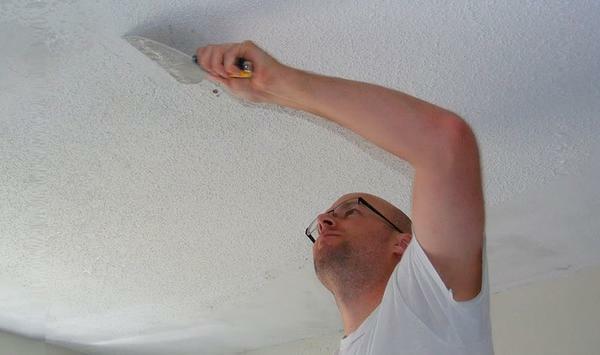 To avoid getting old plaster on the stretch ceiling, it must be removed from the surface with a spatula
Do not rush to stretch the ceiling - pull it you always have time, you need to prepare the room itself.
In addition, the walls must be leveled( plastered or plastered with gypsum plasterboard), and the corners in the room should not have rounded edges.
Important:
- Remove all furniture to avoid its temperature damage. The presence of free space, by the way, will only speed up and facilitate your work.
- It is desirable to cover the ceiling joints between the slabs beforehand( if necessary) by blowing with a mounting foam. However, most of this for some reason does not.
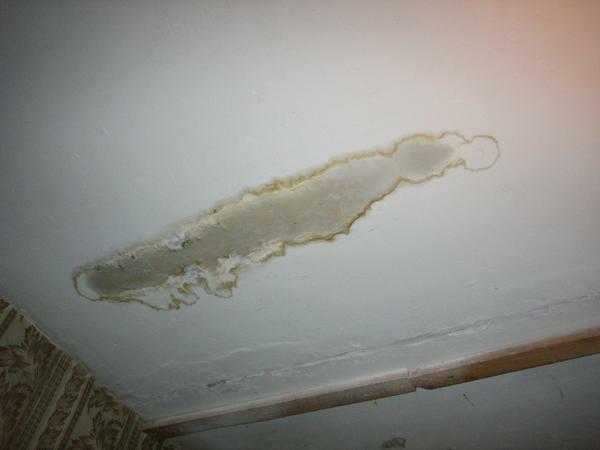
- The ceiling should be primed with antibacterial primer, thus protecting the floor covering from fungus and mold.
- Unstable plaster and putty should be removed, in order to avoid delamination in the future, and falling onto the stretch ceiling.
Of course, you need to remove all extraneous combustible objects from the room, thus preventing the possibility of a fire.
Stretching ceiling installation process( video)
In conclusion, it is worth adding a few words. If you do not have any certainty that you will successfully cope and you do not want to stretch this process for many weeks, you can hire specialists, thus preventing all unnecessary negative nuances associated with damage to the ceiling film. If you are confident in your abilities, although you have never been engaged in such an installation - go for it!You will succeed. Before work, of course, it is necessary to prepare thoroughly, having prepared the necessary tool, material and accessories. And, of course, having studied the necessary materials for the production of these works, get down to business. Good luck!
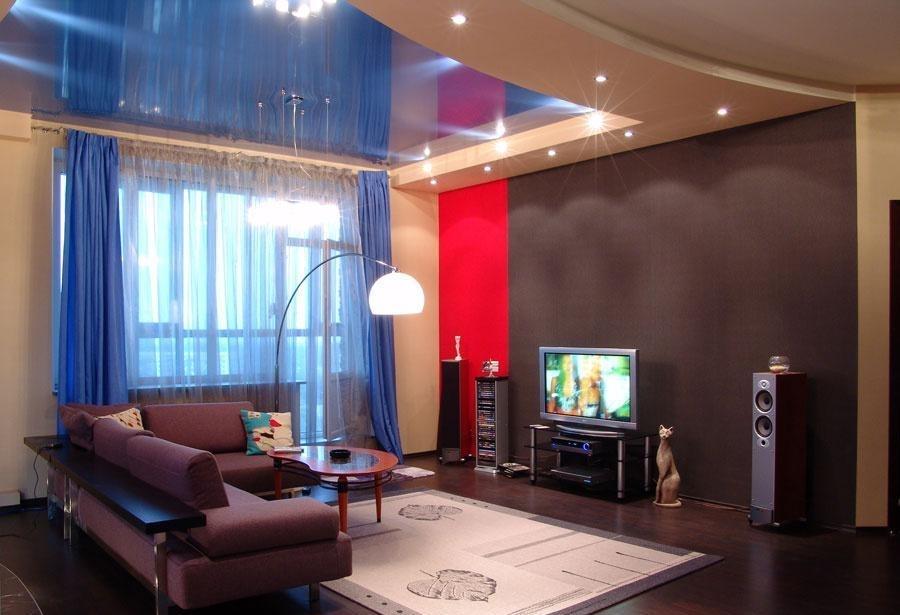
Stretch ceilings in the interior of the apartment( photo)