A dog is the most devoted friend for a person and an important family member who needs his own accommodation. That is why owners of such animals often have a question: how to make a booth for a dog? Of course, today in the market you can buy a ready-made house for a pet. However, this purchase is "affordable" not for everyone, so you can build a warm booth for the dog with their own hands.
Contents
- Materials
- Tools
- Step-by-step instruction for the construction of the doghouse
- Drawings
- Preparation of plywood
- Base of the
- Base for the rear and side walls
- Rafters
- Assembling the roof and the rear of the box
- Mounting the front wall and the front panel
- Building video booths for the dog own hands
To make a dog booth, made by yourself, come out solid, beautiful and comfortable for your pet, you must prepare the following materials and tools in advancetents.
Materials
- Self-drilling screws
- Beam
- Plywood
Tools
- Saw;
- Electric drill;
- Level;
- Paint and brushes.
Step-by-step instruction for the construction of the dog house
If you do not know how to build a doghouse, you can use the following instruction:
Drawings


To begin construction, you will definitely need detailed drawings of the booth for the dog. They will need to specify the exact appearance of the booth, calculate its dimensions, features and other important points. Create a scheme for a dog booth with your own hands is easy enough, because you only need a blank piece of paper, a ruler, a pencil and a little wit. Or just look at the ready-made options in our article.
Preparation of plywood


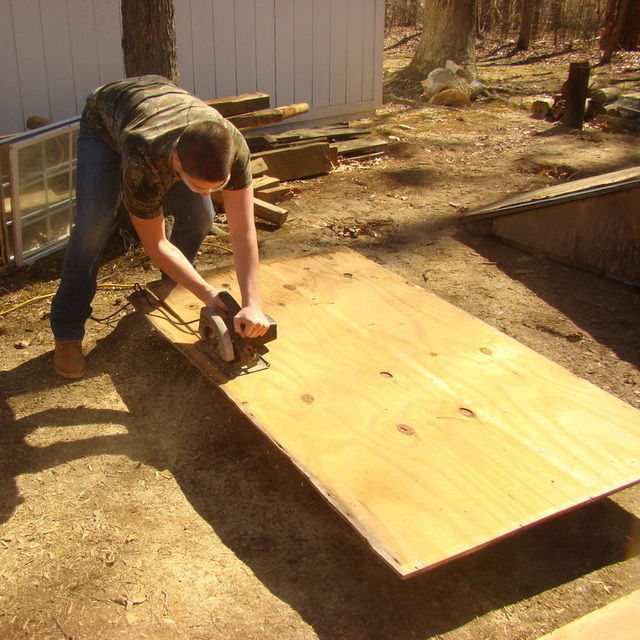
For construction, you can use the standard size of the booth for the dog, and you can tailor them to your particular pet. But still it is recommended to use the first option, since it does not require additional calculations. In the second stage, using a saw, we cut out the parts of the plywood to the required dimensions.
The basis of the booth


If you want to build a warm and reliable doghouse with your own hands, then it's worth taking a very serious approach to erecting the foundation of the structure, since all the loads will be placed on it. So, first put the two bars parallel to each other, and perpendicular to them we install the bars, attach them with the help of self-tapping screws. Then we attach the plywood to the substrate, and the support frames to the edges.
Installation of the rear and side walls of the


A robust wooden box for the dog must have quality support frames throughout the structure. This is why it is necessary to install corner beams on the finished base. During their installation it is necessary to use the building level to control the clear perpendicularity of the beams of the floor. Then you should attach the notches in the form of a swallowtail and place the side walls on the screws. The rear wall is installed similarly.
Rafters

First you need to collect from the bars two triangular designs, and then fasten them to the front and back panels. If you do not understand the process of building rafters, then you can see the photos and video of building booths directly in this article.
Assembling the roof and rear of the booth


The roof of the plywood is fastened to the rafters using self-tapping screws. In the same way, we install the back of the booth.
Front and front panel mounting


First, attach the front wall from the plywood. If you want to enlarge the hole in the wall for entering and leaving the dog, then you can use a jigsaw. Then install the front panel, which closes the lower beam. After that, the box can be painted and presented to your pet!


