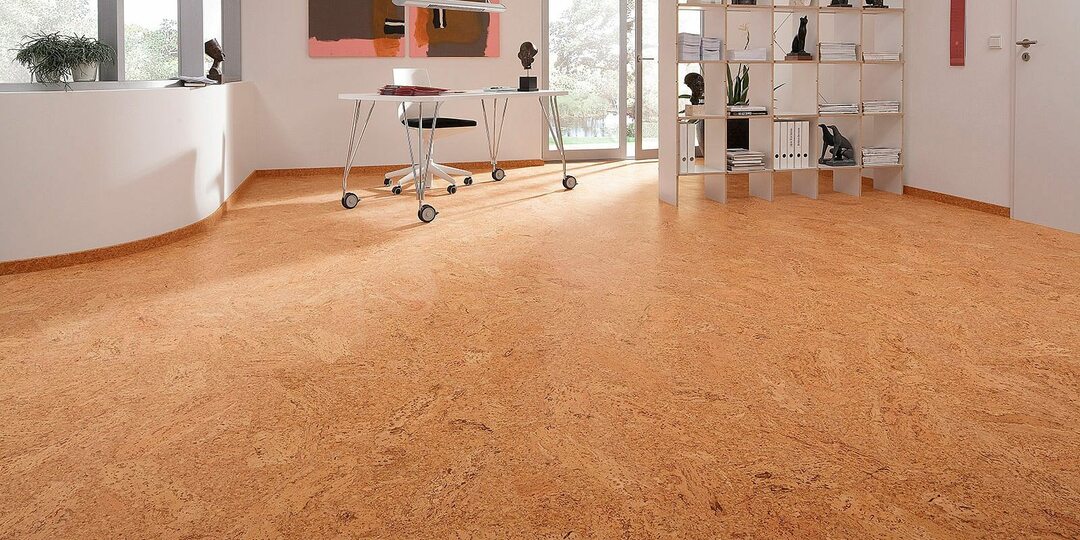
Polyurethane filling floor was originally designed for coating in rooms where high demands on strength and durability are required. But seeing the wonderful properties of such floors, designers began to apply them in living rooms. All thanks to the durability combined with a wonderful aesthetic appearance.
Contents of
- Advantages of polyurethane self-leveling floors
- Application technology
- Polyurethane filling flooring
Advantages of polyurethane self-leveling floors

Every day this coating becomes more and more popular due to:
- relative dustiness;
- resistance to load;
- longevity;
- environmental friendliness;
- chemical safety.
In addition to this, polyurethane filling floor in the apartment can be made glossy or matte, and you can choose the right pattern, or a certain color range. It all depends on the flight of your imagination.
Application technology

The procedure for the installation of a polyurethane self-leveling floor will last from five to seven days. It starts with a preliminary preparation of the foundation, on which the future coverage will be located. The best option is concrete, but wood and tiles are not excluded.
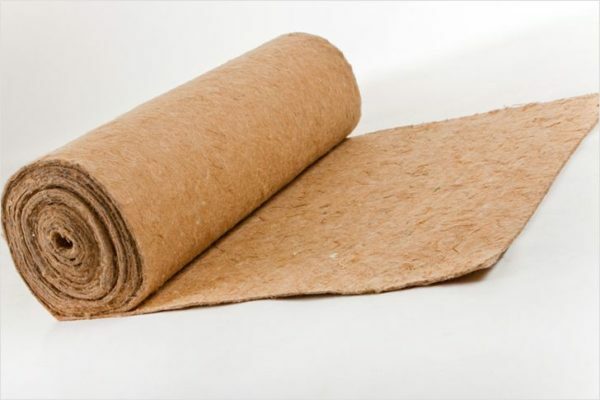
When applied to a wooden surface, pre-clean and dry it. Before the application, the wood must be sanded or sanded. Such actions are aimed at improving the adhesion of the substrate to the bulk composition.

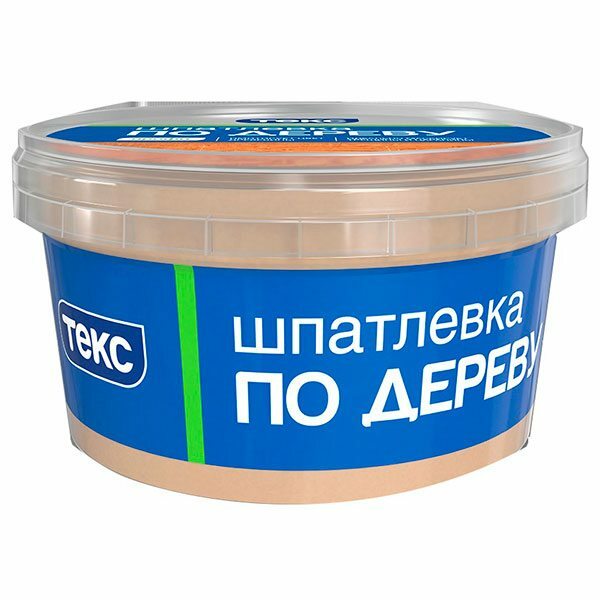
Surface of ceramic tiles must be plastered in places where deep slits are visible, and loose fragments are desirable to be removed altogether. The concrete covering is cleaned, if necessary, the defective places are sealed. The best option is the use of self-leveling mixtures for concrete floors, after drying which, grinding occurs.
After the work done, primer is applied with the help of the most ordinary roller. If the soil is absorbed quickly, repeat the procedure. Some experts recommend that the primed surface be sprinkled with fine quartz sand, it will give it a certain roughness, which in turn will contribute to better grip.
Video of polyurethane self-leveling floors
The main layer is poured 6-10 hours after application of the primer. The exact time is indicated in the instruction manual for the specific manufacturer. The whole composition is distributed proportionally by a thin layer with the aid of a doctor blade( the tool on which the clearance is adjusted).
Manufacturing polyurethane filling floor in the garage, the permissible thickness of the coating - 3 mm, in a residential apartment is allowed 1.5 mm. In the process of carrying out the work, it is very convenient to use the tines, which are spike-shaped attachments to the shoes. They make it possible to move along the floor without causing any damage to it.

Before the layer dries, it is rolled with a roller that has long spikes to extract air bubbles from the mixture. The fresh floor can be decorated with various pieces of colored polymer, and all kinds of figures are created. The final stage is the application of the finishing polyurethane varnish, after drying, it is necessary to cut through the walls the temperature-shrinkage seams.

In order to understand in practice how polyurethane self-leveling floors are manufactured, view the photo and the video instruction of in the article.