Repair of floors - manual for beginners masters
Table of contents
- 1 The types of residential flooring
-
2 Repair wood floor
- 2.1 Step 1: dismantling the boards and audit log
- 2.2 Step 2: installation of flooring
- 2.3 Step 3: Preparation for finishing
-
3 Repair concrete floor
- 3.1 Method 1: eliminating cracks and dents repair mortar
- 3.2 Method 2: repair self leveling mixture
- 3.3 Method 3: dry method repairs
- 4 Output
How to Repair a rough floor of the apartment with his hands? I'll talk about the specifics of this work, and will also show two variants of the restoration types of coatings - wood and concrete. You will learn what materials it will require and how to perform the work themselves.
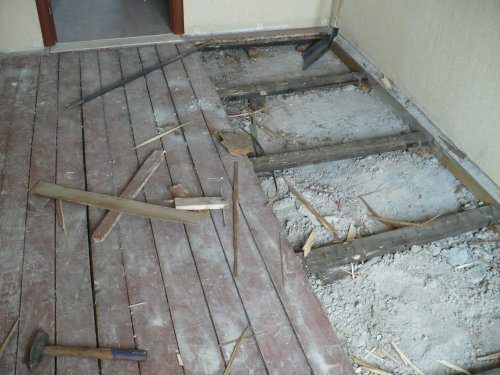
Repair the floor in the apartment under the force of every home handyman
The types of residential flooring
Rough floor in the houses and apartments is most often found in two forms:
- Wooden;
- Concrete.
The process of repairing the floor, as easy to guess, depends on its type. Therefore, below I will talk about the restoration of each of them. I am sure that it will help beginners to independently carry out the repair of apartments from the beginning to the end.
Repair wood floor
Repair wood floor includes several stages:
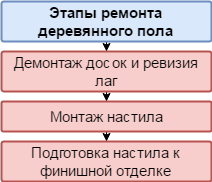
stages of repair
Step 1: dismantling the boards and audit log
If the floor is in need of major repairs, ie it creaks, sags or simply rotted boards, follow these steps:
| illustrations | Description of the action performed |
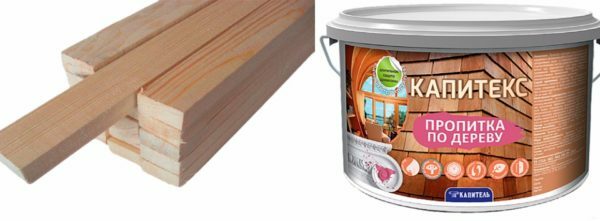 |
Preparation of materials. At this point you will need the following materials:
|
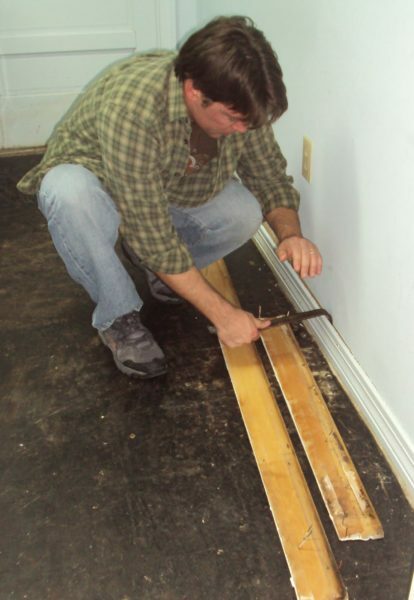 |
Dismantling of the plinth. If a wooden plinth, for these purposes you can use the crowbar. |
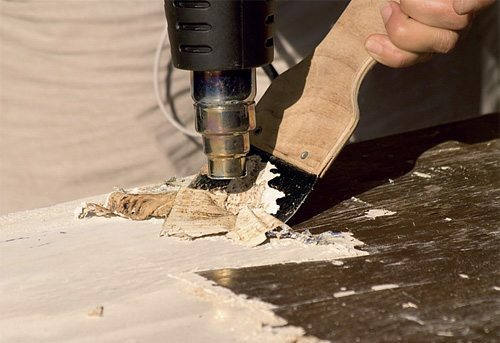 |
Removing paint. Eslipol painted with oil paint, you need to get rid of it. You can use the hairdryer construction or a special tool for removing paint (stripper). |
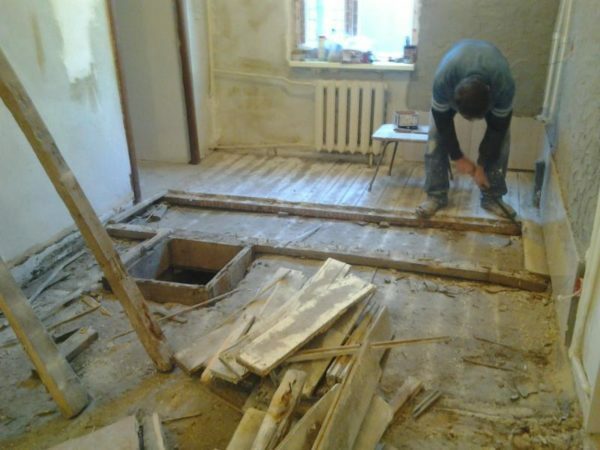 |
Dismantling the boards:
|
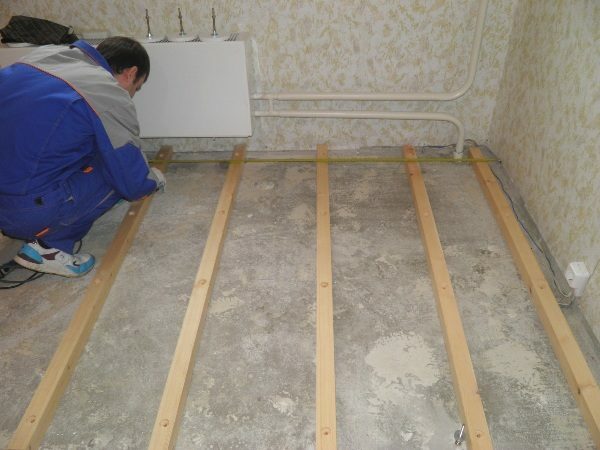 |
The audit log:
|
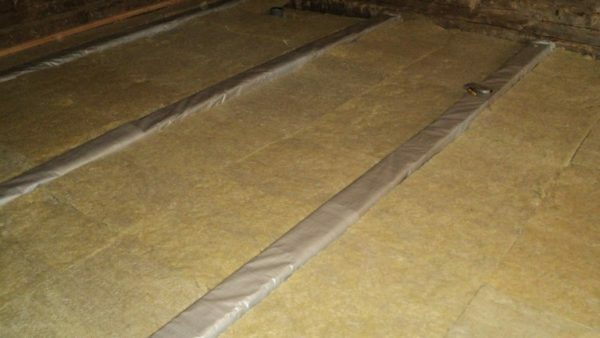 |
Warming of the floor:
|
The base floor is ready, now we need to lay the flooring correctly.
Step 2: installation of flooring
Installation of boards with their hands is as follows:
| illustrations | Description of work |
 |
Laying the first board:
|
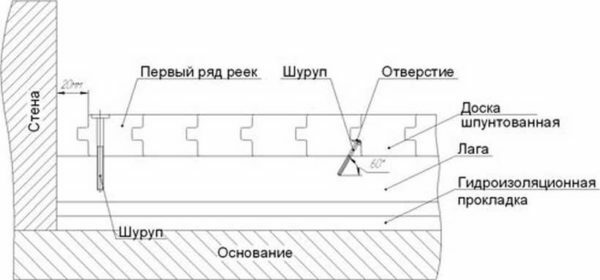 |
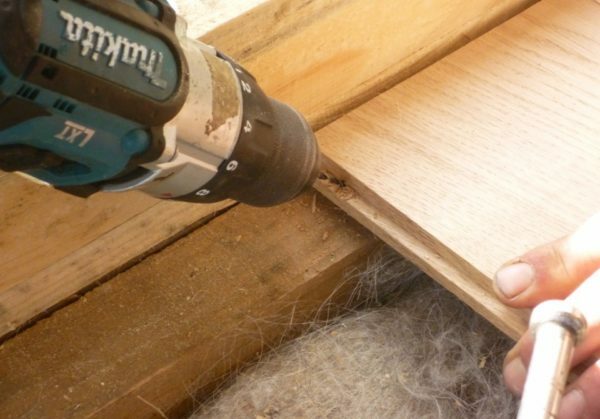
Fixing the first board. Attach the board to the joists with screws. If the board decking, wall side screws should be screwed vplast. On the reverse side screws are screwed into the lower ridge, which provides for concealed installation. If the board is the usual boards, screws are screwed too vplast. In this case, the cap should definitely deepen millimeters to 5, otherwise they will interfere with the further finishing. |
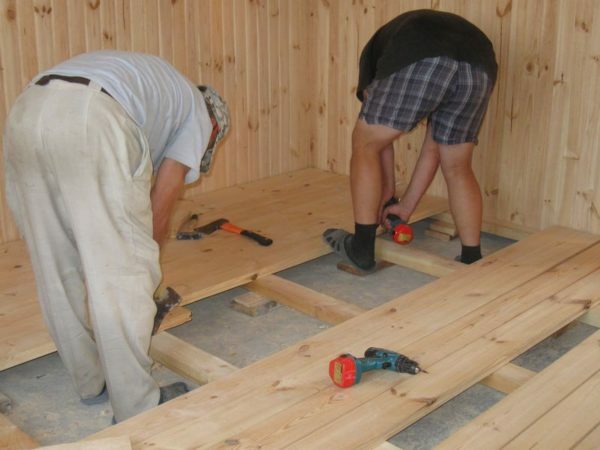 |
Installation of the following boards:
|
If the board has to stykovyvat in length, make sure that the joints are located on the floor of the Extension.
It must be said that in cases where the "tree" on the floor in a normal state, ie, floor does not need a major overhaul, the first and the second step can be omitted.
Step 3: Preparation for finishing
So, how to repair and strengthen the floor, we figured out, now look at how to update the flooring surface. Work is carried out as follows:
| illustrations | Description |
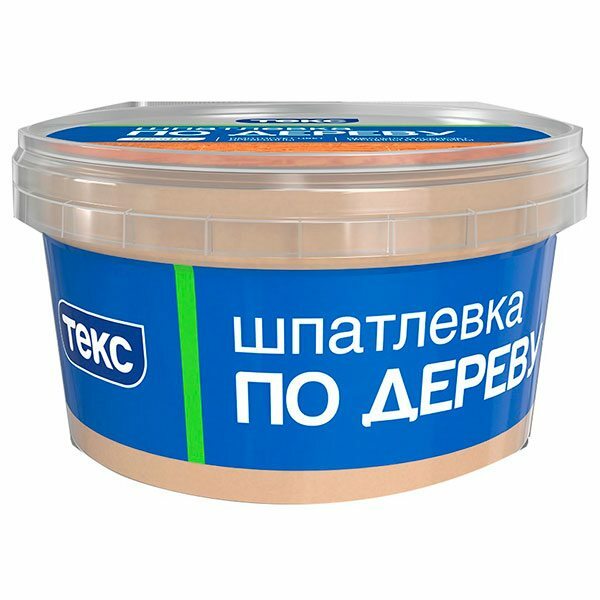 |
preparation of materials. To perform this procedure, you will need to plaster on wood. |
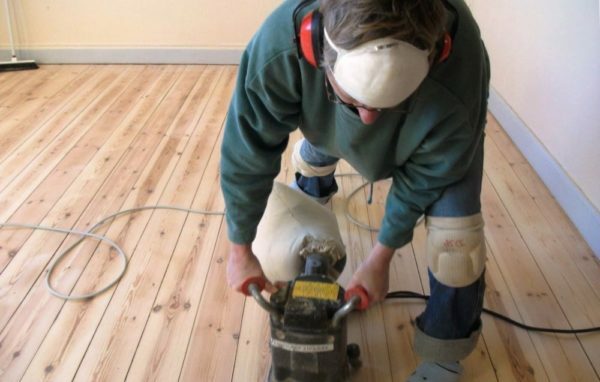 |
Scratching. Sense sanding surface lies in alignment by removing the thin upper layer of the tree. To do this, use a special hand tool or machine scraping. |
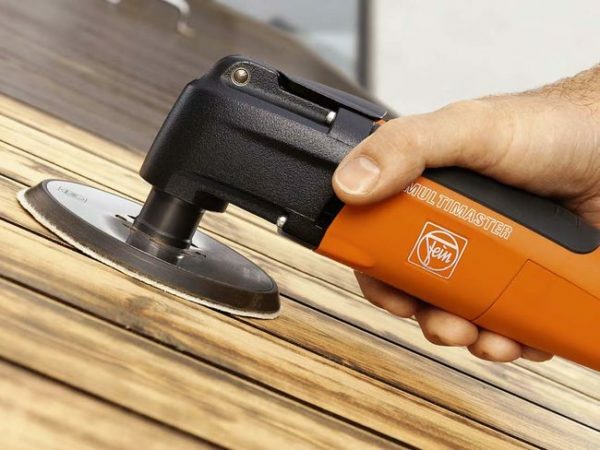 |
Grinding. Use the sander or a plane with a tight sandpaper. In the process of grinding to get rid of all traces left after sanding. As a result, the floor is supposed to be flat and smooth. |
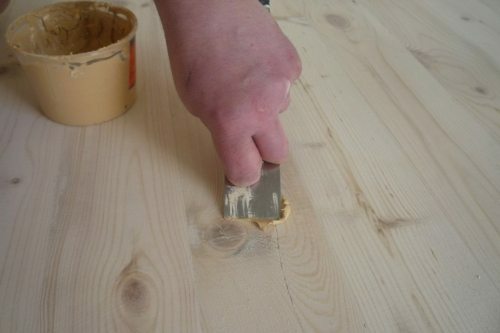 |
Caulking:
If the floor will be opened varnish, should pick up the color of the wood putty. |
Now the old wooden floor renovated. It remains only to paint it, or varnishing. If the floor will be laid topcoat, for example, linoleum or laminate, the surface to be treated protective impregnation.
Repair concrete floor
How to repair a concrete floor? To cope with this problem in several ways:
- With repair mortar;
- self-leveling compounds;
- dry method.
Next, consider how to repair the floor in all these ways.
Method 1: eliminating cracks and dents repair mortar
If the floor has a minor flaws such as cracks, potholes and chips, all expedient to remove these defects by a special repair mortar. Work carried out in the following sequence:
| illustrations | Description of work |
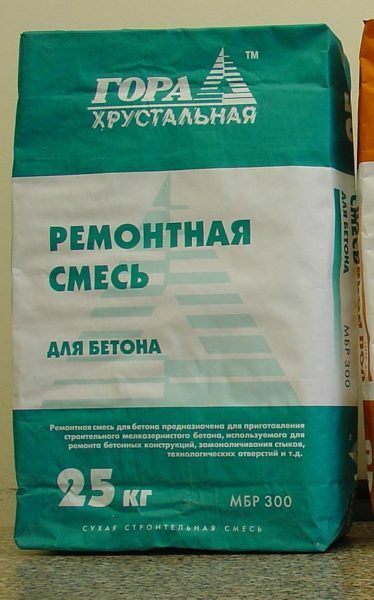 |
Preparation of materials. For repair of the concrete surface, you will need:
|
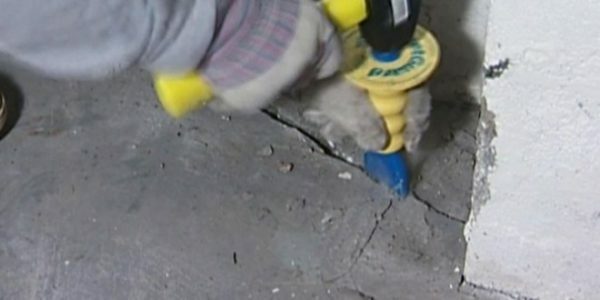 |
surface preparation:
|
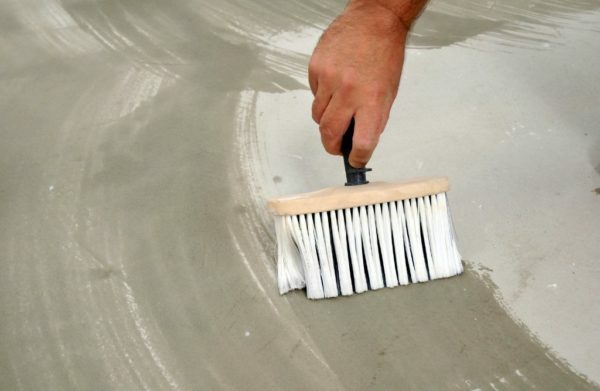 |
Padding. Treat floor primer with a brush. After drying, the composition of the repeat. |
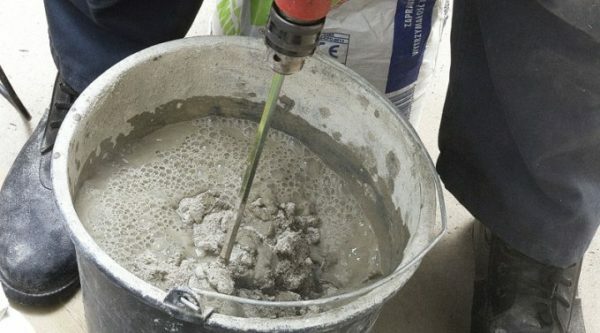 |
Preparation of the solution. Before you make the repairs of the concrete floor of the apartment with his hands, shut the water repair mix according to the instructions on the packaging. If the depth of the cracks or potholes than 5 cm, fill them with the solution you need in two or three stages, to avoid the appearance of cavities. |
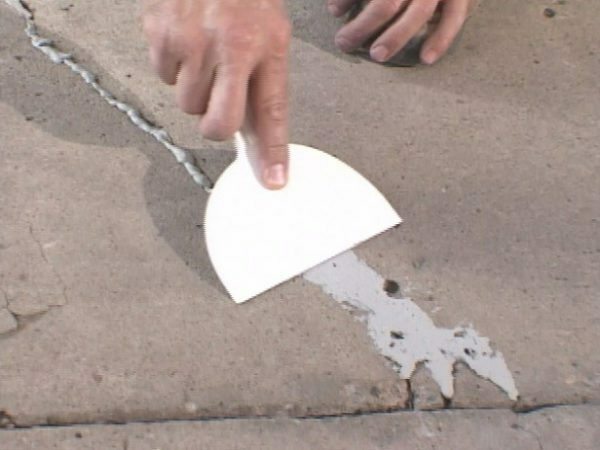 |
Elimination of irregularities:
|
If the concrete surface has irregularities such as ridges and nodules, it can be ground using grinder with a special nozzle for grinding concrete.
Method 2: repair self leveling mixture
If the tie in poor condition or, for instance, you want to perform a warm floor, you can use self-leveling mixture. Repair in this case is carried out as follows:
| illustrations | Description of work |
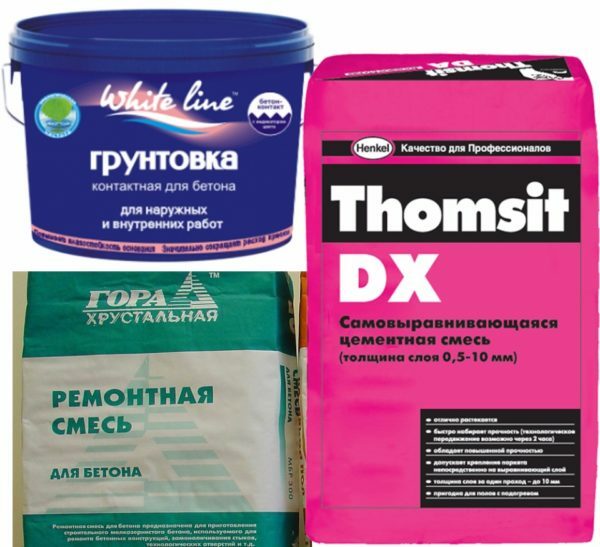 |
materials:
|
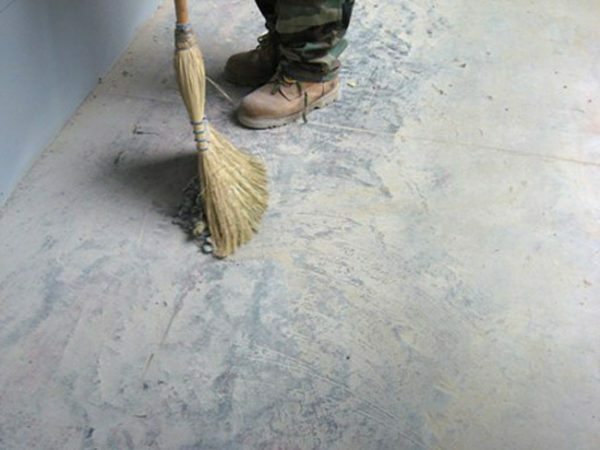 |
surface preparation:
|
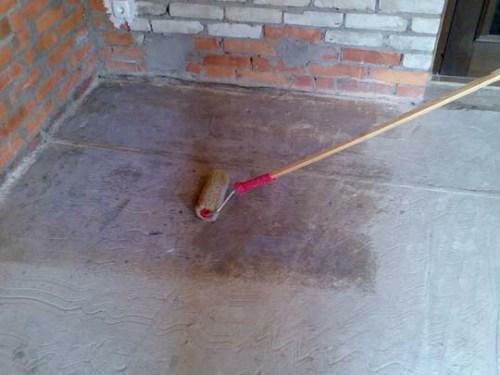 |
Padding. Treat the entire surface primer in two stages. |
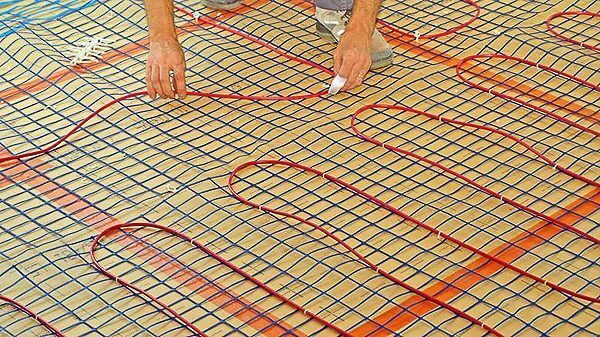 |
Installation of floor heating:
|
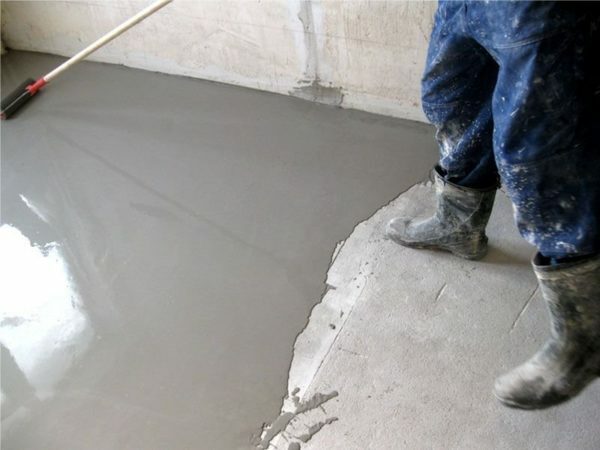 |
Pouring self leveling mixture:
|
In this work has been completed. Just a few days after pouring the floor can be maintained. The only thing to keep in mind that high-quality self-leveling mixture is not cheap, so in some cases cheaper to pour a new tie, than to repair the old floor in this way.
Method 3: dry method repairs
If you want to repair a concrete floor in a flat with their hands quickly and without performing wet work, this method is just what you need. Its principle consists in leveling the surface with a sheet of plywood or OSB (oriented strand board).
Work is carried out as follows:
| illustrations | Description of work |
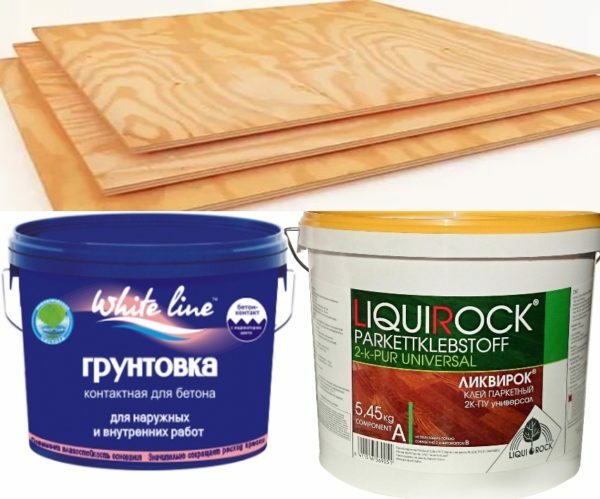 |
Materials. Before you make the floor in an apartment in this way, it is necessary to prepare:
|
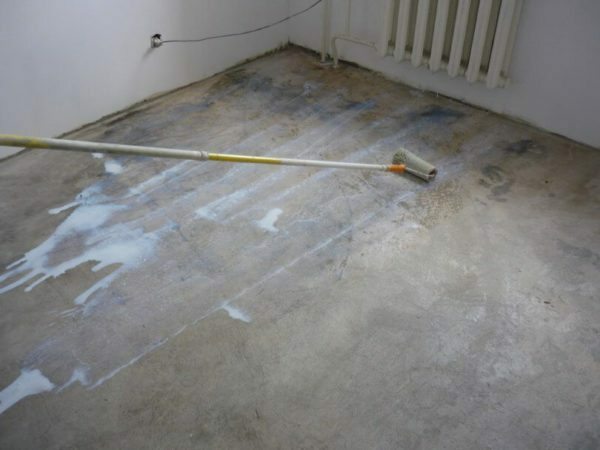 |
Surface preparation:
|
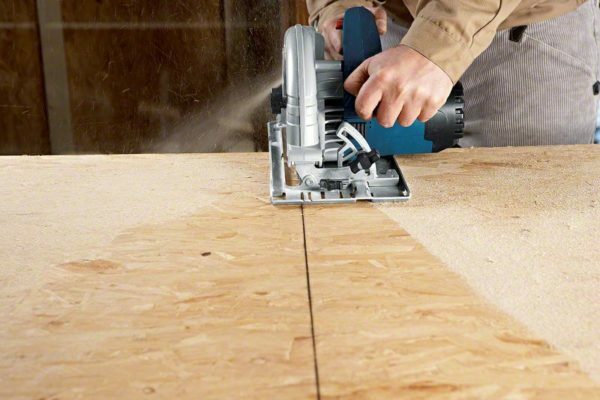 |
Prepare sheets. Sheets of plywood and OSB are large enough. It was convenient to work with them, cut them into squares measuring approximately 50x50 cm. |
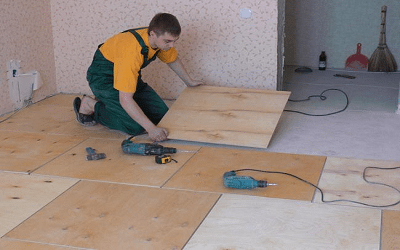 |
Pre-installation:
|
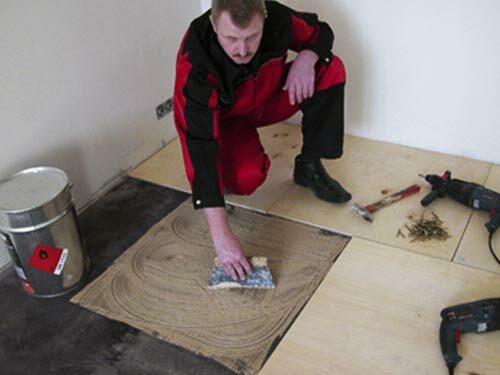 |
Bonding:
According to this scheme paste over the entire floor with plywood. |
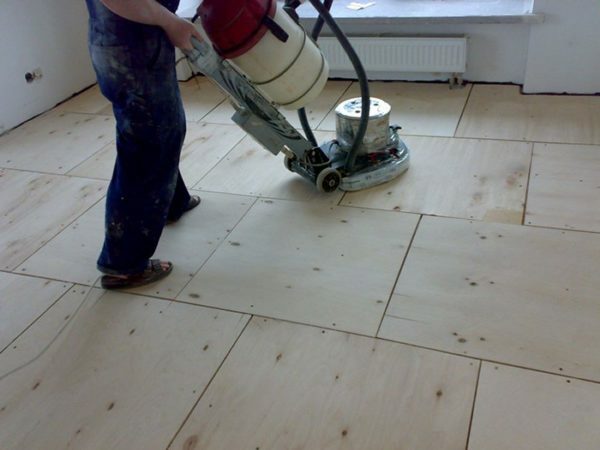 |
Planing. At the end of the work surface is level the floor scraping machine. |
In this work has been completed. I must say that the data can only be used in those cases where the floor screed surface has no deviations from the horizontal.
If the concrete floor is uneven, it is possible to make an adjustable floor. Its principle lies in the fact that a sheet of plywood fastened adjustable rack-like adjustable furniture legs.
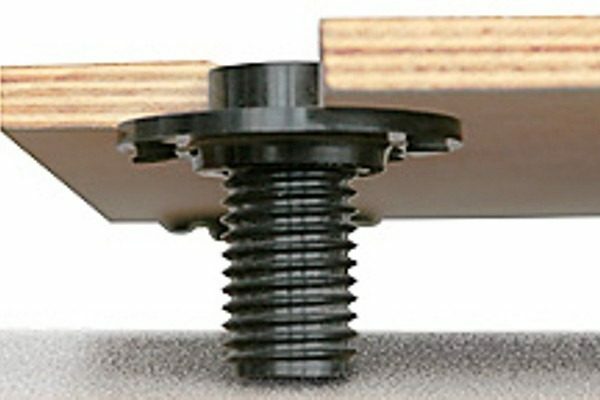
Adjustable stand allows to align the sheets of plywood to the horizontal
This allows to adjust the position of each sheet relative to the horizontal and with respect to each other. The rest of the work implement according to the principle described above.
Here, and all the information on how to make the floors in the apartment is sturdy and durable.
Output
Now you can to repair the floor by any of the methods described above. If there are strange times, it is also recommended for viewing video in this article. Well, the question if there is, ask in the comments and I will gladly answer.


