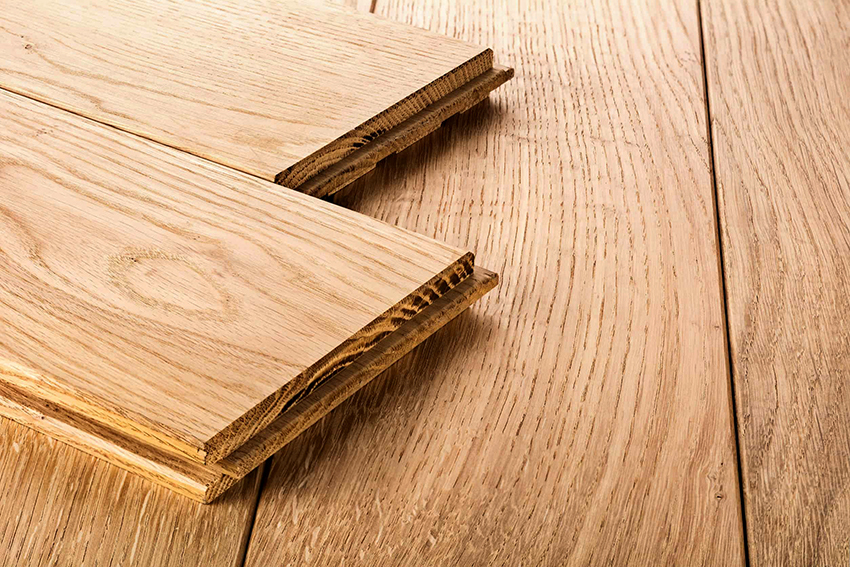
Finishing finishing of the room includes the installation of ceiling and floor skirting boards, door casings. Cut them at the right angle is not difficult when you have a special carpentry tool - - at your fingertips. If you cut "by eye", then the appearance may not be ideal and will require rework. In addition, the accuracy of cutting is important if necessary in the high precision of the parts to be joined.

What is a chair and its types
The is a tool used in carpentry to cut materials at an angle from 1 to 179 degrees( most often using cutting angles of 90 and 45 degrees).
chairs produce from hardboard, solid wood boards, plastics. Professional turntables are made using metal parts, magnets. The angle on these chairs is set independently, and the lumber is fixed with special clamps, which makes it possible to make the sawing as accurately as possible. The most durable and durable are the wooden and metal chairs. Unlike plastic, when cutting, the grooves do not change their width, which allows the tool to be used for a long time without compromising the appearance of the saw pieces.
Before using , the chair must be fixed, for this purpose it is screwed to the carpenter with special metal clamps or screws. After that, mark the required length with a pencil on the workpiece, place it in a special tray of the chair, pressing it against one of its edges. In doing so, we carefully monitor that during the sawing process, the marks of the chair and the workpiece do not move relative to each other. For convenience, you can use a short board as a clip.

Self-made chair
How to make a chair
yourself To produce the simplest chair, we will need the following materials :
- hardwood boards( ash, oak, coniferous) with a thickness of 10 to 25 mm, depending on the type of wood orsheets of plywood of similar thickness;
- self-tapping screws;
- carpentry glue;
- emery paper;
- a simple pencil;
- protractor or ruler with a 90 degree angle;
- hacksaw.
The consists of three parts, fastened together with glue and self-tapping screws.

Scheme of mounting the chair
- The wooden boards are carefully sanded before work, achieving perfect smoothness and angles of 90 degrees. The width of the boards should be from 100 to 150 mm( if the boards are of lower height, then the saw can pop out of the groove, and if more, it will be inconvenient to cut);
- We fasten the boards together, for this we use glue and screws;
- Remove residual adhesive and leave the workpiece until the adhesive has completely dried;
- We make a pencil marking, for this, using a protractor, we carry out on the butt end two perpendicular lines that form a square, the diagonals of the square and one more line, slightly to the side of the drawn ones;
- We carefully check all angles and dimensions, we should get two lines with a 45 degree angle and one line with an angle of 90 degrees;
- Using a very sharp hacksaw, we start making cuts according to the drawn lines( each side must be sawed separately, without pressure);
- Extend the slots using sandpaper folded in half.
A neatly executed chair will last for a long time, helping to sawn baguettes, skirting boards, wooden rails, casings at the required angle with maximum accuracy.
That's all. Well, since you are interested in the studio also learn about how to glue the ceiling skirting with your own hands.