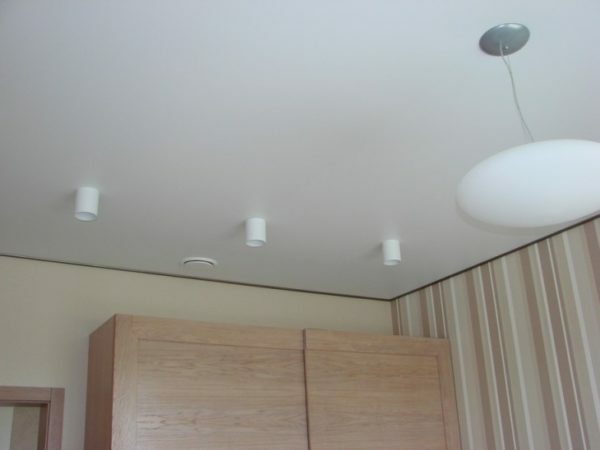
The original and accurate transition between the wall and the ceiling is done using a special ceiling skirting board( also called baguette, fillet).It can have a width of 4 to 10 cm and is selected according to the style created in the room, the area of the room. Yellows are made of gypsum or polystyrene. The first type is rather difficult to install because of its fragility and significant weight. The second type of foam( polyurethane) is more practical: the installation of a ceiling skirting can easily be done by the owner of the home.
Contents
- Ways of mounting the baguettes in the room
- Step-by-step instructions for installing the skirting board on the
- ceiling Special recommendations for the neat operation of the
- Video of the self-installing of the skirting board
Ways of mounting the baguettes in the room
There are two options for fixing the plinth: on the wallpaper or on the finishingWall or wall covered with paint).In the first case, you can avoid the subsequent peeling off of wallpaper that was not pressed by the baguette. In the second, the work is easier, due to the lack of increased requirements for accurate execution: the remnants of the putty are easier to remove from a clean wall than from curly wallpaper.


Convenient installation of ceiling skirting after finishing or on pre-painted walls takes a minimum of time. Therefore, it is ideal for self-fulfillment. To carry out the work, you need to prepare any high quality finishing filler, the required amount of baguettes, a couple of putty knives. Also, the performer will need a stool and a hacksaw, which will be used to cut the skirting boards.
Step-by-step installation instructions for skirting on the
ceiling. First you need to prepare the baguettes yourself. It is necessary to measure the required length of the skirting boards and cut them.

Make sure that the corner joints are even. Therefore, the adapters stuck in the corners are cut obliquely, as shown in the attached video. After preparation, you can start applying a putty finish.


It is applied a thick layer on the side of the baseboard, which will be adjacent to the wall and on the side that will join the ceiling. Next, the baguette is installed according to the following scheme:
The plinth covered with putty is pressed tightly and gently against the surface of the wall and ceiling.

With a narrow spatula, the remaining residues of the putty are removed.


Cutting of the adjacent skirting( joint at the corner joint), its coating with putty, gluing, removing the remnants of putty. Particular attention should be paid to removing surplus in the junction area.


The remaining skirting boards are prepared, their perimetre mounting is carried out.


When the installation of polyurethane ceiling skirtings is completed, you can prepare for the subsequent gluing of wallpaper. In the case of pre-painting, subsequent wall finishing is not performed.
Special recommendations for accurate work
To install the fillets in the corners of the room was done as accurately as possible, you need to visually evaluate the desired angle of cutting. To do this, it is necessary to raise the plinth and determine which cutting angle will be optimal. The selected indentation should be cut with a hacksaw, and the prepared plinth should be applied to the junction with the adjacent one. To impose shpatlevku it is possible only at reception competent dockings( without backlashes).Using this method, the installation of skirting on the ceiling will be made correctly and problems with a sloppy frame will not arise.
Before installing the baguettes yourself, it is worthwhile to carefully read the above instructions and also to study the photo reports on the installation of the baseboard with your own hands. Detailed descriptions will help to easily work and completely eliminate problems with uneven or sloppy sticking fillets. And the use of high-quality putty and baguettes will allow to perform the correct finishing of the room, which will preserve its original appearance for many years.