Wood is the oldest building material, which did not lose its demand and the 21st century. Wooden houses are unique. Each of them can be considered a truly unique creation. Today's technology allows you to process wood logs with such precision and accuracy that they turn into a very convenient to lay and aesthetically attractive bar. It can be with flat faces or with profiled. Since the technology of its production involves thorough drying of wood, the risk of changing the geometric parameters of the beam during the process of correct storage and transportation is negligible.

So it looks like a profiled glued beam. Making it from a log house is very convenient.
What are the advantages of a timber house and its drawbacks?
Wooden houses in themselves have some kind of internal heat. After all, wood can maintain a heat balance for a long time, unlike stone or concrete. Therefore, a house made of wood can be heated much faster. On the contrary, when the heating is turned off, cooling is much slower than in buildings made of bricks or concrete blocks. The ecological purity of wood does not cause any doubt. As for the convenience of processing the material, there are no problems here either. It has long been invented a huge number of tools capable of making wood products of any shape and size. The aesthetic beauty of the use of wood in construction is undeniable.

Such a wooden house can rightfully be considered a work of art.
The existing deficiencies of wood man learned to successfully level with the help of the newest developments of the chemical industry and the technology of manufacturing the timber, which provides for its deep drying. However, these disadvantages should be listed:
- Exposure to putrefaction, fungal and mold damage. With the right manufacturing technology, which provides for high-quality drying, and also when treated with impregnating antifungal compounds, the tree is practically not affected by these diseases and can last for at least a hundred years. Timely care of the wood will further increase this period. It is enough to recall the monuments of wooden architecture, which have been standing for more than one century.
- Severe fire hazard. The disadvantage is serious, but it can be significantly smoothened if all the wood elements of the house are treated with antipyrins. They make wood almost completely non-combustible. The installation of fire extinguishing systems in addition to this, will reduce the risk of fire to naught.
In a word, the existing disadvantages, which can also be smoothed out, are not able to surpass the advantages of a wooden house. For this reason, many developers are building their own private house out of a bar. How to do it correctly will be discussed later.
How to build a timber house from the beginning to the end
The construction of any house is rather complicated and responsible. However, in the presence of carpentry skills, the house of the bar can be built from start to finish. We will analyze in stages, as it is done.
Earthwork and foundation installation
Any new construction starts with excavation. After all, no matter how level the plot was not, it needs a preliminary layout and installation of drainage structures. In the case of a wooden house, the latter is very important, since high-quality water disposal is a pledge of dryness of wood, and therefore its durability. The plot of the plot is made by removing the top fertile soil layer to a clay foundation. The removed soil can be taken out or moved to the garden. On the perimeter of the site, a drainage ditch is arranged with a slope to the lowest part of the site. It can later be cultivated by placing drainage pipes in it.
The next step is to build a foundation. Most often under lumber houses make a ribbon type. It is most convenient and allows the construction of a basement under the house. For its construction, dig a trench of the necessary depth and width, construct a formwork, fill it with reinforcement and pour it with concrete. In this case, special attention should be paid to both vertical and horizontal waterproofing of the foundation monolith. In order for the foundation to fully satisfy the type of structure and its mass, it is necessary to make correct calculations of its parameters.
According to the construction regulations, the lower part of the base should be located 20 cm below the freezing level of the ground. For the middle band, this figure is from 50 to 150 cm. In the northern regions and Siberia - much deeper. This rule does not apply to areas where the ground is sandy and dry. Here you can dig a smaller trench, but not less than 70 cm from the zero mark, that is, from the surface of the earth.

Table of the depth of soil freezing by region.

Table of the depth of the foundation on the type of soil.
The elevation of the foundation above the ground should be between 30 and 120 cm. However, it may be different due to the significant slope of the site. The width of the monolith should be 30-40 cm. Thus, for the foundation, a total height of 1.5 m and a perimeter of 40 m, it is necessary to calculate the required volume of concrete.1.5 * 0.4 * 40 = 24 m3.However, its consumption can be reduced to 50% if you arrange a sand-crushed pillow at the bottom of the trench.
On top of the foundation monolith, a base of brick is arranged. The masonry is made with a thickness of one brick in 2 or 3 rows.

Scheme of the whole "pie" of the ribbon foundation.
Construction of a frame from a timber: laying of logs and overlappings
For an example we take glued profiled bar with the size of section 200х200 mm. Such dimensions are optimal for a cold climate. We will calculate the need for it for our single-storey house with dimensions of 10x10 m. It is better to order a solid beam of the necessary length than to join a standard 6 meter long one. If we want to have a ceiling height of at least 270 cm, then, taking into account the need for a Mauerlatt device and a basement floor, we need 320 cm of the total height of the frame. With a simple division of 320 by 20, we get 16 rows of masonry in the frame. The height will be a little more than the design because of the insulation, which will be laid between the beams, but eventually the frame will shrink, and the parameters will be calculated.
If our house is a regular rectangular, then we need 16 * 4 = 64 timber length of 10 m. This is only on the outer walls. For a house of this size, another load-bearing wall is needed( the foundation below it can be columnar for saving material), so add 16 more pieces and get 80 bars. Do not forget about the device overlap. We have two of them: a basement and a ceiling. If you make lags on them after 1 m, you will need about 20 more bars. For these purposes, a cheaper conventional unprocessed one-piece bar is suitable. In total, we need 100 pieces of 10 meter beams. Their volume is 100 * 0.2 * 0.2 * 10 = 40 m3.Knowing this, you can determine the required financial investment in the frame.
Before starting the construction of the frame, the whole beam should be treated with antiseptic and antipyrine. The first crown is laid on the plinth through a layer of waterproofing in a half-timber. This is necessary for laying lag basement overlap, which are laid in 1 m in the event that 50 mm will be used.blocks for the rough floor. If you plan to immediately make a finishing floor, then this distance should be reduced to 40 cm, which will increase the need for the material. The ends of the beam are sawed and cut half from each so that a smooth surface is formed at the joint.

Installation of the first crown with lags of the basement floor in a half-timber.
Angles can be joined in various ways, the simplest of which is the "swallowtail".This is when each subsequent bar is placed in contact with the previous one. This fastening is not very reliable, therefore, when using it, the bars are additionally fastened together by metal clips. There are other, more perfect ways of connecting.

Methods of the device of angular joints of a bar.
Fastening of beams of neighboring rows is made with the help of wooden nagels. To do this, a through hole is drilled in the beam, which penetrates into the previous one by a third of the depth. The hole is driven into the hole by a wooden sledge hammer, which is 2 mm thicker than the diameter of the hole. Blows are applied until the canton is densely attached to the previous one. The distance between the nagels should not be less than 1.5 m.

So they look like nagels.
Jute tape or other similar material is placed between the rows for compaction and warming: a patch, moss, mineral wool. There should not be a single site where there is not this gasket.

Laying jute tape between the beams. For this purpose, there is a special groove in the profile of the bar.
There is no need to fasten the last two rows to the previous ones, since they will have to be removed after shrinkage of the frame to lay the beams of the floors. The distance between the lags should be at least 1 m, if light mineral wool or polystyrene is used for insulation. For bulk insulation, the distance is reduced to half. Window and door openings in the walls are cut either after the full shrinkage of the frame, or left directly when laying the crowns.
Mounting of roof structures onto wooden walls
For the construction of a simple gable roof, you will need bars with a section of 100x50 mm, a bar of 150x150 mm and an edging tess for the construction of the roof roofing and the closing of the gables. If it is used as a roofing material for metal roofing or profiled sheeting, then the construction of a bulky, powerful structure is not necessary. However, it is necessary to have more tes, since the crate should be with a small step or continuous.
As the Mauerlat, the last row of the log frame will be used, the attachment to which the rafter legs should be reliable. For this, a ridge is cut in them, with which the rafter legs rest against the Mauerlat. Racks are made from a bar and installed on a supporting central beam or a wall after 100 cm. On each rack, rafter legs are built, descending to the Mauerlat. The length of the racks should be chosen so that the angle of the roof slopes is not less than 45 degrees. The rims are made of boards with a width of 150-200 mm and a thickness of 15-25 mm, with a pitch of 100-150 mm.

Roof construction. The simplest scheme.
The final stage is the vapor barrier and the laying of roofing material. After that, they install skate and wind rails, sew gables.
Interior finish
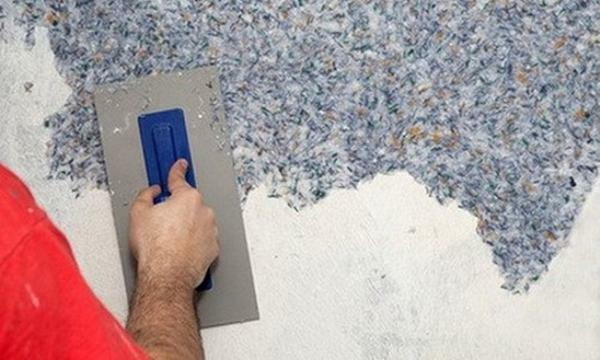
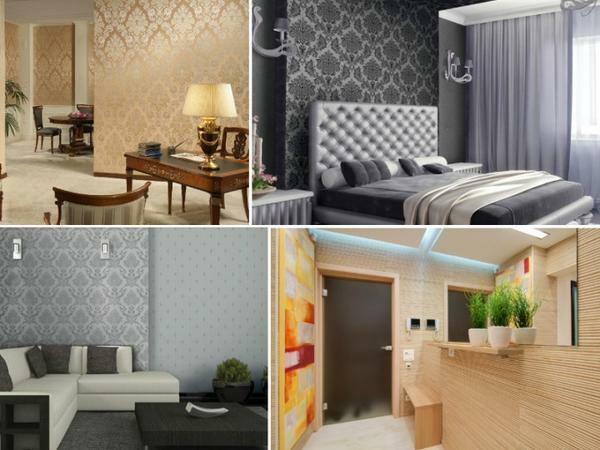
Interior walls in a wooden house can not be made at all if the beam is ground. It is covered with a stain of the desired color to get a beautiful natural pattern. If the finish is necessary, then produce it with any finishing materials. The walls can be plastered with pre-reinforcement or use gypsum plasterboards.
The plywood on which the finish coat is made can be laid on the rough floor. Ceilings hemmed with plasterboard or make tension structures. Door and window openings fill with doors and windows from any material.

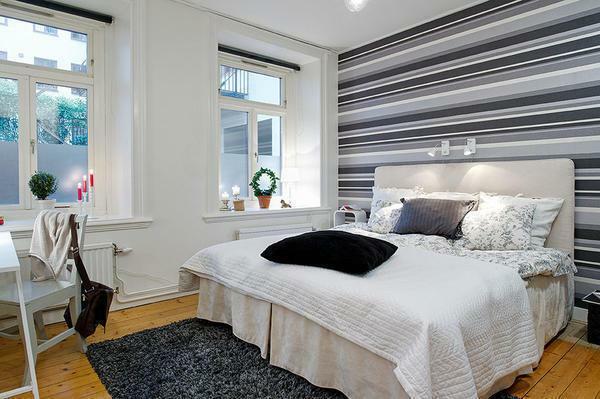
Finished house from a wooden beam. As you can see, no additional facade decoration is required.
A self-made log house will delight not only you, but also your children and grandchildren with proper construction and proper care.