Content of
- 1 Why
- 1 is used for finishing the walls
- 2 's choice of filler fillers Selection of
- 3 fillers
- 4 finish finishing technology
-
- 4.1 Video for the
-
finishing filler The puttying of walls and floors is carried out in several stages: first apply the base coat, the primer, then apply the finishing coatlayer, sometimes a double shpatlevanie. The most essential requirements are imposed on the upper layer of the finish: it must be more equal than the previous ones, and also resistant to external influences. In addition, the finishing putty should not consist of a filler with fractions of substances more than 0.5 mm.
Why you need to finish the walls with
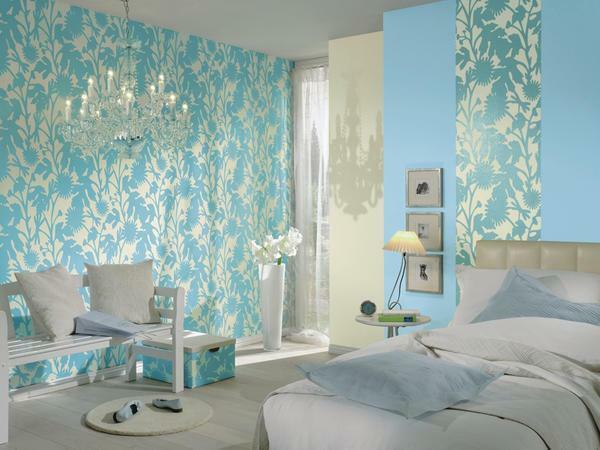
Putties are used for leveling walls inside and outside the premises. Prepared over

Finishing putty over the previous layer, and should be perfectly flat
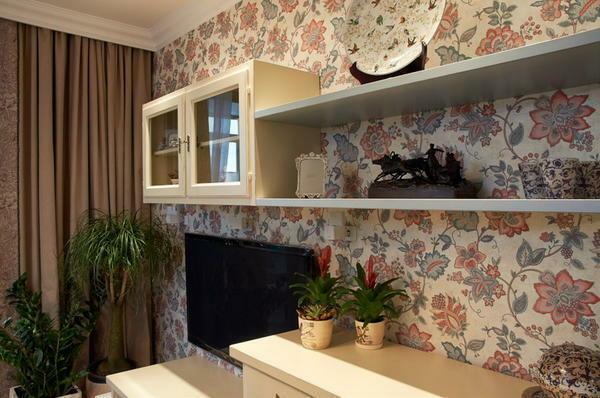
is used as a basis for other materials, for example, under wallpaper or under painting. The finish layer is clean, so it is important that it has a smooth surface.
The required properties are provided by fine grinding of the constituent components of the material. The best qualities are putty filler, prepared from filler fines to 0.15 mm: when applied to the surface of the wall, it can even not be grinded. According to the chemical composition, putty for finishing works practically does not differ from materials for base and intermediate filling, the only difference in materials is the size of fractions.
The choice of filler
All kinds of fillings, depending on the material of manufacture, are divided into three groups:
- gypsum - with its application, the finishing putty of walls in rooms with low humidity is performed. Gypsum is not a waterproof material, in bathrooms, shower rooms, in the kitchen and in bathrooms, the finish on its base will quickly deteriorate. Advantages of gypsum putty - no shrinkage and increased drying speed;
- cement - suitable for the treatment of rooms with a high level of humidity. Has a high water resistance, has a slight shrinkage during solidification;
- acrylic;
- polymeric - an option for rooms with normal humidity. It dries well and quickly, firmly holds on the surface of the walls. The minimum thickness of one finishing layer is only 0.2 mm. Polymer-based finishing putties have only one drawback - a very high price.
The second important component of putties is lime. It is important that the size of its fractions correspond to the size of the base fractions, otherwise the mixture will turn out to be of poor quality.
For self-repair of premises is best suited for polymeric putty. It has an increased viscosity and good adhesion, which makes it possible to finish the puttying of the walls on the first attempt without even having the necessary experience.
Finishing technology
Finishing putty is carried out only on top of the starting or intermediate finish. The upper thin layer of material should have a thickness of not more than 1-3 mm, and, the thinner it is, the better. You can start work only a day after the previous layer of material was applied.

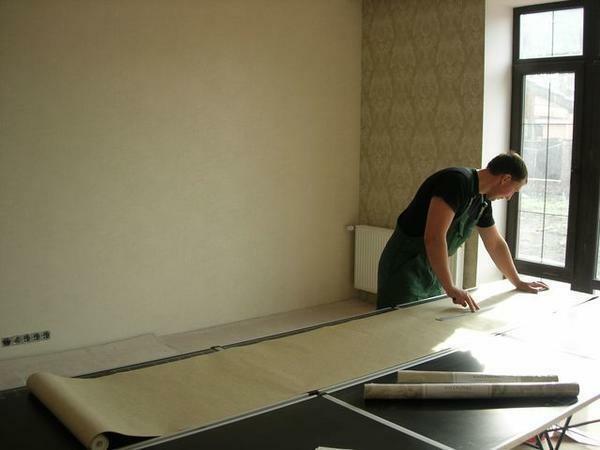
Before you apply the finishing filler, you need to prepare tools - large and small spatulas. The first is suitable for finishing wide surfaces, and the second - for hard-to-reach places. The putty is applied with sweeping movements, the spatula is pressed firmly against the surface of the wall. The direction of movement of the spatula should not coincide with the direction that was chosen when creating the previous layer. For each area to be processed, the tool is to be used several times so that the material layer is perfectly smooth.
There is one more application technique, which is that first the putty is applied to the wall with short strokes in one layer. When it is dry, a control layer is applied.
Stages and order of works
The first stage is preparatory. The dry putty mixture is diluted with water in order to obtain a solution of the required consistency. To carry out this work, use a special container of suitable size: first pour cold tap water into it, and then add the powder in the proportion that is indicated on the package. The mixture is shaken with a mixer.
When rotating the blades of the mixer, they will strike against the side of the container, and before applying the finishing putty on the wall, particles of dirt can be found in the solution, which will get there because of this. To avoid this, it is recommended to thoroughly wash the dishes before preparing the putty. Also, do not use metal containers, as they can rust, and in the mixture will be slices of scale. The best option is a clean plastic dish.
If there is no time to prepare the material, a dilute mixture can be purchased at the building store. It costs about 20% more than a dry powder. In detail how to choose a ready-made filler.
The next step is directly applying the putty on the wall surface. To properly perform this work, it is recommended that you read the training video. In rollers on specific examples it is shown what is the finish putty, and how to use it correctly.
Putty, which has in its composition compounds with a fraction of more than 0.15 mm, after drying needs to be troweled. Usually for this purpose a grit sandpaper 150 is used. As a result of the treatment, minor defects will be eliminated, which will damage the texture and appearance of the surface. If the filler is selected for the repair, consisting of the materials of the fraction less than 0.15 mm, additional finishing is most likely not required: such material forms a homogeneous plastic mixture, which when dried practically does not form defects.
Video about the fin parquet of
walls https: //
https: //