The dream of many girls is to have a personal island in the apartment, where you can calmly and comfortably emphasize your natural beauty. This oasis should have a dressing table and all kinds of shelves in cabinets to accommodate pleasant perfume and cosmetic items. But the main item is the make-up mirror, the electric lighting of which will help make makeup application convenient and the result perfect.
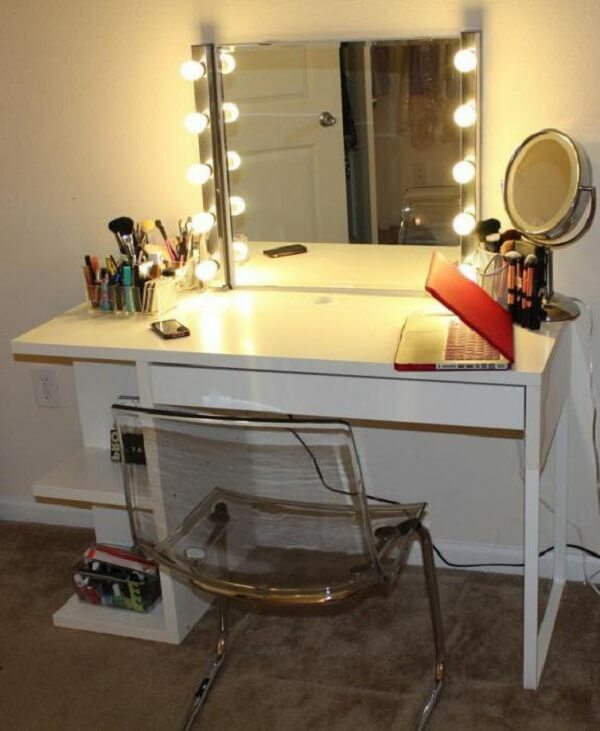 If you are a man and you are faced with the question of how to please your girlfriend, buy a backlit mirror for applying makeup. But the price of the product, even in the Ikea network, is too high. If you are not afraid to pick up tools, make a make-up mirror with your own hands. You can learn how to make a device from the step-by-step instructions below. Your girlfriend will receive an exclusive gift, and you will enjoy the creative process and save money.
Now let's move on to talking about how to make the place for applying makeup at home comfortable?
Content:
- Choosing a mirror
- Selection of lighting sources
- Mirror design
- Necessary materials
- Assembly order
- Simplified options
Choosing a mirror
First, decide on the size of the mirror. You need to choose taking into account the dimensions of the room, the place of installation and the preferences of the hostess.
In a small room, a small or medium-sized mirror is appropriate, which is convenient to attach to a hinged makeup table with drawers or directly to a plasterboard wall or other finishing material.
A high make-up mirror will allow you not only to make high-quality makeup, but also to choose the right clothes. For the size of full human height, a floor installation is provided, which has recently become the most popular.
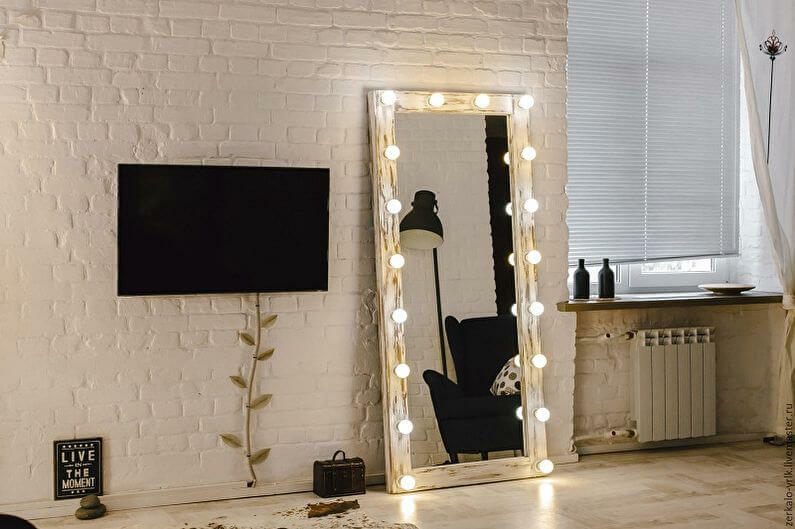
The shape of the dressing room mirror can be square, rectangular or round. It is possible to use other, more complex forms. It all depends on your imagination.
The most practical are hand-made mirrors with bulbs in the shape of a square or rectangle. You can attach them to any surface:
- to the wall above the shelf for cosmetics;
- directly on top of the chest of drawers;
- over a wooden curbstone or over a hanging box;
- on the console.
You can make a make-up mirror in a portable version with legs or with a stand. Or you can just put it on the floor or shelf at an angle to the wall.
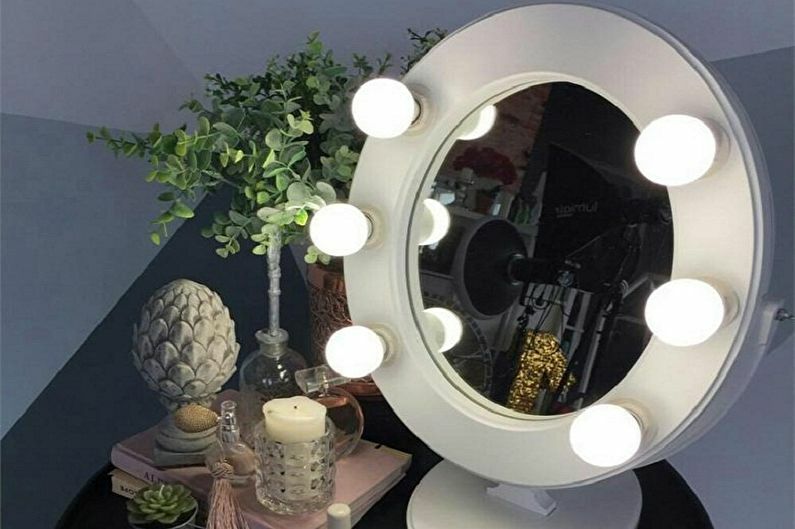
Unsupported, round or oval, only suitable for wall mounting. But such a dressing room mirror fits perfectly into any interior.
Selection of lighting sources
Now you need to decide which bulbs to use in the backlight. This is the most important stage in creating a masterpiece with your own hands.
If you do not like to wait while your half of a few hours in a row directs a marafet, screw in incandescent lamps. The hot atmosphere created at the dressing table, even thanks to the small lamps, will keep your waiting time to a minimum. But, there is a risk of additional spending on new, non-hot lamps after the wife definitely learns how to redo everything correctly.
Therefore, when making a make-up mirror with your own hands, it is better to immediately choose Led sources. LED backlighting will save energy, will last a long time, and the light emitted will be of excellent quality and without unnecessary heating.
You need to buy lamps of warm light, Colour temperature which is in the range from 2700 K to 3200 K. This radiation spectrum is closest to sunlight and is safe for the eyes.
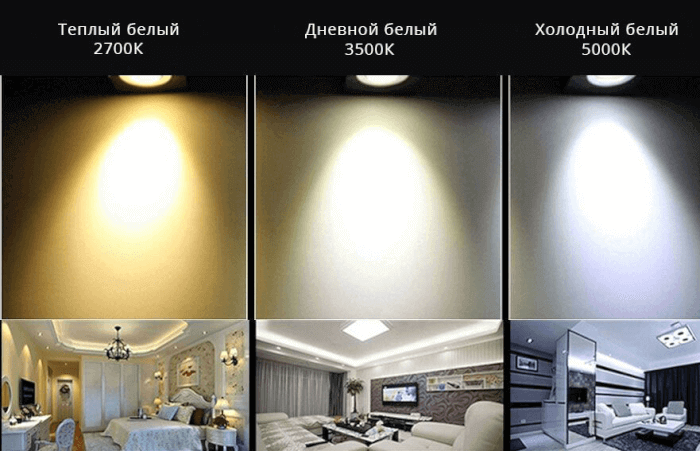
Cold white light, which contains blue and violet short wavelengths, is harmful to the eyes and can degrade the retina.
If you want to create a make-up mirror with adjustable lighting brightness with your own hands, purchase Dimmer. Before purchasing, pay attention to the markings on the packaging of the dimmer and light sources, as connection with a dimmer is not suitable for all bulbs. Please consult your dealer.
Mirror design
Before you make a make-up mirror with your own hands, you need to think about what design will be appropriate in the interior of the room.
If indoors:
- clear geometry of drawings prevails, it is better to choose a rectangular or square model;
- predominantly gentle, pastel colors are present, the rounded shape of the mirror will look better;
- spacious and high ceilings - an appropriate floor make-up mirror;
- there are patterns in the decor of walls, curtains, it will be ideal to repeat the pattern when decorating the frame of the product.
Necessary materials
Before you go shopping, calculate and write down what you will need and to what extent.
Make a drawing of the future mirror.
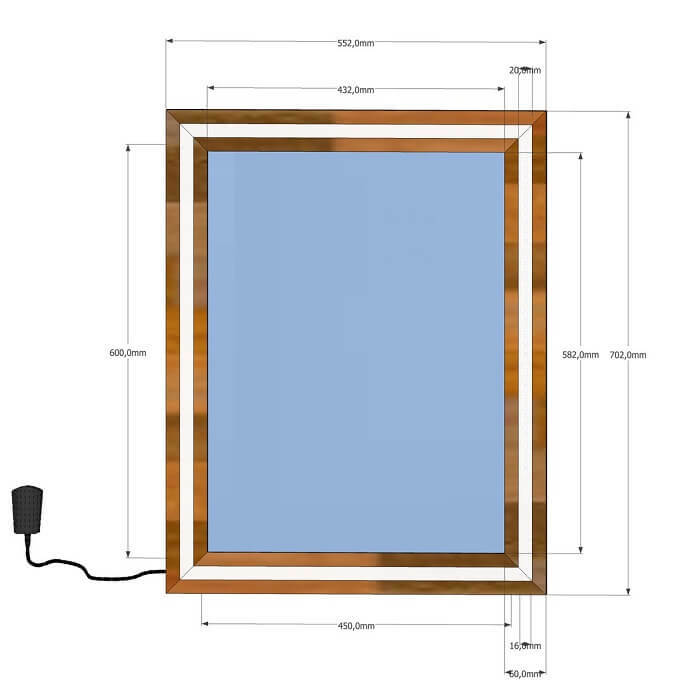
Calculate the materials required to make the frame. Determine how many bulbs can fit on it.
In order to make a make-up mirror with your own hands from boards, you will have to acquire:
- A mirror of the correct size.
- Planks or beams.
- Furniture corners.
- Copper two-core cable.
- Sandpaper.
- Paint.
- Varnish.
- Double-sided tape.
- Drill.
- Saw.
- Bolts, screws and other fasteners.
- Glue for wood.
The material list is for a product with a wooden frame, such as a loft style.
In addition, you will need a plug to turn on the backlight in the outlet and a switch for mounting on a wire or so as not to pull the cord out of the network every time you need to open the circuit. For ease of use, the switch can be installed directly on the frame if it is made of boards.
Assembly order
Consider how to make a make-up mirror with your own hands step by step.
You already have a drawing. We start making the frame. We will make it wooden. You can use door trims or laminate strips. We measure the desired length, cut at an angle of 45 degrees, for this you need a miter box.
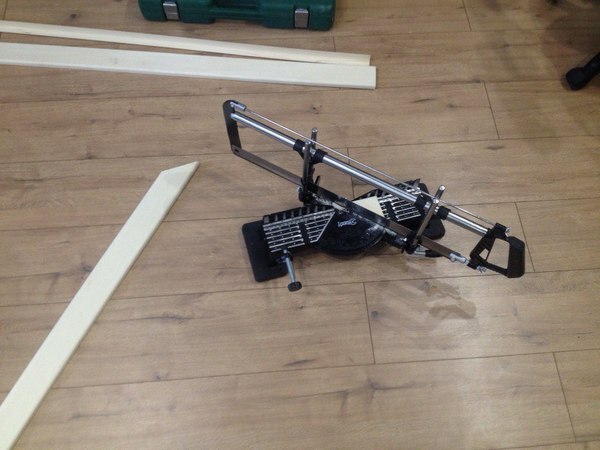
The frame must match the dimensions of the mirror. We glue the ends. Leave the glue to dry.
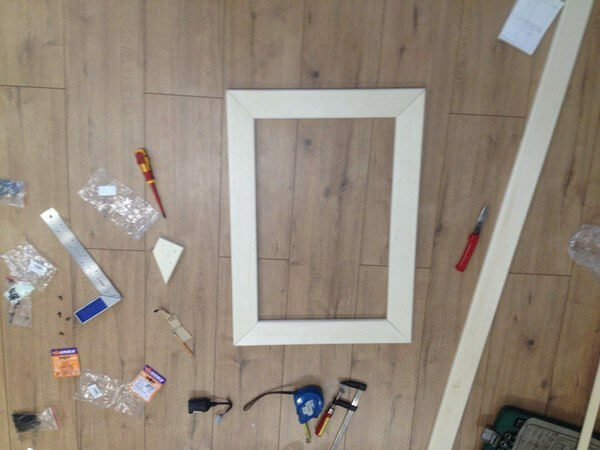
On the back side, we additionally strengthen the fastening with corners.

We collect and attach the lower part of the product body to the frame. We glue a decorating piece from a wooden corner around the perimeter. We mark and drill holes in the frame for installing lamp holders. We grind all surfaces, saturate with stain.
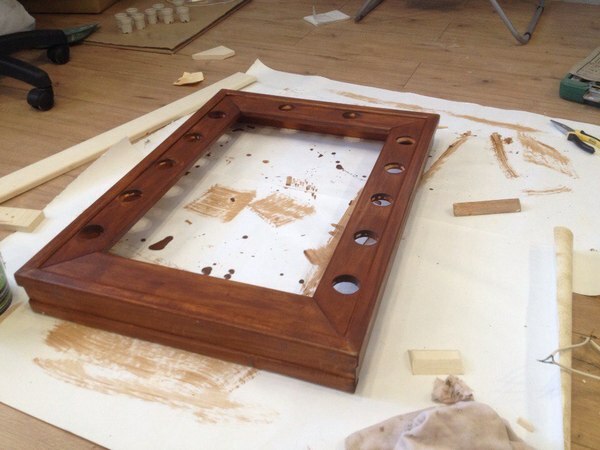
Next, you have to decide the best way to paint the dried surface, paint on wood or varnish. If you use laminate or chipboard as a material for the frame, you can do without sanding and painting.
We insert cartridges into the holes, connect the cable.
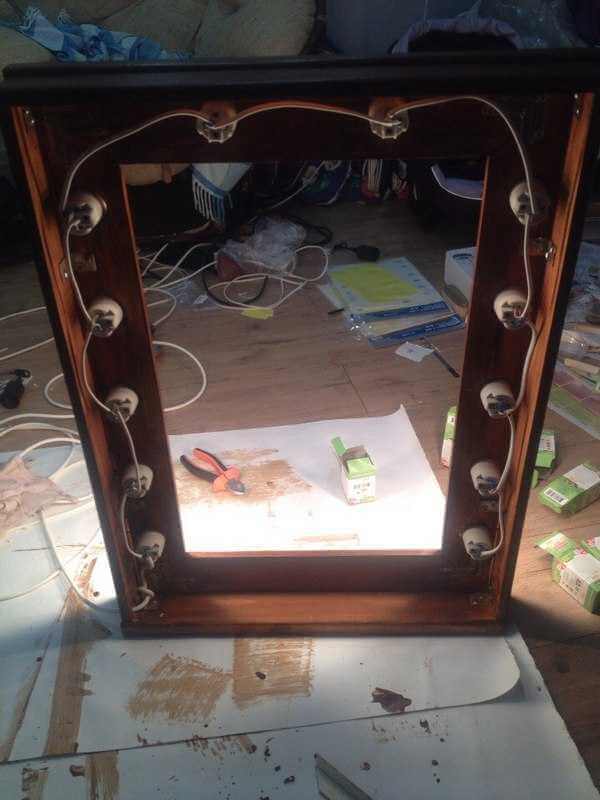
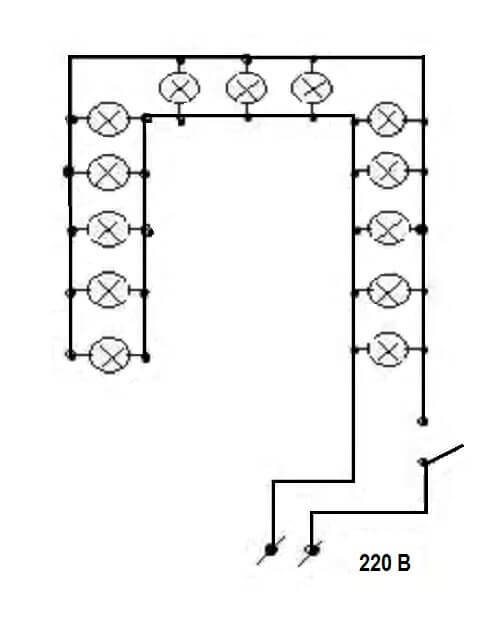
According to the scheme, the lamps are switched on in parallel. The drawing is shown below.
We fix the mirror in the frame using thin bars. If desired, the back of the structure can be closed with plywood, attaching it with small screws to the body.
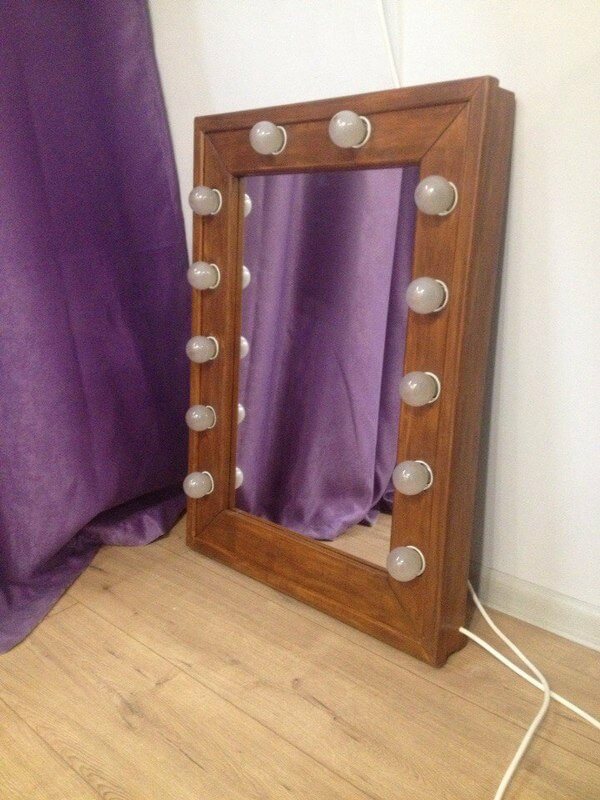
We carry out installation of a plug and a switch. We screw the lamps into the sockets. The make-up mirror is ready. You made it yourself! The result is in the photo below. You can start operating.
Important! If you do not have the skills to work with electricity, invite a specialist to install the backlight.
Simplified options
How to make your own backlight in an easier way?
If the dressing room mirror is mounted with an LED strip, it will take no more than an hour to work. In this case, you do not need to carry out the drawing.
You must first purchase:
- mirror;
- diode tape;
- diffuser or profile with a diffuser for the tape;
- connectors;
- power unit;
- glue;
- electrical wire.
We cut the LED strip into 4 pieces, according to the number and size of the sides of the mirror. We connect the segments using connectors. We connect the power supply to the circuit. We fix the Led strip along the edge of the frame using a glass surface sealant.
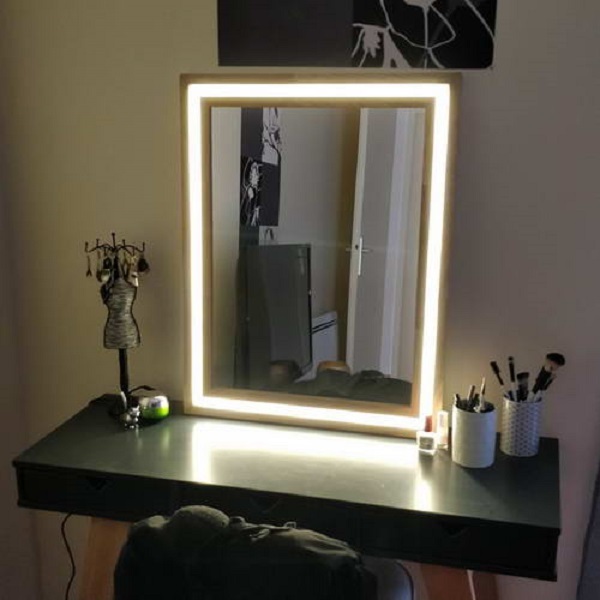
If the make-up mirror is without a frame, you can glue the diode tape directly to the glass.
It is even easier to install the mirror illumination with flexible neon, designed for a voltage of 220 V. In this case, you do not need a design drawing, connectors or other additional materials and tools. Just mount the LED neon according to the instructions that came with it.
On the Internet, you can find a large number of video stories on how to make your own make-up mirror illumination. In each episode, the cost of the product received is several times lower than the price of a similar product in retail chains. In addition, by doing the work with your own hands, you can decorate the interior of the apartment with an exclusive object.


