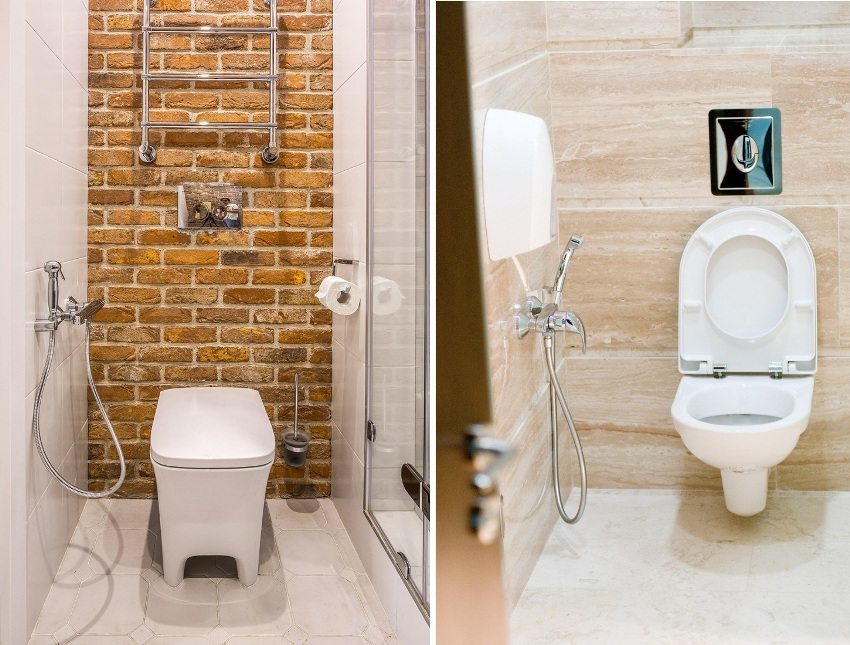
When installing plumbing fixtures may be different ways to connect to the sewer. It depends on the type of design. Therefore, before installing the toilet bowl should become familiar with the process in theory. Below are the basic options.

Installation of crane and flexibles
First of all, it should be set-off valve (if it is not), through which the system will be connected to the water supply. The modern version of the connection of valves is carried out through a water outlet, which is mounted in the wall.
But in most cases the crane mounted on a water pipe. Before mounting the tap on the thread wound fum-tape. Next to the door is screwed shut-off valves flexible connection. Since it was originally equipped with a rubber gasket, preroll no need for it.

Installation of devices with an oblique or horizontal pipe - step by step guide
connection to the sewage principles of these two models are virtually identical. The only difference is in the construction of cups themselves. In samples with a horizontal pipe release is directed back to the toilets with an oblique funnel it is at an angle.

Step 1. First you need to measure the width of a bathroom, find the middle and make a mark at this point. Then draw a line through it, that will determine the direction of the bowl location.

Step 2. Further, the drain pipe is inserted into the corner plastic. It may be necessary when installing a model with an oblique release. It inserted additional PVC adapter toilet. It can be hard or flexible (corrugated). To detail make it easier to insert into the hole, silicone grease is applied to it.

Step 3. Then you need to explore the bottom of the bowl. If there are irregularities, they should be cut with a knife. After stripping the supporting part of the device is tried to the installation location, and performed a preliminary docking toilet pipes and sewers. Also, when it is necessary to check the distance from the walls of the room to the bowl. It must be the same on both sides.

Step 4. Aligning the toilet, it is necessary to outline its base. Thanks to this marking unit further may be permitted without the measurements. Immediately executed under mounting layout. Pencil simply inserted into the holes on the base and make the tag. Thereafter the cup is removed to the side, and in the floor in places Markup Wizard drilled holes. They hammered the plastic anchors.

Step 5. After preparing the holes the toilet need to replace the markings and dock with the sewer pipe. Bowl itself is fixed by means of steel screws, which first twist by half.

Step 6. Further, the toilet bowl is lifted by a small height (approximately 5 mm). You can use a wooden or plastic lining. This measure is necessary to form a solid support with silicone gasket. Silicone filling the gap between the toilet bowl and the floor around the perimeter of the bowl base. Its layer should be such that the gasket under the bowl base was broad. So do not feel sorry for the material here.

After removing the chocks bowl sink and part silicone protrudes from beneath the base. Excess material can be removed with a cloth. Using a narrow spatula (or even a piece of plastic) at the site of silicone edging is done neat.
Step 7. After the silicone has dried (approximately two hours) in a bowl mounted cistern. To the toilet should be accompanied by instructions on installation of a tank. Depending on the design of the device it can be attached to both the toilet and the wall.
When installing it is necessary to follow the horizontal with a spirit level. After mounting the tank flexible connection is screwed to the fitting located on it.

Further, mounted on the tank drain mechanism and the cover. At the final stage is fixed to the toilet seat, which is fixed by screws.
Installing the device with the vertical outlet
In this model, the spout is facing down. Therefore, this type can only be installed when the drain opening is located in the floor.

For connecting the toilet to the outlet sewer pipe is mounted a screw flange with a locking device. It is set and fixed toilet bowl outlet. Since in this case the toilet seat unit depends on the point of the drain arrangement, and the marking is performed in accordance with this parameter. The rest of the assembly of this model is no different from previous versions.
2017-2018. Copying of materials is possible without preliminary negotiation in the case of a direct hyperlink to our website.


