Content
- Materials for ceiling insulation
- Surface preparation
- Insulation of the ceiling with polystyrene or foam
- Thermal insulation with mineral or basalt wool
- Features of warming balconies and loggias
The problem of ceiling insulation is especially relevant for residents with apartments on the upper floors. Due to insufficient thermal insulation of the room during its construction or loss of quality heat insulation materials under the influence of time and the external environment, heat loss through the ceiling can be very significant. The issue of thermal insulation of the ceiling also worries owners of balconies and loggias, who plan to make a warm room out of them. We will find out how to insulate the ceiling in the apartment and on the balcony using different materials.

The need for ceiling insulation is especially acute in old prefabricated houses. A flat roof and the absence of an attic do not allow insulation from the outside. Insufficient thermal insulation of the ceiling not only leads to the loss of a large amount of heat, but also is accompanied by the formation of mold and fungus. They develop due to condensate droplets forming at the border of cold and warm air, which becomes the ceiling surface itself. To solve this problem, you need to take care of the insulation of the ceiling, not forgetting to ensure its waterproofing.
Materials for ceiling insulation
Qualitatively and reliably insulate the ceiling in the apartment is possible only from the inside, even if there is an attic on top. Various cables and communications can pass through the attic, to which free access is necessary. There is no guarantee that the workers serving them will not damage the insulation or its waterproofing. To save yourself from problems and worries, it is better to warm the apartment from the inside.
Please note: regardless of the selected material, the use of insulation will reduce the height of the ceiling.
How to insulate the ceiling? The choice of material is quite diverse:
- Styrofoam. The cheapest insulation with good thermal insulation properties and low weight. At the same time, the foam is unstable to fire and has a fairly low mechanical strength.

- Penoplex. Extruded polystyrene foam with a fine mesh structure made in the form of plates. Environmentally friendly and durable insulation, convenient to use, has high strength, not afraid of moisture. The disadvantage is the relatively high price.
- Penofol. Foamed polyethylene, one side of which is covered with foil. The main advantage is a small thickness, but the insulating characteristics are low, therefore it is used only for small heat losses.
- Mineral or basalt wool insulation. Resistant to fire, environmentally friendly. Under the influence of moisture, it can lose its characteristics, therefore, it needs high-quality waterproofing.
HELPFUL INFORMATION:GKL installation on the ceiling: technology, design, cost

- Warm plaster. Choosing a heater for the ceiling, often forget about this material. In fact, modern plaster mixes due to the addition of various fillers in them have excellent thermal insulation properties. They do not need waterproofing and provide a beautiful appearance of the ceiling without applying an additional decorative layer. The disadvantage of this method of insulation can be called the complexity of the process and the need to possess certain skills.
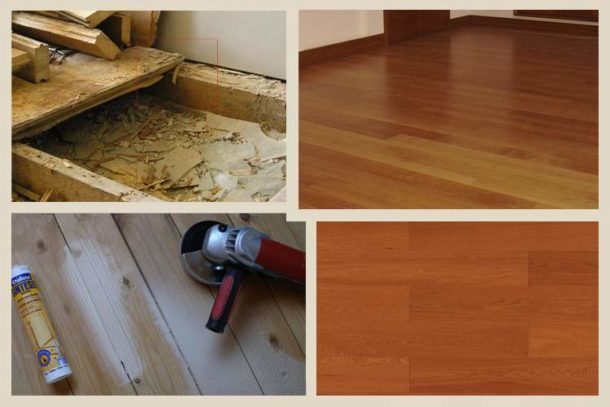
- Bung. Great for warming rooms decorated with wood. Fits well into the interior, easily attaches to the ceiling and is not afraid of moisture.
Surface preparation
Before installing the insulation, you should take care of its waterproofing from the side of the ceiling. You can treat the ceiling with special waterproofing solutions that have appeared on sale recently. They penetrate deep into concrete structures and reliably protect against moisture.

Procedure:
- The ceiling must first be cleaned and washed.
- Particular attention should be paid to seams and cracks. If necessary, cracks need to be drilled and a filler, for example, fine gravel, added to the solution.
- The waterproofing solution is applied to the moistened surface of the ceiling with a brush, additional conditions for working with them can be found in the instructions.
Insulation of the ceiling with polystyrene or foam
An Izolon vapor insulator is glued onto the previously leveled surface of the ceiling, and the layer with the foil must face down.

Further actions to create insulation will depend on what type of ceiling finish will be chosen later. Plates of foam or foam can be painted or covered with decorative panels or drywall.
When choosing the first method, the order of work will be as follows:
- Insulation plates are mounted on the ceiling with dowels or construction glue. It is important that each plate has at least five attachment points, usually the corners and the middle of the sheet.
- The joints between the plates are filled with foam. Foam plate often have a selected quarter, which avoids large gaps between them.
- The joints between the sheets of insulation after installation are simply glued with metallic tape.
- A masking grid is glued onto the fixed insulation boards, after which the ceiling can be puttied and painted.
HELPFUL INFORMATION:Design Features for Drywall Ceiling

With the subsequent use of decorative panels, the suspension structure is first made of battens or profiles. The step between the rails can be selected based on the size of the foam plates, usually it is 500-700 mm.
If necessary, foam boards are easily cut with an electric jigsaw or a sharp knife.
The height of the suspension frame depends on the thickness of the insulation plates, but should provide a gap of 1-2 mm between them and the layer of decorative finish for air circulation.
After fixing the foam on the ceiling in the cells of the frame, the necessary communications are laid and the elements of the final finish are fixed.
Thermal insulation with mineral or basalt wool
To insulate the ceiling with slabs of mineral or basalt wool, it is necessary to build a suspended frame. Heaters of this type absorb moisture very well, therefore, they must be reliably protected from its ingress from the external environment. The ceiling insulation algorithm in this case is as follows:
- Surface preparation: cleaning and sealing cracks.
- Bonding of vapor barrier layer (Isolon foil inside).
- Marking on the ceiling of the mounting points of the frame elements.
Tip: it is better to make the distance between the guides a couple of millimeters less than the thickness of the insulation plates: then they will be inserted into the cells with effort and will not require additional fastening.
- Fastening the frame from bars or a metal profile with a punch and dowels.
- Inserting insulation boards. For greater reliability, you can use glue or special plastic dowels.
- Laying the necessary wires and cables.
- Laying on top of the insulation another layer of vapor barrier.
- Fastening to the frame of finishing elements.

When working with mineral or basalt wool, personal protective equipment must be used. Glasses and a respirator will prevent particles of insulation from entering the eyes and respiratory tract.
Exactly the same technology can be applied to warm the ceiling on the balcony.
HELPFUL INFORMATION:We mount the ceiling from GKL: which gypsum board is better to use for the ceiling
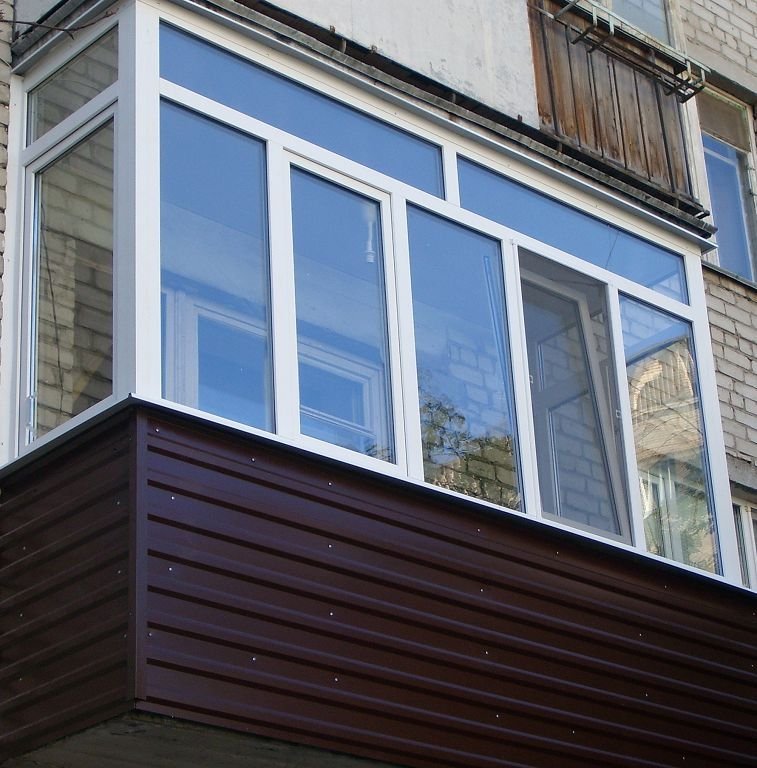
Features of warming balconies and loggias
Balconies and loggias often become additional rooms or greenhouses for indoor plants. A nice addition to a warm loggia is the reduction of heat loss in the main room.
It makes sense to insulate the ceiling on the balcony with sufficient thermal insulation of its other elements. That is, the floor and walls must first be insulated, high-quality glazing made. In this case, the insulation of the ceiling on the balcony will be the finishing operation in the process of turning it into a comfortable room.

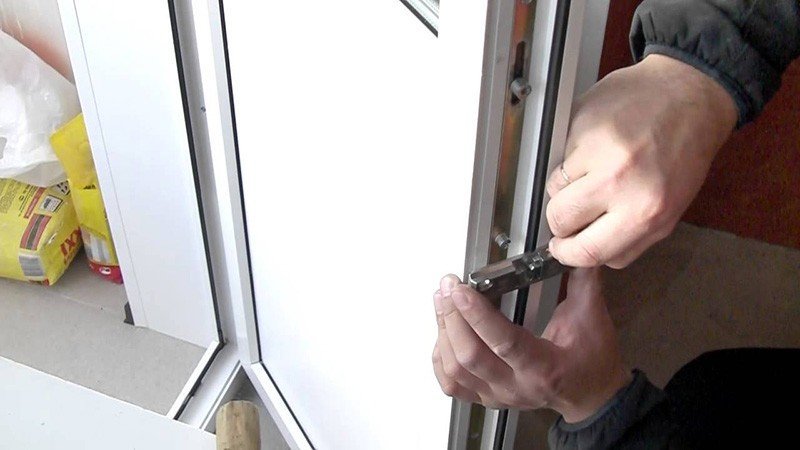
When choosing a material for insulation of the ceiling, it should be noted that window frames should open freely after completion of all installation work. Therefore, a gap of at least two centimeters is necessary between the lower boundary of the new ceiling and the upper edge of the window frame.
Work sequence:
- Using a level or spirit level, marking is performed.
- Foam fills all existing gaps between the ceiling and walls. After solidification, the excess is removed with a sharp knife.
To prevent moisture from entering from the outside, especially if the balcony or loggia is on the top floor, it is necessary to take care of high-quality waterproofing.
- Using a puncher, battens of lathing or metal profiles are attached. It is important that they lie in the same plane. If the surface of the ceiling plate of the balcony is uneven, then the position of the bars is regulated by placing chips of the required thickness under them. It is better to fix these gaskets with small studs so that they do not fall out during installation.

- Insulation plates are inserted into the mounted crate. To get the desired size, the plate is cut with a knife along the line, after which it easily breaks.
You can fix the insulation on glue or plastic dowels in the form of fungi. Each plate must have at least five attachment points.
- A vapor barrier layer is attached to the insulation. Penofol or Isolon is best suited for these purposes.
Now you can start finishing. The choice of the type of ceiling lining - lining, decorative panels or drywall for painting - depends on the overall interior of the balcony and the personal tastes of the owners.

EXPERT SITE
Tsugunov Anton Valerevich
Master Station Wagon
- Since 2003, I have been engaged in the repair and decoration of premises.
- Over 100 completed objects.
- I appreciate the quality, more than the quantity!
Personal page >>>
Friends!
I offer you the service "Friend Builder"
As this site develops, subscribers and visitors are turning to me more and more often asking for help with advice on various issues of repair and decoration.
Questions are sometimes asked very complex and interesting. You can’t write an article for each situation, so I decided to advise you individually.
Thanks to you, friends, a new direction of my favorite work has been born - share your experience and benefit everyone who is undergoing repairs!
Get a one-time consultation from me >>>
Order full apartment repair support >>>