The roof of corrugated board: all you need to know about installation
Table of contents
- 1 A few words about the choice of corrugated board
-
2 mount technology
- 2.1 Laying sheeting
- 3 Some of the recommendations and rules of installation
- 4 Output
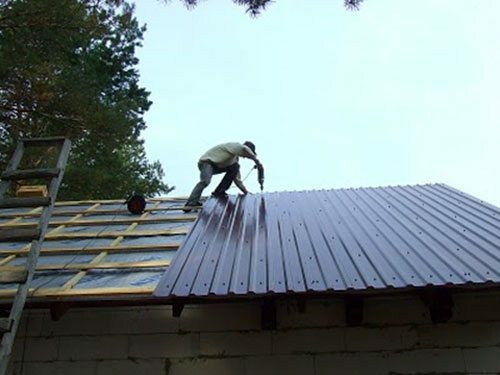
As mounted roof of corrugated board? Is it possible to qualitatively cover the roof without attracting roofers? Below, I'll detail how to do it, and step by step instructions visually confirm my words.
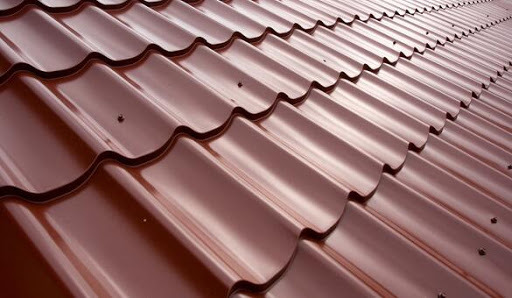
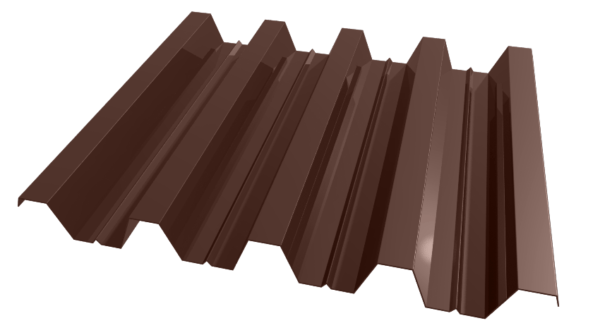
From the metal material is characterized by a form of the profile.
A few words about the choice of corrugated board
Stamps sheeting. Keep in mind that not every professional flooring can be installed on the roof as possible. Below are the brands that are suitable for these purposes:
- C8. Wave of corrugated board has a trapezoidal shape. Its height is 8 mm, and width - 52.5 mm.
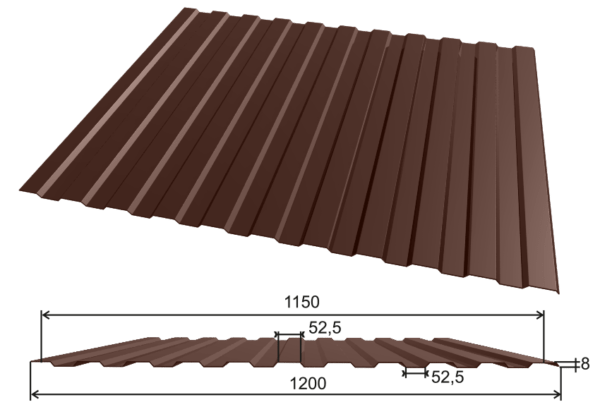
For mounting the brand sheeting C8 must perform continuous purlin
You can use this mark only with a solid crate. Another requirement - the roof must have a large inclination angle, since sheet strength is low;
- C10. From this material a C8 wave height is different, which is 10 mm. to the roof of the requirements for their use also remain the same;
- C18. Profiled this mark is a sheet with a smooth surface and the wave height of 18 mm. To use it as a roofing material, it is necessary to make a crate with a step of not more than 40 cm. Furthermore, the angle of inclination of the roof must not exceed 25 degrees;
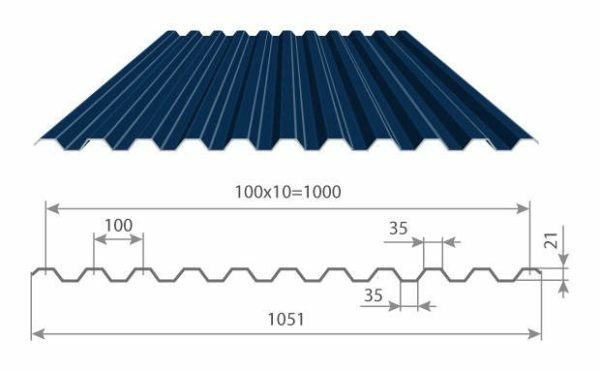
Profiled brands S21-44 can be used on the roof without any restrictions
- S21-44. Profiled this mark has a wave height of 21 mm. It is excellent for flooring roof without any special requirements regarding the crates or step gradient;
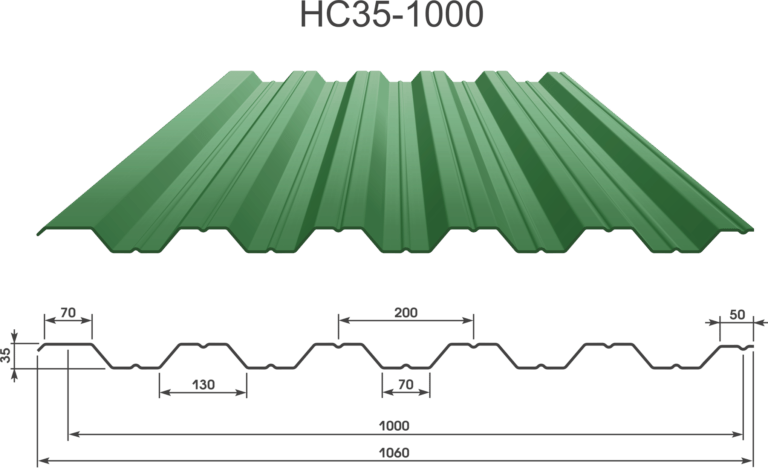
NS35 - the best choice for mounting on the roof
- NS35-45. Corrugated sheets of these stamps are considered to roofing. They are characterized by the presence of additional ribs severity and more attractive appearance. I recommend using a roof decking brands NS35-45.
Coating. Therefore, a material parameter is divided into the following types:
-
Without cover. This steel sheet is the cheapest but at the same time, its service life is significantly lower than that of the coated sheeting.
In addition, it has an unattractive appearance. Therefore, such a material makes sense to use only for the outbuildings.
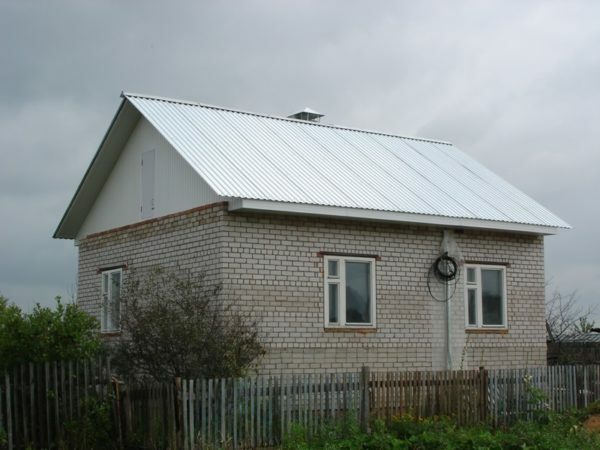
The roof is made of corrugated board without the least durable polymer coating
-
Polyester. This is the most cheap cover, so common in the sale more often. Polyester well resists corrosion and adverse environmental influences.
Its disadvantage is the instability to mechanical damage - coating is easily scratched during transportation and installation. So do not forget that the sheets require careful attitude. In this case, roofing lasts at least 25 years;
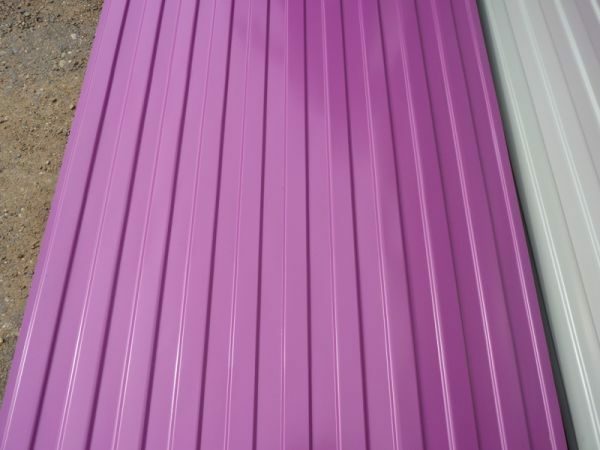
Polyester - the cheapest polymer coating
-
Puranas. It is a polymeric coating based on polyurethane with the addition of other components. Such a protective layer is more resistant to mechanical and chemical damage, thereby improves the durability of the roofing to 50 years.
The disadvantages are higher cost, as well as a cover fading over time;
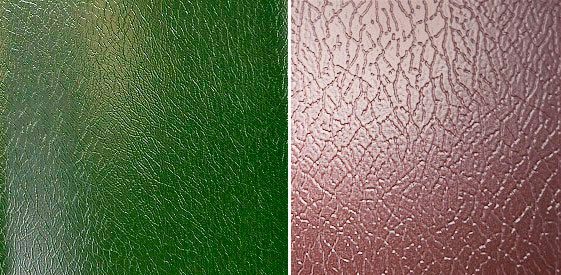
Plastisol has a peculiar texture
-
Plastisol. The coating is made on the basis of PVC and plasticizers. Its advantages include good resistance to mechanical damage, and chemical attack.
The main drawbacks - it is the instability to high temperatures and fading fast. Therefore, in the southern region of this roof covering should be abandoned; - PVDF (PVDF). The coating contains 80% of polyvinyl, and 20% acrylic. PVDF most reliably protects the roofing material on all of the negative effects of non-motorized and good resists mechanical stress.
PVDF - very robust polymer coating
Therefore, the PVDF may be called the best polymer coating. Its only drawback - the high cost. But the roof of the so-coated profiled sheet will last at least 40-50 years.
Polyester Matte more durable than glossy, as applied thickly.
Here, perhaps, and all the main points that you need to know about choosing the trapezoidal sheet roofing.
mount technology
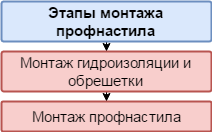
Installation sheeting to the roof comprises two main steps:
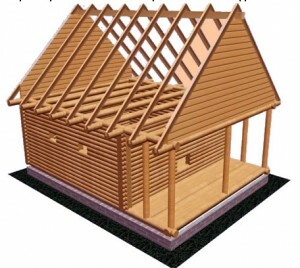
Mounting battens
Waterproofing of the roof sheathing and decking under performed as follows:
| illustrations | Description of work |
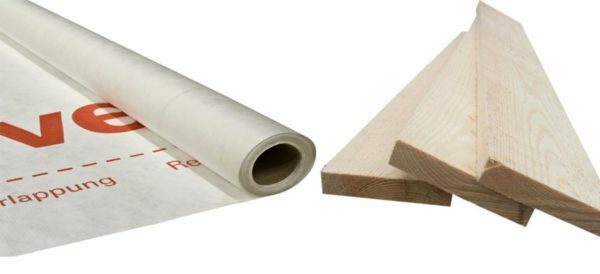 |
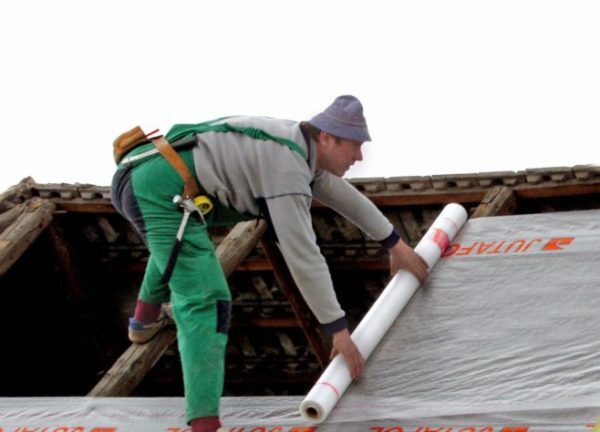
Preparation of materials. At this stage, you will need:
Before installing the board and batten necessarily treat protective impregnation. |
 |
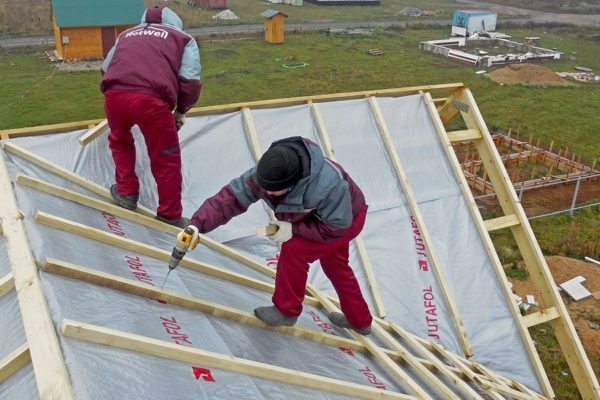
Waterproofing:
|
 |
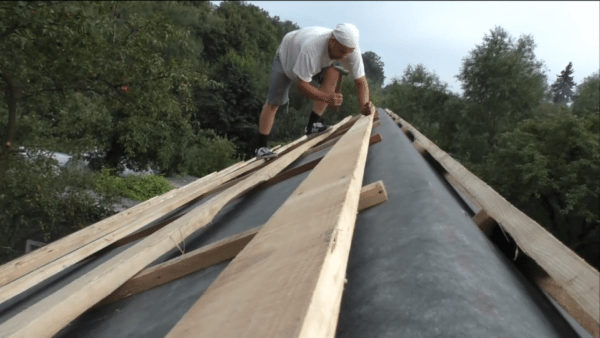
Installation kontrobreshetki. Attach the top of the rafters waterproofing along the rail, using nails or screws. In order not to disturb the sealing of the roof, beneath the rail sealing tape. |
 |
Mounting battens:
|
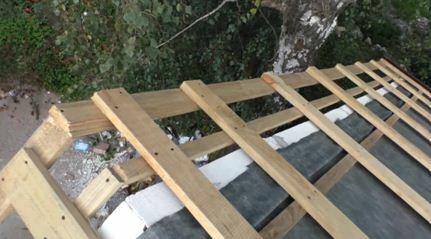 |
Construction of overhang on the gables. Connect pro-beam gable boards edge to strengthen the structure. |
During installation you can batten insulation of roof space. To do this, the inside of the crate nailed to the rafters, so it could put a heater. In the case of mineral wool, do not forget to put it on both sides of a vapor barrier.
In this installation of lathing completed.
Laying sheeting
The process of stacking corrugated board looks like this:
| illustrations | Description of work |
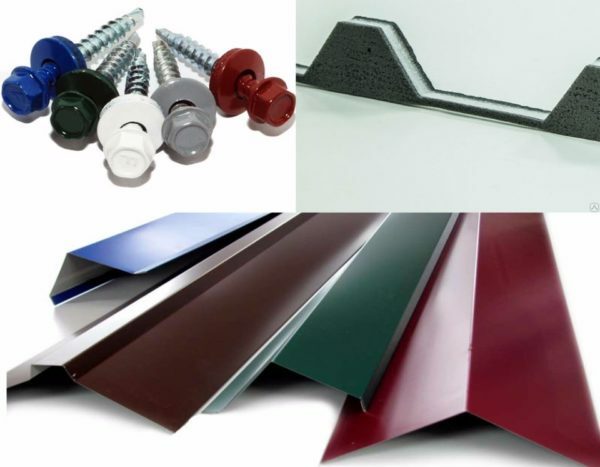 |
Preparation of materials. In addition to the corrugated board for mounting the roof, you will need:
|
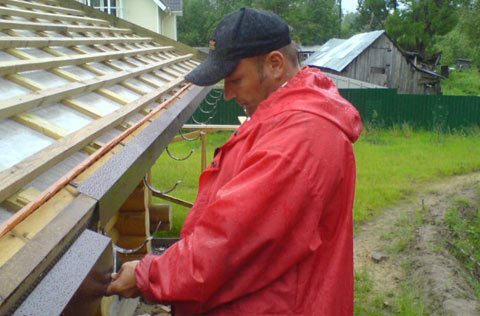 |
Installation of wind strips:
|
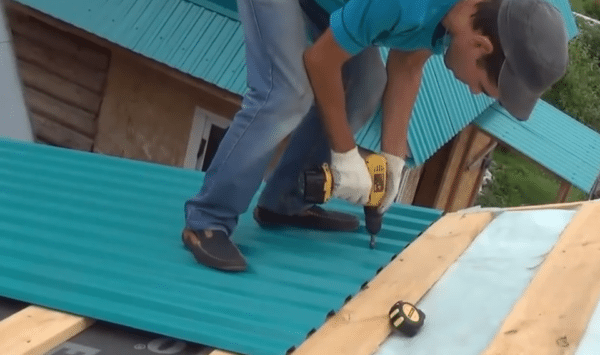 |
Laying the first sheet. Mounting profile sheets to the roof starts with the bottom corner, no matter the left or right. Work is carried out as follows:
|
 |
Mounting the second sheet:
According to this arrangement, mounted entire first row of corrugated board. Last in a series of cut sheet width. |
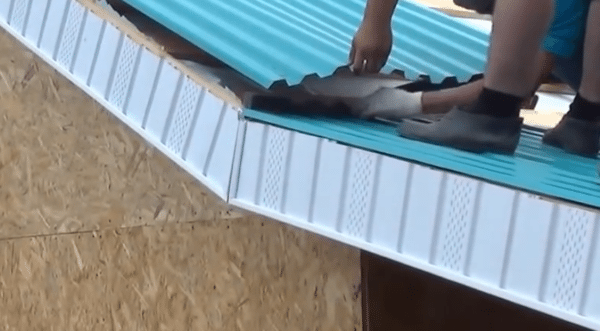 |
Mounting of the second series of sheets. If the slope exceeds the length of roofing material, assembling the second series of sheets is as follows:
According to this arrangement, mounted entire second series of trapezoidal sheet. The longitudinal seam is the same as in the first series of corrugated board installation. |
 |
Installation of the valley. joint arrangement rays carried out as follows:
|
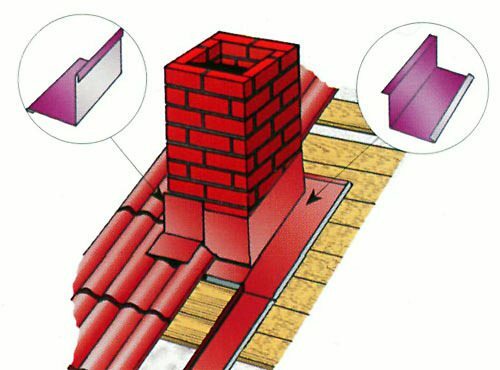 |
Arrangement passages of pipes. If the roof has chimney or ventilation pipe of square section, it is necessary to seal the joint as follows:
Sealing round tubes is easier - used passage special element of suitable diameter, which fits over the pipe. |
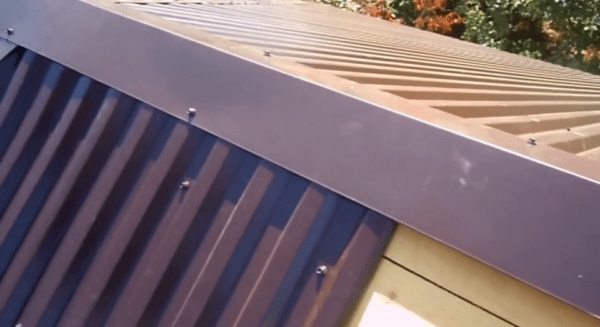 |
Mounting the ridge plates:
|
 |
Installation of additional elements:
|
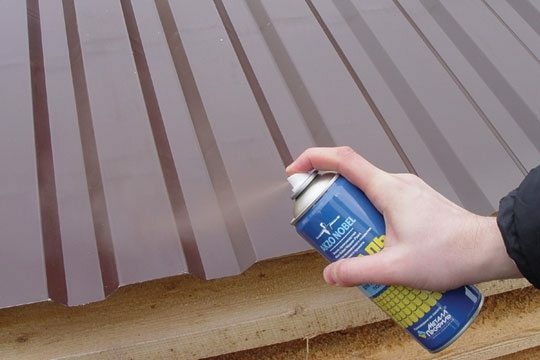 |
Tint sheeting. After installation, a professional flooring and installation of additional elements of the roof should be inspected carefully. If you noticed on the surface of the roof covering the scratches, they should definitely paint. You can use a polymer ink in the cartridge. |
Some of the recommendations and rules of installation
Finally check out some important rules and guidelines that will help you put quality roofing material:
- Work with trapezoidal sheet in calm weather. Sometimes, in the wind, even two or three people are not able to hold the sheet;
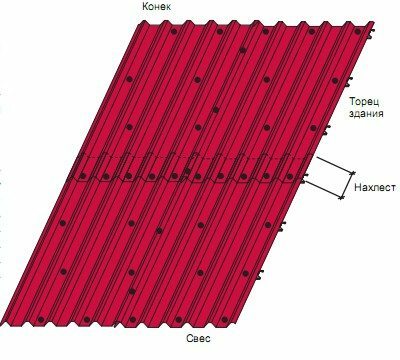
Set screws according to the scheme
- Correctly screw the screws:
- The screws should be placed at the bottom of the wave. Exceptions are screws which connect the two sheets;
- Along the eaves screw the screws in each wave;
- Subsequent rows set staggered through wave;
- With regard to the longitudinal arrangement of screws - install them through the crates step;
- In the process of tightening the screws, make sure that they are included in the profiled strictly perpendicular. Distortions violate fixing leaks.
A common mistake is to beginners excessive tightening screws, whereby the deformed and damaged O-ring. Therefore, avoid excessive force when tightening the screws.

Cutting corrugated grinder reduces its lifetime
-
Do not use the grinder for cutting sheets. In the process of cutting corrugated grinder melted polymeric coating. This reduces the life of the roofing material.
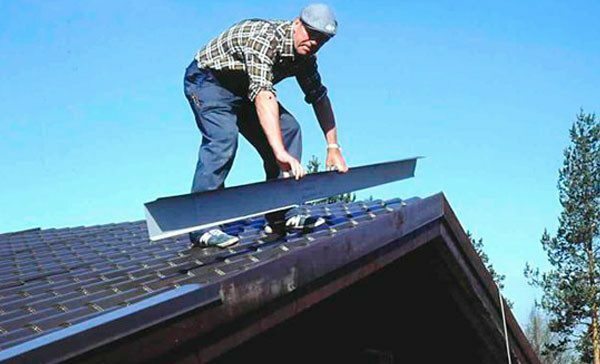
Therefore, cutting of sheets should be carried out with a hacksaw, scissors, metal or jigsaw; - Lift sheets using the lag. Put two long bar and tighten the sheets over them on the roof, like on rails. In this case, it decreases the likelihood that you drop leaf, and it will be damaged;
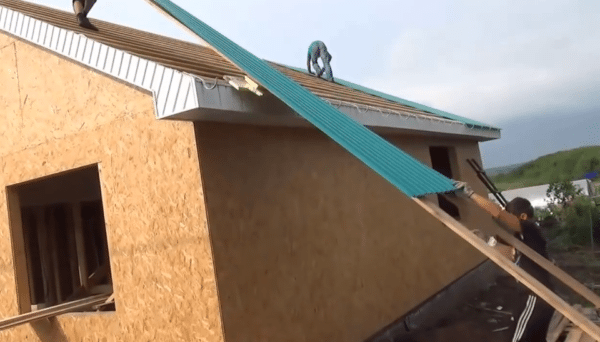
Two lags significantly simplify the process of raising the profile sheets to the roof
- Follow roofing robots in soft shoes. Shoes with hard soles may damage polymer coating. In addition, do not put on sheets of corrugated metal tool.
To in sections with time sheets did not appear rust, the ends need to paint.
Here, actually, and all the information on how to cover the roof of corrugated roofing sheets by hand.
Output
Now that you know how to mount the roof decking and can cope with this task on their own. Be sure to watch the video, picked up on the theme of this article. If you have any questions, ask them in the comments and I will gladly answer.
