Wire netting - a turn-based technology of work
Table of contents
-
1 The working process
- 1.1 The choice of materials and tools
- 1.2 Installing posts
- 1.3 mesh stretching
- 1.4 The construction of the sectional structure
- 2 Output
If you decided to find out how to make the fence of mesh netting, you can use this review as a guideline. It workflow is described in great detail, since preparatory actions and ending with reinforcement mesh. You will also learn how to choose quality materials to the construction served as long as possible.
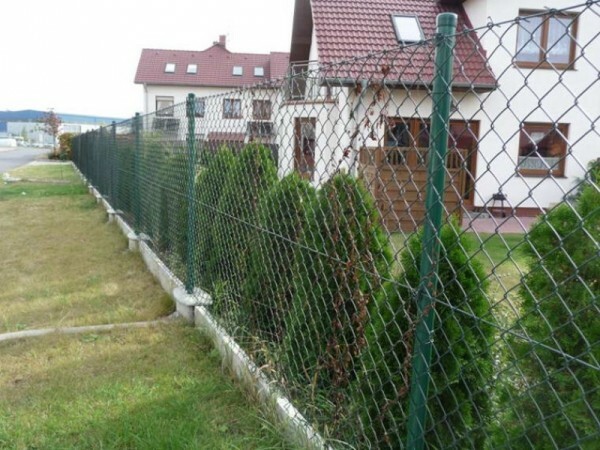
In the photo: fence netting - a simple and practical solution for suburban and country areas
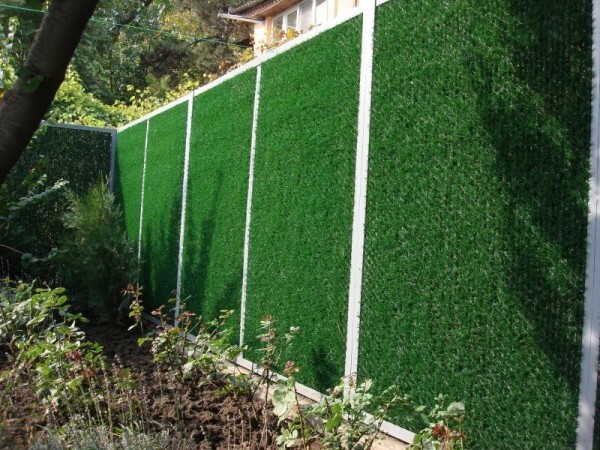
Hedge is well combined with the grid, closing it and creating a green carpet
The working process
If you have no experience in the work, then this section will help you understand all the nuances of the installation and will give you the necessary knowledge. Using the recommendations set out below, you can do no worse than a fence-builders specialists.
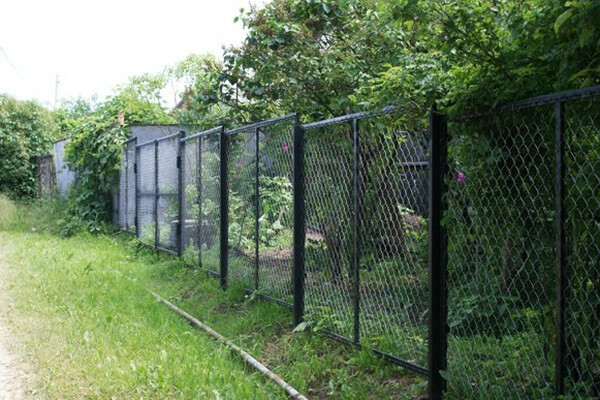
On uneven areas use more durable sectional fence
The choice of materials and tools
To begin with we shall understand, what type is chain-link fencing to the fence. There are three options, all of them are described in the table below.
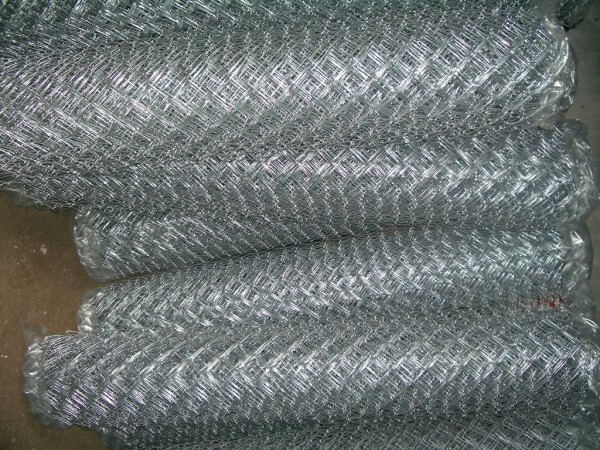
Galvanized version - the most popular today
| mesh type | Description |
| Standard variant | It is made of a so-called black wire and has no protective coating. The main advantage of this solution - low price, but the quality leaves much to be desired. Fence necessarily need to paint and repeat the process every two years, otherwise the grid quickly covered with rust, and in a few years will become worthless |
| galvanized wire mesh | Most running type products. From the above described is characterized in that the wire surface is coated with a zinc layer which protects the material from corrosion. Such a network requires no additional protective coating and is at least 10 years |
| Grid coated | A relatively new solution that is gaining in popularity. On top of the wire applied polymer layer which protects the metal from adverse effects and gives the product a more attractive appearance. The choice of buyers represented a lot of colors, the biggest minus - relatively high cost |
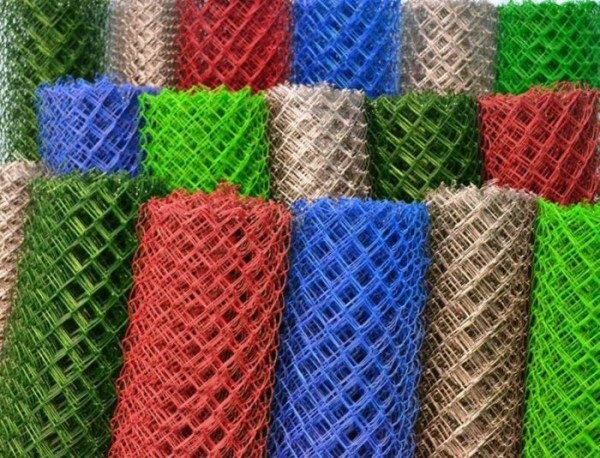
A polymer coating makes the grid more attractive
Also, when selecting the grid must take into account additional parameters:
- The width of the rolls. It can be from 1 to 2 meters, the hottest version - 1.5 meters;
- Mesh size is also important. The smaller they are, the stronger the material, but also the cost increases. The best option for fences - cell 40-50 mm, such a grid and is durable and does not allow animals and poultry to penetrate through the fence.
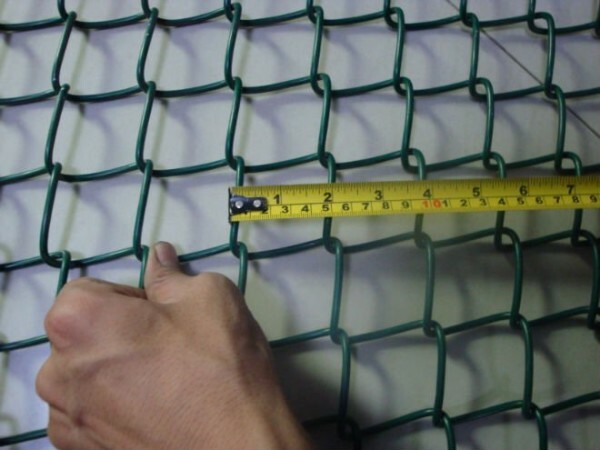
Cell size is determined in a tensioned position grid
Another important part of the design - the pillars of the fence of mesh netting. The following options here are:
- Wooden poles - the cheapest, but also the most unreliable. Most often, they fail much sooner than the grid. They can be used only if you maximum savings is important, or when you make a temporary fence for 2-3 years;
- Homemade metal poles. Most often used today profiled tube 50x50 mm and larger. It can be used and round versions. this decision downside is that you have to finish the elements by drilling holes in them under the wire or privarivaya lugs;
- Ready for the grid columns. They may be of different lengths for different heights of the fence, they initially have ears. Also, the surface treated with paint or primer, which saves you from this type of work.
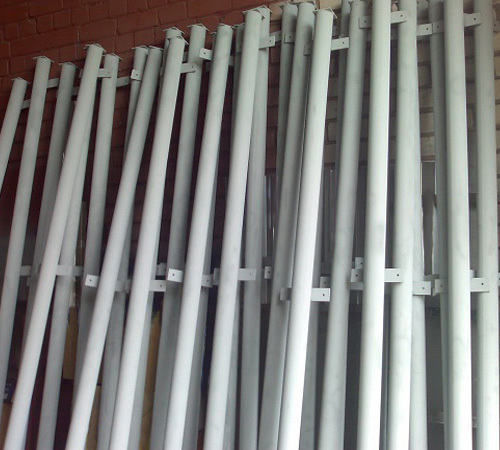
Ready columns - the best solution for
In addition to the grid, and poles and other materials needed:
- Wire for fastening the net to the posts. It is best to use stalistye materials are durable;
- To stretch marks, you can use a rope or a thick wire. The main thing - to choose products with a protective coating so they do not rust over time;
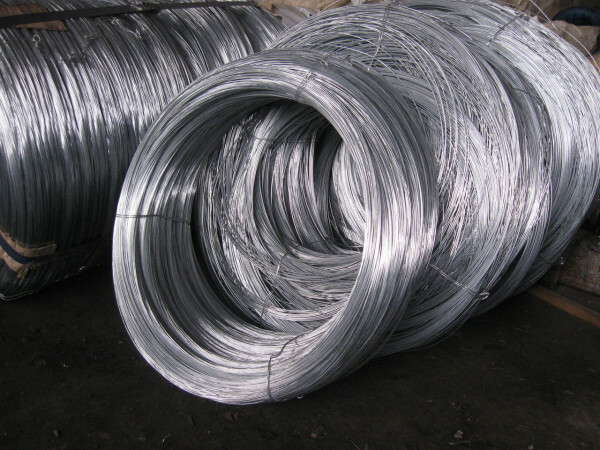
Most often used to tension the mesh galvanized wire of 3-4 mm diameter
- For fastening the pillars cement mortar is used in the soil. To simplify and accelerate the task, you can use filler stones or broken bricks, which filled the pit.
From the tool you need the following:
- Cord for line marking poles location. It should be of sufficient length to define a line of each of the sides of the fence;
- Shovel digging wells;
- for the preparation of the solution container. If the amount of work is large, it is best to hire a concrete mixer;
- Roulette for the necessary measurements and levels to control the vertical position of the pillars;
- Tools for cutting wire, it can be as a side cutter and special pliers.

Tool for cutting is selected based on the type and thickness of the wire
Installing posts
The reliability of columns depends on the strength of the fence, so you need to carry out this step as much as possible better.
The workflow includes the following steps:
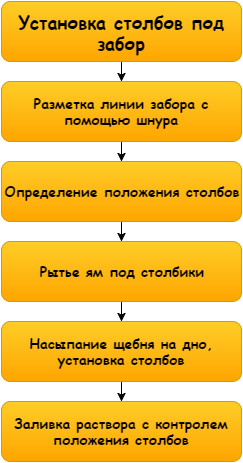
The scheme does not work is complex
- Pegs are driven, and pulled the cord. It is important to accurately determine the location and place pegs securely install them so they are not bent by pulling the cord or fishing line. Reference points are best placed at a height of about 20 cm from the ground, so the rope will not stop and will be easy to focus on it;
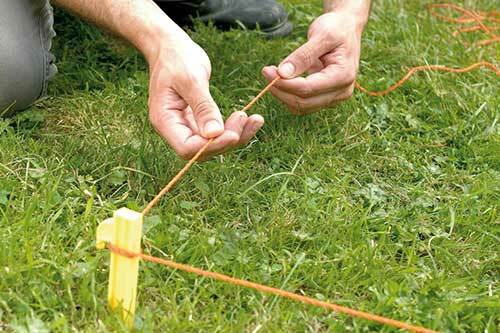
Cord greatly simplifies workflow
- Then you need to determine the position of the pillars. The optimum pitch arrangement of supports for fastening mesh - 2.5 meters. But the move could be dispensed depending on the features of your site. You can make the distance a little more or less, that the gap between the columns was the same along the entire length of the fence;
- Dig holes for poles. Their depth should be 80-100 cm, it allows you to secure the structure;
Bury the support of 50-60 cm, as the advice of some experts, it is not necessary, the freezing of the soil columns can just squeeze out, and in the spring when the water level high fence can and does bend.

If you have a drill, instead of a shovel, you can use it
- At the bottom layer of gravel is filled 10 cm and put support. Pillows need to bars are not sunk, and the ground was smooth and durable. The bars are put into place, if you are using a filler, it is possible to throw him into a pit. So you can set the poles on the cord, and they will be held in the desired position;
- Preparing a solution and it is made to fill the hole. It's simple: if you are working with a filler, the composition is a liquid, so that he got into all voids. If the filler is not present, then the solution is added to the gravel or crushed stone. If necessary, the formwork can be made small and pour the base above ground level.
While a fresh solution, be sure to double-check the position of the bars level. Even if you put it before the concrete, while pouring support can move.
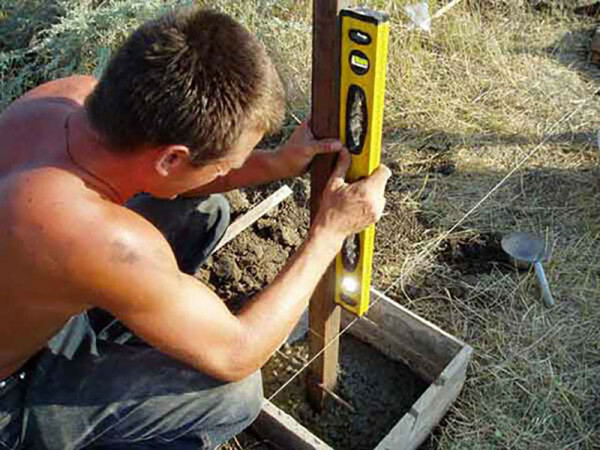
It is better to once again control the position of the legs, than to look at the fence of the curve
After installing the poles need to allow time for a solution completely solidify. For this reason, the continuation of works recommended to start no earlier than next week. During this time, you can prepare everything you need to quickly pull the net.
To be safe, sometimes between the posts welded cross. Then you decide, I advise you to introduce these elements into the design, if the distance between the posts 3 meters and more.
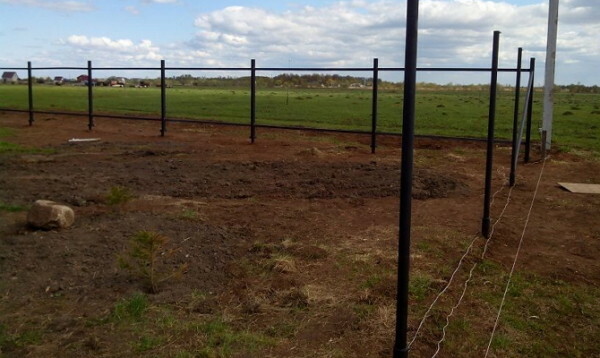
At a great distance, it makes sense to strengthen the construction beams between supports
mesh stretching
A fence made of mesh netting with his hands stretched as follows:
- The roll was called, the edge is attached to the post. Everything is simple: should securely fasten the edge of the material at the corner or the other column. Fixation is made or on special hooks, which are welded to the support, or via wire mesh which is tied at the top and the bottom, as well as in the middle. Another option - to insert a pin into the end link of the grid and welded to a pole;
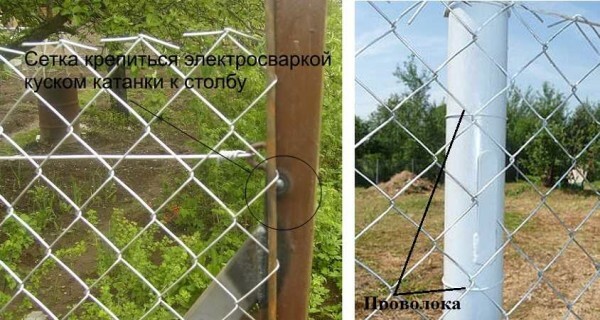
If you have a welding machine, you can use the option shown on the left
- The material is unwound to the next column and stretched. Here it is better to draw a couple of assistants, as to pull the net and at the same time to fix it you are unlikely to succeed. Fixing is done with wire, should be well tightened her that after she held as at that moment, when we pulled up the net, and not shifted after the installation is finished;
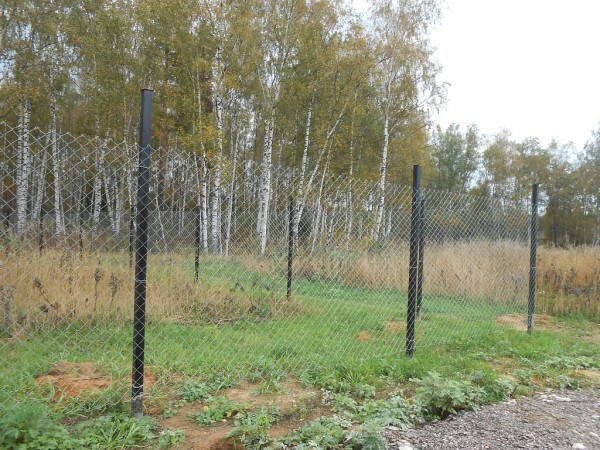
The net shall be stretched well, sagging between posts are not allowed
- It is necessary to properly connect the grid. There are two options for work, one is skipped over connection fittings or metal bar. In the second extreme link is removed from the grid and is inserted through both ends of the material. It turns out the ideal merging, which is not visible at;
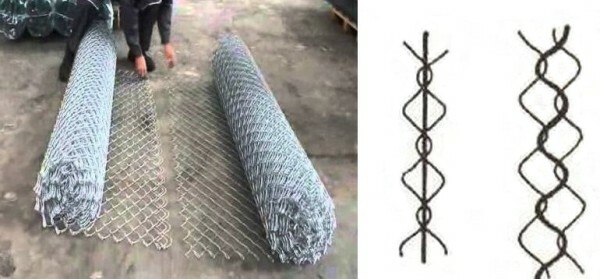
of mesh fence looks much better if the pieces do not splice pin and link
- Top and bottom stretched wire or cable. When mounting the fence the tensioner is desirable to stretch the top and bottom of the two lines which will strengthen the structure. The process is simple, and to work with your own hands is not difficult, the main thing to pull the wire through one row of cells along the entire length. To ensure the best possible tension on the edges placed special items called tensioners.
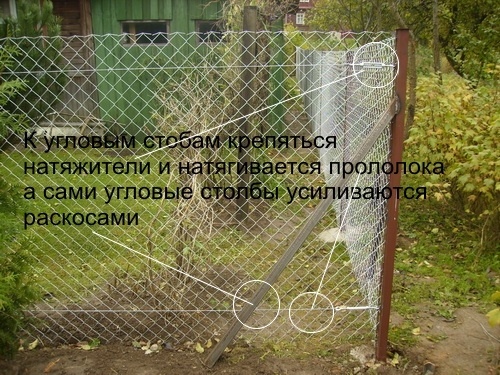
Tighteners allow you to adjust the design quickly and accurately, as the photo shows how to strengthen corner posts at great length of the fence
The construction of the sectional structure
Such fences setkirabitsy used where necessary reliability. They are also ideal for areas with a drop level.
The working process is largely similar to the above, I will tell you only about those points that are different:
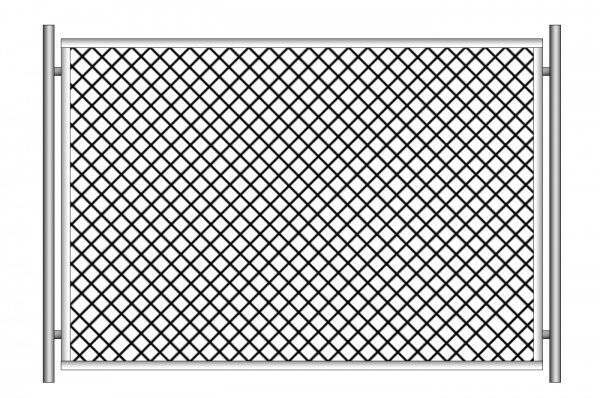
Here is the embodiment of a sectional
- To work you will need an additional area size 40x40 mm and the welding apparatus for framework constructions;
- The distance between the posts of the sections is determined based on the size. So you have to decide in advance with all the design parameters. Do not make the frame too large, or the installation of the fence will be difficult;
- Welded frame and assembled sections. The framework should have eyes on the sides for fastening to the posts. On the inner side are welded brackets for mounting the grid plate. The grid itself is released on the desired size, the perimeter wire is pulled, it clings to the plate, whereupon they are folded for secure;
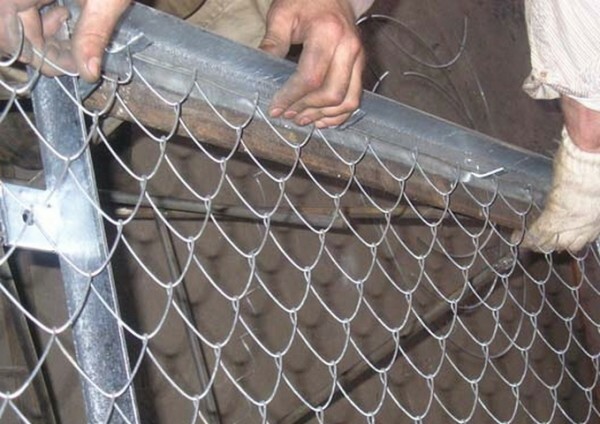
That's going to sections
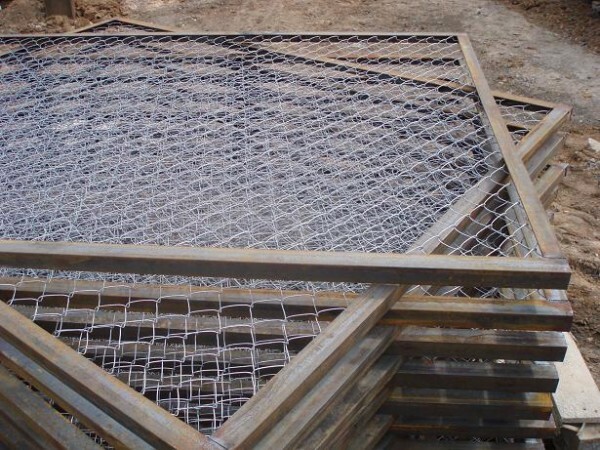
Ready-made sections neatly folded
- Section welded to the posts at the place of installation. Everything is simple, the main thing to put exactly every element and securely fix it to the structure.
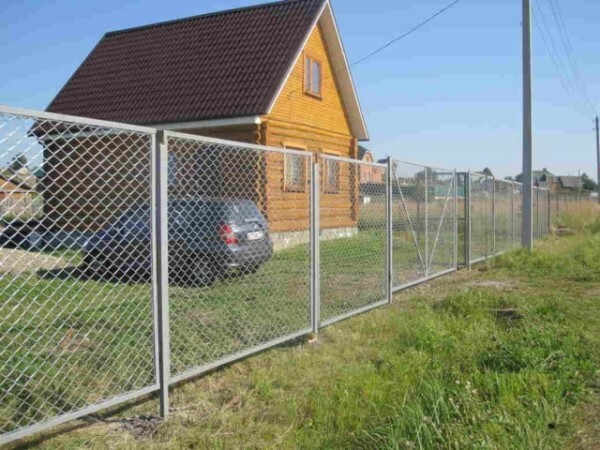
It is important to precisely welded structural components, then the fence will look carefully
Do not forget to paint the frame of the box. Even if they were covered with paint, with some parts of the overheated welding, and coating on them spoiled.
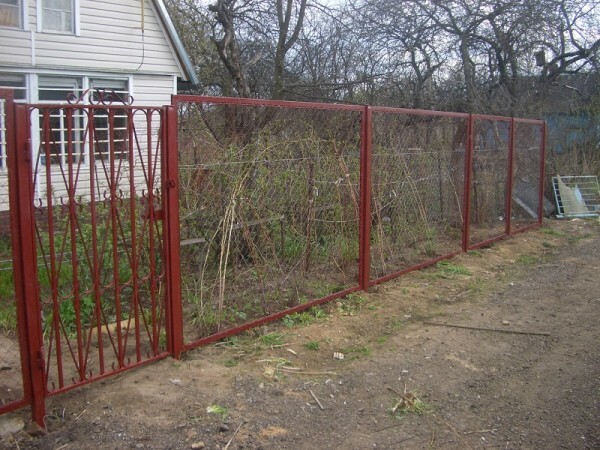
frames staining gives the fence more attractive
This fence is suitable for the suburban area, and to the rear of the courtyard of an apartment house. Also, the net can be used in the construction of pens for animals and birds.
Output
This review will help anyone to quickly and efficiently build a fence from the grid. The process is simple, and that you have a better understanding of it, check out the video in this article. It clearly shows the important aspects of the work, and if you do not understand something, write all the questions in the comments at the bottom of the page.
