Carving: create patterns on the board 3 in reception
Table of contents
- 1 varieties thread
-
2 What do you need?
- 2.1 Tools cutter
- 2.2 choice of wood
- 3 Methods and techniques at the geometric thread
- 4 conclusion
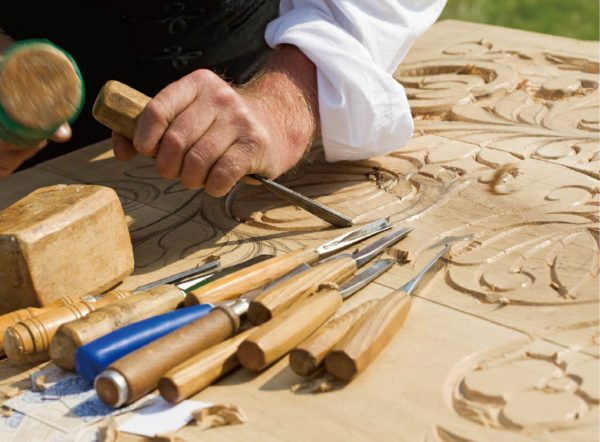
Simple tools, you can create masterpieces on the normal board
Volume, contour and geometric carvings - this is one of the oldest techniques of decorating a variety of products. By and large, do not need to run anything but a piece of wood and enough sharp knife: carved architraves can happen with due skill, beautiful toy or any other product.
Of course, you masterpieces are obtained only after years of practice. But to begin to master the business can be carved with the most simple parts: it suffices to study this article and understand the basics.
varieties thread
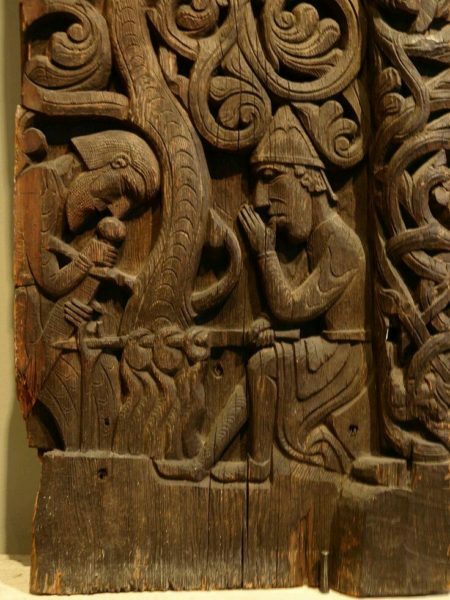
Scandinavian carving board to the scene image (early Middle Ages): technology works almost the same as today
Despite the fact that working with wood is used very simple tools, and processing techniques are not complicated, the result can be very different. Depending on the appearance of the treated surface dressed such types of thread:
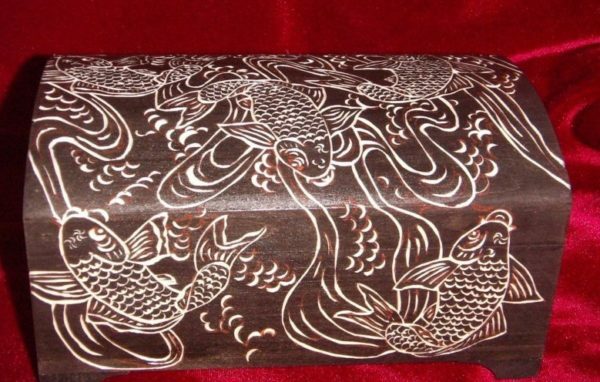
Bag with profile image
- contour thread - perhaps the most simple (apparently, not in technique). The pattern is applied to the flat surface shallow lines forming the contours of the figure.
- geometric thread - the most common due to ease of development. In contrast to the contour, patterns do not form lines, and the combination of geometric shapes, often wedge-shaped recesses.
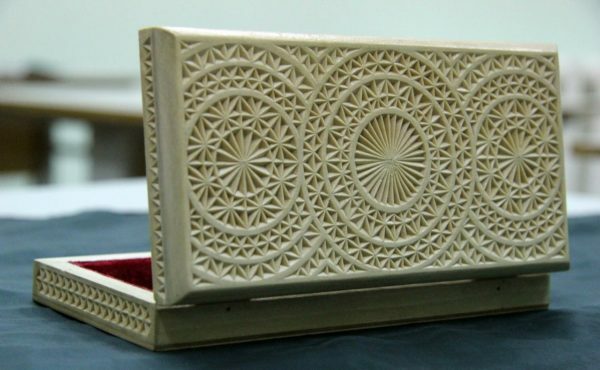
Bag with a classic example of a geometric design
- Ploskovyemchataya thread - technology of drawing a pattern or ornament on a flat board. At the same time on a flat background cut grooves that form the desired pattern to us.
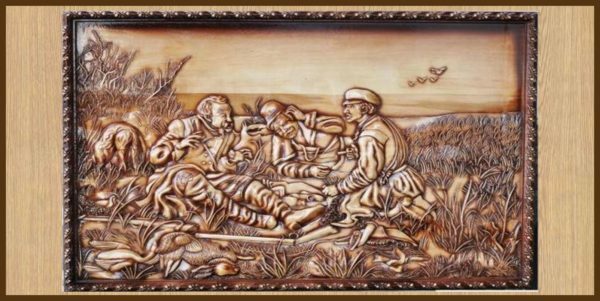
Panels manufactured by ploskovyemchatoy technology
A variation of this method is considered as a cross-cutting thread, in which the blank is formed not only deepening but also holes.
- sculpture carving (Volume) - the most difficult technique. As the workpiece is taken chock, branch or root, then the parts to shape. It is important to not only the skill of the carver, but also how well-matched wood.
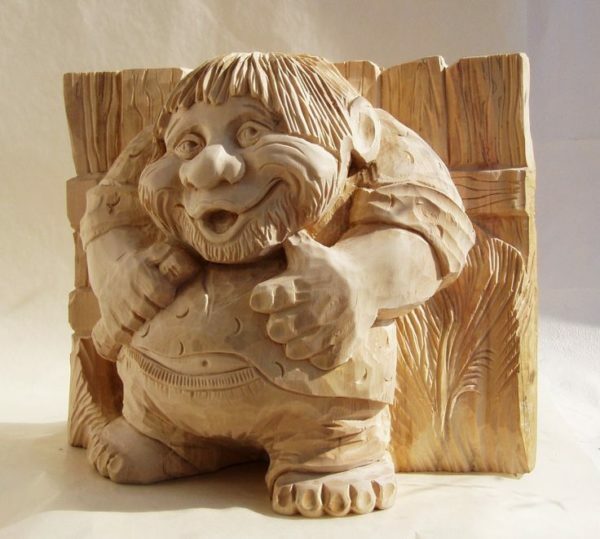
An example of a simple wooden sculptures
Of course, this classification is rather conventional, but it gives an idea of where to seek to improve their skills.
What do you need?
Tools cutter
Making wooden toys, carved frames, frames and other decorative objects, the master needs the right tools. Apart from the usual joinery (saw, a drill, a file), you need to use special tools:
| Illustration | Tool | appointment |
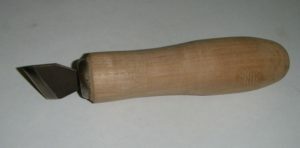 |
Knife-jamb | Versatile tool that is used for both geometric woodcarving, and for sculptural works. |
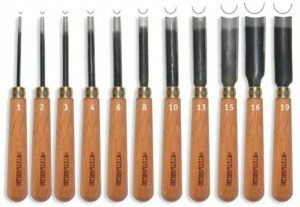 |
chisels | The most extensive group of tools used to form the recesses. Depending on the shape of the edge allocate such varieties:
|
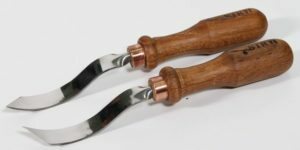 |
kljukarzy | Special chisel with curved working part. With their help, relief carving is done with a strong recessed. |
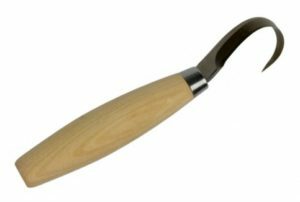 |
Lozhkorezy | As the name suggests, special tools for making wooden spoons. The particular shape of the blade (ring or semiring with unilateral grinding) can effectively select large amounts of wood. |
The price of professional tools for cutting high enough. Yet novice master is not worth saving: better to buy several knives and chisels of decent quality. Then the first experience will not be spoiled, and it will be possible to focus on the development of methods and techniques of carving.
choice of wood
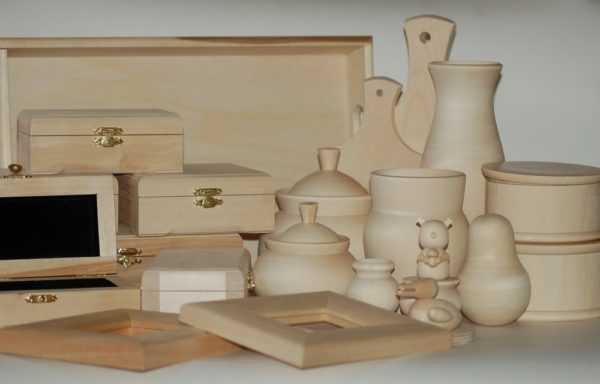
The blanks can be purchased in almost any art store
Carving requires the formation of a sufficiently clear relief. And this requires not only the right tools but also the relevant material. Not all wood for carving, and if you are just starting to master the technique, by the choice should be approached very meticulously:
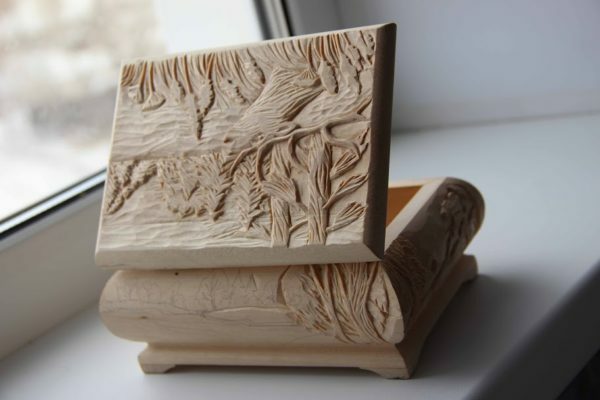
Plasticity linden allows you to create complex terrain with minimal effort
- Linden - ideal for the beginner. The material is soft and uniform, because the most complex figures for carving is better to learn it on the lime tree.
- Alder (red and black) - also a very good option, though more dense. Ideal cut, almost does not warp when dry. The main drawback - it is difficult to find!
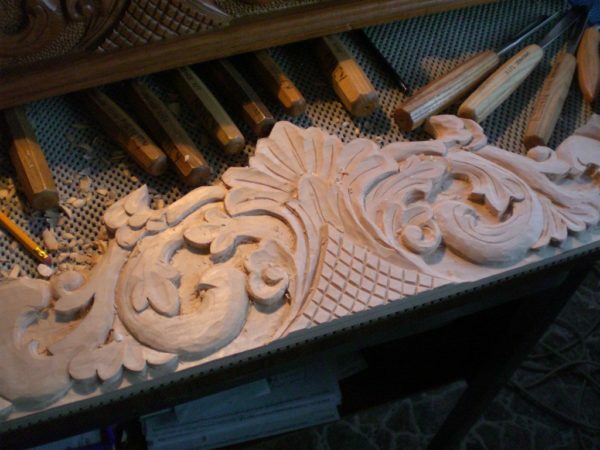
Birch (pictured) is suitable for the manufacture of linings for furniture
- Birch - more solid and firm, but it is suitable for learning the basics of carving. When drying may be deformed because of the birch is usually cut small pieces.
- Oak - Great, but only for experienced master. Relief is obtained an ideal, but it needs a very sharp tool and a steady hand.
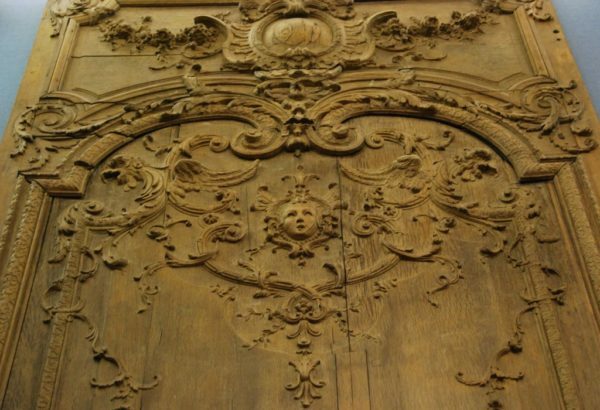
Oak is not easy to handle, but the product obtained is literally for centuries
- Pear - wood with high density and good uniformity. The structure of the material allows for the finest products.
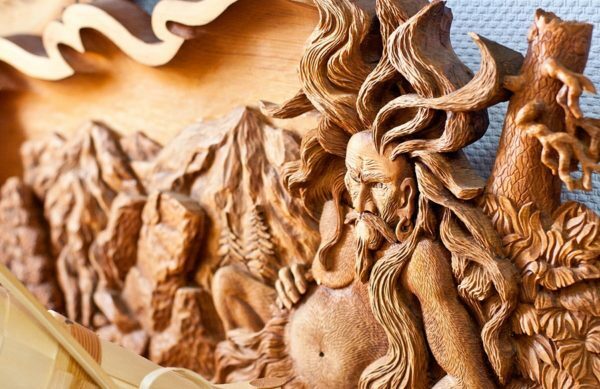
Due to its density pear keeps excellent relief
Wood of these species is first necessary to saw the workpiece, dry them, if necessary - to process draft. Only then they are put drawings and sketches on which the thread is conducted.
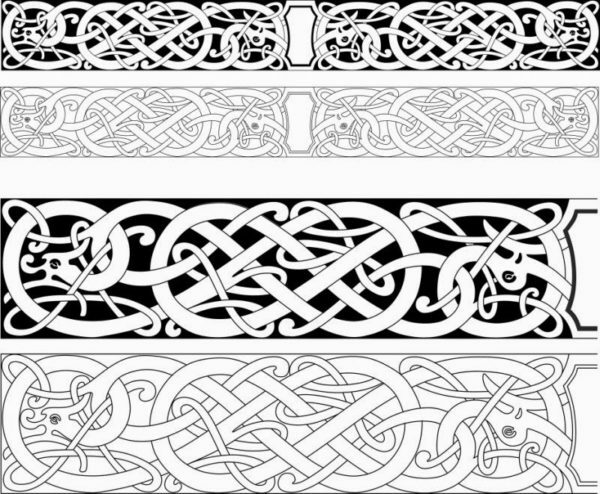
Themes and subjects for decorative treatments can be very different - for example, this celtic ligature
Methods and techniques at the geometric thread
In fact, all work on the carved part is reduced to three operations:
- Training - selection and roughing preform transfer pattern.
- actually thread - the application of the relief pattern.
- Finishing - elimination of defects, sanding, varnishing, etc...
to implement the basic operation instruction when the thread is shown in the table:
| Illustration | stage work |
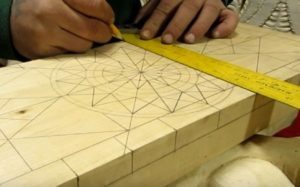 |
Patterning. In the preform the desired size pattern transfer circuit for processing. You can build your own drawing with a ruler and compass, and you can use ready-made designs for carving. In the second case, a sketch print out and transferred to the foundation by making punctures pain in the lines intersect. |
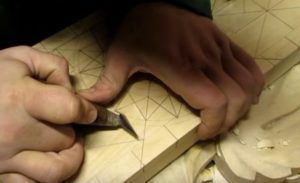 |
Recessing contours. Focusing on the figure, the cutter cuts through the contour lines. At the same time we observe the depth and direction of cutting. |
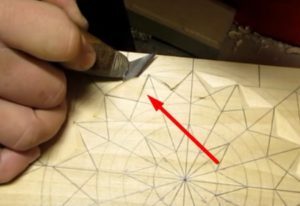 |
Cutting triangular elements. After cutting through the base to move the main body of work. Each triangle is clipped on the wedge on both sides. After that, cut a third party, extracting a fragment of wood. |
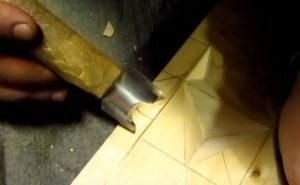 |
Cutting other elements. After you have selected all the triangles are moving to other parts of the thread - bevel planes, arcs, and so on.. Cut through them, taking care not to damage the already treated area. |
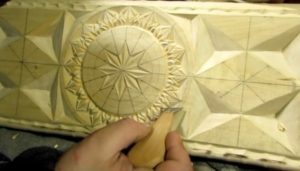 |
Fine recess. After completion of the basic operations of a sharp chisel handle the problem areas, removing defects and forming a smooth clear lines. Plane grind carefully, trying not to remove the terrain. |
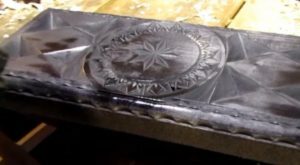 |
Staining / varnishing Workpieces stain or varnish, or apply decorative impregnation with tinted effect. |
conclusion
In no case I do not want to say that the carving - it's easy. In order to achieve the results you need to learn and practice, preferably under the guidance of a mentor. But tips and video in this article will help you take the first steps, and in the comments, you can get answers to all your questions.
