The adapter for the well caisson better, as his well-selected and self-install
Table of contents
-
1 Problem of choice
- 1.1 How does the adapter
- 1.2 Material for the manufacture of
- 1.3 leading manufacturers
- 1.4 Caisson or adapter
- 2 How is the adapter
- 3 Output
What is the adapter to the well, he is better than the box and how to choose the right? With experience in this business, I was just in front of the technical aspects and step sign for how to install the adapter by hand.
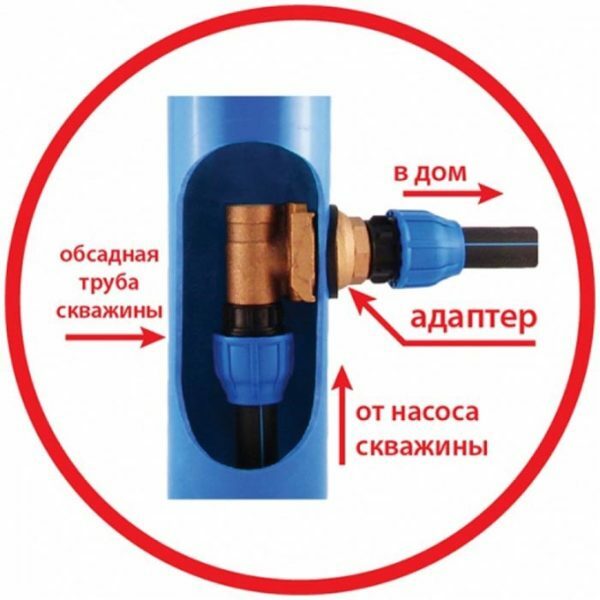
Adapter for well design comfortable and unpretentious.
Problem of choice
Before we go into detail, I will briefly tell you what kind of a miracle - Adapter for wells and why do we need it.
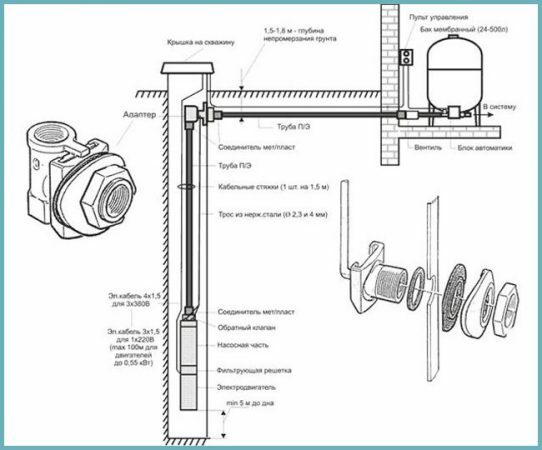
This kind of an adapter which is fastened inside the casing. From the deep well pump goes up the conduit and to not mount an expensive caisson, the pipe can be derived under the ground, just for this purpose and serves as an adapter.
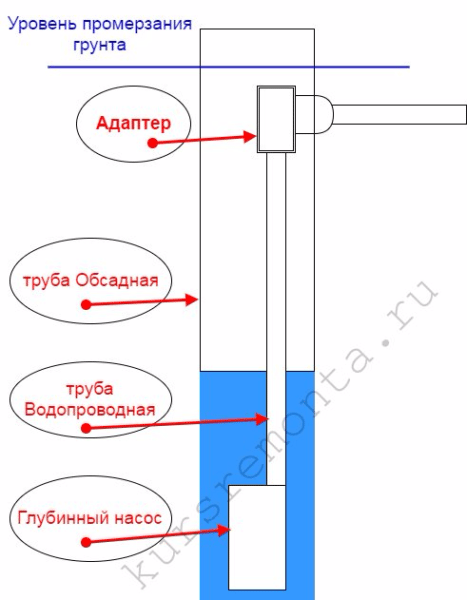
How is the adapter wells.
Remember the well adapter must be installed just below the level of soil freezing. The fact that the metal unit and the water in it freezes very quickly.
How does the adapter
The structure itself consists of two parts: the outer and inner:
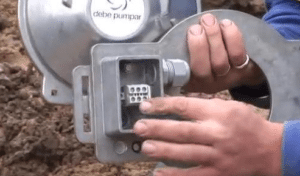
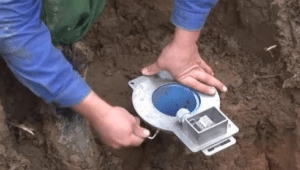
- The outer part It cuts into the wall of the casing through a gasket and clamped by a nut. On the inner side of the tube is tapered on its vertical "skids", to which the second part is put on the structure. This connection method is also called "dove-tail";
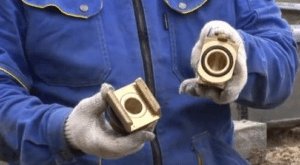
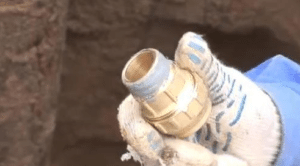
- The inner part of the adapter - a removable knee, on which a clamp for airtight connection with the slide. Below knee has a thread tap HDPE pipe, and the top thread for mounting bracket.
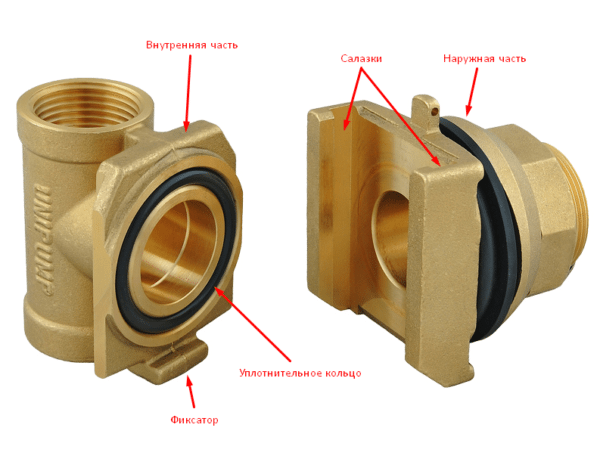
adapter configurations may be different, but the principle of action everywhere one.
Material for the manufacture of
| illustrations | recommendations |
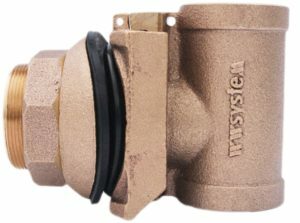 |
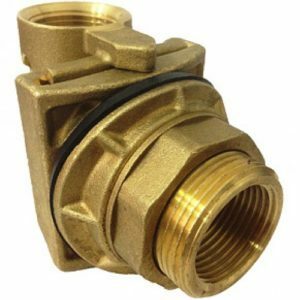
Bronze. One of the most expensive and high-quality materials in the lineup. The warranty on them is around 25-30 years, but they can serve more. |
 |
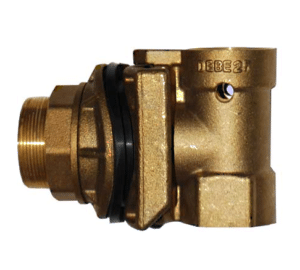
Brass. Brass quality is considered below bronze, manufacturers promise that hold this assembly of at least 10-15 years. |
 |
food alloys. So-called DZR alloys is typically brass and bronze. It should be relatively expensive to serve 20 years. Under the guise of such alloys can now be selling cheap silumin, visually they do not differ, but "see through" a forgery can be by weight, silumin easy. |
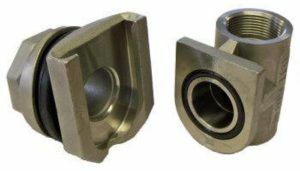 |
Stainless steel. Stainless steel is perhaps the most high-strength material. The quality is excellent, but the price for such adapters are not less than bronze. It also found a fake, if you take the steel adapter, it is only from a reputable manufacturer, for example from the «Baker». |
leading manufacturers
| Trademark | Working diameter | average price | The country of manufacture |
| Baker | 100-200 mm | 3400rub. | USA |
| American Granby Harvard | 110-130 mm | 5000rub | US (There are licensed products of origin Taiwan) |
| Debe | 125-195 mm | 4500rub | Sweden |
| Vinkell | 127-158 mm | 3000rub | unknown |
| Unipump | 110-160 mm | 2000rub | Russia |
Prices are relevant for the spring of 2017
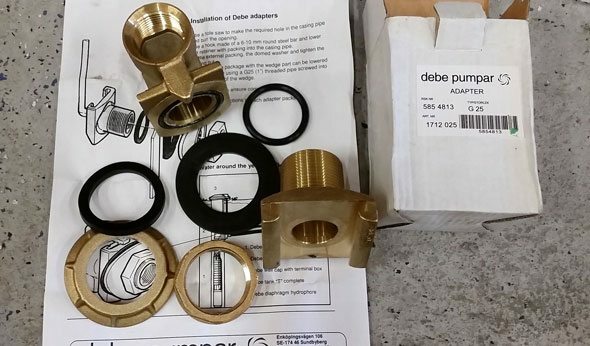
When you purchase products immediately check the packaging.
Caisson or adapter
Drill a well on the site is only half the battle, it is important to properly equip. And here is a dilemma: which is better caisson or adapter? Let us compare the main points for and against.
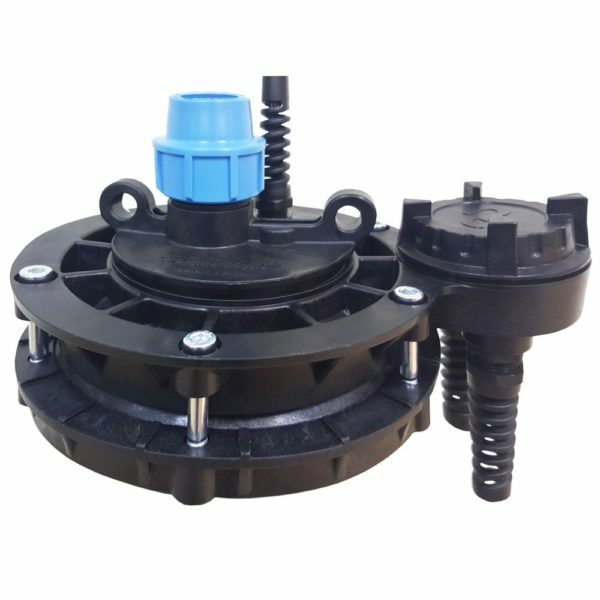
Headroom to be installed in the caisson is also equipped with an adapter, but the design it is different.
| Adapter for wells | Caisson |
| cost of. | |
| When installed their own hands will be a maximum of 5,000 rubles. If you hire professionals, then from 7000 to 9000 rubles. will have to pay for the work. Total maximum 14tys. rub. | Independent installation will cost 7-25 thousand. rub. Services invited masters 7-10 thousand. rub. Total maximum of 35 thousand. rub. |
| The complexity of the work. | |
| Drill a hole in the pipe and fix the adapter will even the layman. | Here you need to dig a fairly wide pit, concrete foundation, insert and fasten the concrete rings, plus a well-set head part, which is also not easy. |
| Time investment. | |
| At the very sidebar, it will take a maximum of an hour, plus excavation and the connection may take a couple of days. | Only on the arrangement of the box body will take at least 3-4 days. To this we must add the trenching and installation tip, that will take another 2-3 days. |
| The distance from the well to the house. | |
| According to the rules this distance should not exceed 5 m. Otherwise it is necessary to take powerful and therefore expensive subsurface pump. This pump will be hard to find the diameter of the casing, because there is already an adapter. | The caisson is enough space to set the normal pumping station and pumping water to a distance of 50 m from the house. |
| Dimensions. | |
| The adapter can be put in your pocket and take anywhere, and after the installation, all covered with soil. | For the delivery of concrete rings, plastic, or metal of the box you have to hire transport, plus a portion of the well will take place. |
| Tightness. | |
| It provides full tightness of the joint. | With an increase in the level of groundwater wells can fill, and therefore, it is necessary to spend money on additional waterproofing or equip drainage. |
| Maintenance. | |
| Every 2-3 years you will have to dig a connecting node to replace the pads. Plus for such a long time loaded compound "dovetail" can stick and rip it will be hard. |
Make prevention equipment installed in the caisson not be easy. |
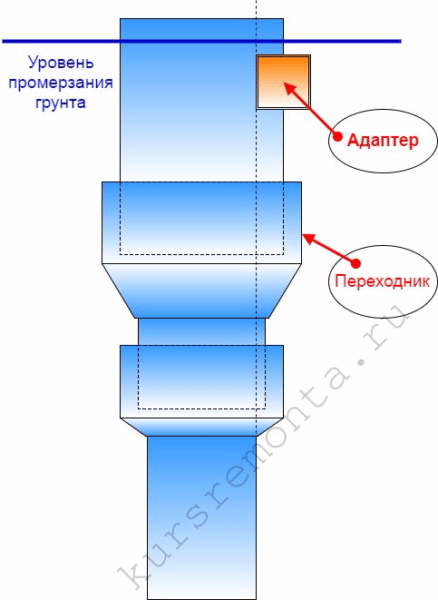
Expansion adapter to save photos from problems with the selection of a deep well pump.
Subsurface pump to peacefully entered into the well, not clinging to the adapter, mounting casing tube below the adapter to install expansion adapter and then install a larger pipe diameter.
How is the adapter
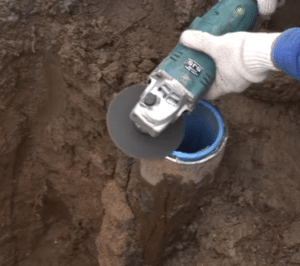
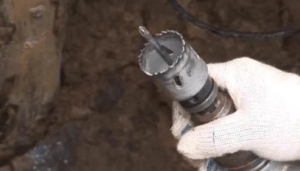
Installing a borehole adapter with their hands should be carried out in a complex, that is not necessary to embed the adapter, and then go buy the pump, everything should be ready. The only thing that can be done in advance, it is to dig a trench.
| illustrations | recommendations |
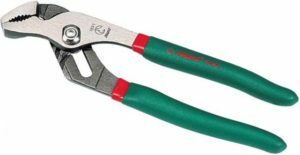 |
Tool.
|
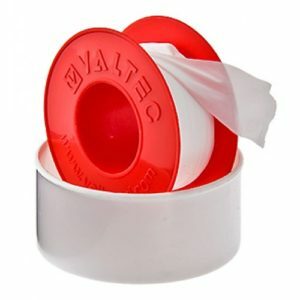 |
materials.
|
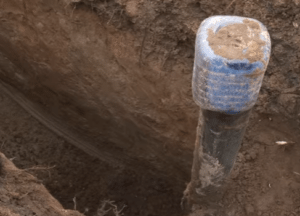 |
Mounting depth. In the middle zone Russian soil freezing point is at a depth of about 1 - 1.4 m. Better just to dig a trench from the house to the well, gradually going out to the desired depth. |
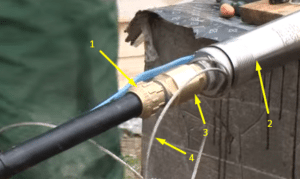 |
The primary assembly. Better to start with the assembly of pump groups:
|
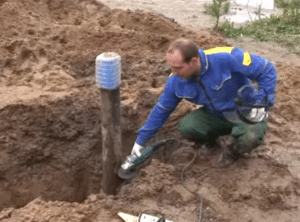 |
equipping wells.
|
 |
|
 |
|
 |
|
 |
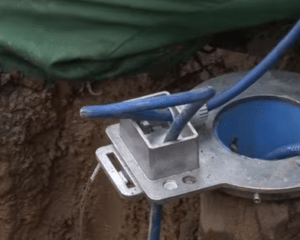
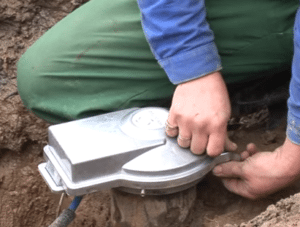
Installing the adapter.
|
 |
|
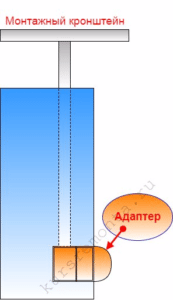 |
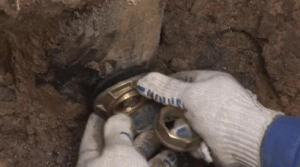
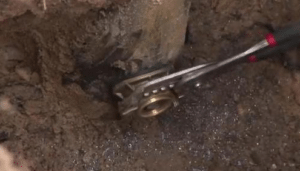
To dovetail not disunite and the outer part of the adapter, has not fallen into the well, they need to be inside something to fix, for example, firmly insert a piece of plastic pipe. |
 |
|
 |
|
 |
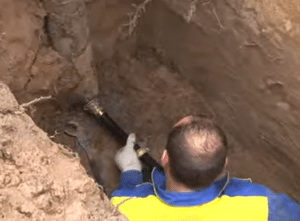
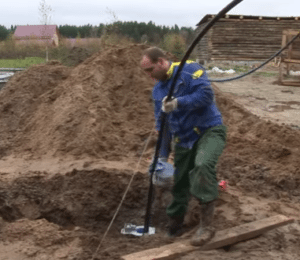
Connect the output to the house.
|
 |
|
 |
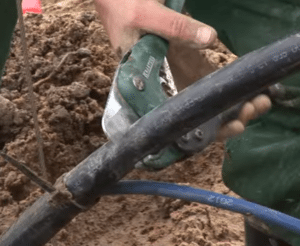
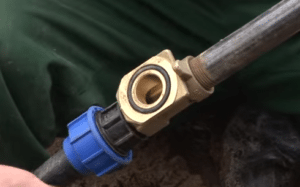
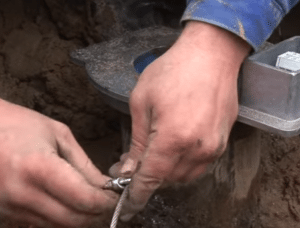
Omit and connected pump.
|
 |
|
 |
|
 |
|
 |
|
 |
|
Output
Now it will be easier to select the site, and you can easily connect the adapter to the well with your hands. The video in this article clearly shows the installation of the adapter, but if any questions - write in the comments, I'll try to help.
The adapter is not desirable to mount on a well located far from home.


