Concrete screed - for safe sex does not need specialists
Table of contents
-
1 fill technology
- 1.1 preparation of materials
- 1.2 Substrate preparation
- 1.3 installation beacons
- 1.4 Preparation of the solution
- 1.5 fill
- 2 Output
In this article I will tell you how to perform concrete screed floor with their hands. Next, you will learn all the nuances of the fill that will allow you to do that job without the help of professionals.

EXAMPLE concrete screed
fill technology
Process screed includes several basic steps:
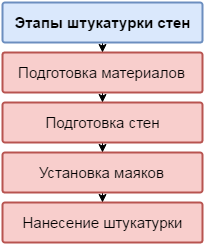
Stages pouring concrete screed
preparation of materials
First of all, you need to prepare materials for the preparation of the solution. Its composition depends on the application screed.
If you align the floor in the living room, then you will need to fine-grained concrete, or in other words, the cement-sand mortar. This composition comprises a cement and sand M400-500 marks, and a plasticizer that improves the quality of the solution.

Dry mixtures for floor screed
In trade there ready mixes for screeds, which contain the optimum ratio of cement, sand and improvers. The price of such a mixture starts from 150-200 rubles for a bag weighing 25kg.
If the screed will be poured in the garage or, for example, on the street, you should use normal concrete. In this case you besides sand and cement crushed stone or gravel required, preferably the fine fraction (5-20 mm). This will get almost perfectly smooth surface, in addition to such a solution will be easier to work with.
To calculate the number of all the ingredients, you can use the online calculator. The only thing you need to know not only the floor squaring, but also the thickness of the screed, which depends on the fluctuations of a base, ie, how uneven floor.
To make the floor warmer and easier to tie, can be added to concrete expanded clay granules or even styrofoam.

Reinforcing mesh screed
In addition to the components of the solution and you will also need other materials:
- waterproofing film;
- Damper tape;
- reinforcing mesh wire thickness of 3 mm and a mesh size of 100x100 mm;
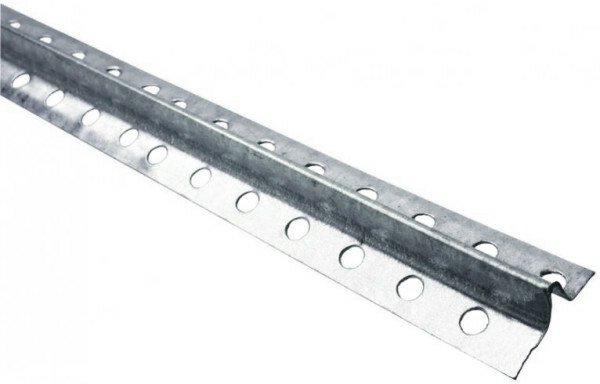
Beacon profile
- Beacon profile;
- a small amount of gypsum;
- insulation - required if the floor will be warmed.
Of the instruments necessarily need to have a concrete mixer, and the level of the rule.
Substrate preparation
Before you make a concrete floor screed should definitely prepare the ground.
This procedure is performed in the following sequence:
- first of all you need to clean the floor from dust, loose surfaces and any other debris;
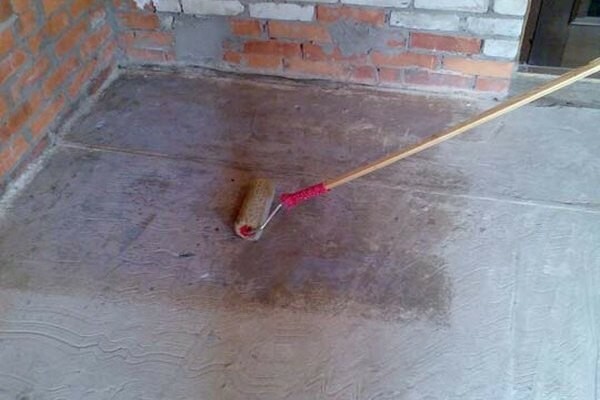
In the photo - processing ground floor
- desirable to cover the floor or primer antifungal composition to prevent occurrence of the fungus. You can use a paint roller, as shown in the picture above;
- then the floor is necessary to lay a waterproof film. The web of film lay necessarily overlap with volvulus on the walls and seal the joints with tape space.
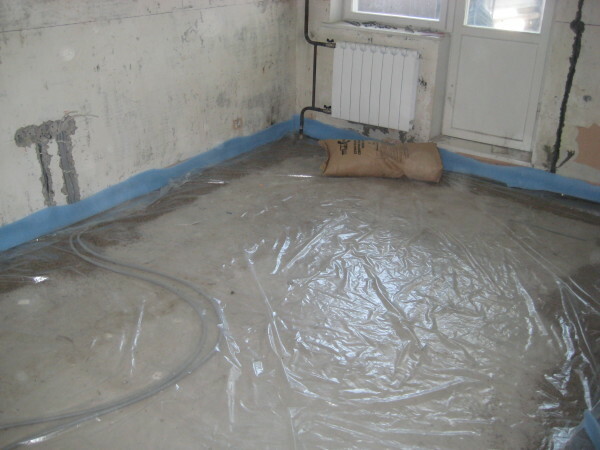
EXAMPLE floor waterproofing
- if the floor is insulated, the thermal insulation layer to be stacked, for example, polystyrene or extruded expanded polystyrene. Insulation place so that there were no gaps between the plates;
- then laid another layer of insulation;
- on the perimeter of the floor lay a damping tape;

EXAMPLE laying a reinforcing grid
- then you need to put a reinforcing mesh, which also must be positioned with a slight overlap. To mesh was placed in the concrete thickness, beneath its rubble stones or wooden blocks. You can also use special plastic clamps for fitting.
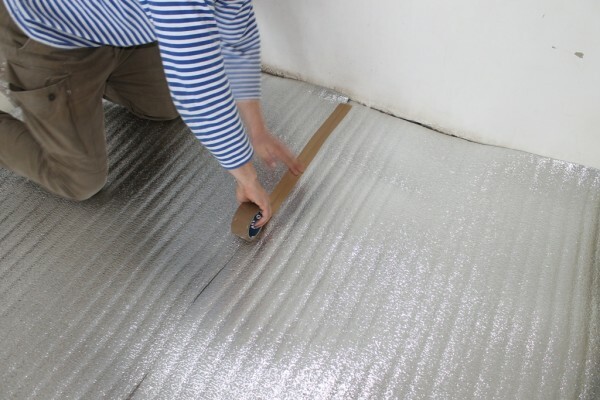
Laying penofol for underfloor heating
Several different base preparation is performed to fill the so-called "warm floor", which has recently enjoyed great popularity.
In this case, the work is carried out as follows:
- It laid on the waterproofing insulation, as is typically used penofol. Recall that the insulating material is laid up foil. penofol joints places need to glue adhesive tape;
- then stacked reinforcing mesh according to the scheme described above;
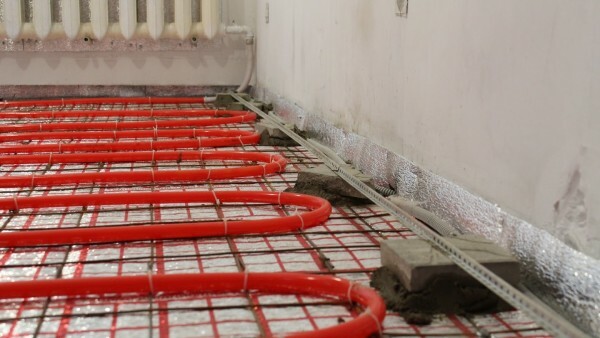
EXAMPLE laying of floor heating loops
-
further fit the contours of the floor heating, which should definitely prikrikrepit to the reinforcing mesh. For these purposes, you can use plastic clamps.
Then you can begin to install the beacon.
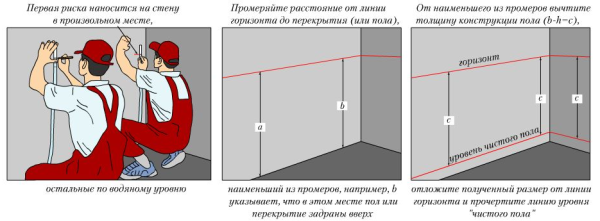
Zero level detection circuit
installation beacons
To get a smooth concrete screed, you must correctly install guides.
This work is performed in the following sequence:
- you must first perform a zero on the wall layout. To do this, find the highest point of the floor, then stepped away from her top 40 mm, and put a point on the nearest wall. This will be zero;
- through the data points you need to draw a horizontal line along the perimeter of the entire room. To do this, use a pencil and level. If you have a water level, transfer zero point in the corners, and then connect them with lines using paint cord;
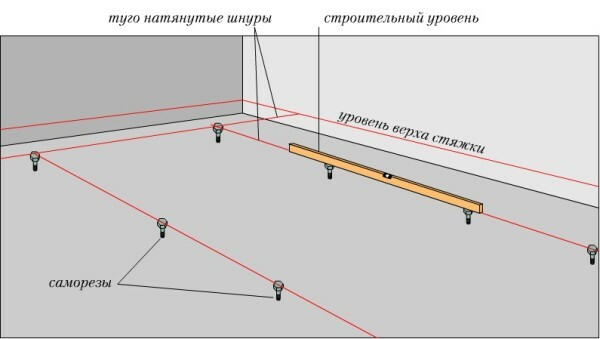
Installation diagram beacons
- Now you can install the first tracker, stepping away from the wall 25 cm. To do this, screw the screws on the location of the guide line near the two opposite walls. Their caps should be placed on the ground level;
- then attach to hats Beacon profile, and check the status level. If there is deviation from the horizontal, adjust its position one of the screws. As a result, the cap must be placed in the same horizontal plane;
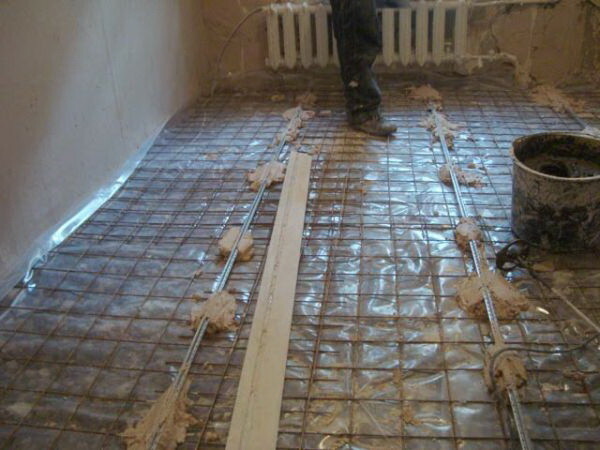
Fitting Example beacons using gypsum lumps
- then you need to put lumps of gypsum mortar location along the line so that they are above the caps screws. Can be used for these purposes and mortar, though, it will stiffen considerably longer.
- now we need to just set the profile near the opposite wall. During installation, ensure that both the beacon are in the same horizontal plane along the entire length;
Then drown in globs profile, so it lies on the screws. Get the job done carefully so as not to sag profile. After installation of the lighthouse be sure to double-check his position level; - then between two opposite beacons should pull thread. This will allow to align the intermediate guide them. As a result, they will all be located in one plane, respectively levelcrete get even;
- now installed intermediate beacons in increments of 1.2-1.5 meters.
If in the next room is already decorated the floor, when determining the zero level for the screed must be guided by him. Do not forget to take away from the floor thickness of a floor covering, if any.
Preparation of the solution
Now it is possible to prepare a solution for concrete screed. The proportions depend on the brand of cement.

cement brand M400
For cement-sand screed in the living room, you can use the M400 cement in the ratio of one to three. If you plan to fill the screed, for example, in the garage, do the solution in such a proportion:
| Ingredients | proportions |
| cement M500 | 1h. |
| Sand | 2h. |
| crushed stone | 4h. |
I must say that the exact ratios and proportions do not exist, and there are only recommendations. Therefore, different specialists are often used to prepare different recipes solution.
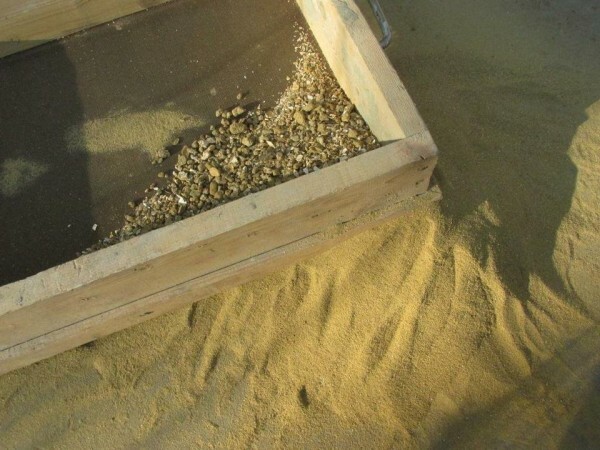
Sand necessarily need to sift
It must be said that the quality of the screed depends not only on the proportions and ingredients, but also as a solution preparation.
Therefore, we consider how to make the right solution:
- sand is required before use sieved through a sieve;
- then it is necessary to fill the dry ingredients in the mixer and thoroughly mix them until a homogeneous mixture of sulfur;
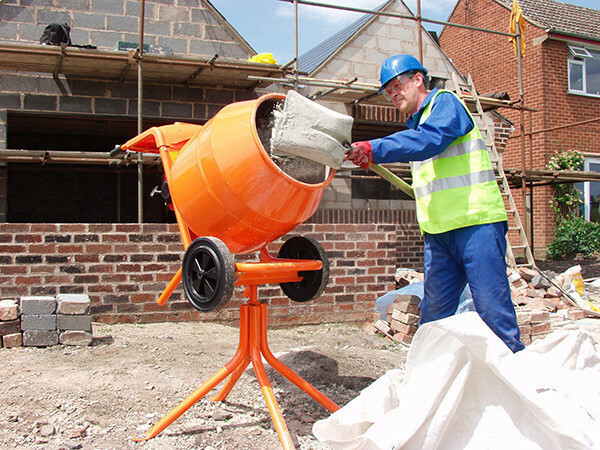
At first, we go to sleep in the mixer dry ingredients
- Further water is added to the solution. A lot of water not fill, as this will reduce the strength of the solution. It is enough 0.5-0.8 parts.

Fill it with water in a concrete mixer
Together with water in a mixer is added plasticizer. Its amount and method of application of the manufacturer indicates on the packaging;
- after formation of homogeneous mass in the solution need to add the solid filler. It must be clean. If gravel or crushed stone is dirty, it should be washed;
- Stir the contents of the mixers is necessary as long as crushed stone or gravel is not distributed evenly in the concrete.
To prepare necessary to use dry sand mortar. Therefore, it must be dried if necessary.
In this preparation of the solution is completed.
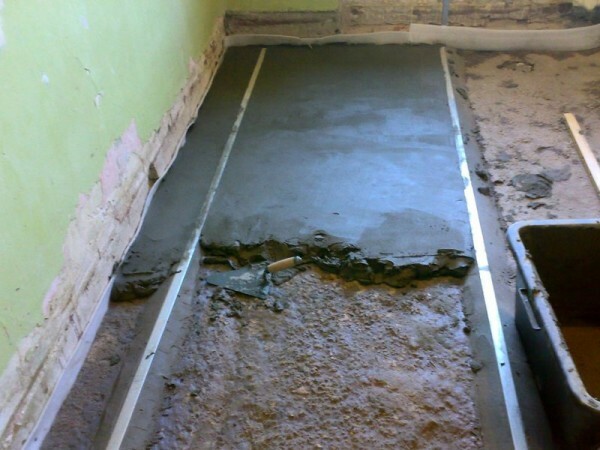
Pouring the first flight
fill
So, with the preparation we have understood. Now look at how to pour concrete.
Work carried out in the following sequence:
- start pouring from the opposite wall from the entrance. Initially fill the extreme wall span.
Just pour it on the concrete floor of a bucket, and then spread the rule, handing it to guide themselves. Thus typically slightly sway from side to side, and to the solution was compacted lay flatter;
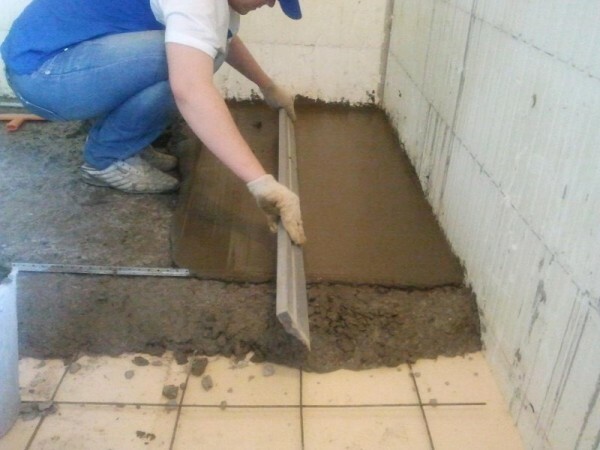
alignment solution
- then just poured the second and subsequent spans;
- after concrete screed seize, you need to remove the guides, and to cover the gap formed solution;
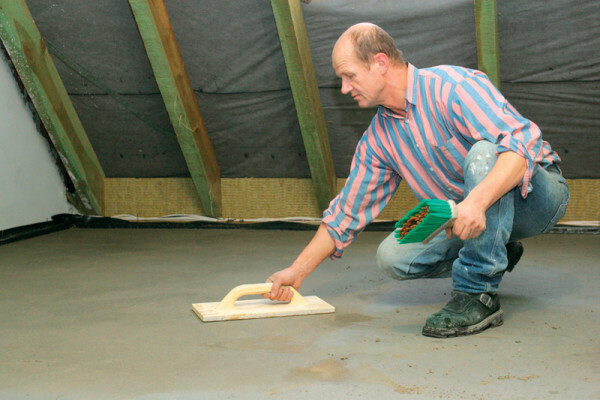
Grout ties
- Then, the floating screed with his own hands with the help of Malki. This will make the surface more durable and smooth.
At this screed filling process is complete. Now it is important the first few days to moisten it with water. If this is not done, the surface may crack.
Do not try to speed up the hardening of the screed through its warm-up, as this will only lead to cracking.
That's all the information on how to make a concrete floor with his hands.
Output
Concrete screed poured just enough, so to accomplish it you will not need the help of experts. The main technology to comply with and carry out the work in a certain sequence.
Videos in this article will allow you to get acquainted with the process of casting the screed. If you can not find answers to any questions, leave them in the comments and I will gladly answer.


