Repairs in the kitchen - how to plan and competently to make
Table of contents
-
1 How to design a kitchen?
- 1.1 Planning and measurement
- 1.2 Choose materials and calculate how much they need to
-
2 Start of repair - get rid of the excess and change the liner
- 2.1 Take out and break, all that is possible
- 2.2 Run utilities
-
3 Making the ceiling, walls and floor
- 3.1 How to install baseboard
- 4 The final stage of repair - put the furniture and kitchen equipment
- 5 Output
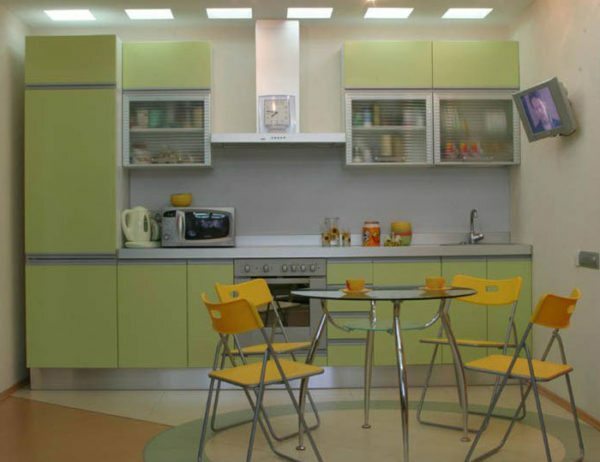
By magic kitchen will not be comfortable and aesthetically, it will have to work hard.
kitchen itself does not become a cozy, modern and beautiful, if you do not equip it to your liking. How to carry out repairs in the kitchen when you have no clue where to start?
For now, construction and facing materials are expensive, and still need to hire craftsmen. But to do it is not necessary. I'll tell you where to begin equipping the kitchen, and some important points to consider.
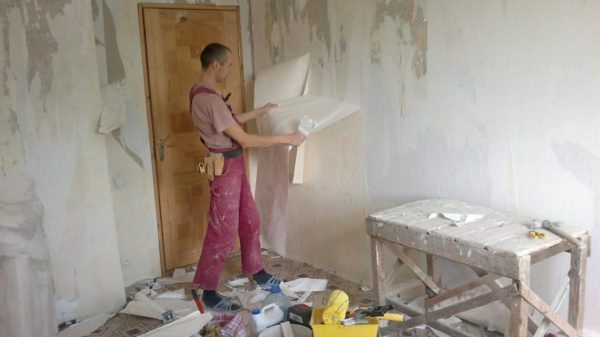
Do not be afraid to make repairs on their own, so you will save money.
Good repair, you will be able to make their own hands. For this we need to know exactly how the room should be in the end and move towards the goal of drafting and plan.
How to design a kitchen?
To visually imagine the arrangement of furniture and kitchen equipment, you first need to make a detailed drawing.
Planning and measurement
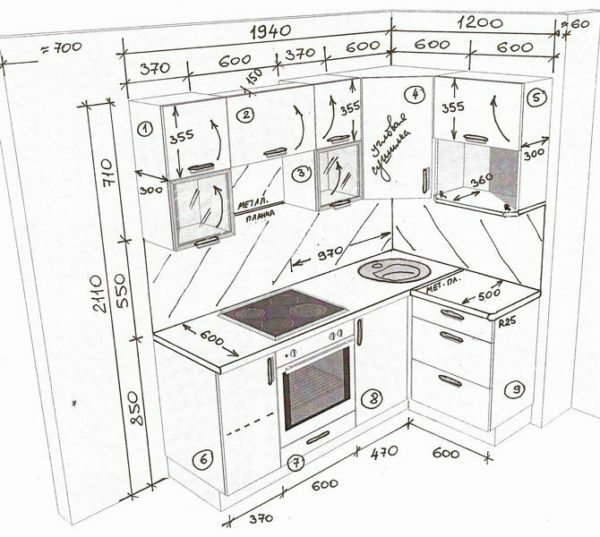
To begin, make a detailed drawing of what you want to see the room, the furniture and the equipment in it.
Draw on the plane all that will be in a renovated room, indicating the size of each of the interior of the subject:
- In a first step, measure the kitchen furniture, sink, cooking plate.
- Then specify the location pipes, radiators, sockets, air duct and exhaust.
- After that, proceed to the measurements household appliances. For example, microwave oven, refrigerator, television, food processor, dishwasher and washing machines, and so on. D.
I advise you to make measurements of equipment and open doors. At least for a refrigerator and microwave it should be made mandatory.
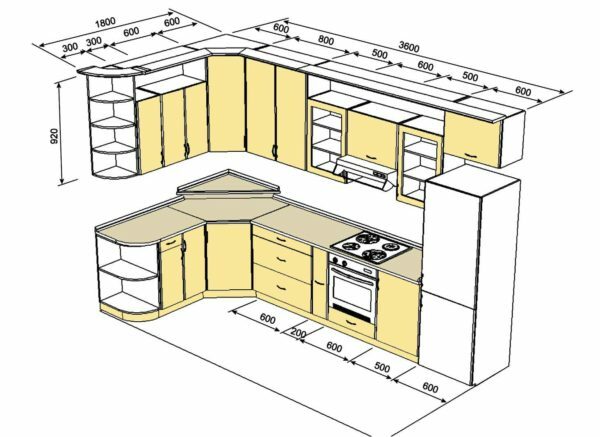
Kitchen set - the most important element of the room equipment, so its structure has worked on drawing very carefully.
- Now you will need to think about the location of Furniture Measurementsand equipment. If you want to put a new set for the kitchen, dock it on the plane with a sink, cooking plate and embedded equipment.
- Determine the size and number of drawers on the working surface of the furniture, as well as the location of the handles on them. Do not forget to plan the lighting, the number and location of open shelves, cornices, glass doors.
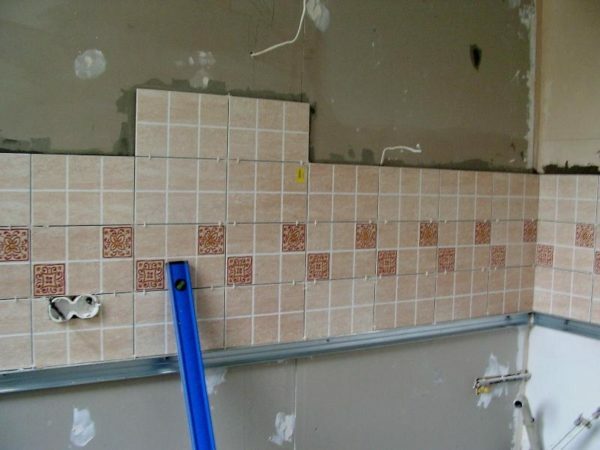
Apron is best done from a tile.
- Select the size of the apron and determine lining material for him. The best option for an apron - a ceramic tile.
Choose materials and calculate how much they need to

If a small room, make it brighter - then it will appear larger.
Think about how to repair their own hands cheap and nice:
- Pick the color and design of the kitchen range. If it is small, then the best option - light colors in the decoration and furniture that will make the room wider and taller.
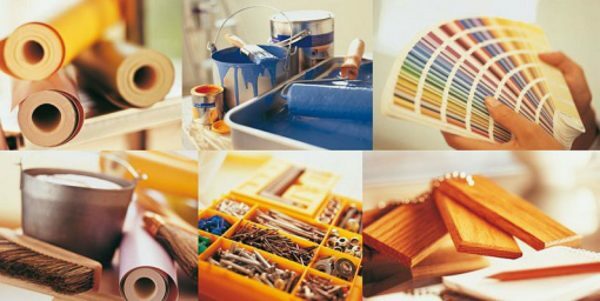
You will need a lot of materials, select them and calculate the right amount.
- Then make a list of necessary construction and finishing materials. They need a lot of:
- plaster and plaster to align the ceiling and walls in the kitchen, as well as the screed floor, if it is uneven;
- glue for wallpaper and tiles;
- plasterboard and profiles Ceiling and walls possible;
- paint, tile, linoleum and other finishes for all surfaces.
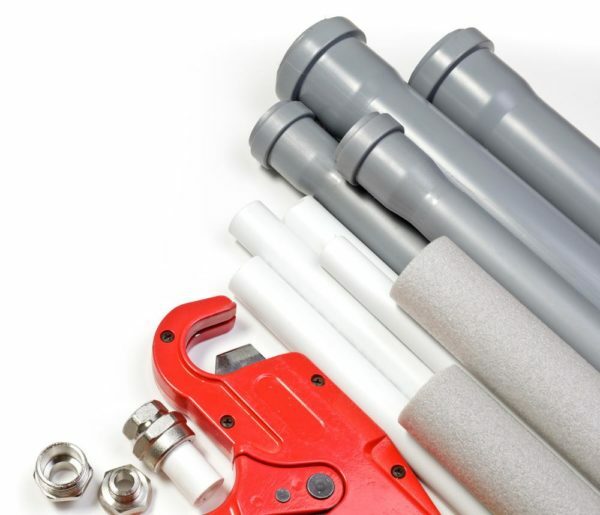
To replace the utilities you have to buy the materials for them.
- Else you will have to buy a new electrical outletAnd wires and pipes for water, waste water and ventilation. If the need arises to change the window, fill in the list of his.
By counting the number of necessary materials, their costs and make a rough estimate. So you have decided on the financial outlay that you are coming. If the cost to you would be not under force, try to replace one or the other material on the cheaper option.
Start of repair - get rid of the excess and change the liner
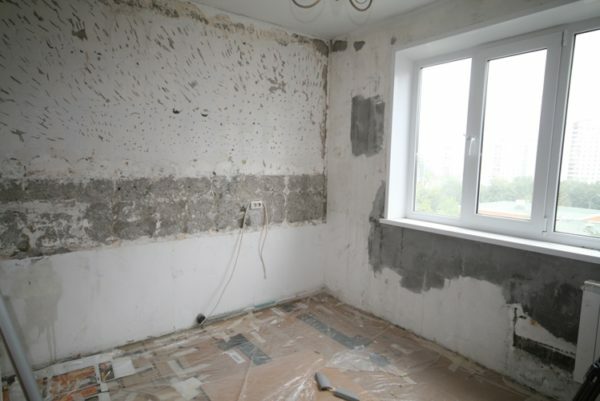
To update the kitchen, you first need to remove old coatings from all surfaces.
Before starting the repair, you will need to release and prepare the space.
Take out and break, all that is possible
- First of all, remove from the premises all the kitchen equipment. Then take out the furniture, leaving only built. If the repair is supposed major, and disassemble it.
- After that release the walls, floor and ceiling of the old lining. Shoot tiles and floor tiles, remove the paint, wallpaper, linoleum, remove the baseboards.
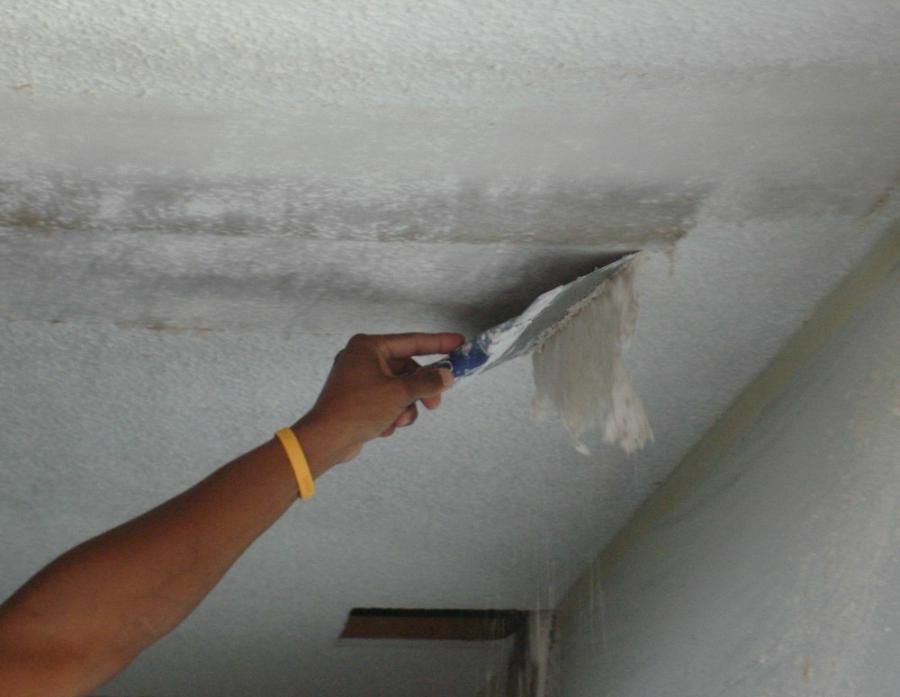
Vodoemulsionku very easy to clean, if the ceiling is pre-moisten.
Whitewash and water-based paint can be easily removed, if they are pre-wet with warm water. From the old walls and the ceiling of another type (oil, latex, acrylic paint) you can get rid of with a special wash.
- If the kitchen will undergo redevelopment, tear down old barriers and remove the door. If you plan to change the window and remove it along with the box.
When finished cleaning, you can begin to repair the kitchen with his hands.
Run utilities

The photo - a variant of the circuit wiring.
Installation of utilities, start with the wiring. Points to socket position so that it is convenient to use the kitchen equipment.
Electrical outlets you need to be in the work area: for a refrigerator, microwave, hoods, hotplate, TV and so on. Consider outlet and for the local illumination.
Next, enjoy a ventilation system. Replace it with a new old duct pipes. Ventilation to be effective, that is forced, you need elektrovytyazhka fan. Set it at a height of 60 cm above the cooking hob.
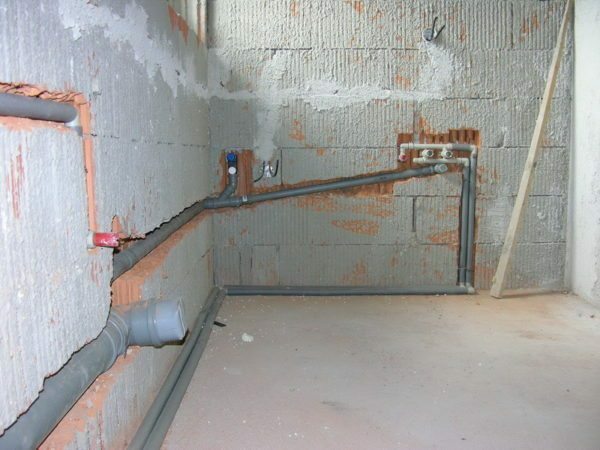
water supply and exhaust system is made of plastic and metal and plastic.
Water supply and sewerage system better gathering of metal-plastic and polypropylene pipes. They are lightweight, yet strong, durable, not afraid temperature extremes and easy to install.
Installation of utilities - it is responsible, and requires certain skills. If you do not, then do a repair of this stage entrust to professionals.
Making the ceiling, walls and floor
After completing the preparatory stages of repair, you can start tiling.

It looks very nice multi-tiered ceiling of GCR.
Start with the ceiling. It can be done:
- half of the plastic panels or sheets of plasterboard;
- tensioning of the fabric or polymer;
- possible and most affordable option - simply paint the surface.
- If you are staying on the painting, Choose water-resistant paint. For example, water-dispersion acrylic, latex or silicone composition.
- before painting ceiling surface align with gypsum plaster and smoothed with putty.
- If you choose the suspended ceiling, keep in mind - it must be installed after the wall covering.
Next, align the wall. This is best done with gypsum plaster. For example, Saten-Gips, contour line.
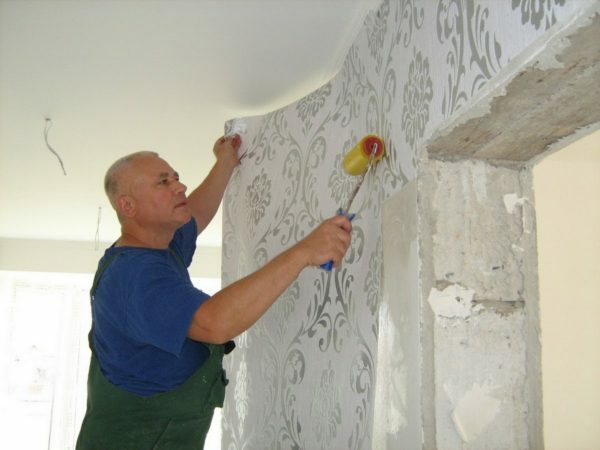
The walls outside the working area can wallpapered.
- Budget option for wall cladding - this paste over their wallpaper. It is best if they are washable, as they will be splashing water, accumulate fat and soot. A good solution would be and paintable wallpaper. They are practical and beautiful.
- Plot walls in the working area in most cases, it is lined with tiles. However, you can all the walls in the kitchen are tiled. Such a decision would be very practical.
Next, you will need to align the floor:
- If the concrete floor. A coupler can be made to it from the finished self-leveling or self-made mixture of cement-sand mortar.
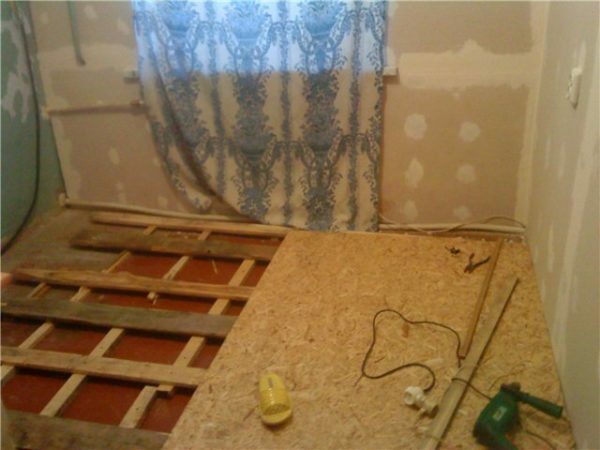
The floors are made of wood, you can align the plywood.
- When wooden floors. Check the strength and change as the needs of the floorboards, then align them with plywood.
- If you want to install underfloor heating system. First align the base screed. Then lay heating wires or pipes. Do this, as recommended by the manufacturer's instructions. Next, pour the warm floor with another layer of screed.
Aligning the base of the selected lay floor covering: linoleum, tile, laminate and so forth.
How to install baseboard
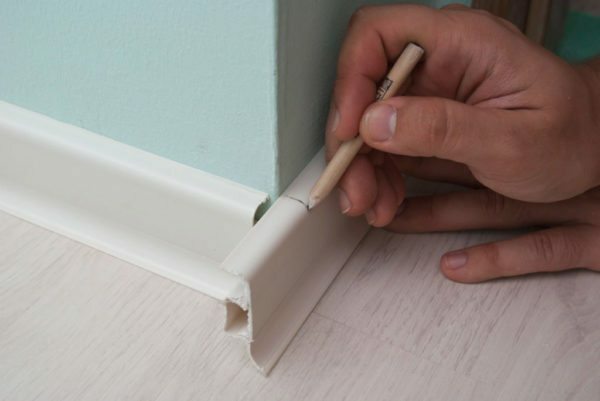
Plastic skirting well suited for kitchen floors.
Making repairs in the kitchen, do not forget about the skirting boards. Kitchen best suited metal or plastic slats. Wooden skirting impractical, since without the protective coating fear of water and cleaning agents.
The usual length of plastic moldings -. 2.5 m To calculate how many of them you need, measure the perimeter of the kitchen, add to the resulting figure 2m stock and divide the number by 2.5. According to the number of internal and external corners, buy also the angular elements.
Cut skirting plastic convenient saw for metal. They must be installed, starting from one of the corners or the door. Fasten straps with plastic dowels.
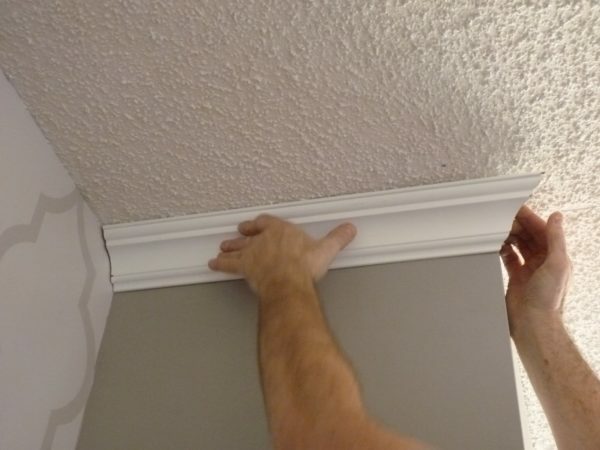
On the ceiling are well looked plaster moldings.
Furthermore skirting boards and ceiling analogs exist (baguette). They close the gap between the lining of the ceiling and walls, emphasize contiguity between these surfaces and make the room more aesthetically pleasing design.
Ceiling molding may be a plaster or plastic. The latter option is installed after the walls and ceiling.
The final stage of repair - put the furniture and kitchen equipment
- If you decide in the repair of the apartment to update all, You have to change and the kitchen door. It can be made from MDF wood. It can also be completely of glass or with glass inserts.
However, such a door requires constant care. Laminated MDF analogue is more practical and less beautiful. In addition to the ordinary swing door, you can put sliding. This canvas will save a lot of space in the kitchen.
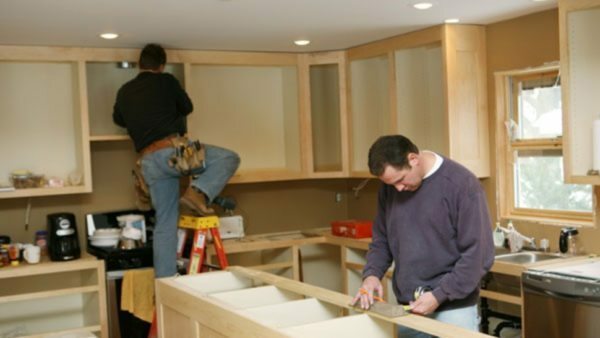
At the final stage of repair, kitchen furniture installed.
- Next, place the kitchen drawn to the original plan.
-
Then you need to install the sink. The best option, if it is made of steel, stainless steel.
As a template for tie-in sink countertop use its carton. Before you make a hole, then drag its outline on the cardboard. He drank seat electric jigsaw. Mounting the sink, secure it in the tension screws. Next, install the mixer.
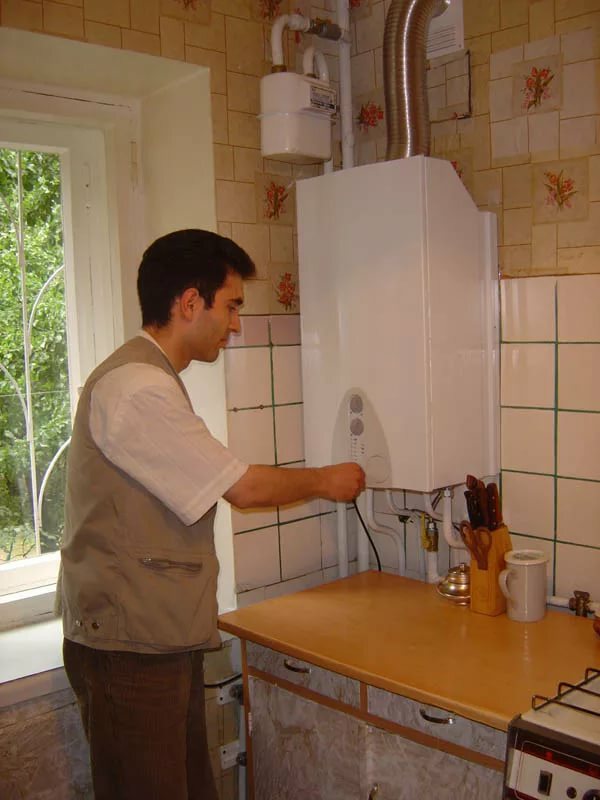
The last room is equipped with the necessary equipment and appliances.
-
The final touch repair - installation of kitchen equipment. With microwave, fridge and dishwasher difficulties you will not have. They just need to put in place and connected to the outlet.
If the working area of the kitchen is a washing machine, you will need to connect it to the sewer and water mains. A cooking plate, connect to the gas pipe special hose.
Output
Make repairs and design of the kitchen with his hands is not so difficult. The main thing - all correctly plan to acquire a sufficient number of materials and do everything carefully, slowly. Videos in this article will help you understand how to upgrade the kitchen in the home. Ask your questions in the comments, if they have any.


