Repair small kitchen (36 photos): design, layout, design of flooring, doorways, ceiling decoration, walls and sill
Table of contents
- 1 Planning the future kitchen
- 2 Design a small kitchen
-
3 The question of finishing materials
- 3.1 Flooring
- 3.2 Doorway
- 3.3 finishing the ceiling
- 3.4 Decorating the walls
- 3.5 windowsill
- 4 stages of repair
- 5 Summing up
- 6 Photo Gallery
Most of the apartments, except for the overall new construction, has a small kitchen, particularly "lucky" residents "Khrushchev", where every square meter counts. Buy a bigger apartment can afford a few, so the ideal solution is a modern renovation of a small kitchen + design, which increases the space.
Using a variety of methods and the play of light can be increased repaired the kitchen visually, and if successful planning of furniture - and even functional. The main thing is to think through all the details, and you can safely proceed to alterations.
Planning the future kitchen
 Repairs begin with planning, and will tell you, any repairs School: small kitchen is no exception.
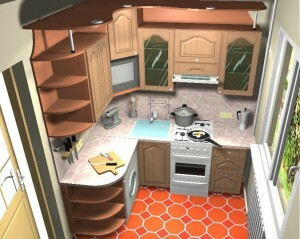
You will need a 3D-renderer, with which, you will get a future furniture. If the room is a plan of arrangement of furniture you can think through after finishing, then for any repair option Kitchen all be taken into account to her, since such elements as a plate and a sink, require supply communications.

Planning the future kitchen
You will be able to experiment and see renovated kitchen in various embodiments, and choose the most suitable.
During the planning of the nuances of the following should be considered:
- Gas stove must be placed within the length of the gas hose, the extension of which is highly undesirable.
- Electric stove more "mobile", but extending the electric cable is worth considering whether it would not be cool, and whether will sustain the load when the rest of the instruments.
- Sink attached to the communications, if you want to shift it to another location, it is worth thinking about how to hide the pipe.
- You should not have the plate next to the sink. Despite some convenience for housewives, water spray should not be placed on the hob.
- Gas stove must be removed from the window 30 cm.
- Similarly, you need to take into account the length of the curtains, that the situation was not fire.
- Lockers just should not hang above the hob, it is better to move them to the side and place the hood over the stove.
Design a small kitchen
Once you have decided on the arrangement, the time to go directly to design. Consider the basic ideas for the repair of a small kitchen.
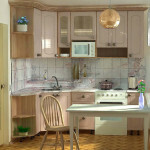
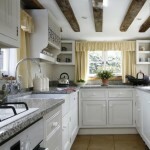
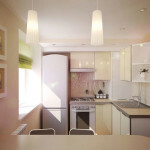
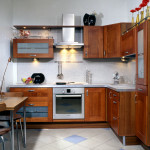
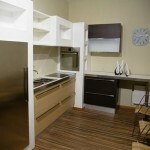
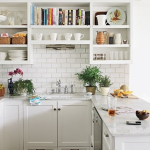
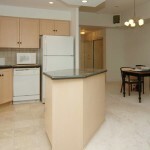
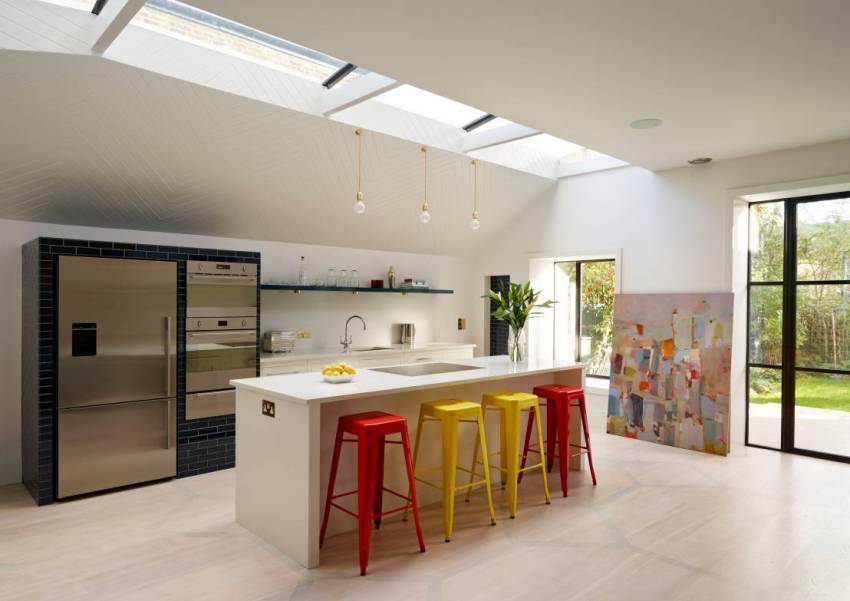
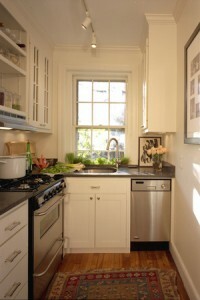
- Color scheme in pastel shades. Such an embodiment is classical, light color visually enhance space, well reflecting light. You can select the light pink, peach, beige. Furniture is better to choose to match.
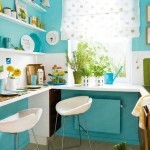
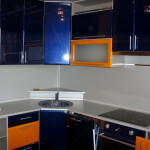
- The kitchen in blue or blue tones. To visually enhance this cuisine is necessary to use a plurality of chrome elements, it can be chair legs, pipes in the kitchen wall. Work apron should be much lighter or consist of mosaic mirror.
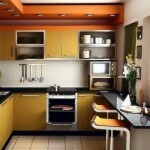
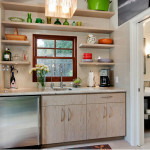
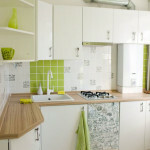
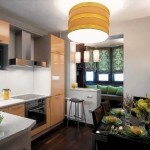
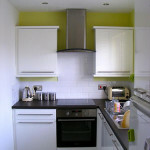
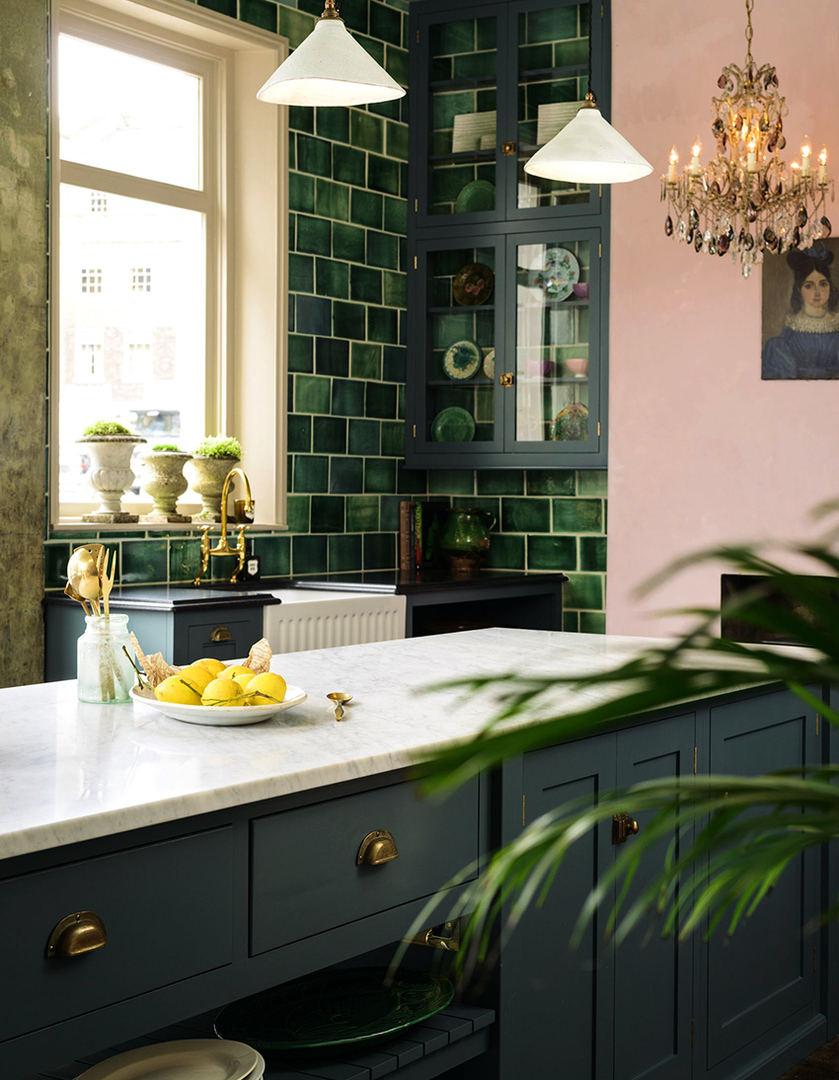
- Juicy light light green shades. This room will be bright, but in order for it not to seem small, it must be good to highlight. It is important that lamps placed on the ceiling and the bottom of the cabinets.
-
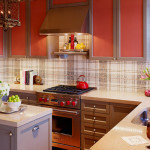
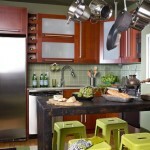
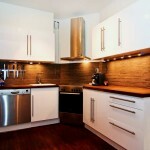
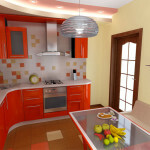
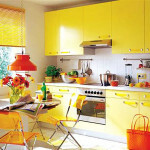
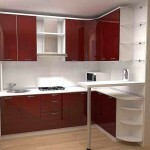
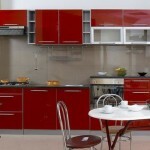
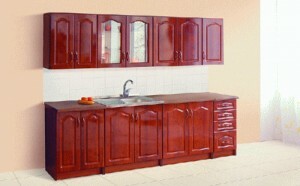
Red kitchen. If you want to bring to life the idea of a repair to the kitchen, to implement it at the expense of the red furniture. Wallpapers and apron remain pastel, the same applies to the working surfaces.
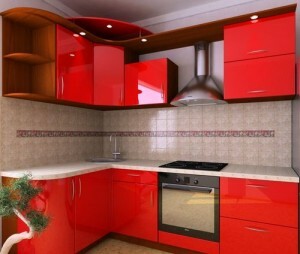
Red kitchen
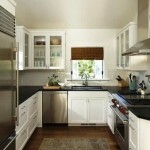
You can come up with their own versions of the repair of a small kitchen. The main thing - to preserve the presence of light elements, because without them no one, even the most refined, design solution can not increase the space.
Kitchen with light furniture looks more spacious
The question of finishing materials
Flooring
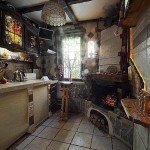
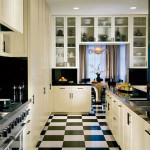
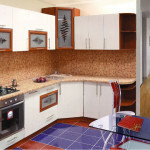
In connection with the functional features of the kitchen floor, the majority of housewives still prefer to cover a dark color. The most functional is laying linoleum, laminate or tile. Such surfaces are not afraid of the water and easily cleaned.
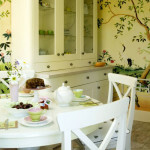
If you make a kitchen remodeling 7 square meters or a little more, it is possible to divide the dining area and cooking area in various shades of flooring.
Doorway
Increase the kitchen by means of the door opening can be in 3 ways:
- to install a sliding door;
- remove the door and decorate the arch;
- to demolish the wall between the kitchen and the living room, having kitchen studio.
When choosing the latter option renovated kitchen-studio can be done with both the visual division of the room, and without it.
If you choose division, you can use:
- difference in the floor covering;
- floor height;
- false ceiling in one of the rooms.
The choice of method determines the price of materials and labor, type of plan and the area.
If you are doing a kitchen renovation in the five-storey building and does not want to demolish the wall, it is possible to make an opening in the form of an arch.

Arch
Stages of the construction of the arch:
- The cutout metal guides secured to 2 vertical and 2 horizontal on each side.
- Scissors cut the metal jumper from the rack profile.
- Jumper is attached to the guide screws.
- In plasterboard sheet 2 is applied and the contour of the future arch are cut on it with a hacksaw or jigsaw fine tooth.
- Screwed side of the arch to the guide with screws on the metal.
- Arch drywall strip moistened with one hand and give it the desired shape, leaving a curved position for 12 hours.
- Securing the third part of the drywall with screws to the metal jumpers increments of 5-7 cm.
Tip! To better accepted drywall arch shape before soaking awl or spiked roller can make holes on the half of the sheet thickness.
finishing the ceiling
Whatever cuisine - Euro repair necessarily involves the ceiling finish.
You can select one of the following options:
- paint water-based paint;
- wallpapered;
- install polyurethane decorative plates;
- mount ceiling panels made of PVC.
Decorating the walls
The bulk of the trim of the walls in the kitchen wallpaper. Part of the wall above the working area, a sink and a stove called the apron.
The apron may be made of:
- ceramic tiles;
- photo tiles;
- mosaics;
- glass panels.
The original decision will be the creation of large-format photos of photo tiles. For example, a view of the city at night, or the nature of the repair makes small-sized kitchen is visually much more.
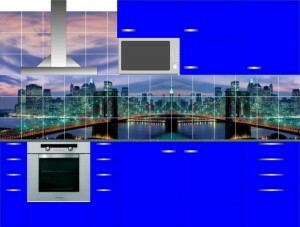
Apron of photo tiles
Tip! If the wall surface is so rough that it is impossible to align the filler, the best option will be checked apron. This coating is the best hide this shortcoming.
windowsill
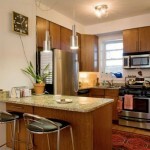
 If the kitchen is very small in size, save space will help the sill, which can be turned into your own hands in the work area.
It can be used in two ways:
- As a cutting table. If you order the furniture individually, you can be placed on a windowsill table top and underneath a small locker.
- To accommodate the sink. You can install the washer on the spot sill, hiding beneath the water system.
In this use, a window sill should install light curtains to not experience discomfort from prying eyes.
stages of repair
After the choice of finishing materials and their purchases, go directly to the repair work.
Repair typical cuisine consists of 3 main stages.
- dismantling:
- remove from the walls of the old tiles and wallpaper;
- clean off whitewash or paint from the ceiling;
- disassemble the floor covering.
- Preparatory work:
- spend leveling floor screed;
- distribute electrical wiring;
- paving the water supply pipe and sewage;
- eliminate irregularities in the walls of putty;
- primed the walls and ceiling.
- Finishing:
- covered with paint, install PVC panels or glue the wallpaper on the ceiling;
- spread apron tiles or mosaics in the working area;
- glue the wallpaper on the walls;
- mounted sockets and switches;
- laid flooring.
At the same time, our housing problem - renovated kitchen is fully resolved. It remains only to assemble and install furniture, as well as to connect the sink, stove and other household appliances.
Summing up
We hope our article has been helpful to you. In order to more accurately understand the technological and practical issues on our website provides detailed photo and video instruction, in which you will find useful information on the question.
Photo Gallery