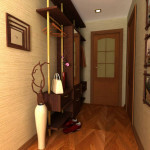
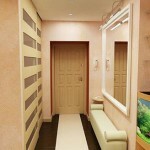
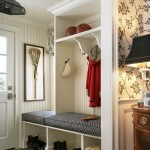
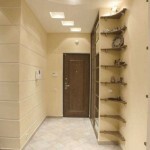
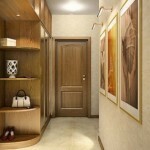
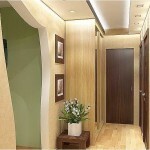
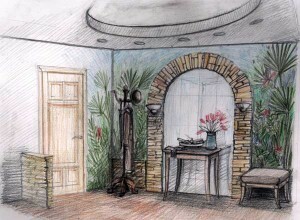
Repair hall in the panel house (photo 42): the choice of materials, the sequence of repair and decoration of the walls
Table of contents
- 1 The choice of finishing materials
- 2 Start repair
- 3 The sequence of work
-
4 We update the wall
- 4.1 Removing the old coating
- 4.2 Primer
- 4.3 Replacing the wiring
- 5 Summing up
- 6 Photo Gallery
This article will discuss the question of how to make a beautiful and high-quality repair of the hall in the panel house with his own hands. You will learn about the stages of work, get acquainted with the nuances of the implementation of certain types of finishing.
Coming from the street, the first thing people fall into the hallway from here every home begins. This room serves as a meeting place for guests and also serves as an intermediate space to move from one room to another.
 Appointment hallway causes variations repair. It should be possible to spacious and functional accommodations, bright and comfortable, which begins and ends with a design all the other rooms in the house.
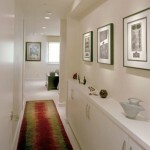
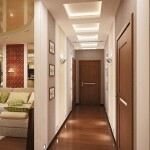
As a rule, hall in the panel house is a narrow and dark corridor with no windows. There is always a lack of light and spaciousness. And in order to maintain there is not easy, because it is in a renovated hall people leave their shoes and garments, bringing street dust and dirt.
Thus, it becomes clear why the hall has to be repaired more often than any other room in the house.
Note! If you started a repair in an apartment and want to perform a re-finishing of all rooms, the renovated kitchen and hallway should execute upon completion of the works in the rooms. It's an open space, where construction waste from distant rooms anyway fall.
Decoration Materials
The choice of finishing materials
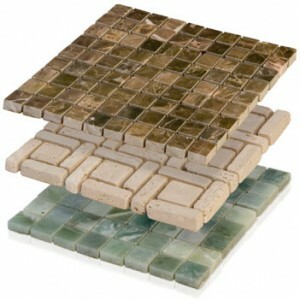
Of finishing materials is better to choose those that tolerate high humidity and easy to clean. Among these materials - stretch and suspended ceilings, wall tiles, Economy panel, washable wallpaper.
- Floor ideal linoleum or ceramic tile with non-slip, embossed, surface.
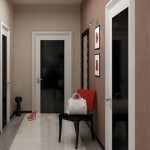
- Repair narrow hallway (and the majority of these premises in panel houses have small dimensions) involves the selection of bright finishing materials. They visually expand the space frontier.
- Vertical pattern wallpaper visually increase the height of the renovated rooms with their own hands (this question is also relevant to many corridors in prefabricated houses, Khrushchev).
- Wallpaper are the most economical one, nevertheless practical to perform repairs using a wall-coverings. They can be arranged as you like: the entire height of the walls - floor-to-ceiling windows or occupy only half its height.
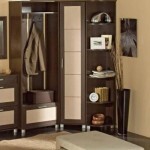
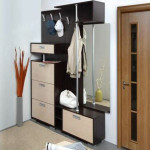
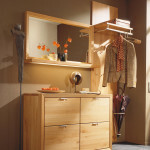
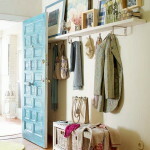
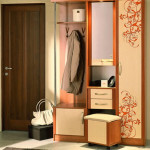
- Wall panels for finishing hallway or corridor may be made of materials such as plastic, wood, laminated MDF. They are very easy to clean, withstands loads, look good, have a wide variety of colors, patterns and colors.
- Top wall can be finished with wallpaper or decorative plaster.
Design project of the hallway
Start repair
Design and repair of the hall, first of all, should be carefully considered.
The first stage of any changes in the interior - it is a sketch. Take a pen and paper, draw a hallway, you'd like to see in your home. Visualization desires - the first step on the way to their execution.
Creating a design project, shall describe in detail the steps to achieve the goal: what work you will do in the first place, which - in the second. Perhaps, at some stage you will need to help wizards.
The sequence of work
Repair in the hallway in brezhnevki, Hruschevki, Czech or other types of pre-fabricated house always has the same sequence.
First of all the work and associated with dust and dirt, then all that relates to the replacement electrical, pipes, ventilation and air-conditioning installation, and then carried out the repair of the walls, ceiling and trim floor.
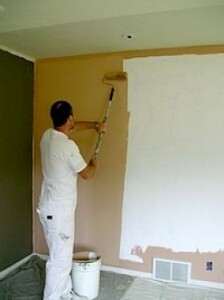
We update the wall
First, the layers must be removed old wallpaper and other coatings (paints, plasters, boards) from the walls. Removing old finishing materials today can be done fairly quickly. Depending on how the walls were repaired with his own hands, dismantle coatings will be carried out in different ways.
Removing the old coating
- Wallpaper removed manually. Enough to pull the strip of paper at an angle in a downward direction. A piece of wallpaper just move away from the wall. In the event that any portion will be firmly glued, can be moistened with water and scraped with a knife.
- Artificial plaster is removed from the walls by means of scraping construction machines. First walk with slight pressure on the entire surface of the walls 130-150 mm cycle. Next, have already been determined with the necessary force to dismantle the plaster, as well as a tool application angle, you can begin to cut the tabs that are on the wall surface.
- With regard to ink, it is scraped off the walls of either or removed by the dryer construction - a device which heats the material and making it easy to remove. Usually the price of such equipment is relatively high, do not rush to buy it, it is better to take the rent.
Note! The paint on the walls can never be removed. Suffice primed surface and plastered it.
Application of a primer layer on the wall
Primer
After the old layer of finishing material is removed, it is possible to move to the primer surface. It is necessary to create a better coupling of finishing materials to the wall. Processing oil wall primer, do not forget to wear gloves and from time to time to ventilate the room.
Next, a layer of putty is applied to 9 mm thick. The first layer must dry for one day. Thereafter wall wetted with water from a spray and applied to the second layer of putty. On expiration day the third layer is applied. It is important to maximize the smoothness of the surface, which will form later finishing materials.
Those stages of work carried out and the ceiling. If you decide to close the attachments or tensioning systems, cleansing of the surface layer of the old material can confine.
As a rule, only the repair of the hall in the pictures looks simple and fun.
In fact, the preparation of walls and potolka- is tedious work associated with large amounts of dust and debris. When it is executed will have to cover the floor and items that will remain for the duration of repairs in the hallway with newspapers and change them several times.
Replacing the wiring
The next step is the replacement of electrical, heating pipes, installation of air conditioning systems (all necessary) and final finishing of the walls and ceiling. Depending on what your intention is to carry out repairs in his hallway, a list of works on installation of finishing materials will be different.
Summing up
We hope our article has been helpful to you. In order to more accurately understand the technological and practical issues on our website provides detailed photo and video instruction, in which you will find useful information on the question.
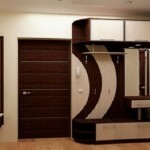
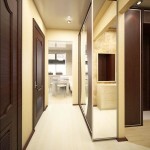
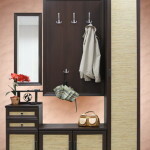
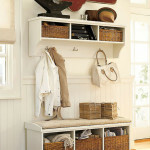
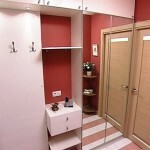
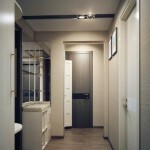
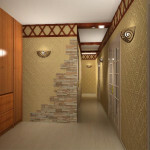
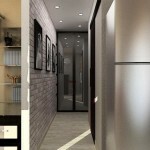
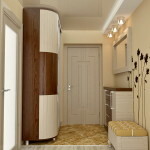
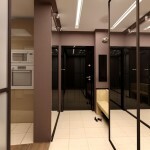
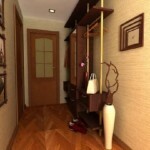
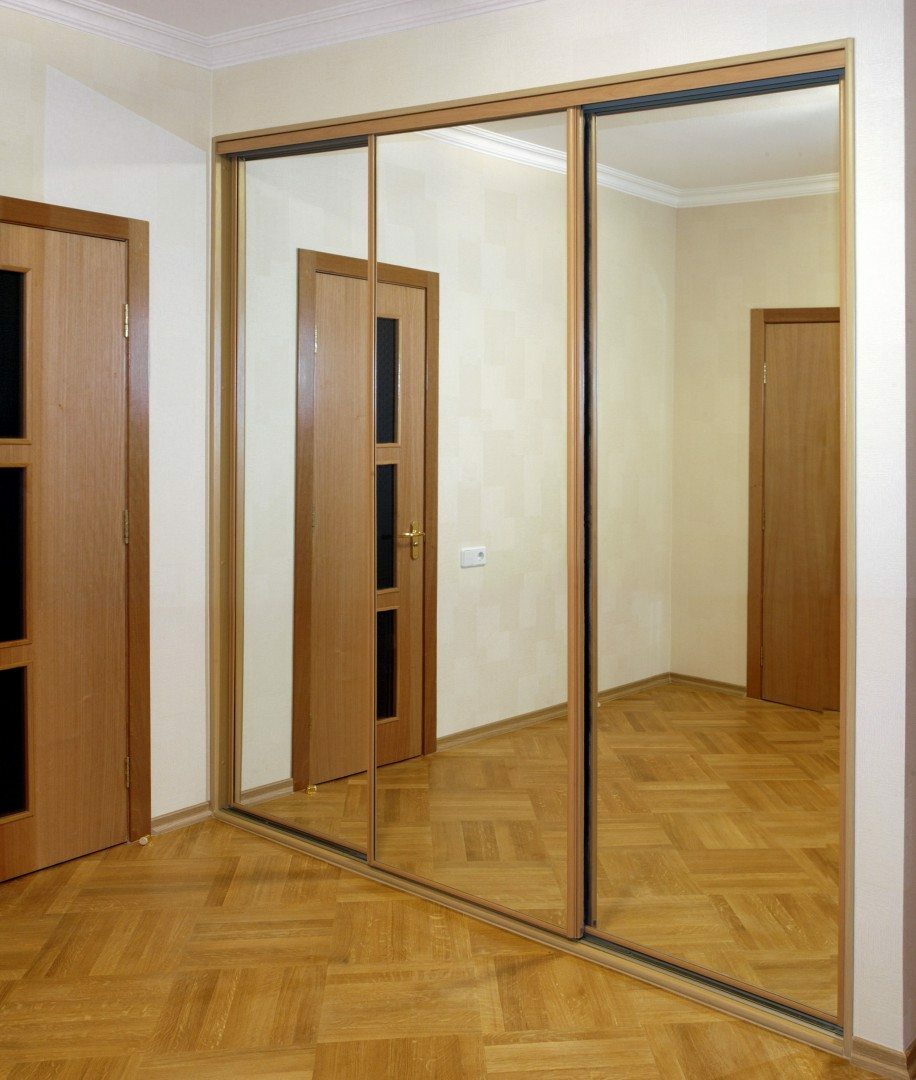
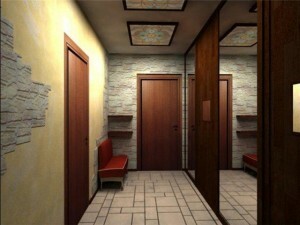
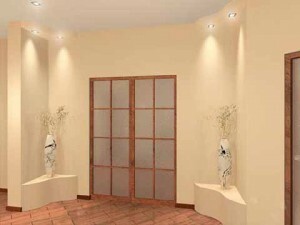
Photo Gallery