School repairs: bathroom with your hands (57 photos). Replacement of sewer, water and ventilation systems. decoration
Table of contents
- 1 bathroom design
- 2 Start repair
- 3 Substitution sewer, water, ventilation
-
4 decoration
- 4.1 List of works
- 4.2 Training
- 4.3 materials
- 4.4 The sequence of work
- 5 Summing up
- 6 Photo Gallery
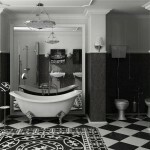
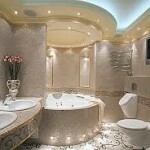
The state of the bathroom is an indicator of cleanliness and wealth owners, therefore, in addition to the constant purity that it should be maintained, a bathroom should be tasteful It is finished. As you may have guessed, the theme of which will reveal today our school repairs - bathroom and the rules for its decoration.
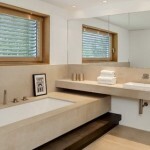
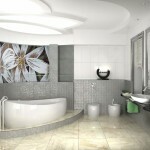
bathroom design
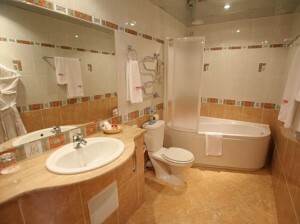 The first thing to do before starting repairs directly in the bathroom with their hands - think about its design. On this issue, you can consult a professional designer, but you can make your own sketches on paper, and then re-create them.
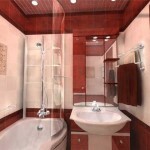
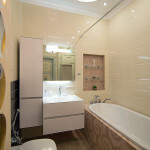
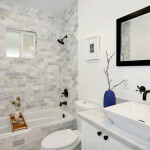
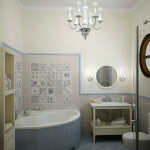
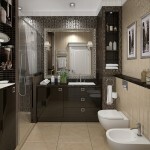
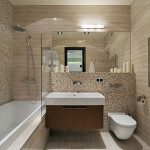
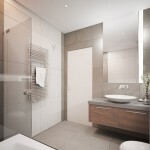
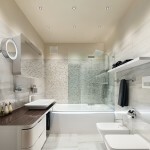
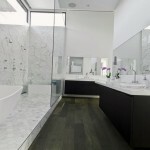
If your bathroom is small, it can help in light colors matched the tiles, a few mirrors and light elements as much as possible. All this will greatly expand the room visually and to hide the lack of space.
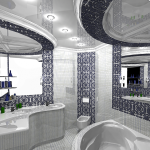
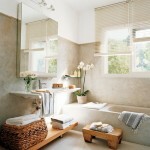
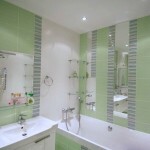
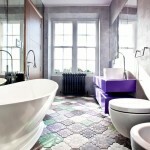
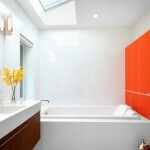
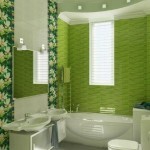
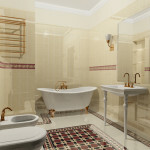
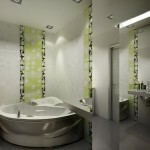
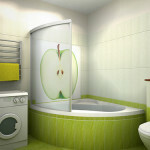
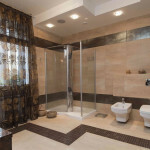
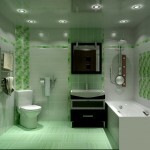
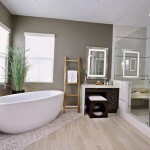
Bright shades of green and blue in the bathroom create an atmosphere of sea freshness and beige pastel shades will help you relax after a hard day's work.
Tip! Do not forget to provide space for shelves and cabinets, think about where it is necessary to hang the mirror, leave space for a washing machine if needed.
Start repair
Bathroom renovation for Dummies - is not easy, so try to describe in detail the performance of each of its components.
To begin with the preparation of the bathroom:
- Removal of foreign objects.
- Dismantling and removal of plumbing and fixtures.
- Removing old plaster.
- Debris removal.
You are now ready to begin installation and painting and decorating.
Substitution sewer, water, ventilation
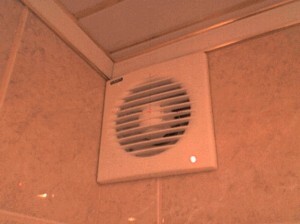
Extractor fan in the bathroom
Replacement of water supply and sewerage are best left to a plumber who can accurately determine which of the pipe needs to be replaced, as a better and safer to do eyeliner. In addition, an appeal to professionals will be the insurance of unpleasant cases with leaks and Gulf neighbors below.
Organization ventilation system includes the installation of a new drawing instead of the usual grill vent. The inclusion of extracts can be combined with the light on in the bathroom, and you can "hang" on the second switch button.
Wire from the switch is conducted to the ventilation hole and remains there until the installation of a hood, which will come after finishing.
After finishing the bathroom tiles with their hands or any other material, hood, bought especially for the size of the vent hole, attached to the prepared de-energized conductor, inserted into the hole (s hoods must first remove the front grille), and formed by stretching the slit closed perimeter with foam to prevent induction, air.
After drying, the foam can be fixed front grille and test the functionality of the design.
decoration
List of works
The process of finishing the bathroom:
- Alignment of the walls and floor.
- Wall cladding with tiles.
- Facing tile floor.
- ceiling trim.
Training
The surface of the walls after the removal of the old tile layer often requires alignment, because the tiles can be laid only on the almost perfectly flat area.
Align the wall in several ways:
- Overlay of plaster layer.
- Slight irregularities putty filler.
- Attaching drywall or sheet using mounting profile-plasterboard construction.
Without the latter method is not indispensable for the formation of shaped protrusions have recently received wide popularity.
It should immediately be noted that even redecorating the bathroom will include all of the described finishing work. It differs from the total renovation of only that plumbing and communications systems remain intact.
So, just to finish. When the surface of the walls is lined, you can start tiling.
materials
To this end, except for the tiles and special glue, you will need:
- Thin wooden block length for the whole width of the wall. It will serve as a support for the first row of tiles.
- Special tile crosses for fixing the distance between the individual tiles.
- Spatula with ribbed edges for uniform application of the adhesive on the wall or tile.
- Hammer with a rubber butt.
- Builder's level, the price - from 670 rubles.
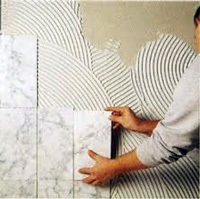
Lining the walls of the bathroom tile
The sequence of work
The wooden bar is attached at the bottom of the wall so that the bottom of the first row of tiles was at the level of the alleged floor tile layer and could form the floor a sealed joint.
Glue is applied on the tile, and then carried out the ribbed edge spatula uniformly distributing layer and removing excess glue. Apply tiles to the wall, leaning it on the board, and gently hammer inciting to an appropriate level.
Lay the next element up against the previous one, separating them with crosses. The gap between the tiles, must not exceed 4 mm.
After laying the first row, on top of it is placed second, also dividing the ranks of crosses. Tile joints should cover up with silicone sealant. To make the tile suitable shape and size, using conventional glass cutter.
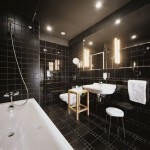
Tip! Making repairs in the bathroom brezhnevki, because of considerable size room, place in a bath, which is not visible, you can not polish floors. This will allow to reduce slightly trim area.
Upon completion of the wall decoration in the bathroom, you can move on to the floor. the floor tile is laid in the same way as on the walls, except for the absence of the wooden beams. We must not forget that the floor using a special floor tiles.
The ceiling, depending on the budget for repairs constructed of PVC panels or install a system ceiling.
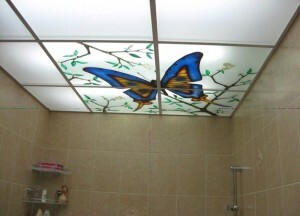
False ceiling in the bathroom
Second perfectly fit into any design, but do the work of assembling the suspended ceiling alone is extremely difficult without special tools and appropriate skills.
Install the ceiling is made of PVC panels a snap. At repaired the ceiling in the bathroom using the gun, wooden beams cross-section 20x30 mm, dowels and screws are building a wooden crate, to which the stapler assembly and fasten PVC panels. The corners of the ceiling is lined PVC special area.
Tip! In the process of finishing the ceiling PVC tiles before installing them take care of the wiring harness for each ceiling lamp, then Mount the lamps in the plate, and only then fasten the plate to the PVC sheathing, connecting the lamps directly Wiring.
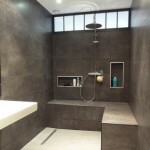
Coming up to the final stage, do not forget to lubricate the sealant places common bath or shower cubicle with tiles. It further should be adapted bath screen with sliding doors.
Summing up
We hope our article has been helpful to you. In order to more accurately understand the technological and practical issues on our website provides detailed photo and video instruction, in which you will find useful information on the question.
Photo Gallery