Plasterboard partitions in the bathroom: the necessary tools and materials to create a project and installation
Table of contents
- 1 Tool
-
2 The sequence of work
- 2.1 Creating a project
- 2.2 Material
- 2.3 Mounting
- 3 Output
Bathroom is a special room in the apartment. It is always present high humidity, which can sometimes reach 90%. In this tub is subjected to considerable heat, which greatly affects the finish and set the art.
By the choice of building materials for use in this room should be approached carefully, with full knowledge of the situation. Plasterboard partitions in the bathroom - the topic of our today's article.
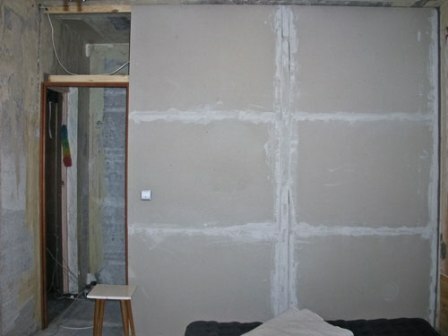
The design for the separation of the room with the door opening, set in the bathroom
Typically, partitions are used to divide the room into several sections. In the bathroom, they are meant to separate sanitary systems, or to create a niche. (cm. also the article How to make a niche of plasterboard with their hands)
Required tools
Tool
For the product of work required:
- a water level;
- plummet;
- roulette;
- Hammer or percussion drill;
- Metal scissors;
- Screwdriver or screwdriver;
- putty knife;
- knife;
- hammer;
- paint roller.
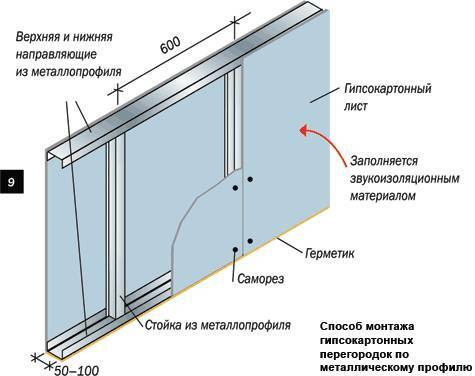
drywall partitions mounting method of the metal profile
The sequence of work
Creating a project
Before you start to work, you must create a project.
It will serve as a basis for installation and it is thanks to accurate drawings, you can make the necessary calculations in the procurement of materials.
- On a sheet of paper is applied presumed contours partitions based scale.
- Then mark a location on the perimeter of the guide profiles for plasterboard walls.
- At the next stage in the drawing is applied to the uprights, taking into account that the distance should be 60 cm between their center.
- To partition in the bathroom plasterboard was solid profiles are interconnected by horizontal bridges. It uses a special cross-shaped connecting elements, which are also to be displayed in the project.
Tip!
If such a plan is drawn up for the first time, it is necessary to show as much as possible items to watch out for them out of the spotlight in the procurement and installation.
Version of the model project of plasterboard partition systems with the manufacture of the doorway and windows
Material
The question of how to choose the material for the bathroom is the most important when creating walls of plasterboard.
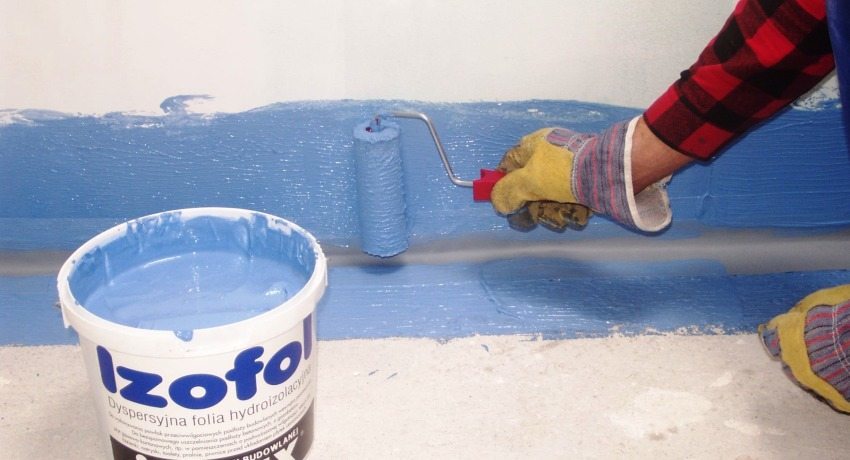
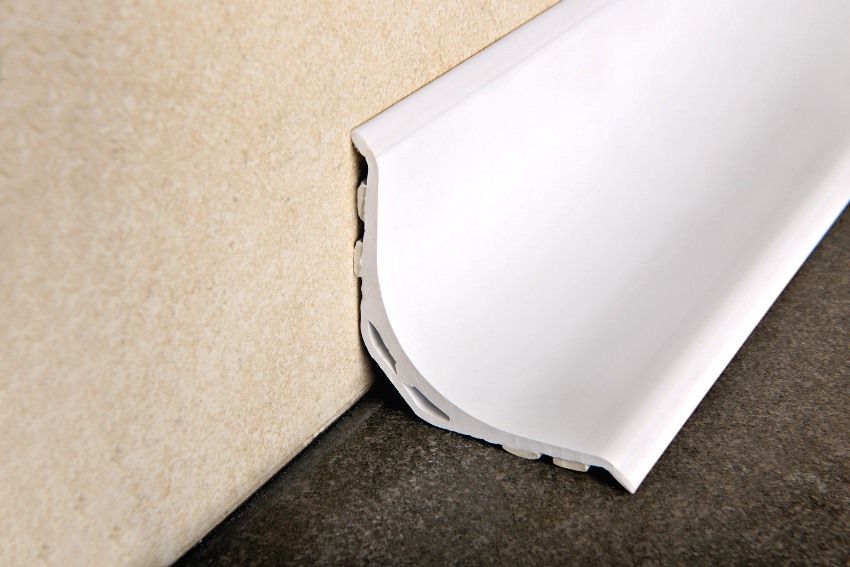
- Plasterboard partitions in the bathroom with their own hands created based waterproofing properties. Walls made from this material must be protected from moisture in the connection area with the floor. For this purpose, a special mixture which is applied to the floor and the wall at a height of 15 cm. Alternatively, you can consider a special film.
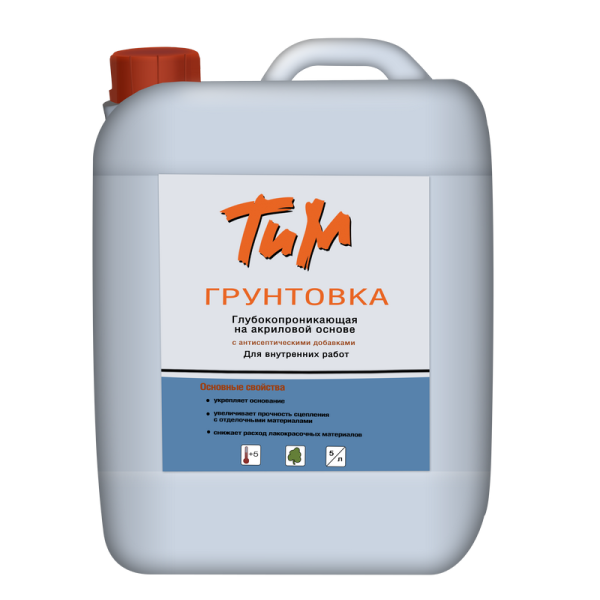
Deep penetrating primer based on acrylic, able to significantly increase the adhesion strength of the material and
- Special attention should be paid to primers. They must have good moisture repellent properties and contain ingredients that prevent the emergence of the fungus. If these properties can be neglected, the bathroom does not allow such actions while working in other areas.
- The main material in this construction is plasterboard. Must be purchased by paying attention to the markings and color. We need to work with a waterproof drywall surface.
Tip!
Some builders prefer to replace metal profiles on wooden slats, but when working in the bathroom room such a decision is wrong, because this material is resistant to moisture and extremes temperature.
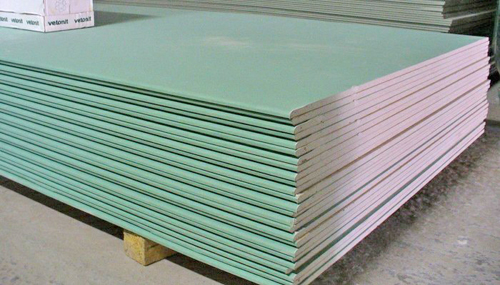
Moisture resistant gypsum board has a gypsum plasterboard and the blue marked characteristic green color coating protected
Mounting
It shows video instructions how to install, fitting in the bathroom does not differ from the work in the usual place.
It consists in fastening the guide drums via dowels, locking bearing crosspieces and panels.
However, after the drywall sheets are installed, they must be processed.
- The first step in using sealed seams planting plaster and reinforcing tape.
- Install waterproofing.
- Good primed walls to solution infiltrated material, increasing its adhesion and durability.
- The next stage of processing depends exclusively on the type of finishing. However, it is worth noting that the bathroom is best to use tiling or painting.
- The first method is intended for tiling. It consists in applying a thin layer of cement mix and primers. After partition dries, you can start to work with tiles.
- The second method involves painting. However, it is worth noting that the price of high-quality dyes is quite high for a bathroom, but their properties are not always able to simultaneously protect the wall and give the opportunity to penetrate the air. That is why the construction of plasterboard, located in the bathroom and intended for painting, a thin layer of putty for gypsum board, which is impregnated before the finishing work primer.
Tip!
To improve the quality of the coating and its resistance to moisture must acquire priming mixture with a high degree of penetration. They are much more expensive, but well worth the cost of everything.
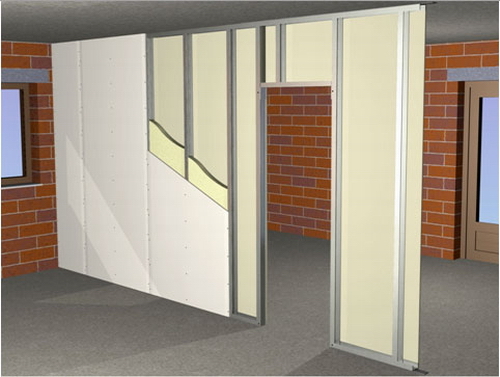
The principle of drywall partitions
Output
We hope these tips, photo and video materials will be your assistants in the creation of partition walls in the bathroom. Easy repair!

