Restoration of old furniture: 13 steps from the aesthetics of decay
Table of contents
- 1 And in fact, why
-
2 Steps to Success
- 2.1 Step 1: Acclimatization
- 2.2 Step 2: dismantling
- 2.3 Step 3: Cleaning
- 2.4 Step 4: surface inspection
- 2.5 Step 5: remover, grout defects
- 2.6 Step 6: repair of wooden parts
- 2.7 Step 7: veneering
- 2.8 Step 8: Primer
- 2.9 Step 9: Decorating
- 2.10 Step 10: varnished
- 2.11 Step 11: polishing
- 2.12 Step 12: hauling
- 2.13 Step 13: assembly
- 3 conclusion
Greetings, comrades! Our today's topic - the restoration of old furniture. We have to get acquainted with the stages of her recovery, and is used at the same techniques. But first - a few words about why this is necessary.
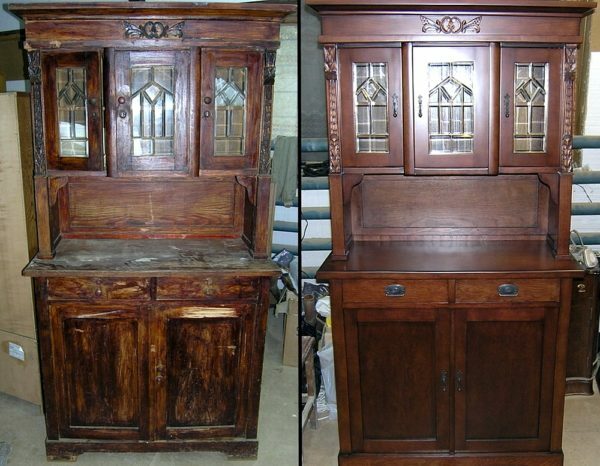
Old buffet before and after restoration.
And in fact, why
Modern things are short-lived. The ideology of the modern market is aimed at the consumer a lifetime spun a wheel of purchases and loans. To do this, you need to purchase any life cycle was short-lived, in an ideal - ends with the end of the guarantee.
However, a decade ago, the approach to any production was fundamentally different. Furniture of the last century (and especially produced before that) was made:
- With minimal use of mechanizationAdvantageously manually;
- Exclusively made of natural wood (And often noble breeds - ash, beech, oak);
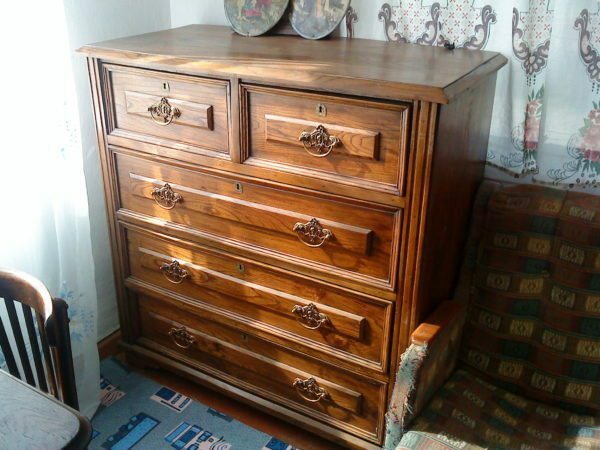
Old chest of drawers completely made of ash.
- With the use of natural wood glue (Casein, albumin, bone) or on the screws.
For the owner, this means the durability and sustainability is now fashionable. Modern inexpensive furniture produced predominantly from DSP consisting of phenolic resin.
Findings? They are obvious. Why buy a new mediocre to share, if possible restoration of old furniture? In fact, after the restoration of it is quite able to serve a few more decades.
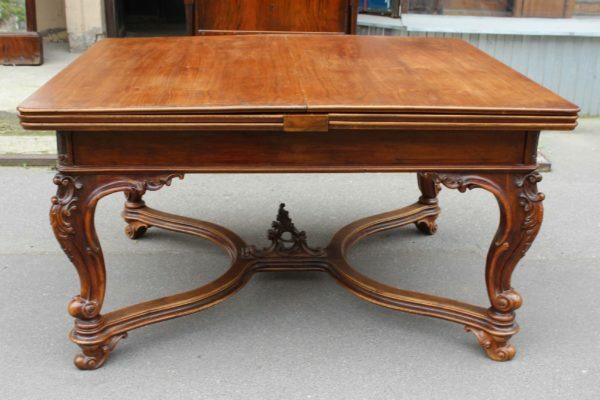
I am old? I'm just a superstar!
Steps to Success
So, how to restore the old furniture with his own hands?
Complete repair cycle includes:
- acclimation furniture to the conditions of the premises;
- disassembly on the details;
- purge every detail from contamination;
- evaluation surface state;
- smyvku coating or, if the varnish or paint layer in an acceptable condition, eliminating its defects;
- Repair parts (Luting, if necessary - production replacement);
- veneering (Pasting veneer);
- Padding;
- painting (As an option - painting, decoupage, sostarivanie or other methods of surface decoration);
- lacquer;
- polishing decorative coating;
- constriction new cloth (in case of repair of upholstered furniture);
- The assembly amplification with anchorages and (if necessary) hardware replacement.
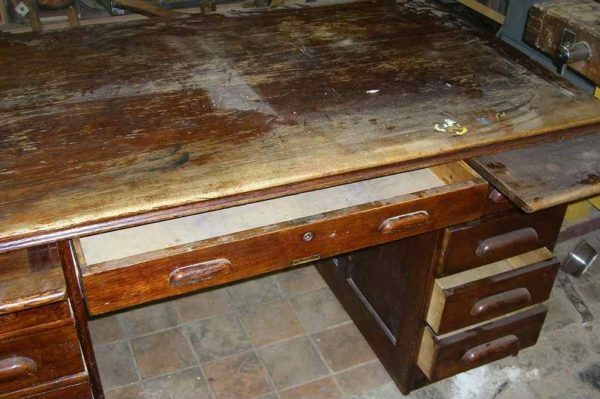
This table has a future. But restorer will have to spend on it a few days.
Step 1: Acclimatization
Before dismantling the old furniture to survive in the room where the work will be carried out within 5-7 days. Restoration of old wooden furniture requires a certain climate.
Here are the basic requirements:
- The optimum moisture content - not more than 75%;
- Temperature - degrees 20-24;
- Absence of hot air streams (e.g., convectors or heaters) and direct sunlight.
Step 2: dismantling
disassembling technology depends on the type of connection parts. Here is what can be done with different methods of connection:
| Picture | type compound and a method for disassembling |
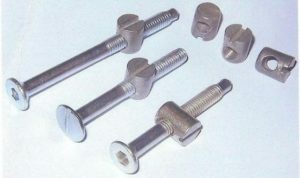 |
Screws and bolts: dealt with screwdrivers, pliers and keys. If you sat down screw tightly - it drip oil for sewing machines and wait for one to two hours. |
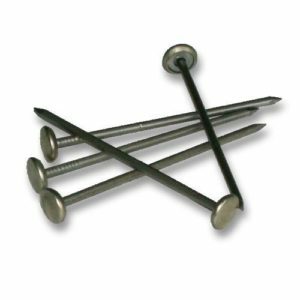 |
nails: Pull them bonded parts in different directions with a constant force. If the nail is bent, hook bend a flat screwdriver. |
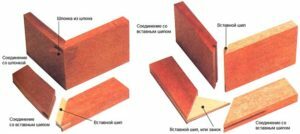 |
joiner's glue: Prokapat adhesive bond alcohol and polyethylene wrap. Joiner's glue based on organic alcohol-soluble. After enduring flooded junction alcohol for half an hour, try razyal his office knife or chisel. |
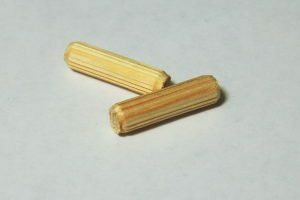 |
Nageli glue: Prokapat alcohol compound and has withstood the half hour, pull parts in different directions with moderate effort. |
Step 3: Cleaning
Upholstery vacuumed; they also removed the dust and cobwebs. The wooden parts are cleaned dishwashing detergent: it is applied and the pad is removed with a paper towel after 5-10 minutes. If necessary, cleaning is repeated several times.
Clean the upholstery carefully as possible. Often, it can be reused after cleaning. Even if the interior will be changed, it is useful to you as a template for the new tissue.
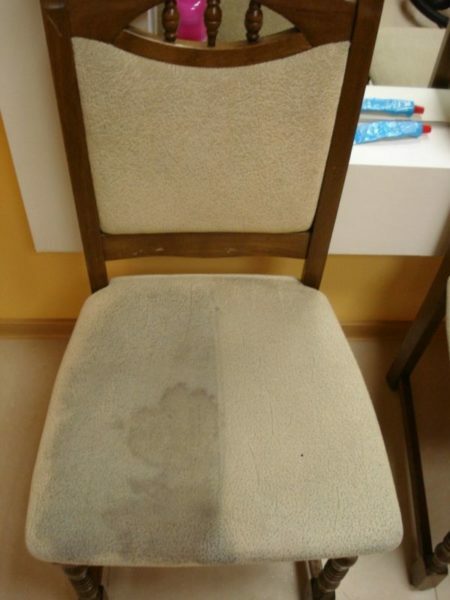
Padding before and after cleaning.
Step 4: surface inspection
If the varnish has only minor defects, and the wooden parts are deprived of serious damage, recovery is reduced to processing polish. In cases of serious deterioration of the decorative coating or a radical change in design piece of furniture it will need remover.
Step 5: remover, grout defects
minor defects nail polish overwritten, which consists of oil and beeswax.
To completely remove Decorative coatings may be used removers SM-1 and SM-2. Apply a wash better on a horizontal surface, scratched in the pre-coating the grid in increments of 2-3 centimeters. After applying the varnish removers can be easily removed with a spatula. On decorated with acrylic paint or acrylic paint stripper surface will have to endure 20-30 minutes.
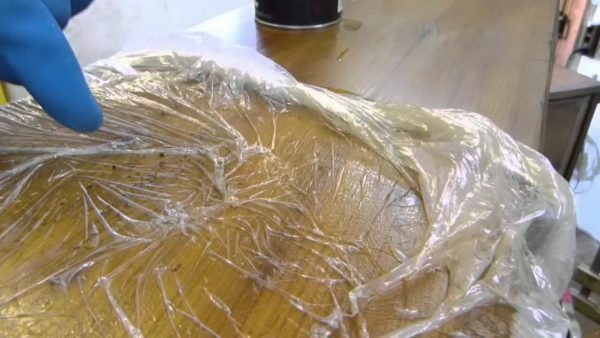
After application removers cover film surface and a half-hour soak.
Step 6: repair of wooden parts
- Chips, deep cracks and potholes tree filled with liquid (WPC) or acrylic wood filler, chosen to match the timber;
- Affected by rot and insects areas need to scrape or chisel knife to healthy wood and then again fill with putty or liquid wood.
Caulking will help rid the timber of the defects.
Step 7: veneering
Veneer - a new life of old furniture: you have to paste over the surface of the old parts with natural veneer. For this purpose the veneer with textured rocks (primarily - ash). If the repair of old furniture is new to you, limit veneered parts with flat surfaces: it is much easier to pasting the concave and convex parts.
Veneer is performed in two stages:
- PVA coated with adhesive and aged for 3-5 minutes veneer superimposed on the workpiece plane and moderately ironed with a hot iron;
- Plane parts is covered with polyethylene, then a thick plywood or flat board and is placed under load for 3-5 days.
If, after the glue has dried, you will find on the veneer bubbles - it does not matter. Inject into each syringe a little PVA and then iron the iron.
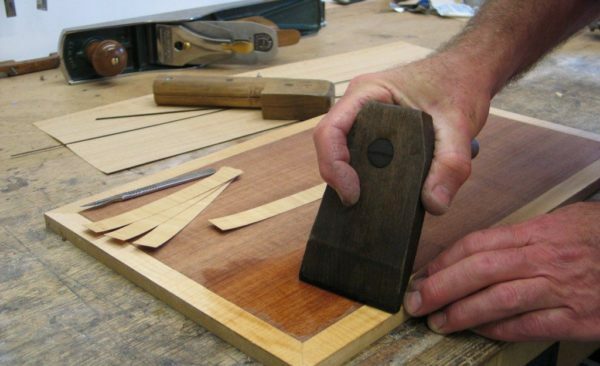
Veneer (veneering) the surface of the door.
Step 8: Primer
It is necessary in the event that:
- You are going to cover the furniture varnish or oil paint. For priming is used with heated on a water bath to 70 degrees linseed oil;
- Furniture will sign as an option - with its design decoupage will be applied. For this you need a white background. Priming is done the oil or glutinous paint.
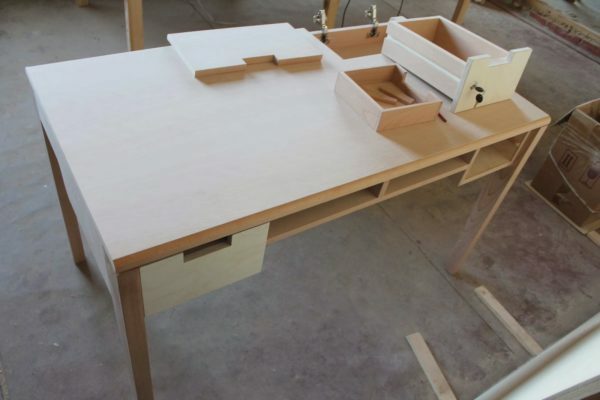
Primer table details.
Step 9: Decorating
Here are some ideas to decorate old furniture:
| Picture | Description |
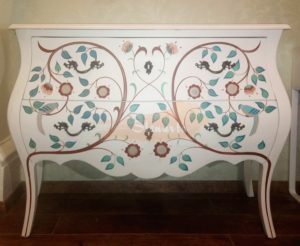 |
painting: performed on solid background in gouache or aniline dyes. The layer of lacquer covering the painting must be made on the same basis as the paint. For example, it is impossible to apply gouache acrylic water-based varnishes. |
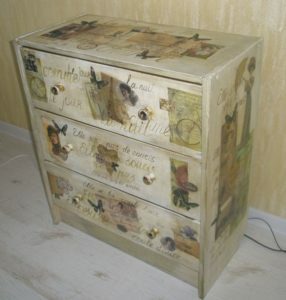 |
Decoupage: on top of a monochrome ground on PVA glue cloth glued to the finished image. Decoupage is covered with several layers of lacquer. |
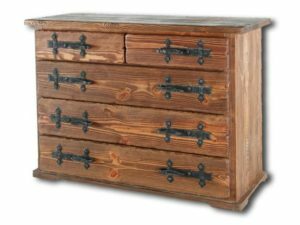 |
brushed: imitation of natural deterioration of wood by emphasizing its texture. After impregnation, the surface stained the surface is treated with a soft metal brush. In this soft fibers are selected, and the texture becomes impregnated stain relief. |
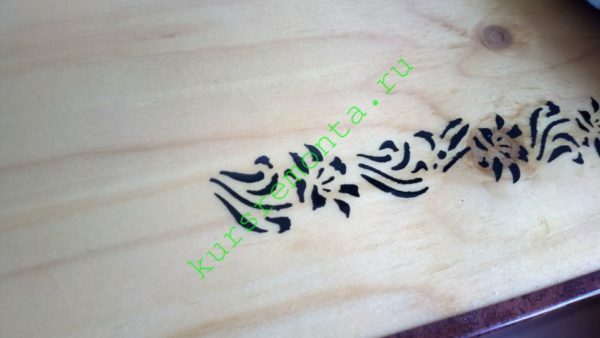
Over the decorative motif deposited through a mask gouache worktop coated alkyd-urethane varnish.
Step 10: varnished
For aged furniture is usually recommended to use oil paint. However, in my opinion, this is not the best option he long drying has specific smell and require maintenance (cleaning the surface of the vegetable-oil or wax polish).
I'm a lot more like the other two types of varnish:
- Yachting alkyd-urethane. It is ideal for the finish coat of painting in gouache;
Yachting I put varnish on the plane parts, do not brush and filling, followed by leveling a wide spatula. In this case, after drying (alas, takes at least 4-5 days) I get a perfectly flat surface with a vitreous coating.
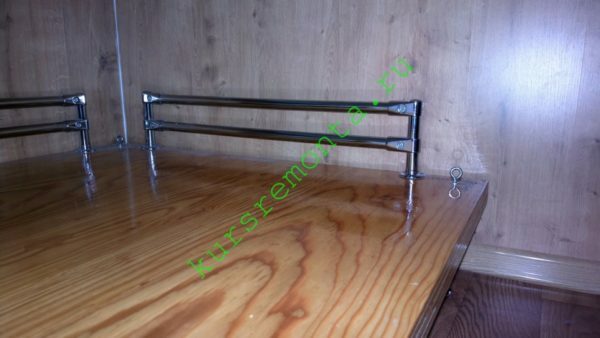
The varnish is applied in one layer with a spatula distribution surface.
- Acrylic water. It is odorless, dries not more than 2 hours on the layer strength and gaining complete after 3 days. Applied takes at least 4-5 layers with intermediate sanding paper-nulevkoy before applying the last layer.

In the photo - the aqueous acrylic varnish Sevastopol production.
Step 11: polishing
It is performed after drying varnish and set them strength (for 3 days for acrylic varnish, and at least a week for the oil and alkyd).
I perform polishing flat surfaces vibrating sander with a soft cotton cloth in 4 layers. For durable acrylic lacquer is better to use the felt with GOI paste (State Optical Institute). Before applying the GOI felt necessary to moisten with kerosene.
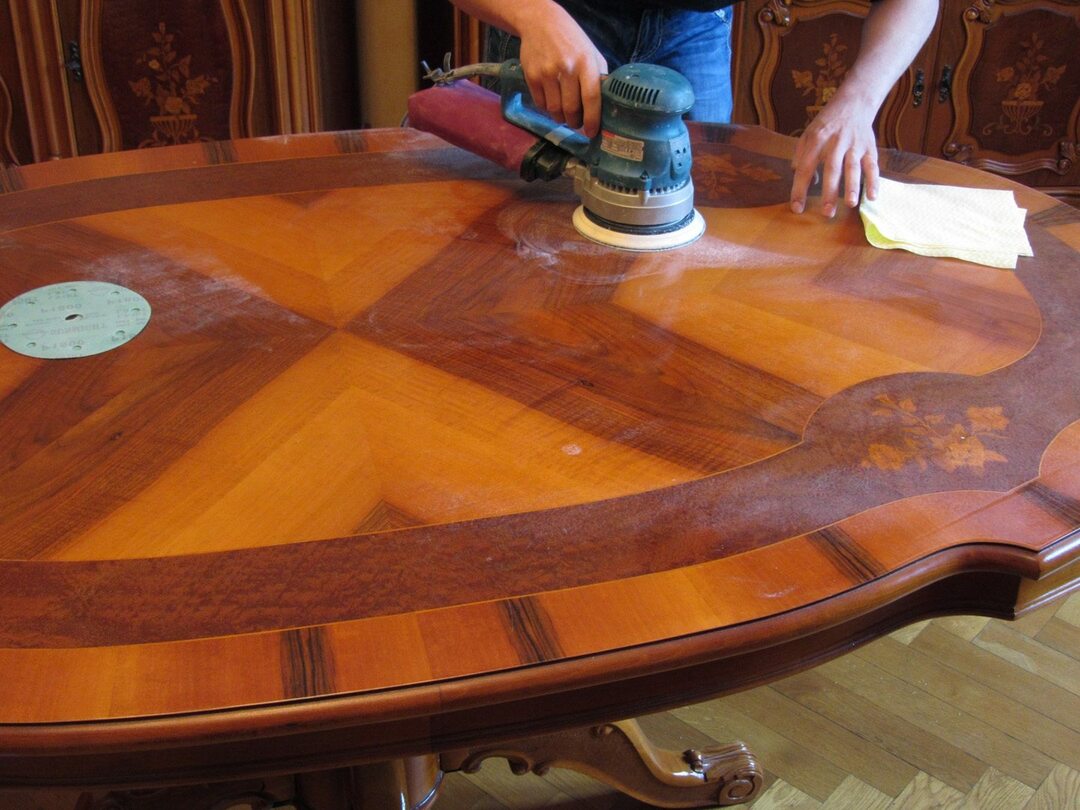
Polishing countertops a felt circle.
Step 12: hauling
If you carried out the restoration of upholstered furniture, new upholstery for fixing use the furniture stapler. On the elongated surface begins to mount on the short side, then move on to long.
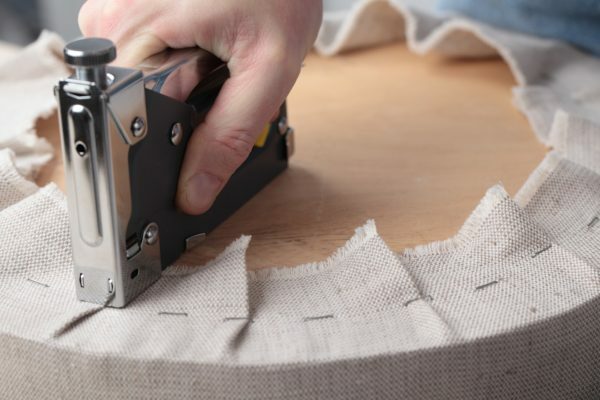
Securing upholstery stapler.
Step 13: assembly
Subtleties here at least:
- If you change the hardware - change it all set, but not in part;
- To replace the old screws Use black phosphated screws for wood;
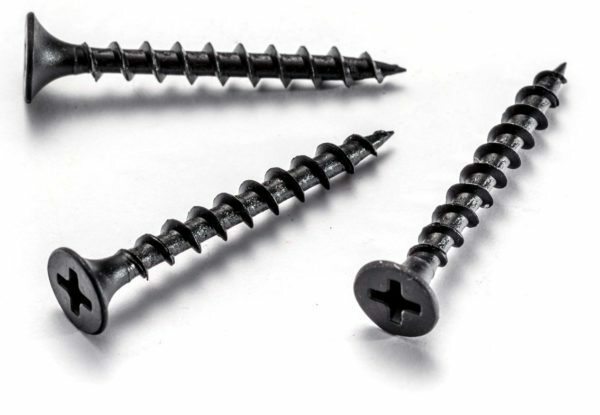
Screws on wood is easily recognized by the large thread pitch.
- Sprinkle in the slot of the screw a little oilTo gather the threads with minimum effort.
conclusion
As you can see, old furniture can restore youth with relatively little expenditure of time and money. As always, I appreciate your comments and additions. Good luck, comrades!


