Shelving Housing without rear wall 3 simple method for self-assembly
Table of contents
-
1 All you need to know about the racks
- 1.1 Method 1: Usable rack in the garage or workshop
- 1.2 Method 2: Rack in hallway
- 1.3 Method 3: Shelf for 1 hour
- 2 To summarize
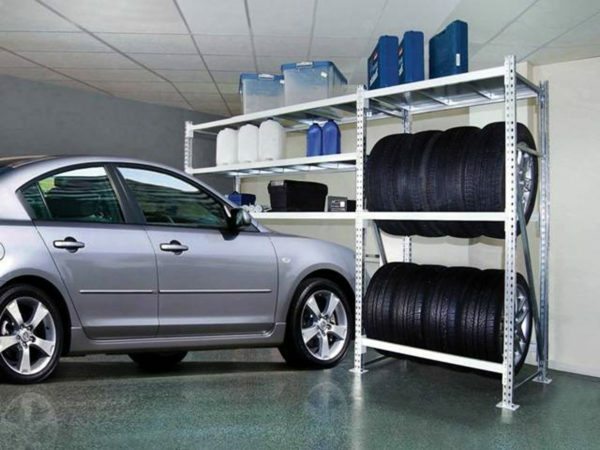
Garage perforated metal shelves on racks for storing consumables and automotive
You do not know where to put the right things so that they are in plain sight, but did not roll anywhere? So, you need racks for home, which I'll detail and three simple self-assembly instructions will demonstrate the convenience of the design.
All you need to know about the racks
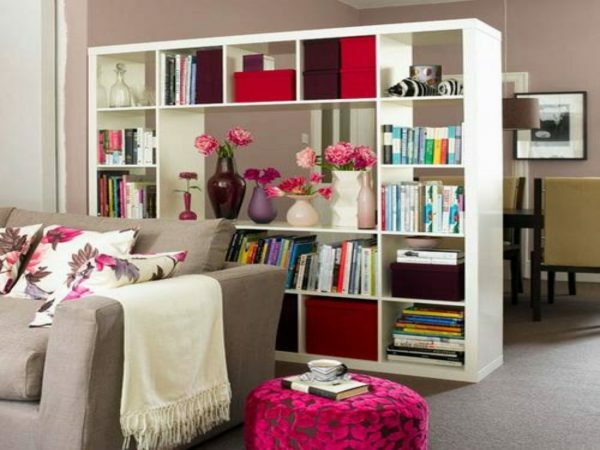
White shelves without the rear wall of the interior - a way to push the boundaries
Open shelving - a bookcase, which is installed in different rooms with one purpose: to hold those or other things. Key elements in the design of open shelving units - a vertical uprights and horizontal shelves.
In some cases, the rack may not be available, and then the shelf is attached to the wall on the principle of everything second-class compartment. For the production of shelves and racks, you can use a variety of materials, but the most practical material for self-assembly are:
- wooden planks;
- plywood;
- oriented strand board, etc.
Method 1: Usable rack in the garage or workshop
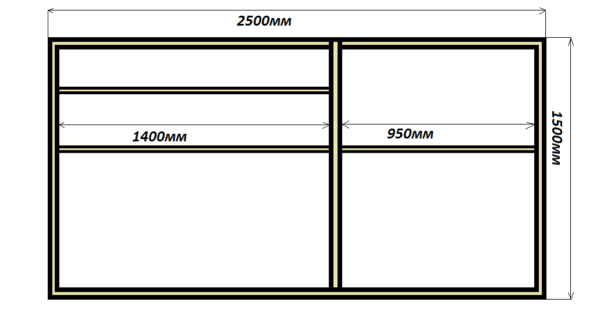
The circuit assembly is simple - the basis rectangle 1.5 × 2.5 m, a rectangular framework is divided by vertical uprights and horizontal shelves.
| illustrations | instruction |
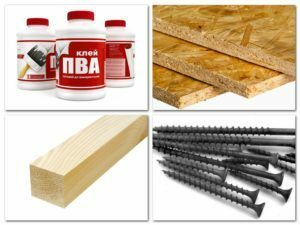 |
Preparing materials and tools. From the materials you will need:
Of the tools you will need:
|
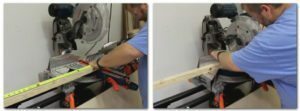 |
Making the workpiece from the bar. In the miter saw 6 cut into bars of length 1.5 meters. Also cut into the horizontal parts of 950 mm and 1.4 m. If there is no cross-cut saw, mark the line of the cut square and, strictly on a marking, cut the bars of ordinary hacksaw. It is important that the cut line is perpendicular to the longitudinal side of the bar depends on the accuracy of assembly and stack stability. |
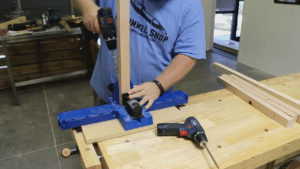 |
Drill holes for the screws. Each of the bars prepared from the inside end of two diagonal drill hole. The holes are placed on the inside of the rack, and so on finished shelves will not be visible. |
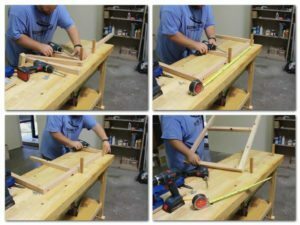 |
Putting sidewall rack. We connect with screws uprights and horizontal jumper. As a result, two side portions should be able to be fixed at the ends of the rack. By the same token collect the intermediate rack to be mounted on the rack center. |
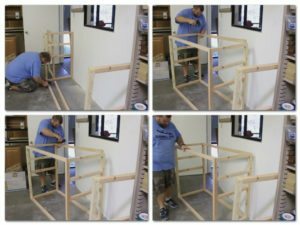 |
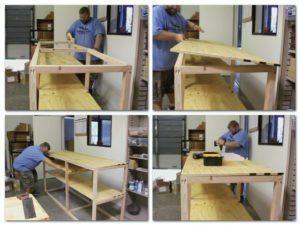
Putting the frame. Putting the screws on the sides and cross bars to get a box with right angles. After the main part of the frame is ready to set intermediate rack. |
 |
sheathes frame. According to the frame size of cut pieces of OSB. Apply the adhesive to the surface of the carcass band and putting a trained plate pieces laying in the frame. Plates stacked on the glue, fasten screws in increments of 20 cm. |
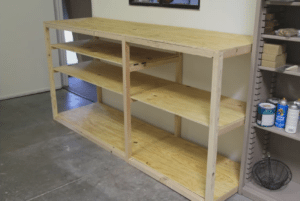 |
The finished result. In the photo you can see what the design should happen as a result of assembly. The rack can be used for storage of tools in the workshop or to use as shelves. |
Method 2: Rack in hallway
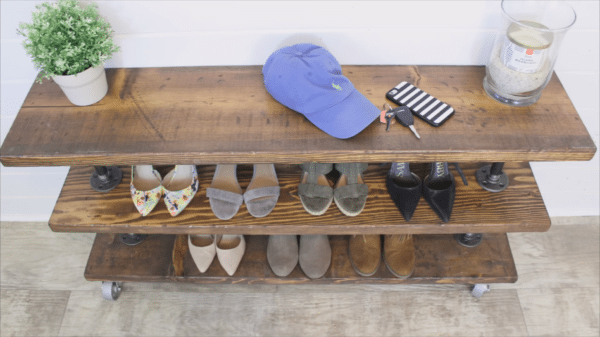
Here's a stylish open rack antique you can collect in your spare time
| illustrations | instruction |
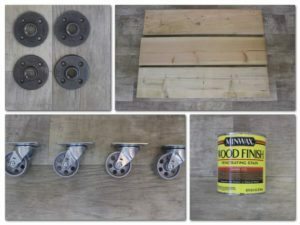 |
harvested material. We need:
|
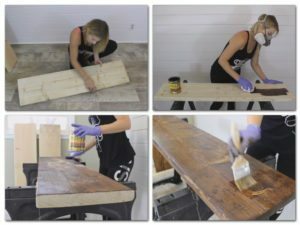 |
Prepare shelves. Harvested board grind, removing major irregularities. Remove all dust and dirt from the surface to impregnate wood stain in one or more layers depending on the desired hue. After drying stain furniture lacquer layer is applied. |
 |
Putting racks. The edges harvested pipe rams cut external thread corresponding to the internal thread in the flanges. Screwing in the pipe flanges, and stand ready. |
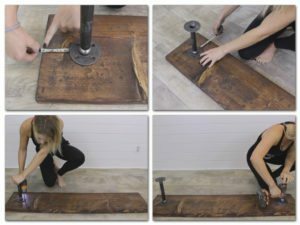 |
Fasten the rack to the prepared board. Putting a rack to the board and using a tape measure positioning them so that they are evenly spaced from the edge. With the help of the screwdriver screws fasten the rack. |
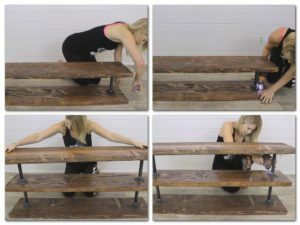 |
Putting the rack. Fasten the rack to the rest of the shelves, so that in the end we got a solid stable structure. |
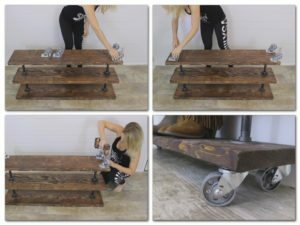 |
Fasten furniture castors. At the bottom of the rack are putting the corners of furniture casters. The rollers are attached to the shelf on the screws. Turn over the finished design on the rollers and on this installation can be considered as completed. |
Method 3: Shelf for 1 hour
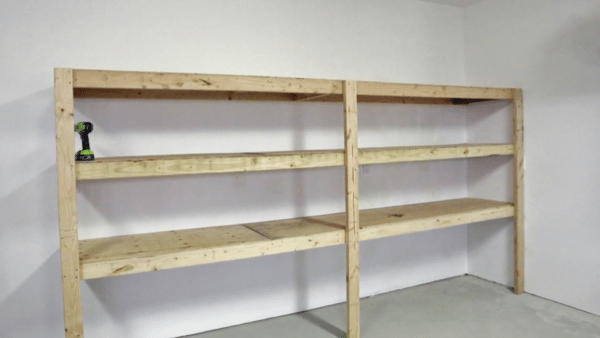
The price of such a cheap rack and he's just going to, but then it will be indispensable in the garage or basement
| illustrations | instruction |
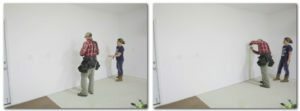 |
We carry out the markup. Mark up directly to the wall of the longitudinal arrangement of shelves. For convenience, the basement or garage rack, the distance between the flanges should be at least 60 cm. |
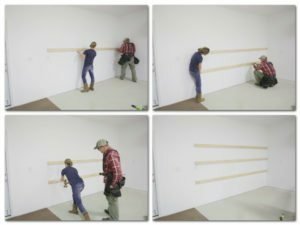 |
Fasten the guide board. According to the made markings on the dowel-nails fasten longitudinal boards. Location boards, for best results, in the course of installation check the water level. Securing long boards perform not alone, because that way it will be possible to avoid warping. |
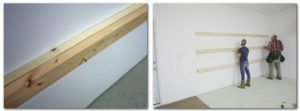 |
Installed on top of planks fastened the second row of boards. The second board to the first just pierces the conventional self-tapping screws. |
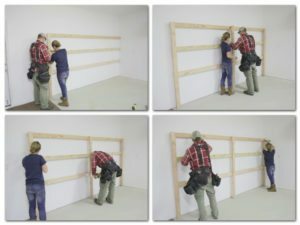 |
Installation uprights. To already fastened boards are putting vertical slats and at the intersection fastened with four screws. It is important that screwed screws passed through the vertical and horizontal beam extreme, do not get it at the same time prior to the first of a number of boards. |
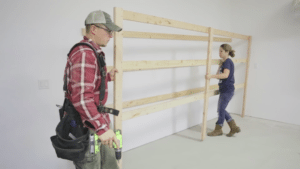 |
Disconnect the front of the rack. Unscrew the screws which fasten the second row of boards. Liberated design of longitudinal and transverse beams are temporarily removed, to avoid interference. |
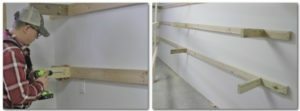 |
Fasten the connecting beams. For beams, fixed on the wall, fasten pieces of whiteboard. Self-tapping screws are screwed diagonally, immediately check that the bar is at right angles to the joists, fixed on the wall. That is enshrined crossbar must comply with sections of the intersection of the vertical and horizontal beams into the already assembled grid. |
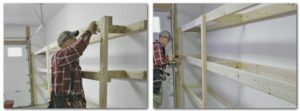 |
Fasten the outer grille to the crossbeams. Previously assembled lattice are putting strapped to the bars with screws and connect. Each bar must enter two self-tapping screws to the design was stable enough. |
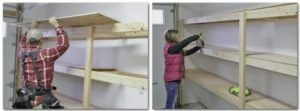 |
sheathes frame. By carcass shape cut into pieces of plywood or other board materials. Pieces of plywood laid over the frame and fastened with screws in increments of 20 cm. Once the frame is sheathed, the installation can be considered as completed. |
To summarize
Now you know how to raise their hands different racks without rear wall for home and business premises. More interesting information can be found by watching video in this article. If you have any questions, ask them in the comments.


