 Today it is a way to frame fastening drywall is the most common due to its indisputable advantages recently, home decoration materials such as drywall, has become increasingly popular. After all, with the help of this material, you can create a stylish and original interior in a short time. Arches, niches or voluminous compositions in the walls, multi-level ceilings are just a few examples of what can be done from plasterboard that is easily bent into the shape you need. There are two ways of installing drywall: frame and frameless. Which one should you choose depends on the functions to be performed by you enjoy the design, but keep in mind that drywall mounted on the frame will last longer than you will allow to hide some of the communication and hide the irregularities of the walls. How to establish a profile for drywall with your own hands - read further.
-
- Mounting Profile for gypsum board:
- tools and materials consistent work when installing the drywall to the frame
- How to connect the profiles for drywall ceiling
- Wall construction of a profile for drywall
- correct installation profile fordrywall( video)
Mounting Profile for gypsum board: tools and materials
Before you mount the frame, which will be attached gypsum sheetsCardboard, you need to prepare profiles, the elements by which you will connect them together and auxiliary construction tools.
Let's see what profiles and connectors you may need:
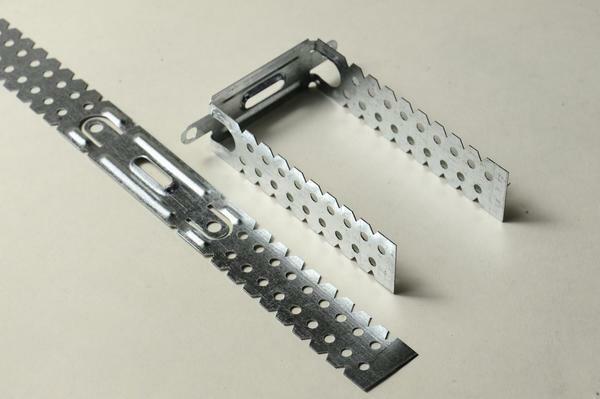
- vertical and rack profiles to create partitions having the perforations along the entire length( ST or FS);
- Guide profiles with a section of 28X27 mm, they will lie horizontally( MD or PN);
- Profiles for the carcass base, having a section of 60X20 mm and a length of 2 to 6 meters( SD or PP);
- Guide retaining profiles PS( HC or PN).
- Arched profile( PA);
- Profile for strengthening corners( PU);
- Two-level or single-level connector that connects the profiles of the framework of the frame;
- Direct suspension, to which the PP profile will be fixed;
- Anchorage suspension extends the straight suspension;
- Element that extends the PP profile;
- "Crab" to strengthen the intersection of profiles.
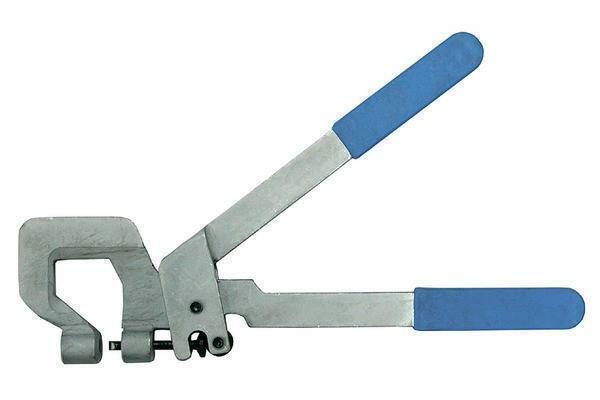
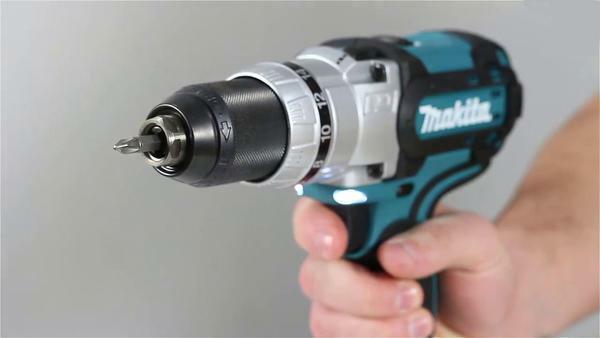 Without drill and screwdriver when installing the frame will not be able to do exactly
Also, there are additional tools that are a must-have for fastening the frame.
Namely:
- Drill;
- Screwdriver:
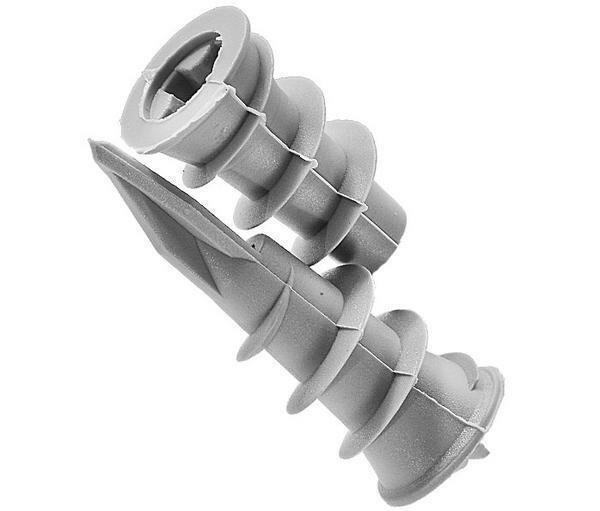
- Water or laser level. Dowels and self-tapping screws
- .
- Chopping cord.
- Scissors for metal.
Of course, you may not need all of the above materials, this is only a general list of components of the frame for gypsum board. What elements are needed for you, depends on what kind of design you want to get.
consistent work when installing drywall on the frame
If you decide to make the walls and ceiling in your apartment plasterboard, you do not have to try especially in the preparation of the surface of the base on which the frame will be fixed. It is enough to get rid of the remnants of old facing materials that adorned the surface of the room.
When installing the profile frame, all unevenness and imperfections will disappear behind the sheets of drywall.
 Before installing the frame need to necessarily make a layout of walls
So, let's look at the main stages of installation of drywall constructions:
- First, you need to mark the ceiling and walls for the installation of frame profiles.
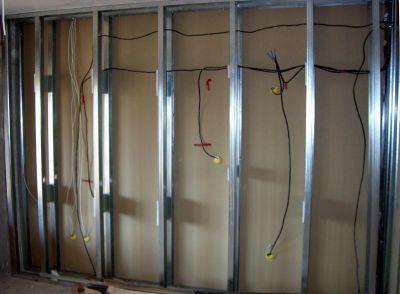
- Now, you need to conduct the wires to the locations of point and central lighting, taking into account the passage of the metal frame elements under the drywall.
- It's time to install a skeleton on the ceiling.
- Mount the frame under gypsum boards on walls.
- Assemble the gypsum board on walls and ceiling.
- Complete the finishing work.
As you can see, in order to make using a drywall repair your dream you will not have much time. How to assemble a skeleton for a ceiling or a wall of plasterboard, we'll talk separately.
How to connect profiles for drywall on the ceiling
Gypsum plasterboard structures are one of the most popular ways of decorating a ceiling. Such designs conceal all irregularities on the ceiling and allow for excellent zoning of the space, with the help of plasterboard steps and spot lighting.
Let's look at the basic positions of the frame assembly for gypsum board:
- First of all, with the help of water or laser level, it is necessary to determine the place where the ceiling is at the lowest possible level. It is important to set the level correctly, otherwise the new ceiling will be uneven, and you will have to redo all the work done.
- Now you need to calculate the distance from the base ceiling to the new gypsum board structure, for this you need to know the height of the spotlights( if it is supposed to).
- When the basic calculations are made, mark on the wall the line with a padded cord, measuring from the ceiling a distance equal to the height of the gypsum board frame.
- Use a self-tapping screw to fix the wall guide profile at this level.
- Make a marking for the ceiling profiles using a padded cord per squares with a perimeter of 60 cm.
- At the points where you plan to install lighting or any other communications, attach the traverses.
- Straight pendants bend the letter P and place on the ceiling at the intersection of the lines that you indicated earlier.
- In the bent hangers, the profile guides are inserted and fixed at the level of the parietal guide profile.
- Cut using the scissors for the profile metal into the required lengths for their transverse installation.
- Then connect the profile guides with self-tapping screws with transverse profiles with an approximate pitch of 60 cm.
- The intersection of the guides and transverse profiles is strengthened by crabs.
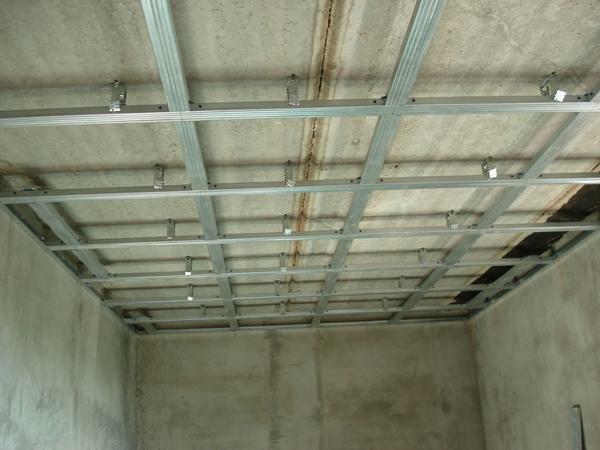 With giposkartonnoy suspended structure can easily hide all the flaws of the ceiling of the room and zoned space
profiled frame for the installation of drywall constructions ready, and now all you have to attach a drywall sheets.
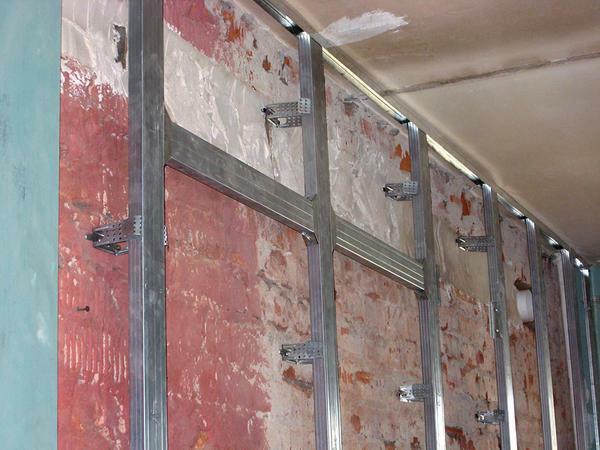
Wall structure from drywall profile
The installation of a frame for plasterboard on the wall is made in order that the room can be further insulated, different from the above described ceiling work. Each wall is trimmed in turn from beginning to end, that is, first you build a frame and mount a drywall on it on one wall, and only then proceed to the design of the other. The most difficult thing is to install a structure for plasterboard plating on walls where a window is present, since such works have a lot of subtleties and nuances.
All work with electricity is carried out prior to mounting the profile frame to the walls.
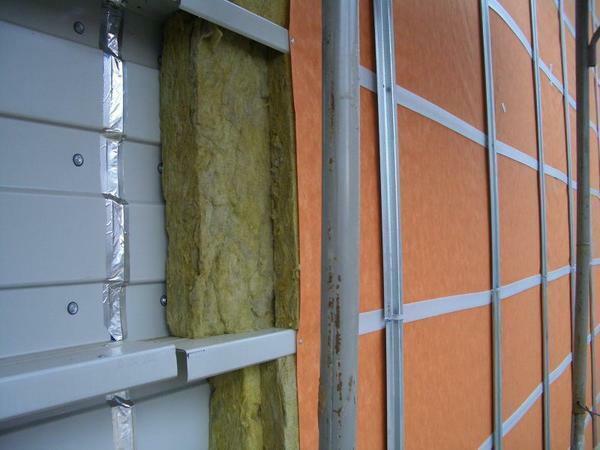 most important advantage of the method of the carcass - possible to further insulate the wall
Let us see how the frame set for gypsum board, wall with window:
- If you want to insulate the wall, then measure off the base slopes of 5 cm. When the sill is already installed, you should also take into account the thickness of the drywall.
- From the window frame, measure 5 cm( the distance to the edge guide rail).
- Attach the guide rail to the bottom of the window sill, to reduce the width of the step.
- Attach the profile rails to the ceiling and to the floor.
- Now set one guide profile to adjacent walls( these will be the outer guides).
- Make the markings in vertical lines in 60 cm increments on the wall from the ceiling to the floor guide using a plumb line, level and padding cord.
- On each line at a distance of 60 cm, install a straight suspension.
- Attach vertical profiles to the suspensions using self-tapping screws. They must rest against the guides on the ceiling and on the floor.
- Now connect the vertical profiles to the cross sections. The step between them must be no more than 60 cm.
- In the angle between the adjacent walls, install two vertical guides, on which fix the corner starting profile.
The wall frame is ready, it is necessary to put a heater and mount gipsokartonnye sheets. Of course, it is not necessary to install drywall on the frame, but in this case you can not insulate the walls and hide wires and communications on the ceiling.
Correct installation of the profile for gypsum board( video)
Follow our advice and you can easily build a frame for yourself under the drywall.