 suspended ceiling has a high performance, but during installation it is necessary to take into account the advantages and disadvantages of materials used in the annual ceiling whitewash time in the bath sunk into oblivion. People who value their comfort and personal time, now do not engage in this boring procedure. Modern technologies are replacing archaic methods. Of course, the suspended ceiling in the bathroom rack is not to collect for half an hour, and it will be more expensive to lime, but. Nevertheless, as they say, the game is worth the candle. Having spent some money on its acquisition, and some time on its device, you will forget about the repair of the ceiling for a long time. As for caring for him, there are no problems here either - just have a rag, detergent, to wipe, from time to time, your new ceiling.
-
- Pinion ceilings bathroom with their hands
- Tools and materials
- Mounting rack suspended ceiling in the bathroom
- How to choose rack suspended ceiling in the bathroom
- How to buy supplies in the right quantities
- Installationsuspended ceiling rack in the bathroom( video)
- rack suspended ceiling in the bathroom( photo)
pinion ceilings bathroom with their hands
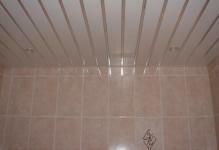
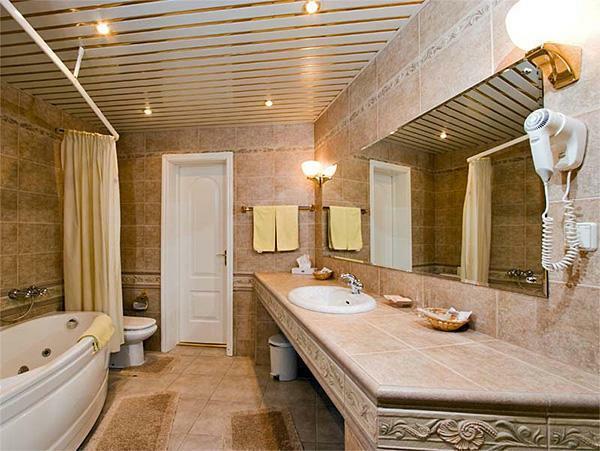
suspended ceilings vema common in recent years, because not afraid of water and is very aesthetically pleasing, especially with integrated spotlights. However, these are not the only reasons to arrange such a ceiling in your bathroom.
 suspended ceilings to the bathroom is not afraid of moisture, and therefore are the best one to use in the room
Easy installation can do and layman, that in times of popularity budget repairs, very topically, and the possibilityTo do the work with their own hands, makes a noticeable contribution to this.
Tools and materials
In order to arrange such ceilings at home, in the private bathroom, you need to prepare the following tools:
- Laser Level. This tool will greatly facilitate your work. You can, of course, do everything with the grandfather's method, but it will be more difficult in terms of markup.
- Roulette.
- Marker.
- Scissors for metal. Electric drill with drill bits.
- .
- Rotary hammer, if the ceiling is concrete. You can, of course, take advantage of the impact drill, but because of this the laboriousness of the work will increase somewhat, because the time for drilling will take more.
- Drill bit with the correct diameter, depending on the diameter of the fixtures. For example, if the fixtures are 70mm in diameter, then the drill should be 75mm.
- Self-tapping screws.
 Prior to installation, the ceiling is necessary to prepare all the necessary tools for the job
Well, of course, a set of aluminum slats, corner and stringers.
Assembling a railing suspended ceiling in a bathroom
Base, if the ceiling is uneven, from each wall.
The minimum height of the future ceiling is calculated from the type of fixtures to be installed, as well as the rail fasteners and the length of the hangers.
After the laser marks the future layout, it should be marked on the wall for future installation. It's best to make a marker - it's better to see than, say, a pencil.
Step-by-Step instruction
- Based on the size of the walls, you need to cut a corner of aluminum, which will be attached to the drawn line, that is, along the perimeter of the bathroom. This is done with metal scissors.
- The wide part of the corner is the plane with the net. It is necessary to make a preliminary marking at the corner, where holes will be drilled every 40cm in the future.
- After the holes in the corner are drilled, you need to attach the corners to the wall and make the markings on these walls on the walls.
- Then we drill the tile with a 6-millimeter drill with a carbide tin.
- In the received holes accurately hammer plastic plugs with a hammer.
- We fix the corner with self-tapping screws. We need to ensure that the corner does not move relative to the layout!The corner will not be a support for the ceiling, its purpose is to hide the ends of the rack. So it's only edging, not fasteners.
- The entire load of the ceiling will lie on the guides( stringers), which are joined together simply - by overlapping each other at the junction points, and then screwing them with screws. Splicing stringers is necessary when you need a third stringer to strengthen the rigidity of the ceiling. It will run through the center of the ceiling. Thus, two stringers will be placed at the edges of the ceiling, and the third - in the center.
- Stringers are attached to the base ceiling with long self-tapping screws, which are screwed into the ceiling only partially. The distance between them is 70 cm, and 20 cm from the edge of the ceiling. The guides are still lying on the corner, the self-tapping screws did not press them to the ceiling. After, by twisting the screws in part, we will, thus, level the ceiling.
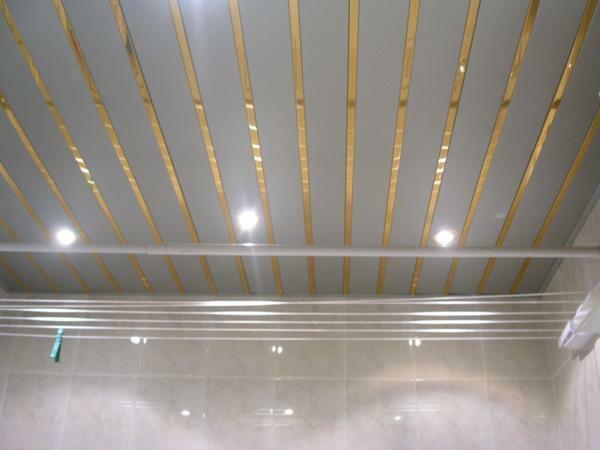
- The first aluminum rail is mounted on the side opposite the inlet. The rack locks into the projections on the guides. The rake is cut with a 5 mm gap from each edge.
- After installing the second river, leave a gap between the first rack. In this interval, I'll put in shiny aluminum strips, which securely fix the ceiling and create a magnificent appearance.
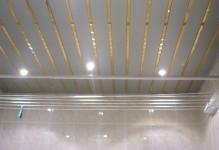
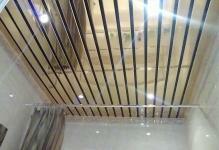
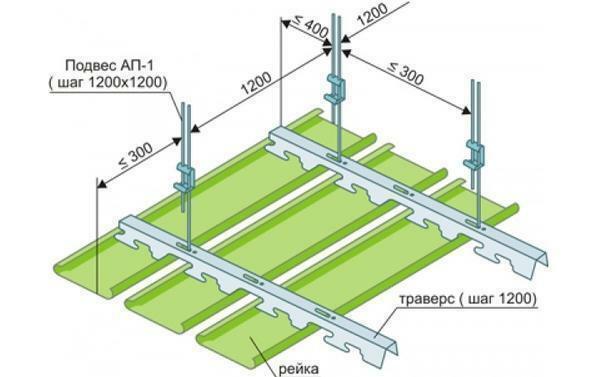 Scheme of installation of a rack ceiling
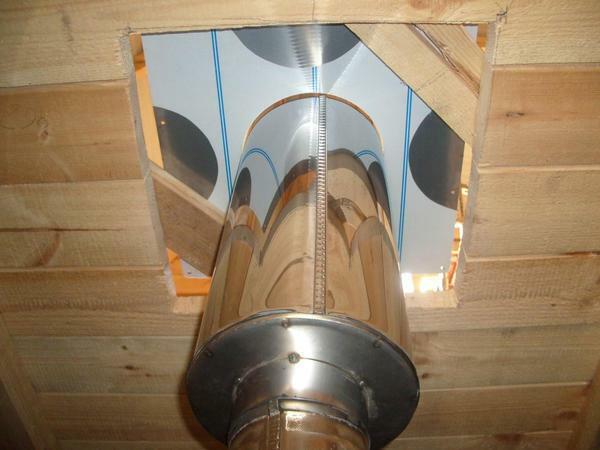
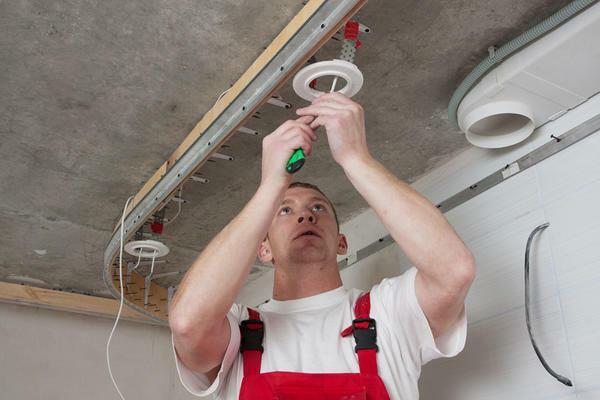
Similar ceilings look very good with spotlights. To install them you need to stock up a drill bit. The holes are drilled in the rack before installation on the ceiling. The housing of the luminaire is also placed before the installation of the lath to the ceiling.
After installing the rail, a wire with a connecting block is passed through the housing of the luminaire. Then a lamp is installed.
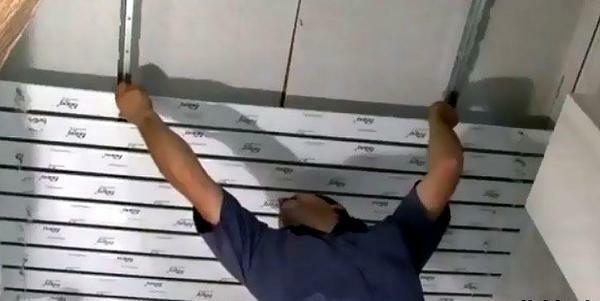
Further assembly of the ceiling is carried out as follows: the slats are inserted into the guides and snapped by stringer. When the last rake is installed, stringers are tightened, thus leveling the ceiling.
Brilliant inserts are cut from each side to the 1st cm. The strips are inserted and snapped, fixing the ceiling.
How to choose a rack suspended ceiling in the bathroom
Repair in the bathroom is not only tile on the walls and replacement, if necessary, with plumbing.
A very important element in the interior of the bathroom is the ceiling, and on how well it is properly selected and well made, the appearance of the much-needed space for living is dependent on the bathroom.
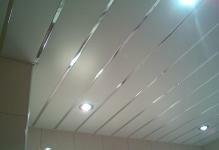
 The installation of the rack ceiling in the bathroom is uncomplicated in performance due to the universal qualities of the material - fire resistance and waterproofing.
The choice of aluminum ceiling ceilings is not accidental, as this option gives the same result that every self-respecting homeowner: That the beauty of the ceiling coating should not be at the expense of its practicality. Advantages of rack aluminum ceiling:
- Aesthetics;
- Strength;
- Water resistance;
- Durability;
- Possibility of installation of the built in fixtures;
- Hygiene. Absence of fungus and mold;
- A good choice of colors:
- Simplicity of installation allows to mount the ceiling without attracting hired force - that is. Own hands.
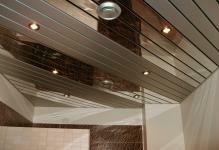
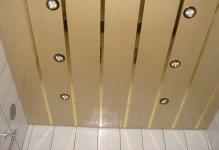
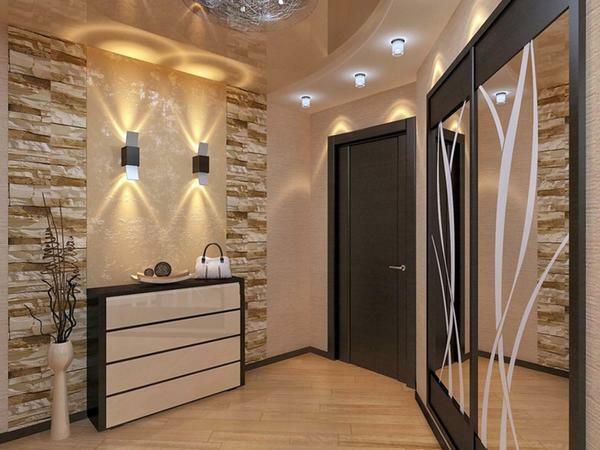
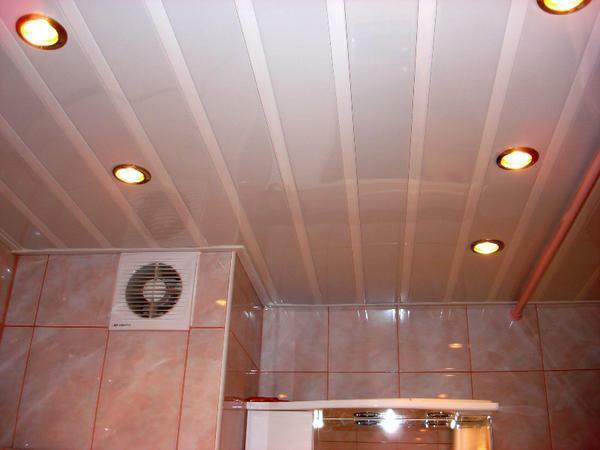 Built-in luminaires for lath ceilings are ideal for bathroom design.
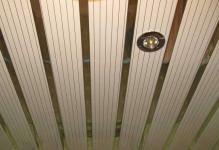
Rack-mounted suspended ceiling is the most successful solution for finishing the ceiling in the bathroom.
It is absolutely indispensable for fans of hi-tech style. However, and not only for them.
Thus, your bathroom will become a more cozy room that will please the eye, and not just a washing room in the apartment.
How to purchase the components in the right quantity
The rack ceiling does not have a huge number of components and complex parts.
The great variety of ceiling colors available in specialty stores will help you implement any of your ideas.
Completing everything you need is very easy because of the simplicity of the suspended ceiling device.
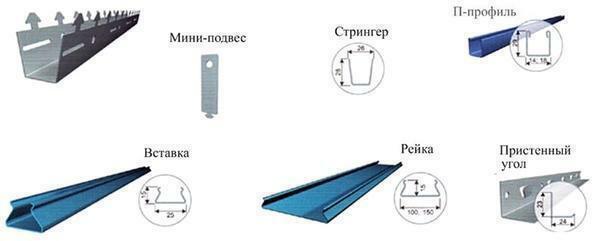 Elements of a rack ceiling construction
Its accessories:
- Aluminum rails;
- Suspension;
- Bearing tires;
- Wall brackets.
After measuring the bathroom, you can follow the store, where you will pick up and calculate the required amount of material.
Installation of a suspended ceiling rack in the bathroom( video)
In conclusion, I would like to draw a line under all of the above. As they say, all ingenious is simple. The installation of a suspended lath ceiling is simple - this does not require any special knowledge and vast experience in the construction of these ceilings. Do not need and prohibitive amounts to buy the appropriate set of materials. As for the instrument, it is far from everyone has a laser level, and it does not necessarily have to buy, but rather borrow from a friend, or rent it. At worst, you can use the most ordinary level. Everything else you are guaranteed to have at home. And longer, you need to carefully study the step-by-step instructions for installing the ceiling and. Roll up your sleeves, get down to business. Good luck!
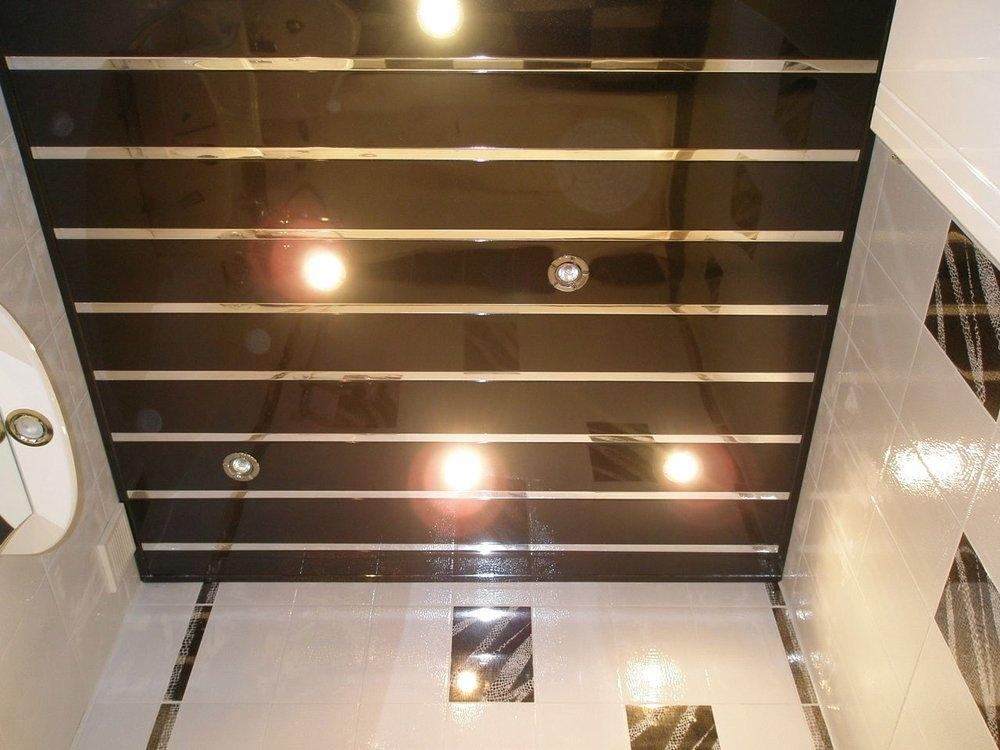
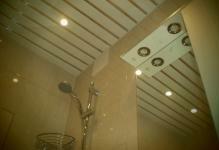
Rack suspended ceiling in the bathroom( photo)