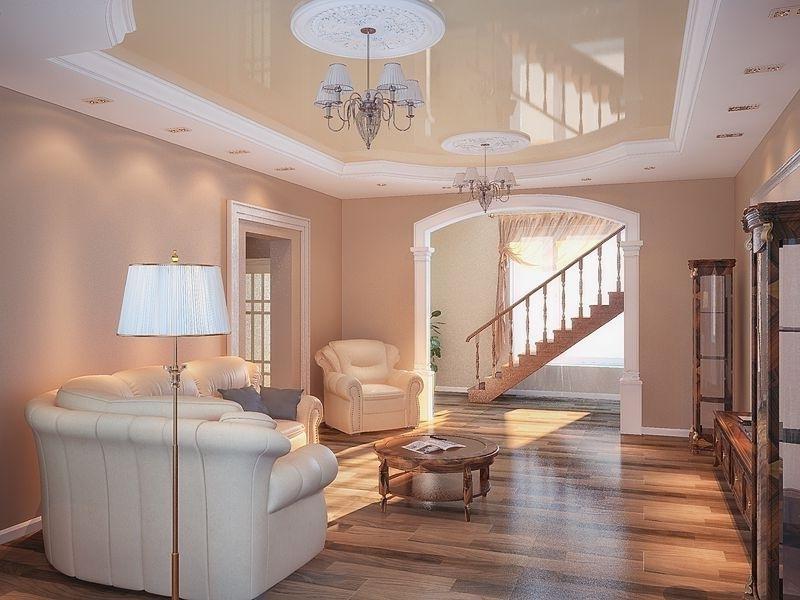
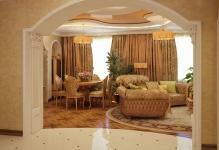
 Arch drywall in the room looks elegant and original happens that during a repair becomes necessary, or simply the desire to get rid of the annoying door, bored to share living space with something more sophisticated. A great option is the hand-made arch of plasterboard. Work on this architectural element is not as complicated as it seems, you just need to understand the necessary materials and tools.
-
- How to make an arch made of plasterboard: the preparation and launch of
- several options how to bend drywall for arches: correct repair
- Tips how to make an arch with their hands Plasterboard: do frame
- Asmake and fasten the profile to the arch of the drywall: installation
- final touch: what to decorate the arch of the drywall itself
- interior with their own hands: arch drywall( video)
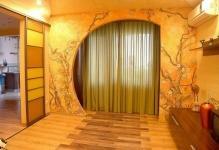
- Design arch made of plasterboard with their hands( phothe interior)
How to make an arch made of plasterboard: the preparation and launch of
After deciding on the installation of the arch, there is a first logical question about what it costs to build the arch.
To answer it, it is worth to familiarize with the main types of arches:
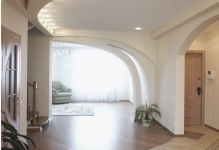
- Classical - the top is executed in the form of a semicircle with a radius of half the width of the opening, suitable for high apertures;
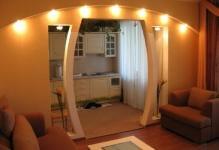
- Semiarka - on one side the corner is rounded, on the other - straight;
- Modern - has a small radius of rounded top, which abruptly passes into the vertical parts of the opening;
- Romance - slightly rounded corners, suitable for wide and not high apertures;
- Ellipse - a combination of modernity and romance, characterized by rounded corners and a top of a small radius;
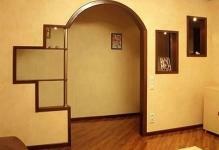
- Trapezium - the top is executed in the form of broken lines;
- Portal - a standard opening, complemented by columns and crossbar.
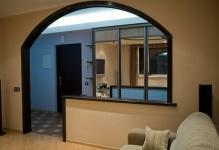
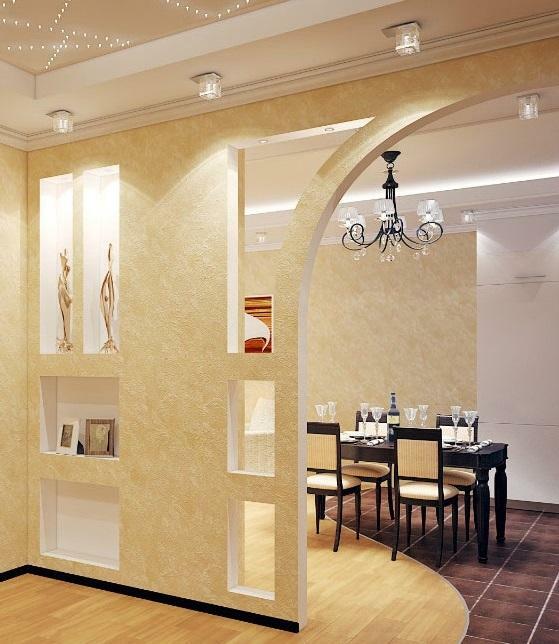
 Make an arch made of plasterboard can be in several forms: poluarka, trapezoid, ellipse
The choice is best done on the basis of the aperture size, ceiling height, used visual style. In modern styles, the arches of modern or semi-arches look great.
The use of a template made of paper or cardboard, which you can try on the existing opening and evaluate all the pros and cons, will help you make the final decision.
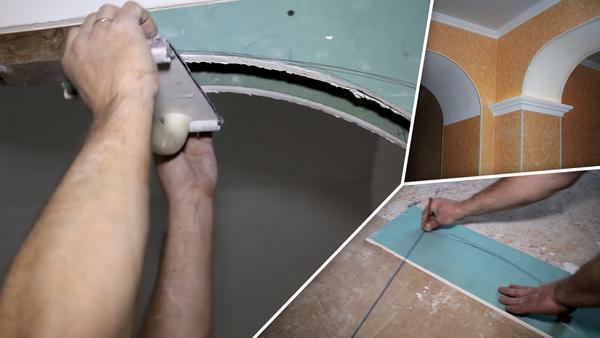
A conditional compass will help to accurately draw the upper part: a thread fastened in the center of the circle with a nail or a thread is stretched, and an arc is drawn with a pencil attached to the other end. The length of the thread is the radius of the circumference of the top of the arch. Instead of a thread, you can use a section of the rack profile.
For the preparation of the workpiece from the GCR, you will need a jigsaw or saws for metal or gypsum cardboard, sandpaper or a rasp is used to cut the cut. There is a special plane for gypsum board, with the use of which the gypsum leaves practically no dust, and the processing of the edges is minimized.
Several options on how to bend a drywall for an arch: correct repair
The manufacture of an arch structure involves the work of making a curved-shaped gypsum board.
There are several ways to do this:
- Acquire a special arched gypsum board, due to its smaller thickness it is more ductile;
- Moisten the workpiece from gypsum board with water, and give it the desired shape;
- make cuts at intervals of 3-5 cm.
 Bend gypsum board to arch in several ways
When wetting the sheet drywall, to ensure maximum penetration of moisture can be pre-rolled stock with a needle roller. The product soaked in water should be left for an hour. The additional shape with the top of the same shape as the planned arched bend will help to shape the desired shape. It can be made from plywood or gypsum board residues. When the desired shape is reached, the room is better ventilated, thus getting rid of excessive moisture. Doing incisions on the folded sheet should be done at intervals that depend on the radius of the bend, the larger the radius, the shorter the interval.
For any work, it is necessary to take into account that the maximum bending of the drywall sheet can only be obtained by length.
Tips on how to make an arch with your own hands from gypsum board: we make a skeleton
Billets from gypsum cardboard are attached to a special frame.
For its manufacture, the following materials can be used:
- Metal profiles;
- Wooden bars.
Frame made of metal profiles is easy, but less durable than wood. Bars are best used for wooden walls, and metal profiles for brick.
To assemble the metal frame assembly, you need to cut out four rack profiles and two guides, equal to the height and width of the workpiece, respectively. Fastening metal profiles on concrete wall occurs by means of screws, dowels with an interval between the bindings must retreat 20-30 cm from the edge of the opening of several centimeters before installation profiles -. The distance required for installing plasterboard( gypsum board).For the arch framework, two curved profiles are also used, between which the jumpers can be installed.
 Before making an arch with their hands, you should prepare all the necessary tools and materials
To build a wooden frame should prepare wedges of wood thickness equal to the depth of the door opening width minus the drywall and plywood. Two arcs are cut from the plywood, one of them is fastened with wooden blocks. The plywood wall with bars is installed in the doorway, and the second wall of the frame is attached to it. After this, the plywood frame is covered with plasterboard.
How to make and fasten the profile to the arch of the drywall: installation
To install the lower element arch with a metal frame, requires two curved profile.
For this work you need the following tools and materials:
- Guide profile( selected marking);
- Shears for metal;
- Roulette;
- Self-tapping screws for metal.
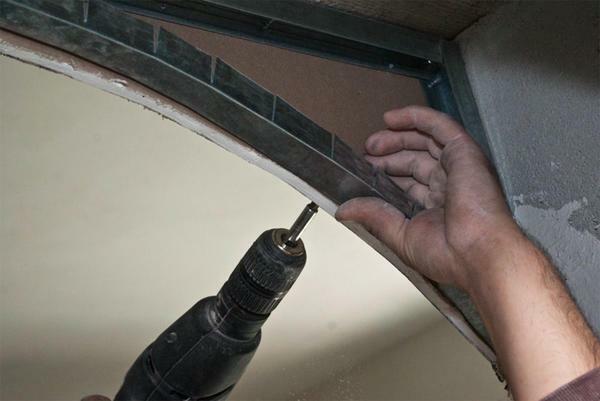
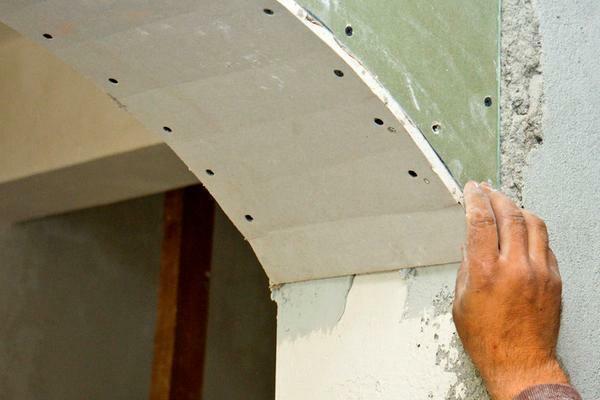
It is necessary to measure the length of the arch arc and cut two profiles of the appropriate size. Through the entire length of the profile on its side parts with an interval of 10-12 cm cuts are made. The smaller the interval, the greater the bending of the profile. After giving the profile the desired shape, you should attach its ends with screws to the bottom of the metal frame. Now it is possible to fix the curved profile with gypsum cardboard along the entire length of the arc.
 In order to secure the profile to the arch is necessary to prepare scissors for metal tape and screws
high strength metal frame is achieved by setting jumpers. Their length is the distance between the arched walls, the number depends on the width of the opening.
All work with metal profiles must be carried out in special gloves to avoid cuts.
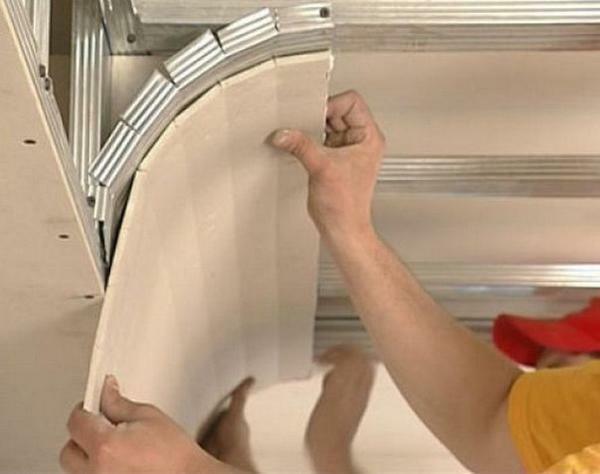
When the metal frame is installed to it with special screws, we attach the workpieces from the drywall. When installing the curved element, fix the original central part of the workpiece to the top of the arch, then fix the drywall with screws every 10-15 cm, moving to the edges.
final touch: what to decorate the arch of the drywall itself
When the main work on the creation of the original architectural elements of your interior is complete, you can proceed to the final stage - finishing.
For this, the following main points should be checked:
- The side walls must be level with the wall above the arch;
- The edges of the arch should be even if there are protrusions - they should be cut with a knife or a plane;
- The design itself is characterized by durability and reliability.
First of all, all the joints between the joints of the drywall, as well as the joint between the arch and the wall should be plastered. For this, a special putty for seams is used. Apply a putty is recommended by a rectangular spatula, which is very convenient for working with uneven surfaces.
 After the drywall arch is installed, the
finishing process follows. After the seams have been worked out, you should proceed to leveling the surface. It is necessary to check periodically the level between the arch and the wall.
Next stage( finishing) - gluing the joints and edges of the structure with special paper tape or fiberglass mesh. This will provide additional strength and help prevent cracking.
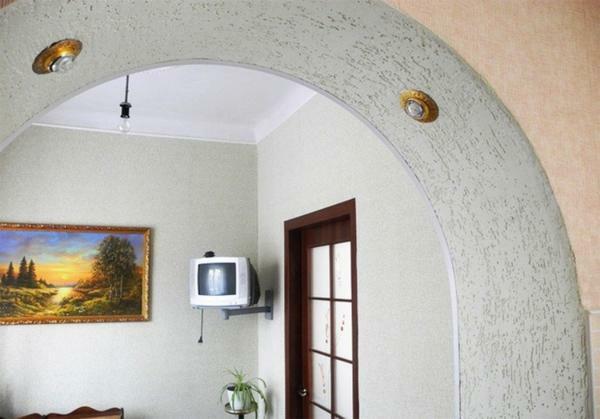
A well-stretched mesh must be pressed into the putty. Working on the curved arch element in the formation of folds, the mesh can be cut. After drying, it is necessary to work the surface with sandpaper. Repeat all this three times. A perfectly smooth arch is ready. Now you can paint it or make a wallpaper.
Interior with your own hands: a drywall arch( video)
Create a unique interior wall in most cases you can with your own hands. Now in specialized stores you can buy all the necessary materials for this. To make the original arch you need your imagination and responsible approach.
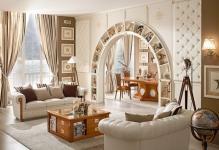
Design arch made of plasterboard with their hands( interior photos)