 Design spotlights for gypsum ceiling diverse After installing plasterboard ceilings need to mount lights. What kind of lamps can I use?To illuminate the room you can use LED or fluorescent lamps. Also for lighting the room you can use LED-backlight. Before installing the lighting fixtures on the gypsum ceiling, it is necessary to do the necessary slots in the slits.
-
- ceiling with drywall Backlit characteristics
- plasterboard backlit own hands: step by step installation instructions for
- LED spotlights for gypsum ceiling: features and benefits
- Recessed luminaires in the ceilingdrywall criteria
- Group selection box on the ceiling of plasterboard with lighting
- Concealed ceiling lights made of plasterboard with their hands
- dimensions oftversty under the spotlights for gypsum ceiling
- Installing lighting fixtures into plasterboard ceiling: step by step instructions
- Installing spotlights in the plasterboard false ceiling( video)
- Spotlights for plasterboard ceilings( photo)
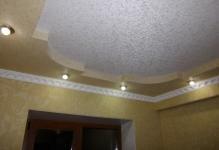
ceiling plasterboard with backlight:Special features of
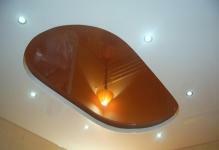
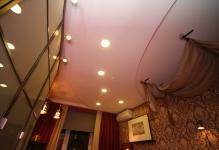
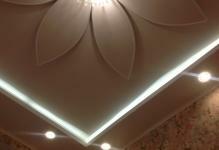
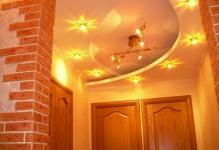
The ceiling made of gypsum board with illumination allows to realize unusual creative ideas. To illuminate the room you can use point lights or fixtures. If you like non-ordinary solutions, you can mount a chandelier or make a hidden backlight.
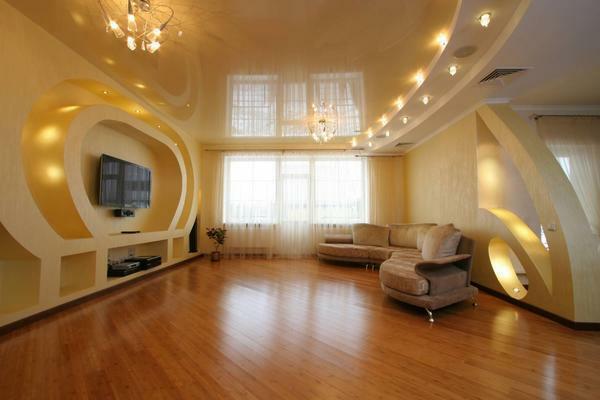 Gypsum ceiling with light make your room extraordinarily beautiful
When installing lighting, observe the following rules:
- the polarity.
- Cut the tape only in special places.
- If you need to connect more than 3 tapes, give preference to the parallel connection scheme.
- Before attaching the tape, check its operation.
During installation work, make sure that the light sources do not fall into the place where the profiles are located. If necessary, change the layout of the profile or slightly move the lamp to the side.
plasterboard backlit own hands: turn-based installation scheme
Set on the ceiling of plasterboard backlit own hands simply. You need to start the installation with the sketch design. The drawing will help you plan the work and calculate the number of necessary components.
Diagram for installing the gypsum ceiling light:
- First you need to attach the start profile.
- We fasten the hangers. To them we attach a skeleton made of the basic profile.
- The frame is fastened with connectors.
- Next, you need to paint the structure with drywall sheets.
- Connect the LED ribbon cable to the contacts on the power supply.
- Check the voltage of the tape and the power supply.
- If the voltage is normal, glue the tape to the ceiling.
In case you install a LED-backlight on the ceiling of the gypsum board, connect no more than 3 coils. Otherwise, the tracks through which the current flows can not withstand and ignite.
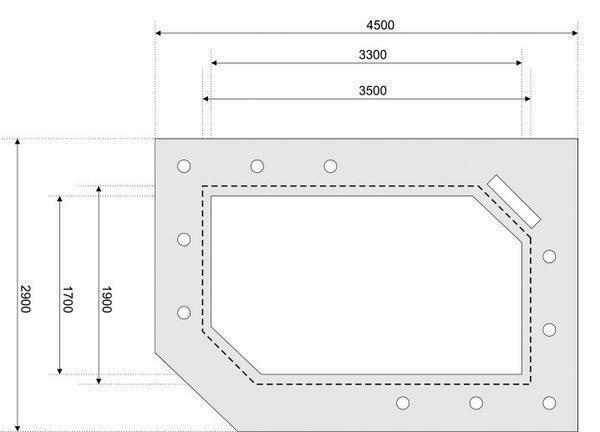 It is recommended to make a drawing of a gypsum board ceiling before installing it
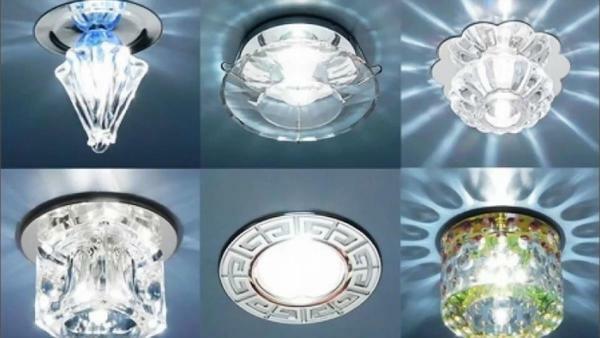
LED spotlights for gypsum board ceilings: features and benefits
LED built-in light bulbs are used most often because they are relatively inexpensive and durable. In addition, these fixtures produce little heat. Due to this, the plasterboard stretch cloths do not overheat and do not deform.
Advantages of LED light sources:
- Energy saving. These bulbs consume significantly less electricity.
- The service life reaches 60,000 hours of continuous glow.
- Lamps do not emit ultraviolet light.
- Mount LED light bulbs is much easier than halogen.
Some models of LED fixtures know how to change the color of the section. These devices are somewhat more expensive, however, such a luminaire allows you to change the color gamut of the room. Usually such models are used for finishing the living room or the nursery.
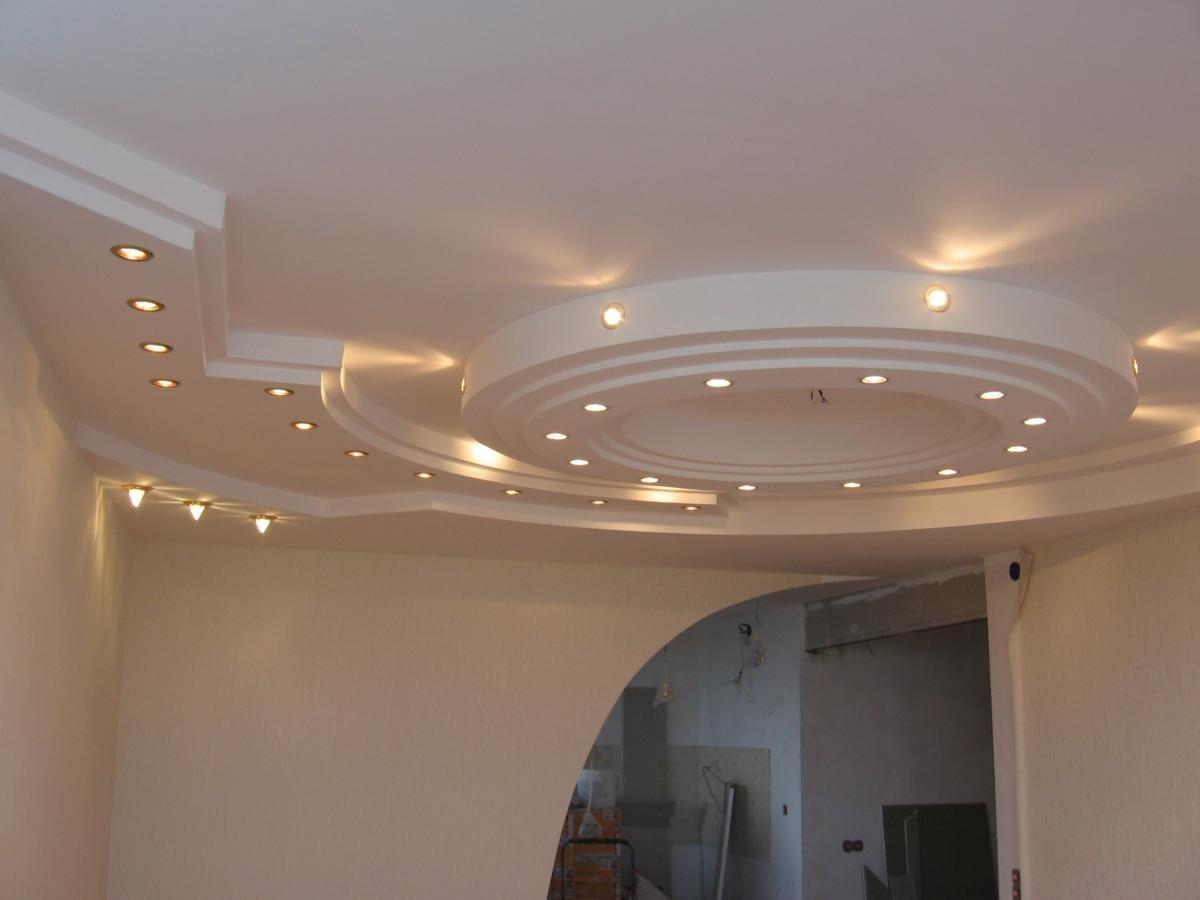
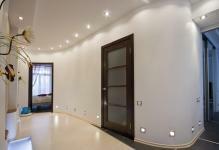
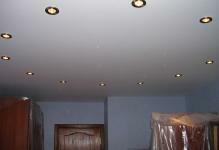
Built-in fixtures in gypsum board ceiling: selection criteria
Recessed luminaires provide uniform lighting throughout the perimeter of the room. This device helps to achieve a visual division of the room into zones. Recessed fixtures can be bright or muted.
Recessed luminaires can have a rotary and non-rotary mechanism. Lamps of the first type allow changing the angle of light emission. Non-rotating ones have rigid fixation and can not change the angle of illumination.
For installing the integrated luminaires, you can use:
- Incandescent lamps.
- Energy-saving light bulbs.
- LED Light Bulb.
- Halogen light sources.
There are open and closed luminaires. The first use for finishing the living room or the nursery, since such devices are not protected from moisture. To install lighting in the kitchen, it is recommended to choose closed luminaires, because they are completely protected from moisture and steam.
In the kitchen, it is best to use closed luminaires because they are protected from moisture.
Install the ceiling box of gypsum board with backlight
The illuminated box helps not only to diversify the design of the room, but also to hide communications and wiring. Installation of such a design is a simple process. In order to make the box themselves you will need pliers, profile CD-60 and Bulgarian.
Before you start, you need to paint the pipes. This will help to avoid the appearance of rust on them. After the paint has dried, apply a coat of primer to the pipes. Also you need to eliminate all the holes in the ceiling.
Installing the box on the gypsum ceiling:
- Screw the UD profile to the wall.
- Fix the brackets on the ceiling.
- Attach the edge of the gypsum board to the profile of CD-60, which will be directly attached to the pipes.
- Cut the ends of the hangers and bend.
- Attach the CD-60 profile to the suspension.
- Lay the sheets of plasterboard.
- Make a niche and decorate it with a diode tape.
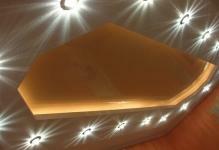
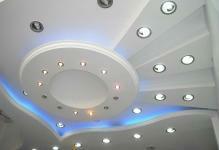
Hidden gypsum board ceiling lighting
It's quite difficult to make gypsum plasterboard ceiling with hidden lighting. Before the installation, you need to make a preliminary layout. Remember that the hidden backlight provides for the use of light bulbs that do not emit much heat. It is best to use LED light bulbs. In turn, halogen bulbs do not combine with a hidden niche.
Hidden illumination is suitable only if the height of the floor is large. Otherwise it is not recommended to use this design.
You need to do the hidden lighting in the following order of sequence:
- First you need to draw along the wall a line on which the supporting profile will be fixed.
- Attach the UD profiles with screws. The distance between the attachment points must be at least 45 centimeters. Use wooden choppies can not, because such a design will be fragile.
- Secure the CD profiles with self-tapping screws.
- Route wiring.
- Sew the structure with plasterboard.
- Sutures should be sealed. If desired, glue the paper tape to the joints.
- Attach the fixtures. This completes the installation.
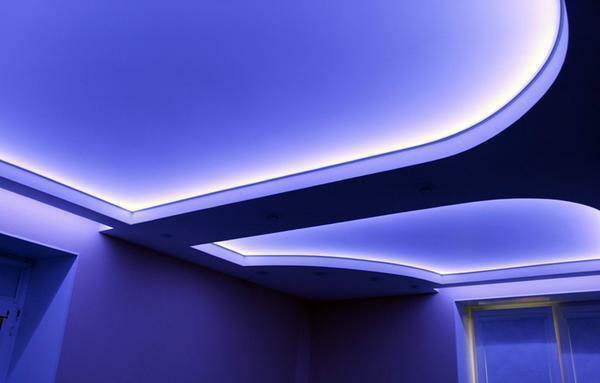 Gypsum plasterboard ceilings with hidden backlighting look very nice, but their installation is quite complicated
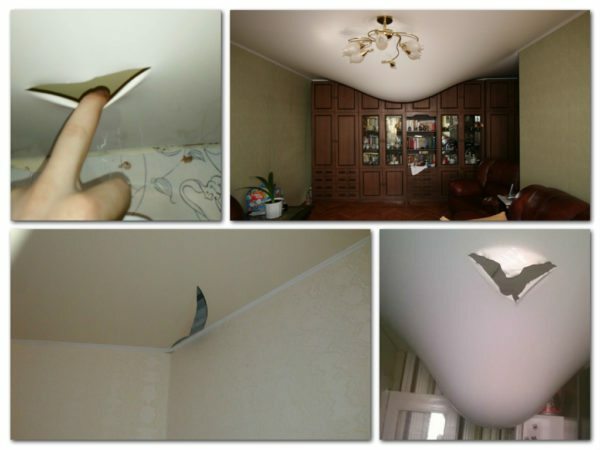
Dimensions of holes for spotlights for gypsum plasterboard ceilings
Before you can integrate spotlights into the ceiling, you need to determine the size of the hole. Usually the dimensions of the hole under the lamp are indicated on the package, however, it is desirable to measure it yourself. The tolerances are 2-3 millimeters. If you cut out a hole that is too large, it is advisable to replace the sheet.
The most common dimensions of the hole for the luminaire:
- 30 millimeters.
- 40 millimeters.
- 150 millimeters.
After you have installed a spotlight, do not forget to mount the thermo ring. It helps to avoid overheating of the canvas. In addition, these products provide mechanical strength of the structure.
 Before installing the spotlight it is necessary to make a hole for it correctly
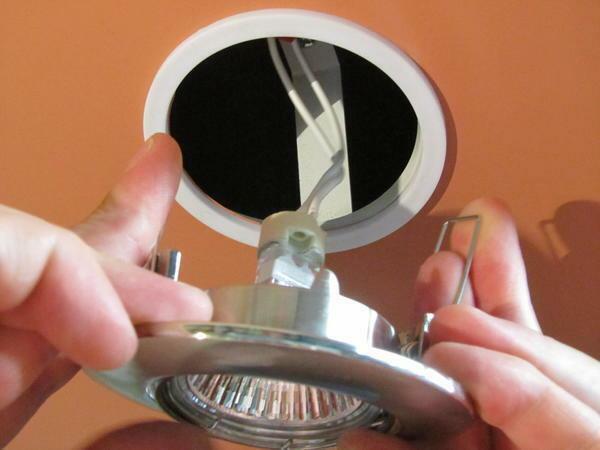
Installing fixtures in the plasterboard ceiling: step by step instruction
Regardless of which lighting options you use, the installation of fixtures must begin with making holes of suitable diameter. Also, before starting work, you must disconnect the wires.
Algorithm for installing the luminaire:
- First output the wires into the holes.
- Take the luminaire and secure the wires leading to the cartridge in a special shoe.
- Install the housing of the lighting fixture.
- Insert the bulb into the socket.
- Attach the decorative cover.
Observe the safety regulations when connecting the lamp. When connecting, observe the marking."PE" is the grounding, "L" is the phase. The letter "N" is the phase.
Mounting of spotlights in gypsum plasterboard ceiling( video)
It is easy to install spotlights on the ceiling made from gypsum boards. Begin the installation with the marking and selection of the optimal lighting equipment. It is recommended to use LED strips. A good alternative are incandescent lamps. If you have a high ceiling, you can make niches for hidden illumination.
Spotlights for plasterboard ceilings( photo)