 Before starting assembly of polycarbonate greenhouses, worth exploring theoretical part process only in the greenhouse, you can create the ideal conditions for maximum yield attractive and tasty fruits. Therefore, greenhouses are popular both in cold and warm regions. The most reliable and efficient structure that allows creating the most favorable conditions for growth and fruiting of vegetable crops is a polycarbonate greenhouse. How to assemble a polycarbonate greenhouse and a hotbed yourself - read in the article.
-
- Prefabricated greenhouses polycarbonate
- assembly of polycarbonate greenhouses: the preparatory stage
- Instructions for assembly of polycarbonate greenhouses
- Recommendations: how to build a greenhouse made of polycarbonate with their hands
- How to build a greenhouse polycarbonate
- How to collect greenhouse polycarbonate( video)
- Examples and assembling polycarbonate greenhouse( photo)
Prefabricated greenhouses polycarbonate
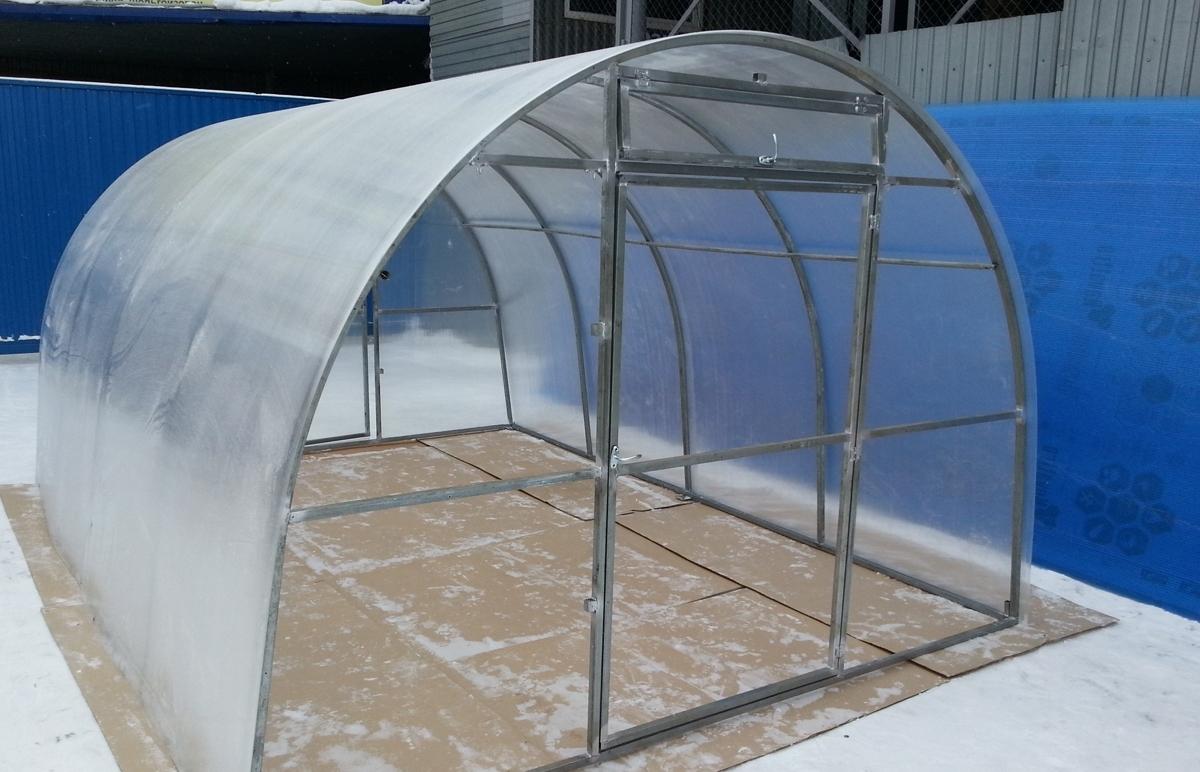
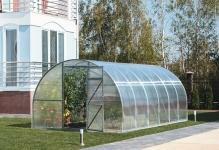
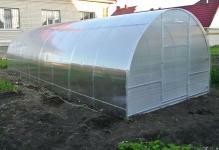
BystrovozvodimPolycarbonate prefabricated greenhouses are reliable structures that can be easily assembled without assistance, with their own hands for several hours. In this case, you can collect the greenhouse alone, and for installation you will need tools that can be easily found at home or taken for temporary use.
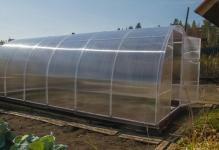
Finished greenhouses are structures that have all the necessary fragments and fasteners in the kit in order to quickly assemble the structure and cover it with polycarbonate.
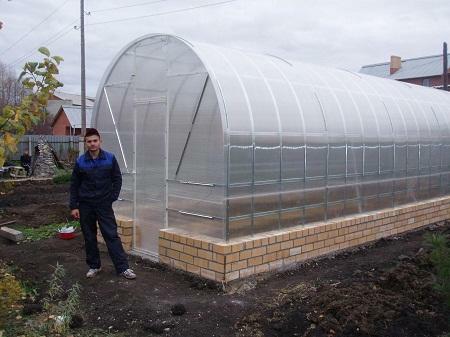
 For assembly of polycarbonate greenhouses only two people
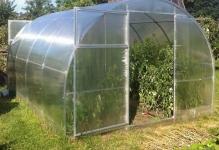
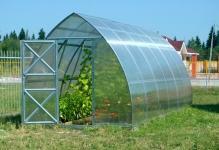
National polycarbonate greenhouses can be of various shapes and sizes. With your hands in a short time, you can collect both a small garden wig, designed for growing products on your table, and a greenhouse that will allow you to grow a large-scale crop for sale.
The kit of the prefabricated greenhouse consists of sheets of polycarbonate, end elements, ceilings, doors and windows, fittings and fasteners.
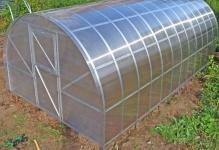
Prices for greenhouses depend on the material of the carcass and the thickness of polycarbonate. Thus, most high quality and durable considered greenhouses on the frame profile of galvanized sheet having a thickness in the polycarbonate 0.4-0.8 cm. Greenhouses made of PVC sheets with a thickness of 4 mm, considered the most accessible. But such greenhouses are suitable only for seasonal use: they will not be able to withstand a large amount of precipitation in the winter. In addition, a sufficiently thin polycarbonate will freeze in winter( especially in the northern regions), which will affect the costs of heating vegetarians.
Assembling a greenhouse made of polycarbonate: preparatory stage
Before starting to assemble a greenhouse, it is necessary to determine its location on the site. An improperly placed greenhouse will not be able to fully realize its functions, it will quickly become unusable and will attract additional financial expenses( for example, heating, organizing additional lighting, etc.).
Therefore, in order to properly place the greenhouse on the site, it is necessary to consider:
- Soil quality. To greenhouse I advise to install on sandy soils. It is highly discouraged to grow plants on clay soils. If there is clay on your site, you'll have to dig a pit and "lay" gravel and sand cushion.
- Nearby buildings and trees. The greenhouse should not be anything shaded. The design can be placed at a distance of 3 meters from the buildings and large trees.
- Sides of the world. So, skates of a hothouse for all-the-year-round use should settle down from the east on the West.
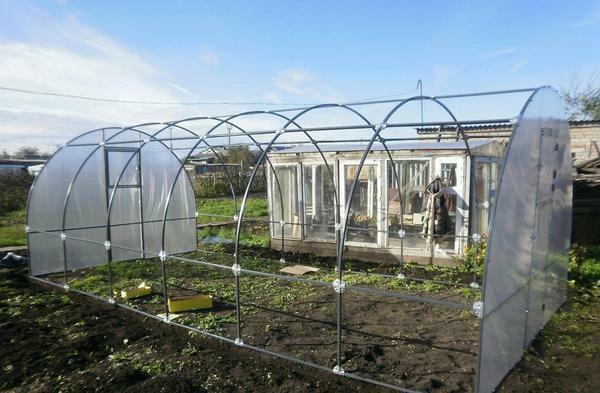
 first step is to prepare the foundation on which is mounted a greenhouse
Once the ideal location for the greenhouse, it was determined to be clean the area of debris and weeds, and to start the event on installation design.
Instructions for assembling a greenhouse of polycarbonate
If you familiarize yourself with the process technology in advance, assembling a polycarbonate greenhouse will not take much time. This can help step-by-step video instruction or step by step guide.
In order to assemble the greenhouse independently it is necessary:
- Prepare a place for installation. For a year-round greenhouse, it is necessary to lay the foundation in advance. The greenhouse for a warm period will be enough to put on a frame of timber.
- Assemble the end pieces. To do this, the hinges that come with the greenhouse need to install door and window frames.
- Do in the end elements of technological holes with a distance of 300-400 mm, not forgetting the frame for the window and door.
- Cover the end elements with polycarbonate. For this, it is necessary to arrange one sheet in such a way that its edge is flush with the left vertical stand of the butt, fix it on the screws with a rubberized cap, and cut off the leftovers.
- Install the fittings( handles on the door and window).
- Repeat the same with the right front frame and door, assemble the second end face.
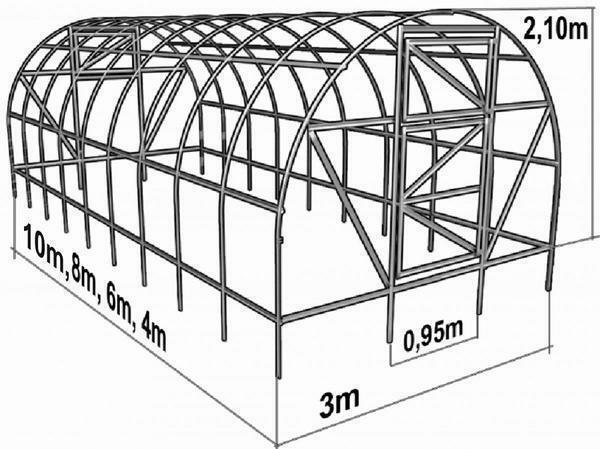
- Mark arcs for jumpers. To do this, note the middle of the arc and apply two marks with a step of 90 cm for the jumpers( from the middle).
- Fit the five cross pieces onto the arc and mount the arc with jumpers.
- Put on the next arc the cross connections and mount with them the jumpers of the last arc.
- Repeating step 7, 8 and 9 in the manner of the remaining arcs and jumpers.
- Attach the ends to the frame with the help of T-shaped elements.
- Drill in the arches technological holes in 40 cm steps.
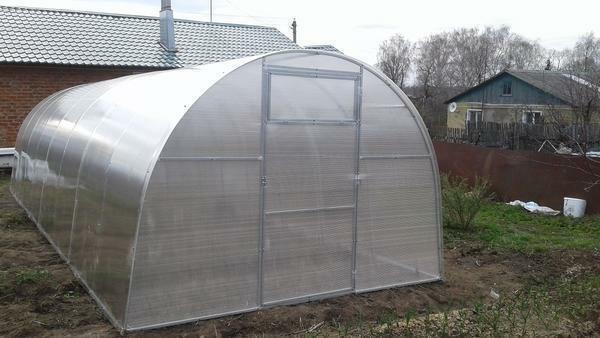
- Cover the structure with polycarbonate in the same way as the end elements.
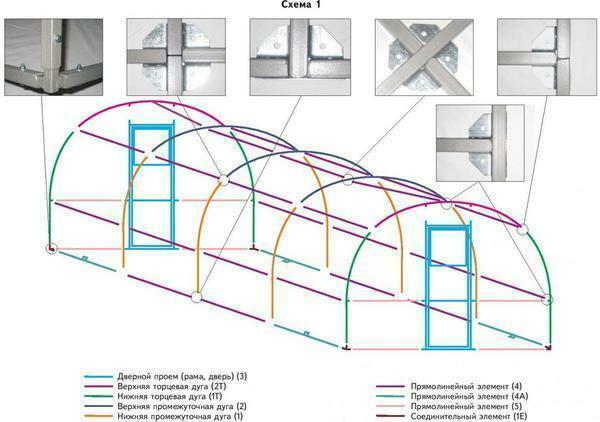 Assembly instruction for the greenhouse can be obtained from the purchase or found on the Internet
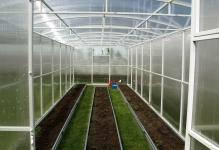
After this, the polycarbonate must be sprinkled with earth to a height of 30-40 mm, and you can work on the organization of beds and paths inside the greenhouse.
Recommendations: how to assemble a greenhouse of polycarbonate with your own hands
In order to make the structure strong, reliable and stood for more than one year, it is necessary to take into account the peculiarities of work with the material. In addition, work should be carried out, with a ruler, a marker, a building level.
In addition, in order to assemble the greenhouse itself, it is necessary to:
- The installation of the greenhouse must only take place on a flat base. Otherwise, the misalignment will create malfunctions in the opening and closing of the windows and doors, which will lead to their rapid deterioration. However, the frame can begin to sink in one place due to an incorrect load distribution.
- Under the year-round greenhouses, it is necessary, without fail, to lay the foundation. It will make the construction more reliable and will save money for heating the greenhouse( about 20% of the heat flows through the soil).
- Fasteners on polycarbonate sheets should be placed at a distance of 40 mm to the edge. Otherwise, the material may begin to crack.
- The material should be cut using a jigsaw and a special saw for metal or a circular saw with an emphasis. In this case, after work, it is necessary to check the edges of the sheets for an object of burrs. If such are found, the edges of the sheets will need to be treated with sandpaper.
- Sheets with a thickness of 8 mm or more should be lapped. Polycarbonate smaller thickness can be mounted butt.
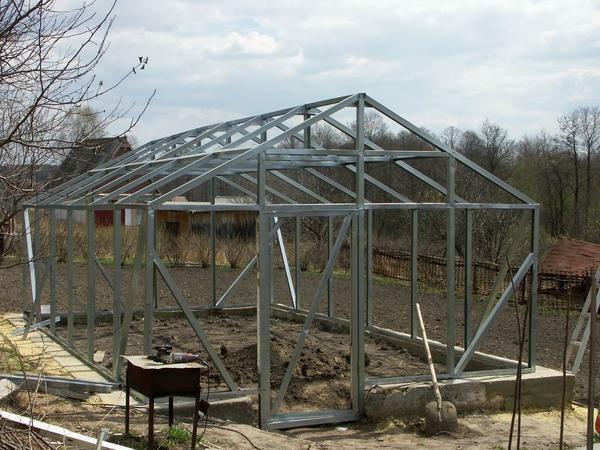
To properly assemble a greenhouse made of polycarbonate, you must first watch the training video and read the advice of professionals
Remove the protective film from polycarbonate sheets only after all installation work.
How to assemble a greenhouse from polycarbonate
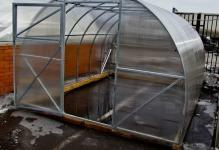
The technology of assembling a greenhouse does not differ much from the construction of a greenhouse and begins with the installation of a foundation. For this purpose, a bar with a section of 100x100 cm is suitable. The length of the bar depends on the length of the future greenhouse. The elements of the enzyme can be assembled with galvanized corners and self-tapping screws.
Before assembling the foundation, the wood must be treated with an antiseptic: this will protect wood from pests. To align the diagonals of the foundation, it is recommended to use a water level and a tape measure.
After that, along the perimeter of the foundation, the foundation elements are superimposed, the middle arc is mounted to the base by a spike-groove method and fixed with screws.
The sides of the greenhouse should be assembled on the same principle as the ends of the greenhouse. In this case, you should try not to pull the screws.
The end arcs of the greenhouse are connected to the base and fixed with screws. Next, the hive of the greenhouse with loops connects with the middle arc and the end elements. At the final stage, the structure is covered with polycarbonate, the material is cut at the loops and around the perimeter of the sash for opening.
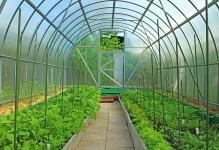
How to collect a glasshouse made of polycarbonate( video)
A greenhouse made of polycarbonate is a reliable construction that allows creating optimal conditions for cultivation. Today, you can buy a greenhouse and a greenhouse with a set of fasteners, end elements, arches and polycarbonate sheets. Collect both the greenhouse and the greenhouse can be easily and quickly with their own hands. The main thing is to follow the instructions, and take into account the nuances when working with material!
Examples and assembling polycarbonate greenhouse( photo)