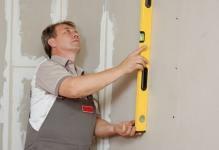
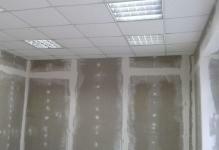
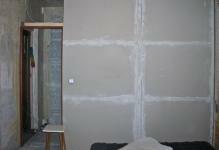
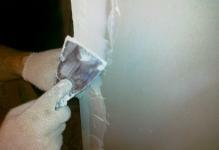
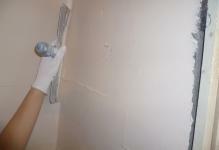
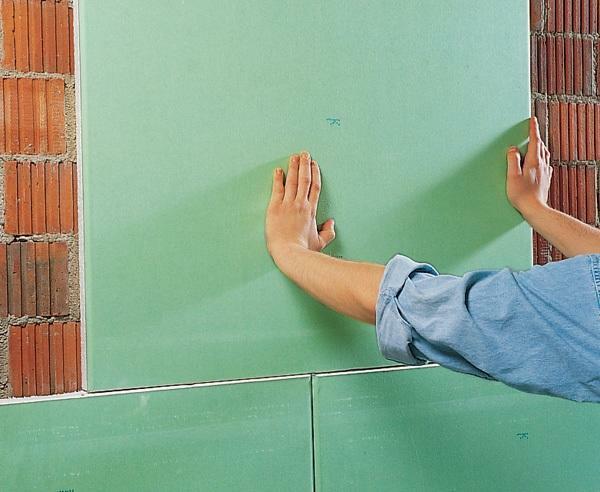
 Plasterboard will effectively eliminate depressions or irregularities of the walls Almost everyone who picks a renovation in their apartment, facing the problem of uneven walls. And really, how can there be uneven walls in the future beautiful room?The most optimal material for registering walls in order will be ordinary drywall. To use a frame or not, depends on your personal preferences and the initial state of the walls, so we'll look at both of them.
-
- Alignment walls plasterboard with a skeleton: instruction
- alignment walls with his own hands plasterboard: frameless
- How to make the alignment of the walls in the bathroom under the tile plasterboard
- What is leveling plasterboard glue
- Doing theirarms: smooth plasterboard walls without frame( video)
- Examples leveling plasterboard walls without frame( photo process)
alignment walls plasterboardm with the frame: manual
Align wall using drywall sheets( FCL), simply and effectively: for one sheet of drywall can be hidden just a few meters of a concrete wall. And this despite the fact that the price of drywall is very small today.
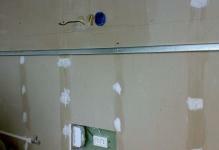
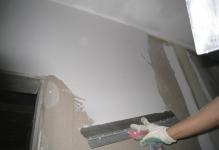
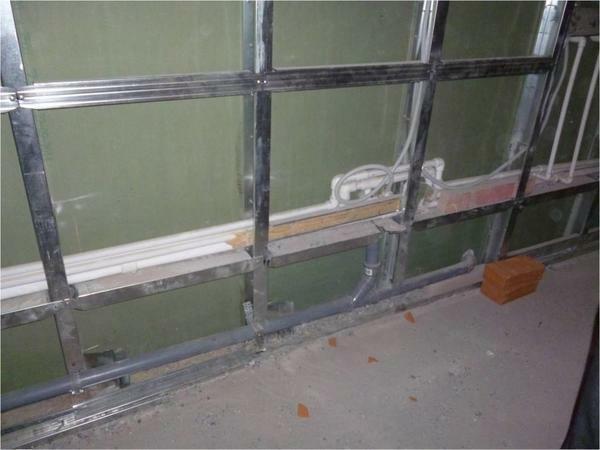 To install plasterboard sheets on the wall is necessary to construct the frame by means of galvanized profile
There are two ways to align the plasterboard wall using:
- Construct a frame on which is fixed the GCR;
- Use adhesive to attach plasterboard to the wall, without the use of a frame.
Note that if you decide to use the frame, then after finishing the work area of your room will decrease by several square meters, since the frame will occupy a minimum of five centimeters from the wall.
How to design a frame:
- Clean the walls to concrete from previous coatings. In particular, get rid of the layers of plaster and the old primer. A new layer of primer is not necessary to apply.
- The frame is built using a galvanized profile UD, which can be bought at any construction store. There you also need to buy special dowels, with the help of which the frame will be fixed.
- Now install the CD profiles, the side with the edges to the wall, and the back side to the room. You can attach them with screws.
- The first profile is erected against the walls, and the following profiles are spaced 6 meters apart.
- Use perforated hangers. They are the most reliable for this type of work: it is only necessary to bend them with a P-shape, and then fasten them to vertical profiles.
After this the frame will be assembled. As you can see, this can be done by one person, it is not necessary to hire a construction team.
Now the simplest thing left is to fix the sheets of plasterboard on the frame. To do this, use screws 35 mm and a screwdriver. Screws fix at a distance of 15 - 20 centimeters from each other along the perimeter and the center line of the GCR.Take care that the hats from the screws do not stick out, otherwise it will prevent further finishing works!
After that the plasterboard sheets are fixed, which means that the walls are leveled, and you can proceed with their subsequent finishing.
Align wall plasterboard with their hands: without frame
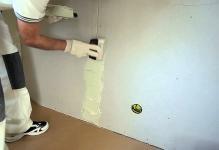
If you do not want to install the frame or, for example, you have too little room to further reduce its additional designs, you can align the wall frameless manner. To do this, just glue the GCR to the walls with glue.
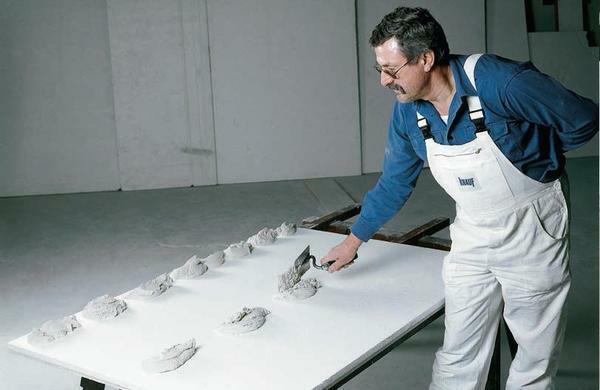 drywall sheets can be glued to the walls using a special cement-based glue
As align plasterboard walls without carcass:
- On the bare concrete wall, apply a primer coat;
- Along the perimeter of the wall, drill the holes for the dowels;
- Adhesive needs to be purchased special for repair work. As a rule, it is sold in dry form and diluted with water.
- Clean the surface of the sheets against possible dirt and dust;
- The adhesive is applied to the surface of the sheets by handfuls. The distance between a handful of glue is about thirty centimeters.
- Install a sheet of drywall to the wall and secure it with screws.
Please note that the glue must be applied in groups, rather than leveling it all over the surface of the sheet.
After the installation is completed, before proceeding with further work, it is necessary to wait a certain time until the glue is completely dry. The drying time is written on the label of the glue container, and, as a rule, does not exceed two hours.
How to align the walls in the bathroom with a plasterboard tile
The leveling of the walls in the bathroom with gypsum board is also called "dry" leveling( "wet" is called leveling with plaster).
For leveling the walls in the bathroom you will need:
- Drywall sheets;
- Dowels;
- Screws;
- Adhesive;
- Waterproof primer;
- Putty.
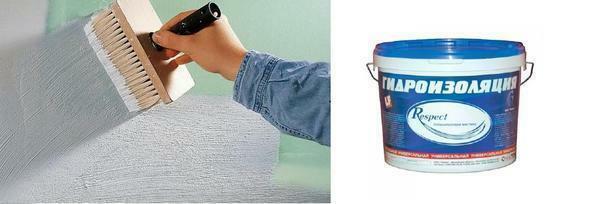 Before installing the GCR on walls in high humidity areas, the material must be treated with a waterproof mastic
The process is not much different from leveling the walls in any other room. The main thing is to pre-assemble the electrical wiring and make sure that water does not get on it, which can happen during repair work.
Also in connection with the increased moisture in the bathroom, the plasterboard after the installation must be treated with a primer with moisture-resistant properties. After that it remains only to make the puttying of the walls, and you can proceed to the finishing works.
Note that in the bathroom it is preferable to use the frameless method of wall alignment, sinceThe standard bathtub and so is small in size. The frame should be erected only when the bathroom is large enough.
What is a plasterboard alignment on
glue? The alignment of gypsum plasterboard with glue is the way in which the frame is not constructed, instead the gypsum board is glued to the walls on the glue. The main advantage of this method is that you can save a few square meters during installation, which is especially important for small rooms such as a bathroom, toilet, etc.
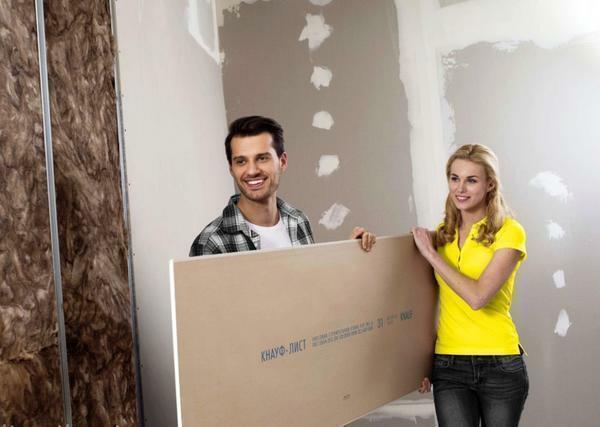
 For leveling walls in a small sized bathroom it is recommended to use the frameless method of installing drywall
The disadvantage of the same wall alignment without a frame is the relative complexity of the process: it is easier to erect a frame and fix the GCR on the screws than to glue each sheet. In addition, the skeleton method is considered more reliable.
Do it yourself: wall smoothing with plasterboard without a frame( video)
Depending on the features of the room, you can evenify the walls with or without a frame. Each of the methods has its own advantages and disadvantages, therefore it is worthwhile to approach the choice of the method with particular attention. And do not forget to observe the safety precautions: when working with glue, always wear rubber gloves, do not allow it to hit the eyes and be careful with the wiring.
