 If you decide to install the Hypocarton Slopes yourself, then it is better to read the installation instructions in advance.
Before starting installation:
- Preliminary work is required.
- Prepare the door frame so that the slopes do not protrude beyond it.
- Carry out all work on measurements and calculations, and prepare the necessary material.
Assembly steps:
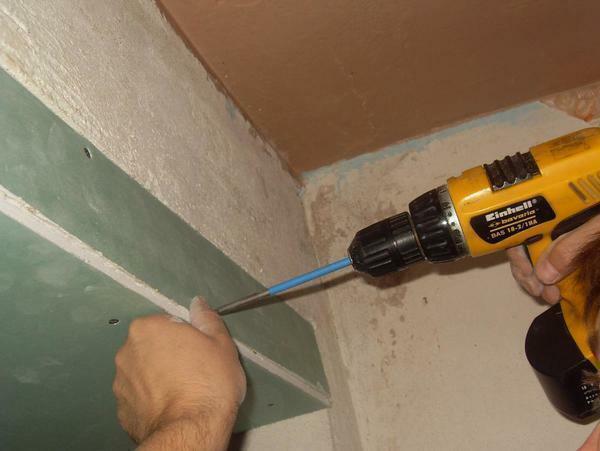
- The first to install a side slope.
- When measured, the width increases by 1 cm, this is necessary for a clear installation of the panel in the mounting foam. The simplest is the installation at a right angle.
- After installing the sheet, check the angle.
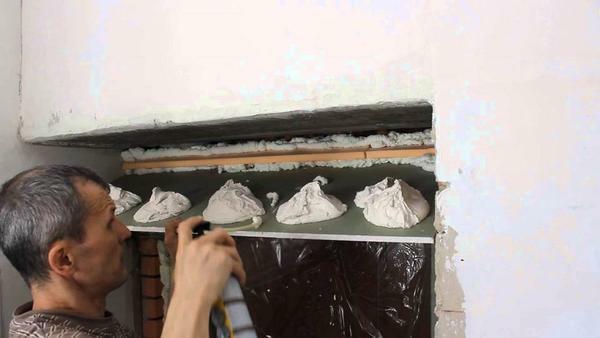
- The resulting space under the plasterboard should be carefully zapenit.
- The sheet is fixed with a temporary tape. At the same time, the angle must not move.
- All gaps are necessarily well-spun.
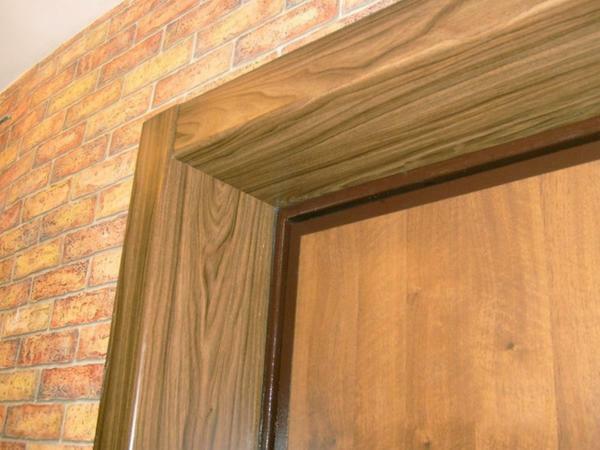
The second slope is installed in exactly the same way. When the top slope is cut, 1 cm is also added. The web is inserted into the mounting foam. The sheet should lie so that it is neatly located on the ribs of the side slopes. The angle is also subject to control. Next, the finishing of the corners, and the decor of the slope itself.
Foam fill all the voids. It is recommended to wait about 24 hours before drying.
How to make slopes from plasterboard for the entrance door
Door slopes are the wall surface on both sides of the door. The doorway adorns the space, and makes it complete. The device of the door space is simple. With a variety of materials and types of decoration, it is possible to make a design that is distinguished by its exclusivity and beauty.
 After installation of plasterboard slopes in the doorway, they can be painted in any color.
The doorway structure is multi-layered and the work consists of several stages:
- Preparatory layer. The surface is cleaned, covered with a primer. Add a heater.
- Gypsum board layer. Very fast version of the preparation and alignment of the wall. Does not require much processing. It's easy to use.
- Finishing layer. The decorative layer can be made entirely of any material.
The surface of plasterboard is suitable for finishing with a large number of materials. In addition to the usual wallpaper and paint, it is recommended to use a variety of mosaic designs.
The easiest way to finish is painting. It is very fast, does not require a lot of physical or material costs. The originality of this type of decoration is not different, but it is possible to choose a color palette for any design, and repair such a slope is very simple.
We mount slopes from plasterboard on the entrance door: steps and nuances
If the metal frame can not be assembled, it is possible to trim the slope of the KGL using the glue method. Following all the recommendations and rules, this kind of installation will not yield to the quality and evenness of other types. You can sew a wall around the door leaf using a minimum of materials.
 In order not to damage the door during the installation of the slopes, it must be carefully closed with
- At the initial stage, the door leaf must be protected against possible mechanical damage or glue during installation.
- The mounting foam must be carefully cut with a sharp clerical knife.
- The surface must be cleaned and primed. To ensure that it does not crumble for a long time, it is necessary to use an antibacterial primer.
- The straightness of laying sheets of GCR must be adjusted and the level is good for this.
- The adhesive is then spread and applied evenly over the entire surface of the sheets.
- The sheets are applied very tightly, it is necessary to put them on the dowel hub.
Side slopes are installed in the same way.
Installation of plasterboard slopes( video)
Slopes from plasterboard are fast, simple, economical and reliable. Observing the right technology, you can achieve an excellent result, which will please the eye for many years.
Successful repair!


