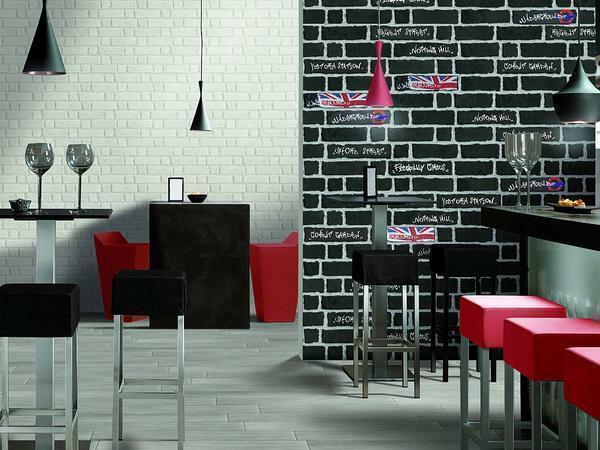
Recently, one popular trend in the field of interior decoration is gaining momentum. We are talking about such an interesting option as imitation of a brick wall - of course, many have already faced this phenomenon many times. Imitation - because in fact the wall is not brick, but simply finished in such a way that an appropriate impression is created. In this article, we will look at all the stages of how the brick wall is imitated with our own hands( see video, photo).
- content
- marking
- primer Application of
- solution
- burr molding
- surface preparation for painting
- image Creation of a brick wall simulation

marking The first step is to prepare the walls for further processing. To do this, you need to thoroughly clean the surface: the wallpaper is peeled off, alignment is made, the roughness is smoothed( use sandpaper).

Next, a "model" of bricks will be needed. Cut the end of the alleged brick can be from cardboard, or a piece of linoleum( there are other options).Dimensions 25x6.5 cm is the standard. It is necessary to identify the seams;Indentation - 1.5 cm along the entire perimeter of the blank from the outside. In the middle you need one more stitch - to make it look like two halves of bricks. Further it becomes clear why it is necessary to do so.

Lay out the "bricks" you need from floor to ceiling. We retreat from below 5-10 cm. Then we use a simple pencil, we trace the first corner brick.

The general technology is as follows: you need to start tracing from the corners of the wall, since these places are the most complex, then along the edges, then move to the center.


This process can be viewed in more detail in the video.
Primer

Next, to create a brick wall simulation, a primer is required, it is recommended to use non-concrete contact. Diluted in the standard way, then using a roller, the solution is applied to the wall. This is done to ensure that the mixture lies firmly and firmly. On the markup, this process will not affect - there is nothing to worry about.
Application of a solution

Painting tape is applied to the wall, and in the junction of "bricks".It is recommended to glue the horizontal lines first, and then go to the vertical lines. Make a sticker must overlap.

The solution is made from tile adhesive and plaster( 50 to 50).It should be noted that imitation of a brick wall in an apartment from plaster is not only a simple, beautiful, but also a reliable option for finishing.

Then apply the plaster with a spatula( or even hands, because it's easier and faster, but do not forget to use special gloves in this case).

Next are the tips of the tape, stretches - it turns out that the spaces between the bricks fall out, cleaned. We will add - that it is necessary to peel the scotch immediately after applying the mixture - not later!

This moment is very important, because if you wait time - it will not be able to tear it off. In principle, this is the main secret of technology. There are some more nuances - you can not use gypsum in this case: it dries instantly - and it will not be possible to free up space between the fragments completely.

Shaping the "bricks"

Next, you need to discuss another important point, namely - giving a form of simulation of brickwork. There are many ways, but the simplest of them is the use of a chisel, a spatula or a tablespoon. To carry out this action is necessary in the event that the solution was applied by hand( that is, unevenly).

Preparation of the surface for painting

First you need to clean the surface: we sweep the dust with a broom, use brushes, paint brushes, sandpaper.

Next, go to the second primer: you need to get around not only all the bricks, but also the seams between them. The paint can be applied or not at will. Many choose the option - a natural wall with the effect of natural aging of bricks.

That's all the advice on how to make a simulation of a brick wall with your own hands. Of course, you will have to spend some time, but the result will speak for itself - and more than once will please you!
Photo


