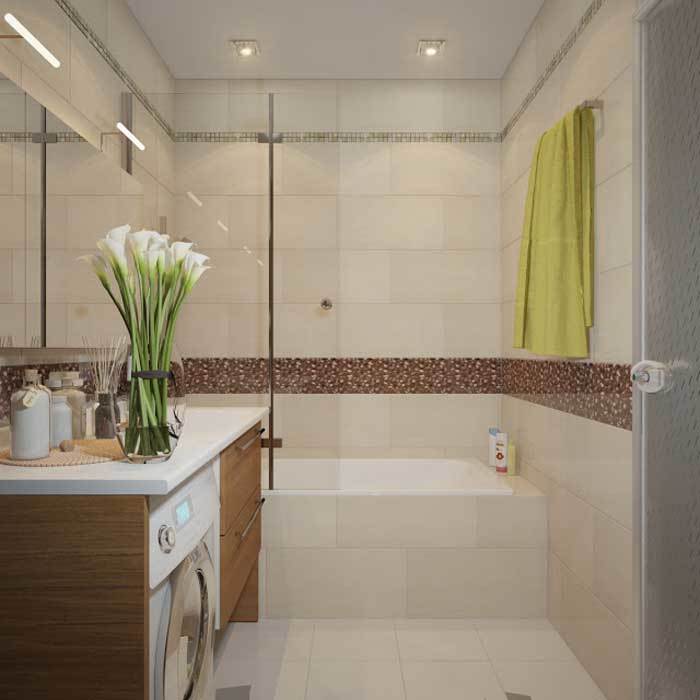
During the repair of the bathroom, it is not uncommon to ask how to install a cast-iron bath. Installation, as a rule, is not difficult, if you correctly perform all the stages of installation and choose the right materials.
Contents
- Step-by-step installation instructions for the cast-iron bath
- Video installation of the cast-iron bath yourself
Step-by-step installation instructions for the cast-iron bath
The standard installation of a cast-iron bath on the legs that come with it is often inconvenient because the height of the installed bath is not sufficient for a comfortable bathoperation( especially for washing clothes in it).
1. Installing a new cast-iron bath with your own hands, we first mark the height at which you need to set it. From this mark is laid out facing tiles to the ceiling.

2. Typical cast-iron bath has fixing points. However, in this case, we will consider an example of installing a cast-iron bath on bricks, which makes it possible to obtain the required level for convenient and trouble-free use.

3. Having determined the height, on which you want to install a bath, arrange a lining along the level along the wall from the wooden block with a strip of moisture-resistant plasterboard on the upper side( taking into account the thickness of the side of the bath).This is done in order to remove the gap between the bathroom and the wall. The bar is attached to the bathroom wall, checking the horizontal leveling of the level.

4. The video shows how to install the bath on the bars with temporary lining at the bottom of the improvised materials. For stability, we support the sides of the bath with bar racks. Check the horizontal level of the installation level: the cast-iron bath should be firmly pressed against the lower edge of the facing tile.


5. After confirming the correct position of the bath, connect the siphon to drain the water. If necessary, we cut out a piece of sewer plastic pipe of the required diameter to the standard siphon. You can immediately check the operation of draining with a small amount of water. Make sure that after opening the cork, all the water leaves the bath without any residue.

6. We connect the ground wire from the bath to the steel water pipe or a special earth conductor.
7. In places where the legs are installed across the baths, we lay ceramic bricks on the cement mortar, tightly closing the gap. Then, after that, we remove the temporary bars on which the bath was kept.


8. For the installation of false walls made of bricks, using a plumb on the floor, we cut out the edge of the bath line. When laying bricks, it is necessary to take into account the thickness of the tile and the layer of glue for its installation. Lay the brick for the false wall on the edge, checking the verticality of the masonry. For the convenience of washing in the bath we make a niche for the feet. Dimensions of the niche: depth - 20 cm, width - 30-40 cm, height - 20 cm( These dimensions are arbitrary.) Everyone can adjust them "for themselves").


9. According to the photo, to maintain the siphon, leave a hole for the installation of a metal or plastic revision-hatch.

10. After the brickwork has dried, begin to lay the facing tiles by setting the metal bar horizontally to the whole number of tiles. After laying out the upper rows of the tile, dismantle the bar and lay out the bottom row, cutting the tile in height( if necessary).We lay the tile in a niche, as well as on the top of the bath, if there is a gap between the wall and the bathroom itself.


11. We lay a row of tiles in the gap between the bathroom and the wall( above we wrote about a wooden bar with a strip of GKL), covering part of the border.


12. Install the hatch-revision.

13. After the tile has been laid, all the seams between the tiles are rubbed, and the surface of the tile is wiped with a damp cloth.


Video installation of a cast iron bath with your own hands
Installation of a cast iron bath on the legs:


