How to install a chandelier on the ceiling with your own hands. How to hang a chandelier correctly.
The bar that completes the renovation in the apartment is the suspension of the ceiling chandelier. Suspended lamp fits well into most residential interiors. The operation for its installation requires a minimum knowledge of the fundamentals of electrical engineering and confidence in their abilities. Prepare the necessary tools, purchase a lamp, restore the rules for handling electricity and - for the cause.
To install a chandelier on the ceiling with your own hands you need:
- stepladder;
- electric drill with perforator function;
- screwdriver-indicator;
- pliers with insulated handles;
- cutting pliers;
- screwdriver;
- insulation tape;
- block for clamping wires.
Prepare a hook to which the chandelier will be attached. If the ceiling light was not previously provided in the room, make a hole in the center of the ceiling with a perforator. It must be in the immediate vicinity of the outlet of the electrical wires. Hook the hook to the ceiling in an anchor way, and then wrap it with two layers of insulation tape.
Read the installation instructions if it is attached to a chandelier. As a rule, the description of the luminaire gives recommendations for its installation. If the instruction indicates that the design assumes grounding, be sure to consider this during installation. If this seems difficult to you, call electrician and he will professionally perform the installation.
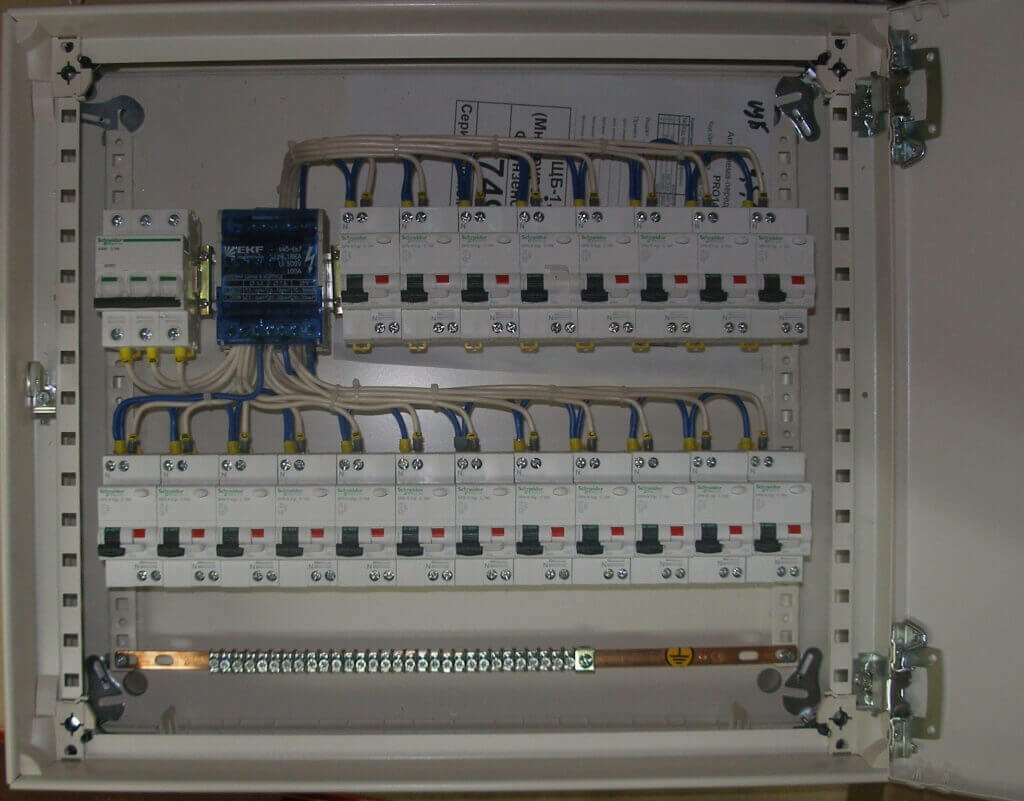
Disconnect the room from the power supply using the circuit breakers on the distribution electrical panel. With the switch on, carefully check the screwdriver-indicator for the absence of voltage in the network to be mounted. After checking, turn the switch off.

Start the installation. Find on the ceiling three wires: "zero" and two phase. The neutral wire will go to the junction box, and the phase is output to the switch. With each wire, remove part of the insulation and spread the peeled ends to the sides to prevent them from accidentally closing. The length of the bare tip should be 3-5 mm.
Determine which wire is "zero" and which are phased. Switch on the electricity again indoors. In turn, touch the indicator to the ends of the wires. The lighted indicator will indicate the "phase", the absence of a light from the light bulb indicates that you have found a neutral wire. Mark the "neutral" piece of insulation tape.
Set the phase of the lamp wires. As a rule, electric chandeliers are marked accordingly. Typically, three working wires are laid in the tube and lead to a terminal block with terminals. The shoe is later retracted under the decorative lamp holder.
If there is no marking in turn, plug into the electrical outlet any two wires coming from the lamp, without touching the third terminal. When half the lamps light up, mark the included wires with electrical tape. One of them leave in the socket, and in place of the second install the third wire. If the other half of the lamps light up, this indicates that you have found the second phase output. The wire that remained in the socket during the operation will be "zero".
Gently hang the chandelier on the hook. Connect the "null" wire of the chandelier to the analogous end of the electrical network on the ceiling. Connect also the phase conductors. It is forbidden to use soldering to connect copper and aluminum wires. Use a special clamping unit for installation.
After the wiring has been completed, place the decorative chuck in its place, ensuring that the wires and clamping unit are hidden. Apply voltage to the chandelier and make sure that the connection is made correctly.
Useful tips for repairing an apartment.