You have a need to connect additional lighting in the room, but switch installation quote a little embarrassing? You can do it yourself, it is not necessary to use the services of electricians. But this can only be done when you are completely sure that you will do everything right, you will not make a mistake in connecting the wires. If there is no such confidence, do not risk it - competent installation of the switch will be carried out by representatives of specialized companies. Decided to tackle the issue yourself? Then listen to the recommendations given by professionals.
Tools needed to mount the switch
In order to install a switch in the house without resorting to the services of a wizard, you must follow the correct sequence of actions. We will tell you about how to install one and two-gang switch. But before you tackle this issue, make sure you have the following tools at hand:
- screwdriver or screwdriver;
- sharp knife;
- pliers (pliers);
- clamps;
- adhesive tape;
- perforator or impact drill;
- switch;
- cable (often use copper, previously used aluminum).

The set is standard, but it is not necessary to have everything listed. So, for example, you can replace the clamps with twisting, but in this case you will need a soldering iron and rosin or soldering tin. You can always replace the electrical tape with heat shrink tubing.
One-button switch: installation sequence
The connection diagram for such a switch is simple. You need to apply zero to the lamp from the switchboard, and phase to the switch. Keep in mind that the phase must be broken without fail. If this is not the case, your lighting device will be under constant voltage.

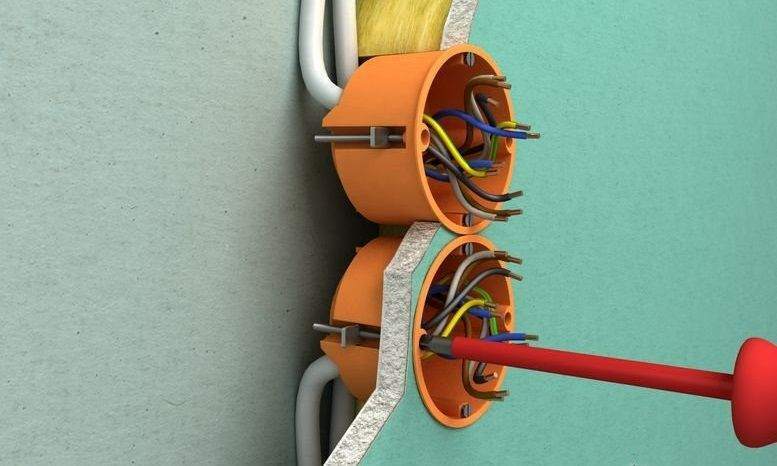
But you can consider the option in which you do not need to use the junction box. Installation in this case is carried out in the box where your switch is located directly.
First of all, you must determine the place where you will install the switch. From the doorway, it is located further than 20-30 cm. choose the height individually, taking into account your height or the average height of all household members (without taking into account the height of children, they will grow up).
Using a puncher or impact drill, knock out a hole in the wall in the marked place into which you insert the device. The box should be placed in such a way that the holes for fasteners are strictly horizontal and vertical. If you lose sight of this, then there is a high probability that the switch will stand crooked.
Be sure to make sure that there is no voltage coming from the shield. In the box, you must lead the cable from the shield, as well as the wire that will go to the lighting fixture.
Cut the wire and remove the outer insulation, leave about 15 cm in length, and bite off the rest with wire cutters. The yellow-green wire is grounding, zero goes to the lamp - a blue wire, and a phase is connected through the switch - a white cable.

Strip the ground and zero wires, twist them together and connect them with electrical tape or soldering. Strip the phase wire as well and connect to the shield.
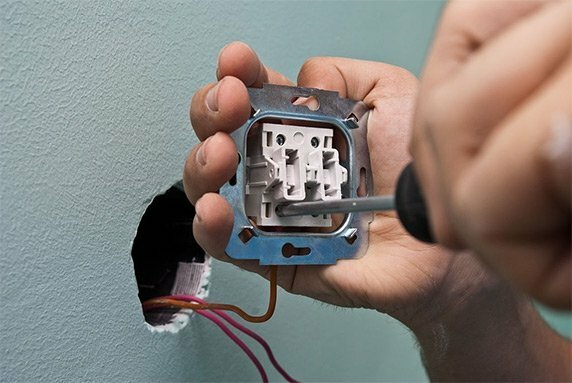
Place all connected and other wires neatly in the box. Then put on the key - you need to lightly press on it and it will snap into place by itself. Mount the switch in the box and fix it with self-tapping screws using a screwdriver or screwdriver.
Without fail, apply voltage and check if everything works, if there are power surges (flashing).
Two-gang switch: installation sequence
Installation of a two-gang switch occurs in the same sequence as a single-gang switch. The only difference between them is that there will be more lead wires that connect to light bulbs.

Do not forget about safety - always check if the power is off and do this before work. After installation, also double-check your work. If there are any flashes, the switch panel heats up, you did something wrong.


