SHARE
IN SOCIAL MEDIA
The timer for turning on and off electrical appliances allows you to organize the operation of household appliances, lighting, heating and other systems in the house in accordance with the needs of the owner. All this is possible provided that the device is selected and configured correctly. The article will help you understand the features of sockets with different types of timers, choose the best option for your home, carry out the adjustment yourself or make a structure yourself.
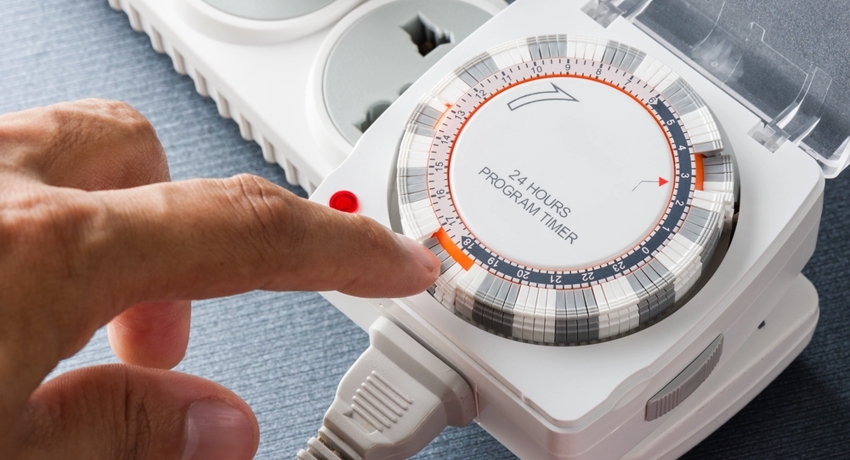
The timer allows you to control the operating mode of the electrical appliance without the presence of a person
Content
-
1 What is a timer on and off electrical appliances
- 1.1 Scope of use of sockets with on and off timer
- 1.2 How sockets with a built-in timer work: principle of operation
-
2 Types of sockets with on and off timer
- 2.1 Mechanical timers on and off electrical appliances
- 2.2 How does the electronic timer installed in the outlet work?
- 2.3 Features of smart programmable sockets with GSM timer
- 2.4 Classification of timers on sockets by operating range
-
3 How to choose the right timer for the outlet: basic criteria and the best models
- 3.1 We select the optimal outlet: rating of the best models with a timer
-
4 How to use sockets with a timer: setup recommendations
- 4.1 Setting a mechanical socket with a timer: instruction manual
- 4.2 Setting the Masterclear electronic timer: manufacturer's instructions
-
5 How to make a timer yourself: diagrams and recommendations
- 5.1 Ways to create a time relay in a 220V outlet with your own hands
- 5.2 Making your own time relay on the 555NE timer
What is a timer on and off electrical appliances
The device that controls the supply of electricity to appliances looks like a regular outlet. It differs from the standard connector by the presence of a built-in timer. There are models with a mechanical principle of operation or electronic control. The latter have control buttons and a digital display. There are electric timers on sale that are not part of the sockets. These devices are installed directly into the wiring system or connected to a group of devices. They control the operation of fans, pumps and other types of equipment.
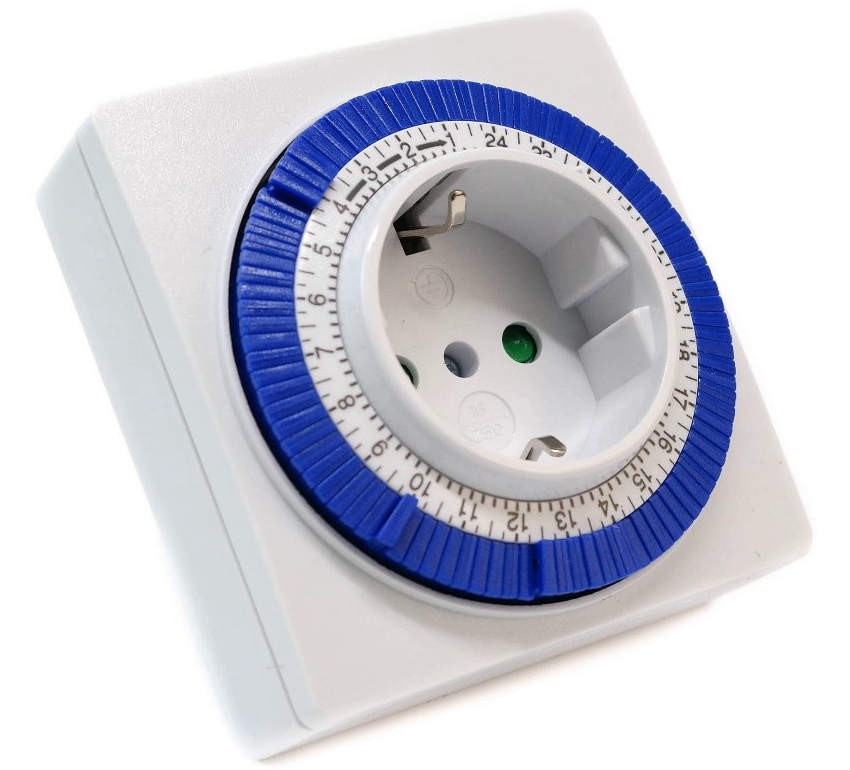
According to the set schedule, the timer turns off / energizes the outlet
Scope of use of sockets with on and off timer
The timer was primarily designed to save electrical energy. It provides shutdown of heating devices for a time when the residents of the house are absent and there is no need for heating. The system starts before the owners return. The timer activates the devices a few hours before the arrival of residents, so that during this time the temperature in the premises reaches a comfortable level. This principle is applied in modern smart home systems. They not only carry out climate control, but also regulate the operation of lighting, alarms, etc.
Note! Not all manufacturers of sockets with a timer on and off the light recommend to control the operation of heating devices in automatic mode. Before buying, be sure to read the manufacturer's instructions.
Cyclic timers are suitable for outdoor lighting that will turn on and off according to a specific schedule. This type of device allows you to automate the operation of the irrigation system at the summer cottage, providing regular maintenance of the garden, vegetable garden, lawn. Timers are of particular importance for aquariums where:
- lighting lamps;
- compressors;
- filters.
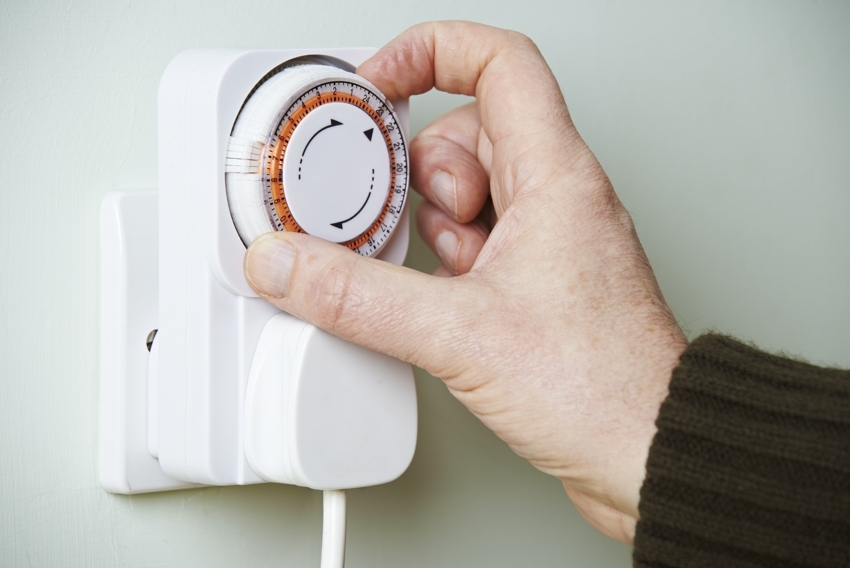
Timers are used to control lights, fans, heaters, aquariums, etc.
All of these devices provide the necessary conditions for keeping animals in a terrarium or aquarium, so their work must comply with a strict schedule. The timer capabilities allow you to control even the equipment installed in the pool.
Sockets with a cyclic timer on and off electrical appliances are used to create the illusion of the presence of people in an empty house. To some extent, such devices provide protection against hacking, making it clear to attackers that the owners have not left, even if they are not. In this case, the outlet is adjusted so that the schedule for turning off and on the light is not too rigid, but with some deviations. Thus, it seems that the system does not work automatically and people turn on the lighting.
Timed off sockets, called interval sockets, work on the principle of devices installed in electric stoves and washing machines. By turning the knob, you can set a specific length of time. After its expiration, the relay automatically cuts off the current supply to the device.
How sockets with a built-in timer work: principle of operation
Timed outlets are intended solely to control the operation of household electrical equipment. To understand the principle of operation, it is enough to consider one of the simple examples involving a conventional thermal fan. On the control panel, you can set the time when it turns on and off. For example, if tenants leave the house in the morning at 9:00, then at that moment the supply of electricity to the device is automatically stopped and resumes only in the evening when they return from work at 17:00.
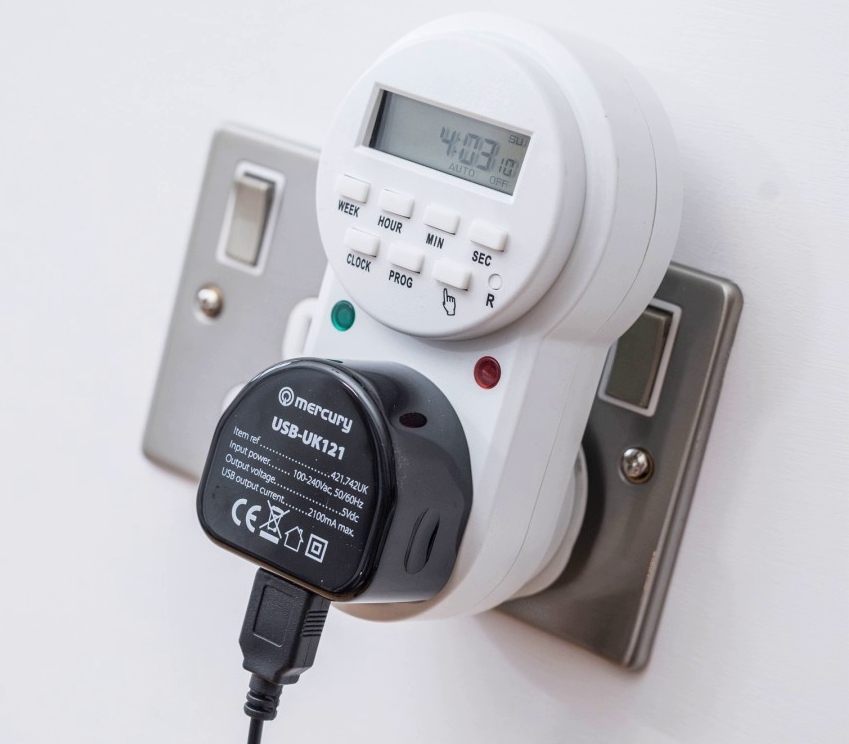
Using a timer, devices can be disconnected from the network during the absence of the owners
Helpful advice! If you configure the device to start before the arrival of people in about 1 hour, the timer will turn on the fan at 16:00, and during this time the room will be fully warmed up. By the time the tenants return from work, the house will be warm and comfortable.
The socket can be configured not only for several hours in advance, but also for a day, and even for a week. Having installed the appropriate program, you can forget about manual control for a long time, because the heat fan will work independently. Connectors equipped with a timer can be used to regulate electric heating. This is possible under certain conditions. Installation of the socket is allowed only if the system is assembled from electric convectors that are independent of each other.
According to the instructions, sockets with a timer can be used to control any electrical appliances within the framework of a modern "smart home" system. If you slightly modernize the circuit and include a device with a timing in the common circuit, you can fully control the operation of outdoor lighting. The socket is programmed so that the park lamps turn on, for example, at 20:00 and turn off at 05:00. Such a system eliminates waste of electricity. This is an approximate example of setting the light on timer, the exact time depends on the season. In winter, the sun sets much earlier and rises later.
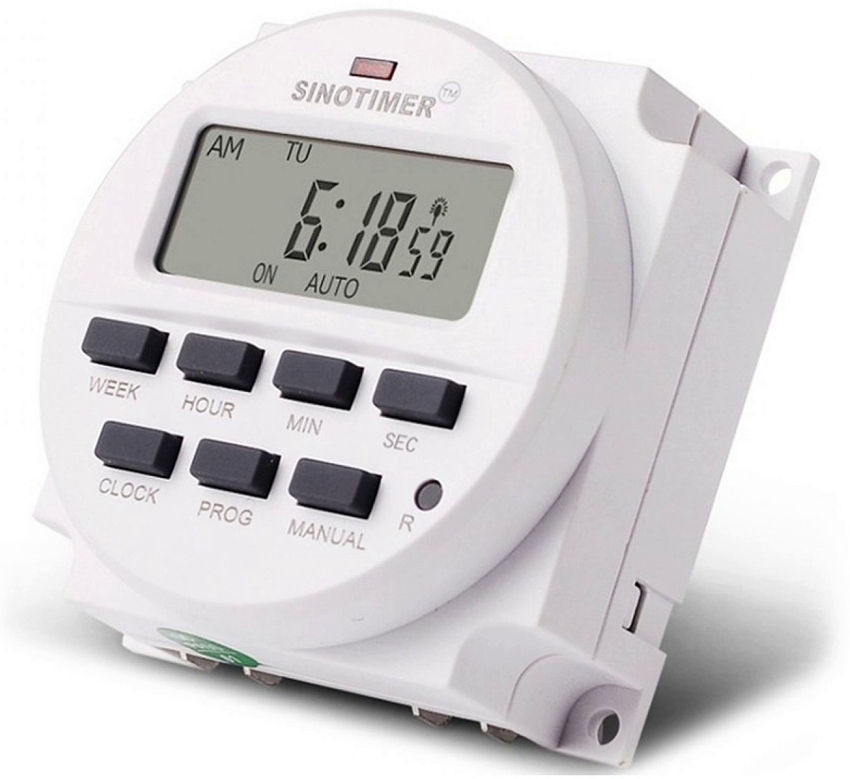
You can set the inclusion of devices (for example, heaters) to the arrival of households
Types of sockets with on and off timer
The existing types of devices are classified according to different criteria. They differ from each other in the way of installation, the conditions necessary for correct operation, the principle of operation, the switching cycle and functional features. The main category of devices includes the following varieties:
- mechanical;
- electronic;
- smart GSM connectors.
Each of them has its own advantages and disadvantages, as well as customization and application features.
Mechanical timers on and off electrical appliances
Timers of the mechanical type are distinguished by the simplest design and affordable cost. These devices are equipped with a dial, which is divided into equal sectors along the entire perimeter. The main advantages of such outlets are low cost and ease of use. Significant disadvantages include restrictions on settings. All parameters, according to the instructions, mechanical timers are set daily. Moreover, you will have to do this on your own, so you will need to delve into the features of this process.
Important! The parameters themselves are also clearly limited. Switching the system is possible only with a certain repetition, for example, every 15 or 20 minutes.
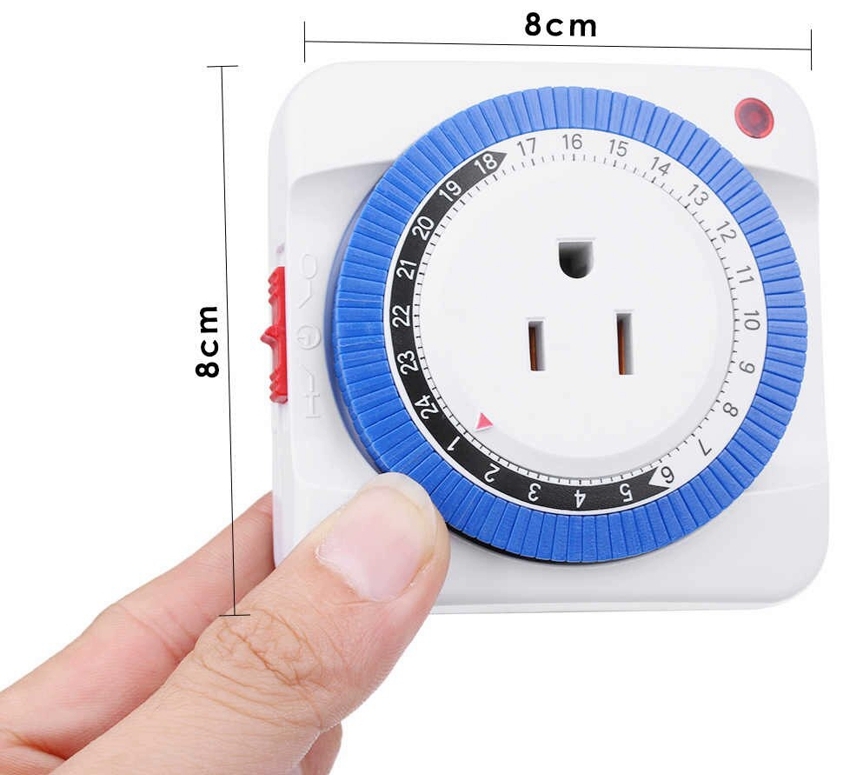
Dimensions of a standard mechanical on and off timer
The principle of operation resembles that of a clockwork. First, the device needs to be wound up for a certain time. When the reference system reaches the set mark, the electrical device will be turned off or, conversely, turned on. There are two types of outlets on sale. In one case, the timer is set using a lever that should be turned to the desired mark. Old models of activator type washing machines are regulated in a similar way.
In the second case, the device is “programmed” using buttons. Each of them is responsible for a certain period of time. The standard minimum interval for a push-button timer is 15 minutes. Sometimes one press is equal to 30 minutes. The buttons can be activated separately each, or combined by turning them on at the same time. In such a timer, there can be from 48 to 96 different modes.
How does the electronic timer installed in the outlet work?
Sockets with an electronic timer are a more sophisticated and improved version of sockets equipped with a counting system. Such devices have extended functionality, therefore they are called programmers in the truest sense of the word. Some models of sockets with an electronic timer can offer up to 140 operating modes with different parameters.
Electronic devices are of two types:
- Daily - the models are able to maintain work throughout the day (24 hours) with the repetition of the set parameters every day. This mode is not very convenient. The schedule of the residents of the house may change, so you will have to adjust the program each time.
- Weekly - the main advantage of such models is the ability to set a certain work rhythm for each day of the week or group them depending on the schedule.
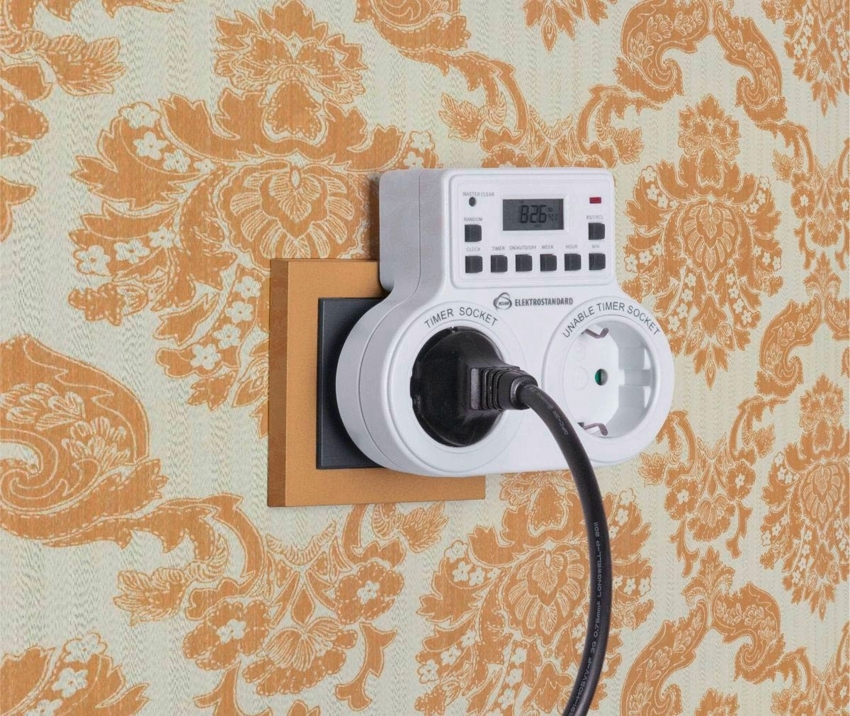
The timer can be set for a day, a week, or a longer period
On sale there are models with a built-in motion sensor. The operation of the device can be configured for a certain period of time, for example, at hours when it is dusk or already dark outside. By connecting such a timer to an outdoor lighting system, you can get a standby light source that will turn on in response to movement.
Note! All electronic reference systems have a standard set of buttons. Therefore, for sockets with an on and off timer, the instructions for setting up and using are almost the same.
Features of smart programmable sockets with GSM timer
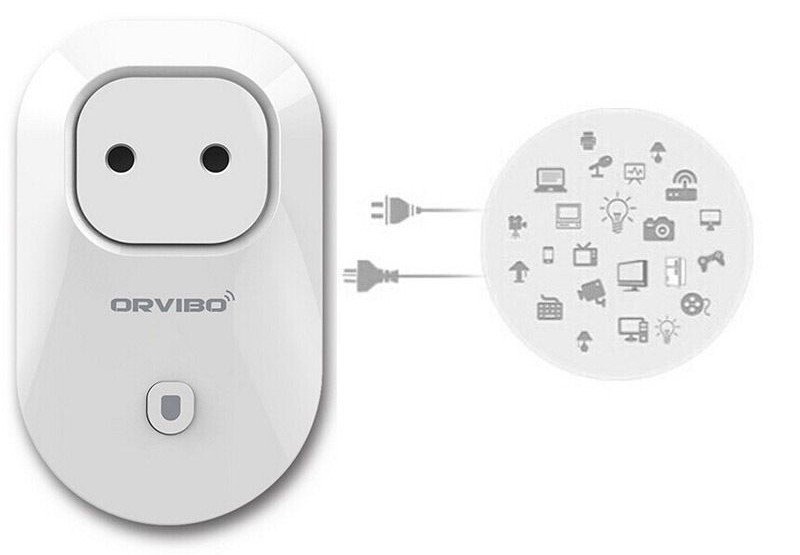
Programmable sockets-GSM are called smart because they are one of the components of the "smart home" system. Outwardly, these devices look like ordinary overlays. There is no screen or buttons on the case. Smart sockets with a timer are controlled in several ways:
- through the application;
- by means of a SIM card;
- using the remote control.
To control the operation of the system via SIM, you need to insert the card into the gadget and create SMS templates. Based on this information, the system will send messages to the owner. App control is carried out using a smartphone. To do this, you need to install the appropriate software on your phone, as well as have access to the Internet.

The smart GPS timer can be controlled remotely using a mobile phone
The convenience of GSM sockets is that they can be controlled remotely. The distance can be absolutely anything. You can control a programmable device even from the opposite part of the world. All you need to do is to have an active Internet connection or a stable mobile network signal. Having remote access is both an advantage and a disadvantage. If there are problems with the Internet connection, it will be impossible to control the system. Smart sockets are multifunctional. Some models have a long list of options, but the cost of such devices is quite high.
Classification of timers on sockets by operating range
Each model is designed for a certain period of operation, after which it is automatically triggered, and the system switches to another mode (with or without electricity). According to the range of operation, timers are:
- daily allowance;
- weekly;
- astronomical.
Daily devices are triggered daily at the same time that was set during setup. They are usually used as light timers that regulate the operation of the system in summer cottages and backyards, in squares and park areas.
Important! Daylight hours vary throughout the year, so the daily timers need to be adjusted regularly.
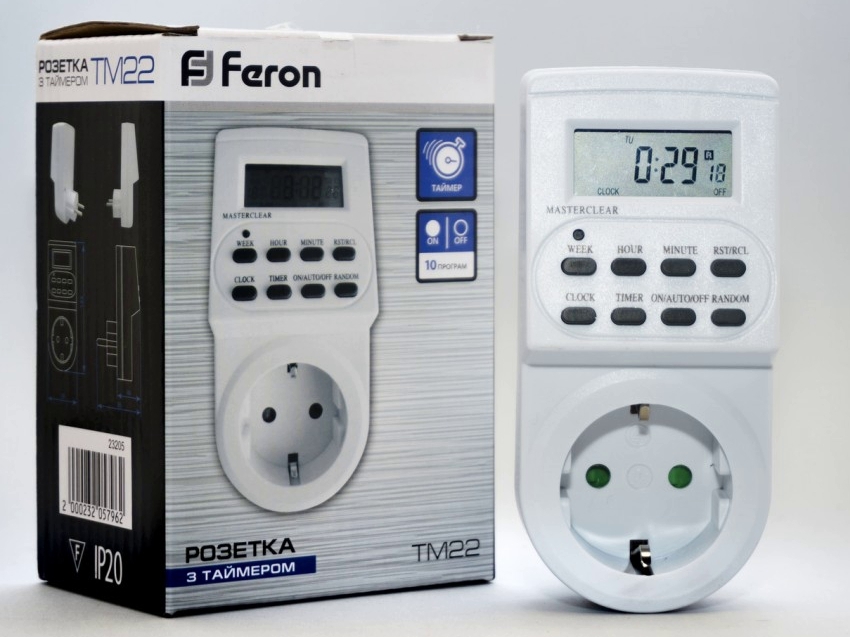
Feron timer socket
The weekly cycle connectors are designed to switch the system on specific days. The capabilities of these devices will come in handy in cases where you want to turn off all devices. For example, in an office, when the building remains empty on Saturday and Sunday, there is simply no need for electricity. The weekly timers also allow you to activate the alarm system at the required time.
According to the principle of operation, astronomical devices are in many ways similar to diurnal devices. They differ only in a more convenient system of use, since they do not require regular manual reconfiguration of parameters. All calculations are carried out automatically without human intervention. Due to the improved functionality, the cost of such timers is much higher.
How to choose the right timer for the outlet: basic criteria and the best models
When buying a device, you need to pay attention not only to the type of reference system (mechanical or electronic), but also to the technical characteristics of the selected model. Further operation, as well as the service life of the timer, will depend on the operating parameters.
The main selection criteria:
- customizable time range - if the voltage needs to be controlled only for one day, mechanical models should be preferred. The time relay in the electronically controlled sockets allows you to set operating settings for a week in advance or even a whole month. When buying, be sure to pay attention to the availability of these options;
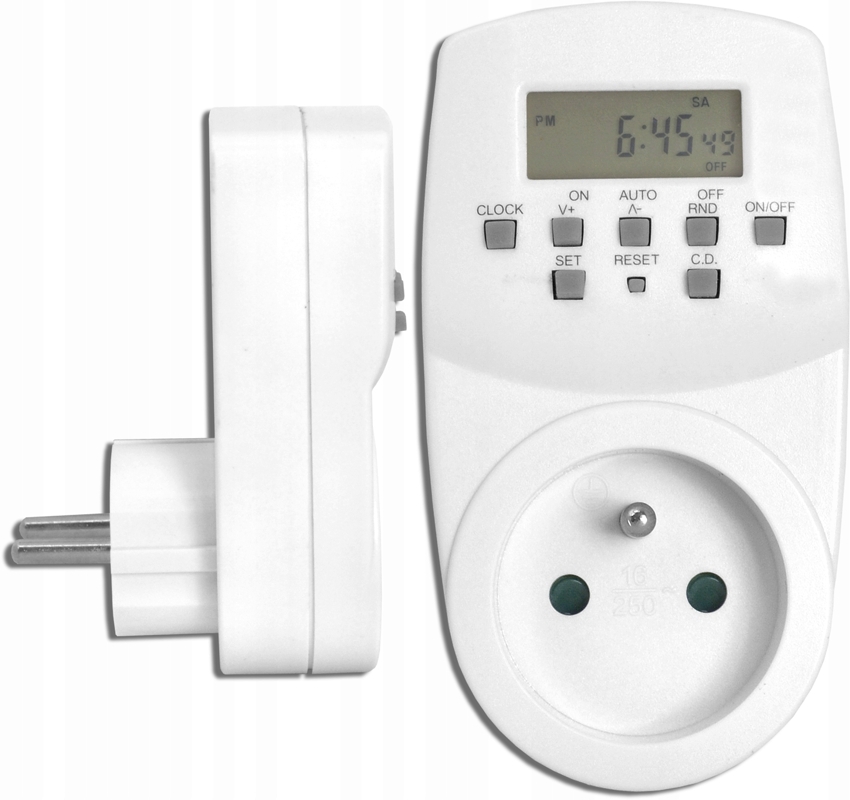
There are different types of timers for different needs.
- accuracy - this parameter is more related to mechanical timers. On the other hand, there is no particular need to keep time down to the second. Products manufactured by reliable manufacturers are highly accurate;
- loads - each power grid has its own load; on sale you can find a large selection of devices that can withstand a current of 7, 10 or 16A. The model is selected taking into account the power of the device, which will be connected to an outlet with a time relay and powered from the network through it;
Related article:
Replacing the wiring in the apartment: drawing up a diagram and work algorithm
When do you need to change the wiring. Drawing up a diagram. Installation of wiring in the apartment: open and closed methods.
- number of available lines - using this parameter, you can determine how many devices can be connected to the timer. The simplest models are designed for only one device, in improved products there are 2 or more programming lines;
- the degree of dust and moisture protection - some connectors have additional protection against negative external influences. Timers that are used in outdoor conditions are endowed with such capabilities.
Note! By setting the timer socket correctly, you can save up to 30-40% of your electrical energy.
We select the optimal outlet: rating of the best models with a timer
There is a huge assortment of sockets equipped with a counting system on the market. In many ways, the quality of a product depends on the brand that produces it. Other parameters, such as maintainability, service life, functionality, also depend on the reliability of the manufacturer.
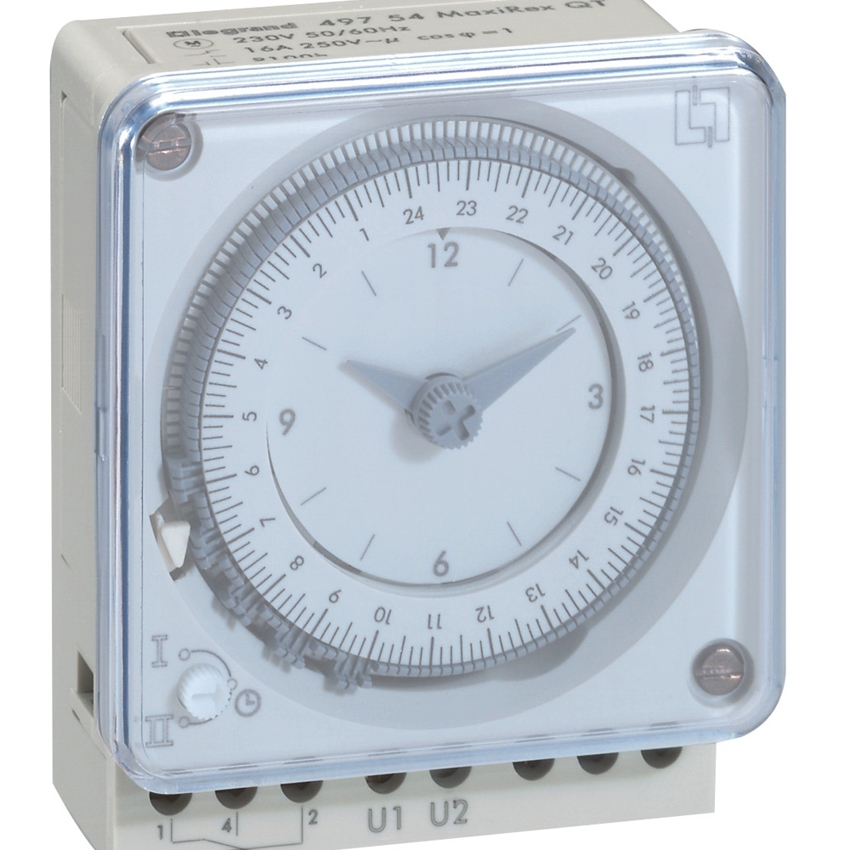
Legrand brand daily timer
Popular manufacturing companies:
- Theben;
- Rubetek;
- Legrand;
- Redmond,
- Berker;
- TP-Link;
- Feron;
- Telemetrics;
- DigiTop;
- Elektrostandard.
If the products are produced under a well-known brand, then the product in most cases meets quality standards. Chinese devices are completely unpredictable. However, there are decent models among them. In order not to be mistaken, you need to carefully study the comments. Many users speak positively about the Chinese model Feron TM22, the manual provides for a considerable range of possibilities. These include control of hoods, irrigation systems, lighting and heating batteries. That is why she tops the list of the best models.
Rating of the best models:
| Ranking place | Model | Working voltage, V | Maximum load, kW | Timer type | Manufacturer country | Warranty, month |
| 1 | Feron TM22 | 230-240 | 3,5 | Electronic, multi-mode | China | 12 |
| 2 | Feron TM32 | 220-240 | 3,5 | Mechanical, daily | China | 6 |
| 3 | HS Electro T-10C | 220-340 | 1,5 | Electronic, with the ability to adjust different intervals | Ukraine | 6 |
| 4 | Horoz Electric Toimer-2 | 220-240 | 3,5 | Electronic, weekly | Turkey | 6 |
| 5 | Lemanso LM676 | 230-240 | 3,5 | Electronic, weekly | China | 12 |
How to use sockets with a timer: setup recommendations
All timer connectors of the same type have the same device. Therefore, the instructions for setting them up look about the same, regardless of the brand and model.
How to use timer sockets (mechanical or electronic):
- Electronic devices are configured using buttons located on the case (Timer, Day, Week, Turn on, Turn off, Auto, Hours, Minutes). Each model comes with detailed instructions that describe this process.
- Sockets with a mechanical timer - to adjust, you need to rotate the drum with a marking that determines the time interval and the cyclicity of the device.
Note! Models that are installed on a DIN rail have rotary controls. With their help, each parameter is set separately.
Setting a mechanical socket with a timer: instruction manual
Mechanical models have the simplest design. Therefore, there are usually no problems with their configuration. All devices have a rotating drum with a dial. All parameters are set with its help.
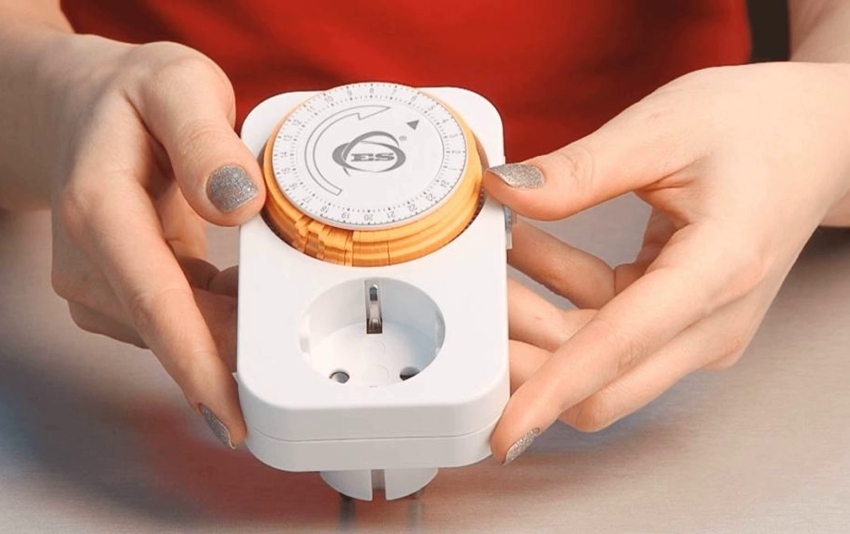
The easiest to use is a mechanical timer
The setup process for most mechanical models is as follows:
- First you need to carefully study the instructions that come with the device in the box. In it, the manufacturer informs users about the capabilities of the device and tells how to set it up correctly.
- It is necessary to set a mark on the connector with a timer for the current time. In this case, the regulator must be rotated very carefully so as not to break it in the process. Manufacturers recommend clockwise movement only. Thus, the possibility of accidentally damaging the drum is practically excluded, which significantly extends the life of the product.
- Then you should set the time when the device will work (turn off or, conversely, supply electricity to the device). The hour on the dial is divided into equal segments. In most models, you can set a timer for at least 15 minutes.
After the response time has been set, you can plug the device to be monitored into an outlet.
Setting the Masterclear electronic timer: manufacturer's instructions
Masterclear is one of the most popular timed sockets. The high demand for the products of this manufacturer is explained by the fact that the connectors have a more understandable configuration system in comparison with other companies.
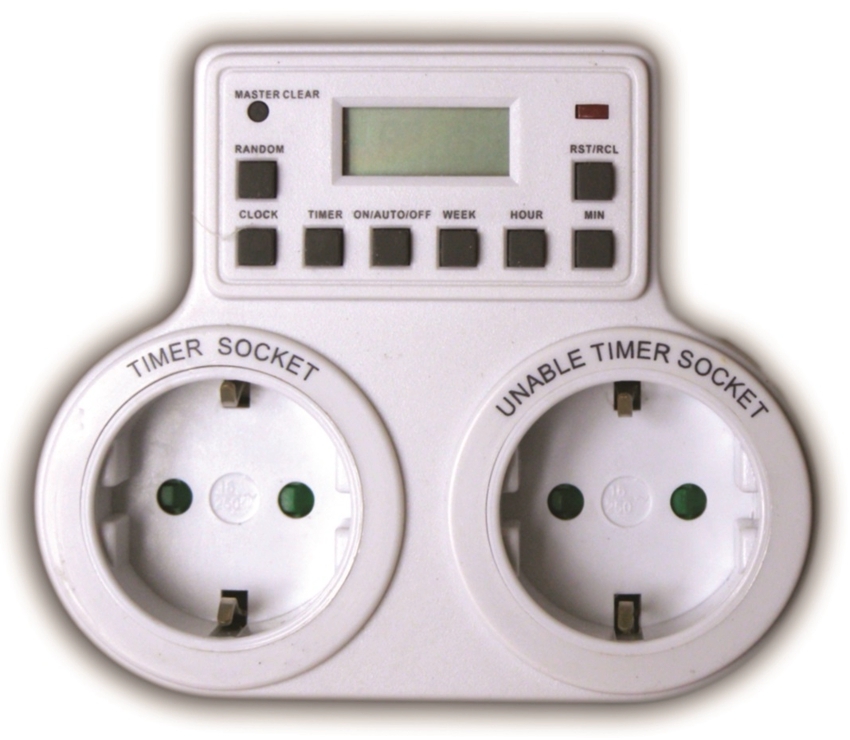
Dual Masterclear socket with on / off timer
How to set up an electronic timer socket:
- In order for the specified settings to be saved in the memory of the device, a built-in battery is installed in it. First you need to charge it.
- All previously installed settings must be reset. The red button is intended for this. It is usually slightly recessed and located under the display.
- While holding down the "Clock" key, you need to set the time. Without releasing this button, press "Hour" to indicate the hours, and "Minute" - minutes. The Timer key allows you to change the format in which the time will be displayed.
- The day of the week is set in the same way. While holding down the “Clock” key, the required parameters are set using the “Week” button.
- To set up the cycle according to which the switching on and off will occur, press the Timer key until the message “ON” appears on the screen. After that, the required hours, minutes and days of the week are set.
- The shutdown function is configured in the same way. You just need to wait until when you press the "Timer" button appears the inscription - "Turn off" ("OFF").
- To exit the settings menu, press the "Clock" key.
Note! There are 8 programs in the Masterclear outlet. They allow you to fine-tune the timer in order to fully control the operation of electrical appliances.
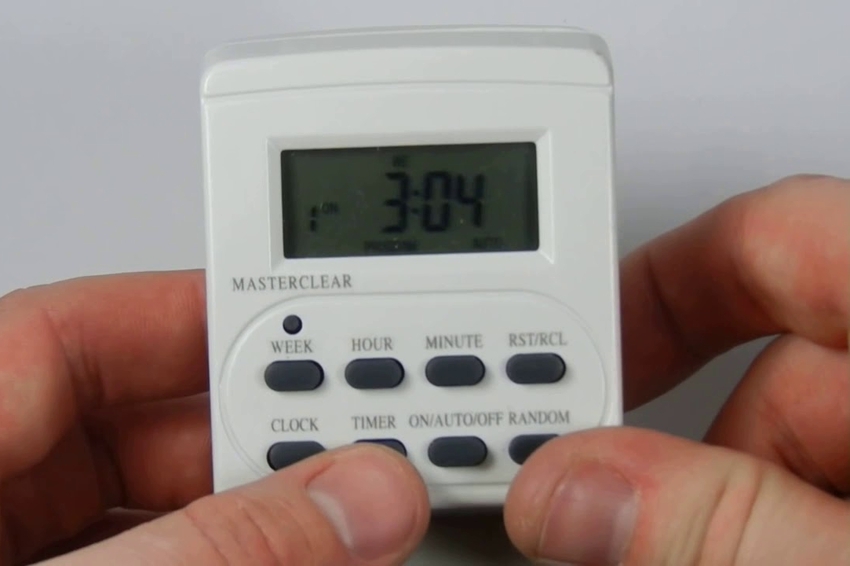
One of eight built-in programs can be used to set the Masterclear timer
How to make a timer yourself: diagrams and recommendations
Electrical devices for controlling the supply of current are of different designs. Relay are considered the most reliable. There are also triac and thyristor. The connecting element in the general diagram can be located in several places:
- in front;
- on the side;
- behind;
- connect using a separate connector.
Potentiometer, switch, buttons can be used to set the time.
Ways to create a time relay in a 220V outlet with your own hands
If the device is supposed to be operated at a load of 220V, you need to take diode options, which are equipped with a magnetic starter. The controller is assembled from the following elements:
- thyrristor;
- diodes (4 pcs.), for 1A and 400V at the output;
- resistance (3 pcs.);
- start button;
- capacitor with a capacity of 0.47 mF.
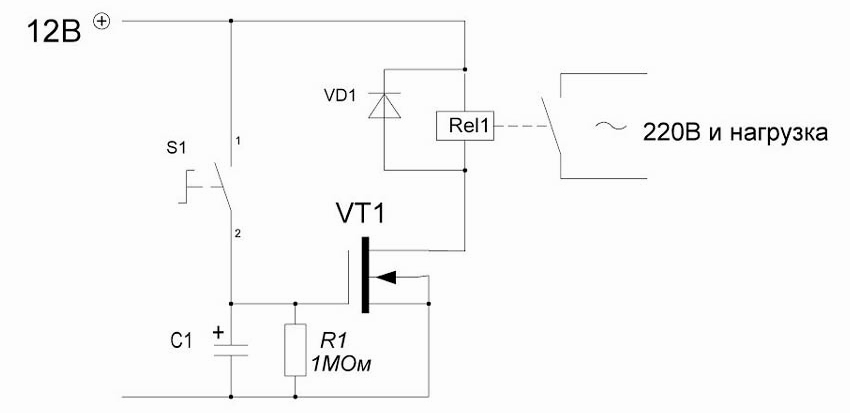
Relay circuit on one transistor
The principle of operation of such a scheme is quite simple. After pressing the start button, the network is closed and the capacitor starts charging. At this moment, the thyrristor is in the open state. When the charging of the capacitor is completed, it closes. As a result, the supply of electricity is cut off and the device is turned off.
To correct the operation, you can select the appropriate capacitor power and resistance resistor (R3).
Note! For low-power electrical appliances, you do not need to install a magnetic starter. In this case, the thyristor and diode bridge present in the circuit can convert the voltage.
You can also use this option:
- Throw one of the contacts of the diode bridge together with the switch to 220V.
- The second contact of the diode bridge is connected to the switch.
- Thyristor VT 151 is connected to resistance resistors (1500 and 200 Ohm), as well as to a diode.
- The remaining contacts of the diode and 200 Ohm resistor are connected to the capacitor. In parallel with it, a resistance of 4300 ohms is switched on.
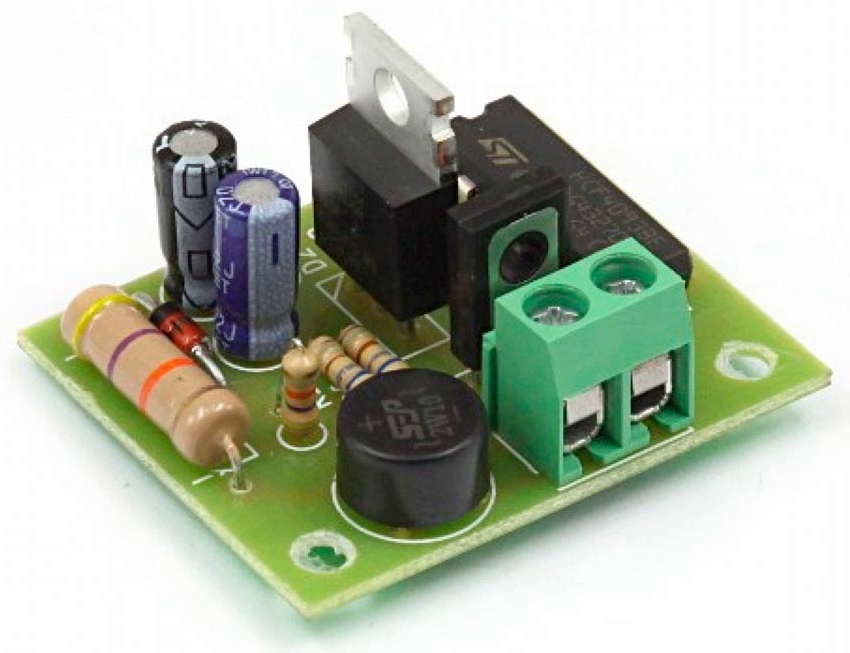
Chip Relay
Making your own time relay on the 555NE timer
Many electrical circuits are based on the NE555 integrated timer. Such a system is not difficult to create at home. The controller is assembled from the following elements:
- screw-type terminal blocks;
- diode;
- board size 65x35;
- resistor;
- soldering iron for point connections;
- Sprint Layout program file;
- bipolar transistor type npn.
The board is used as a basis for assembling the elements. The resistor is mounted on top or brought out using wires. There are special places for the screw terminal blocks in the board. After all the components are soldered according to the diagram, the surplus at the connection points must be removed and the reliability of the contacts must be checked. To protect the transistor, you need to install a diode. It is installed in parallel with the relay. Then the response period is set. If a relay is placed at the output, it will allow the load to be corrected.
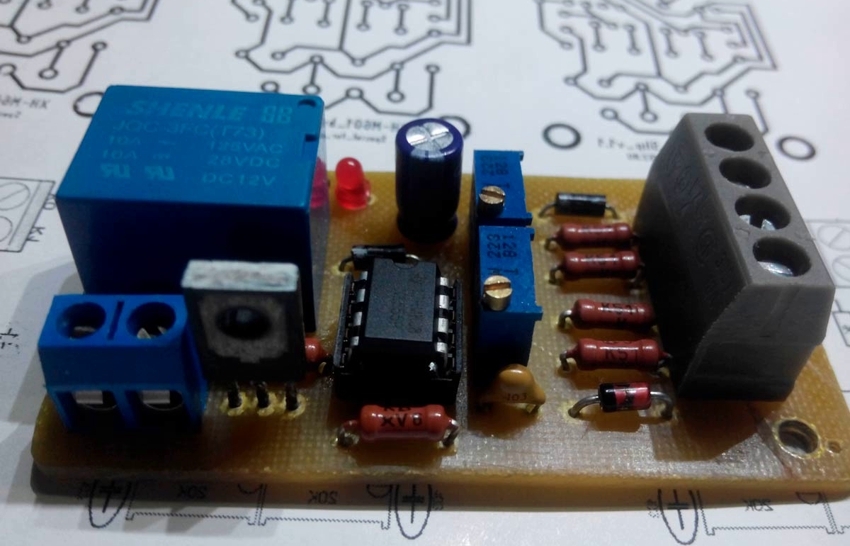
DIY timer
How this system works:
- Pressing the button starts.
- The circuit closes and voltage is applied to the device.
- The lamp comes on and the timing starts.
- When the set time has elapsed, the light goes out and the electricity supply is interrupted.
This scheme allows you to adjust the response period within 4 minutes. If a capacitor is installed, the adjustable time increases to 10 minutes.
These are simple circuits that require minimal board and electrical skills to create. A varied and rich assortment of modern devices allows you to choose a connector for any need, so there is no need to independently manufacture sockets equipped with a timer. To find a suitable model, it is enough to compare its capabilities with the conditions in which it will be operated, as well as study reviews of manufacturers and the quality of their products on the Internet.
