Glazed balcony or loggia - the vital issue of concern to almost every host. Despite a number of advantages of conventional insulating glass, they are already rather navyazli on the teeth. Aluminum sliding systems, too, are not new, but their main disadvantage - difficulty with hook or glass, Since such flaps have dead zones.
But the main drawback - it is darkness. Extensive bindings frames prevent the penetration of light. Most hard falls inhabitants, whose balconies overlook the north side - the apartment is dark most of the day.
Reduce the area of the barrier to the sun's rays may be the installation of frameless glazing systems. This technology was invented in Finland, and has since spread around the world. she came to Russia, as always, with a delay, but it does not prevent to use it today.
Advantages and disadvantages
Frameless Glass is suitable not for everyone, so you need to carefully consider all the pros and cons of this technology to see how it suits you. Among positive points its useful to note:
- beauty. A relative term, but in the case of frameless windows undeniable. Design without frames light and delicate, when the sun's rays fall at a certain angle, and the glass is clean, it is generally imperceptible to the human eye.
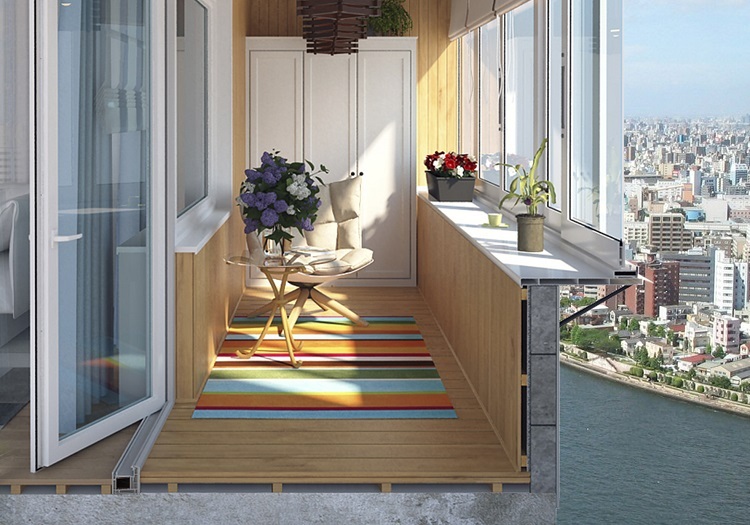
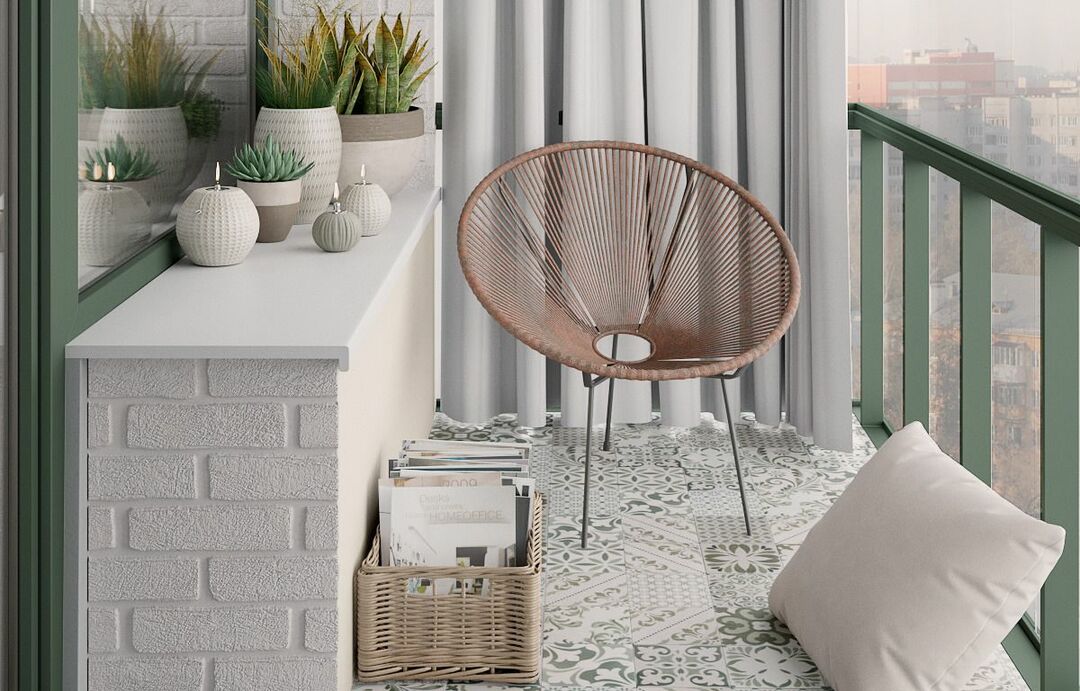
- Free penetration of sunlight. They simply have nothing to apprehend - because no vertical Binding is not there. A good option for dark rooms and apartments.
- Versatility. Thanks to its unobtrusive appearance, frameless glazing is equally advantageous will look like on an old balcony with columns in the style of "Provence", not burdening his vulgar plastic frames, no gray concrete balcony panel Soviet-built homes, which in this case can be decorated in colors cheerful.
- Strength. Despite the apparent unreliability in installing balconies with frameless glazing is applied thick and durable tempered glass capable of withstanding vibrations and folds, and wind pressure and other pressures faced balcony block.
- Traumatic. Crack and shatter any glass can. All have seen, as it may scatter glazing. Sharp splinters could injure a person very much. Toughened glass Finnish system forms no sharp edges owing to the technological process of manufacturing. When splitting it forms many small fragments which may not cause damage, and to cut the skin.
- Convenience. Frameless glazing is very easy to clean any part of the surface is freely available through the roller system. Balcony can be fully opened by sliding and throwing open all the shutters to one end. Compared to traditional Finnish technology by web Fiberglass is Transformers. Damaged glass is very easy to replace.

However, there have frameless glass and limitations:
- low Attenuation. The glass surface of the noise gets much more tangible than double, and even more so with triple glazing seals on the frames. This - the price paid for the delicacy and aesthetics.
- Low resistance to cold, produvaemost. With frost the same situation. Cold air enters through the gaps a little balcony, and that freezes at low temperatures. In climates with a large average annual temperature drop, that is, with a cold winter the balcony can be used comfortably all year round - on it too cold.
- tightness. If you have a balcony at the new district and dusty building - get ready for the fact that some of the dust will move you on to the balcony. Although the edges of glass and have a lapped edges, they will not prevent to penetrate the smallest particles of foreign matter.
Such ratio defines the scope of the use of frameless glass balconies. It should be a quiet green area in the warm region. But even if you live to the north, it does not matter - a good window and balcony unit will solve the problem of the penetration of cold, dust and sounds very flat.
Installation of the hands - step by step guide
To install frameless glass is better to buy a full set, and mount them on the balcony of their own.
Step 1. Begin with the installation of edging. It consists of the most massive parts - upper and lower eaves. They are aluminum and are screwed to the top plate and parapet screws with plastic plugs. side strips and gaskets are also fitted.
Step 2. Glasses clamped in special holders on top and bottom. They provide a bundle of glass paintings with the upper and lower guide profiles.

Step 3. The upper and lower holders are connected with special rollers leads them into the guide grooves in order, starting with the extreme flaps.
After mounting the glass adjacent to each other are shifted if necessary, and may also been opened for the extreme position.
2017-2018. Copying of materials is possible without preliminary negotiation in the case of a direct hyperlink to our website.