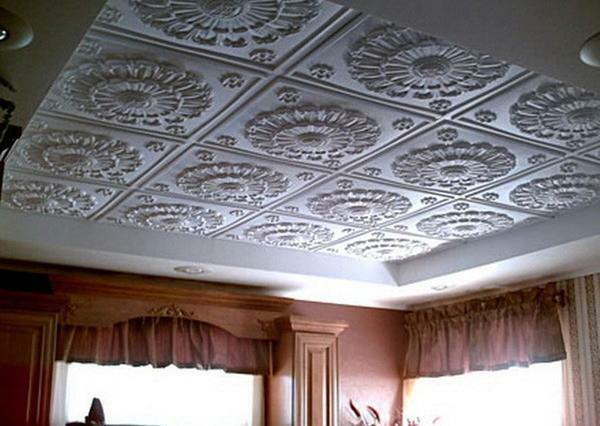
The Armstrong ceiling has gained its popularity thanks to its simple mounting technology and the ability to easily reach the communications that traditionally take place in the ceiling area, even with the ceiling being used.
Contents
- Preliminary work
- Layout
- Assembly of suspensions
- Assembly of
- frame Installation of ceiling plates
- Ceiling mount video Armstrong

This ceiling feature is especially appreciated when creating office communications that need to be upgraded periodically, modified and simply maintained. The design of the ceiling is a plate, fixed on a metal frame. The one-piece plates alternate with the Armstrong fixtures. Both can be easily dismantled and removed. How to make the Armstrong ceiling with your own hands?
Preparatory work for

Armstrong ceiling itself is not difficult to install, which will save on installation work. Before starting the installation, it is necessary to conduct all communications, install ventilation ducts, make wiring for lighting. All wiring must be enclosed in corrugated tubes that protect the cables from short circuits in the event of a flood or fire.
Layout

First of all, with a competent installation of a false ceiling, Armstrong is marking. To do this, you need to determine the bottom corner of the room, measure from the ceiling downwards 10-15 cm( depending on the height of the luminaires being placed) and draw the markings on all corners and walls using a laser level. You can duplicate the laser pointer with a marker or a paint tape.

For the marking, you need to attach the wall corners 19 \ 24.The longer side should be snug against the wall. Scissors on metal joints of profiles are cut at an angle of 45 degrees.

With a chopped cord with applied paint, you need to mark the diagonals and determine the center of the ceiling. Further on the laser projector we expose the sizes of 120 sm on 60 sm and we draw a grid on a ceiling according to a laser marking. Immediately on the marking you need to put the place of installation of lamps.

Suspension mounting

A T-shaped suspension will be installed every 120 cm from wall to wall. Between the two profiles, 2 Armstrong slabs with sizes 60 to 60 should fit.

Profiles should be fastened to suspensions to the ceiling.

The pitch of the hangers depends on the severity of the profile and the distance between the walls: on average, the suspensions are fixed to the ceiling at a distance of 90 cm -150 cm. Additional suspensions should be installed in places where the plates with lamps will be installed.

Assembling the frame

For the most part, a 90% correct and beautiful installation of the Armstrong suspension ceiling depends on the thoroughness and accuracy of the carcass assembly. All work on the installation of guides should be checked by level. When all the suspensions are attached, guide profiles are installed.

Normally, the profiles already have holes for hanging on the hangers. The edges of the profiles must be supported by the wall angle, and the center is regulated by the height of the suspension.

The 120 cm profile is connected between the T-profile at 120 cm intervals. The profile is inserted into the grooves on the T-shaped profile, located every 30 cm.

All other spaces fill the connection profile with a length of 60 cm. This profile connects the midpoints of the 120th profile at an angle of 90 degrees, and as a result, a lattice with cells in 60x60 cm is obtained.

After the successful assembly of two or three profiles, the frame can be reinforced with cross bars. Guide rails and crossbars are connected due to built-in locks on the ends and slits.
Installation of ceiling panels

First of all, the fixtures are installed and connected to the wiring.

Then the plates themselves are mounted in the guides. If the cell size of the frame is smaller than the tile, the excess is cut off with a knife.

With the video and photo mounting of the Armstrong ceiling you can read in our article.