Content
- Advantages of suspended ceilings
- How to prepare a room
- Preparing the base for a stretch ceiling
- Wiring Preparation
- Wall preparation
- How to apply markup
When performing repairs in the apartment in no case can not be neglected preparatory work. Surface preparation for stretch ceiling will guarantee the quality and long life of the canvas. Thanks to the competent work carried out in the future, the canvas will not sag, condensation and other defects will not appear. Before installation of a stretch ceiling necessarily carry out work with wiring, install doors and windows, process the base and level the walls. Consider all the stages of preparation in detail.

Advantages of suspended ceilings
Many apartment owners give their preference to stretch ceilings, abandoning more traditional materials, since such designs have several advantages:
- Cracks do not form on them, as on whitewashed or painted ceilings. This primarily applies to new buildings that are prone to shrinkage.
- Stretch ceilings are highly durable. One square meter PVC stretch ceiling holds up to 200 liters of water. To remove moisture, it is simply drained and cleaned.
- Provide complete fire safety.
- Do not turn yellow even after a long time.
- Thanks to the variety of design options, they allow to realize absolutely any design projects.

How to prepare a room
First you need to take care of creating a convenient space for work and protecting some elements.
- Before starting work, extra items are removed from the room: furniture, appliances, paintings. The freer the room, the faster the installation of the ceiling will take place, and the canvas is guaranteed not to be damaged.
- Furniture that cannot be removed is moved to the middle of the room and covered with a protective film. If you plan to install a built-in wardrobe, it is better to do this before installing the stretch ceiling. A bar is placed on the cabinet on which the canvas will be mounted.
- The plastic elements of the windows near the installation sites must be covered with masking tape. When installing a stretch ceiling, the air near it heats up to 60 degrees, which can damage the plastic material.
USEFUL INFORMATION:How to insulate the ceilings in the apartment and on the balcony with your own hands

Preparing the base for a stretch ceiling
The stretch ceiling is good because the time-consuming and costly work on processing the floor slab, which can have serious defects and irregularities, is minimized.
Before installing the stretch web, a rough ceiling is not necessary:
- to level;
- paint;
- to whiten;
- putty.

What needs to be done to properly prepare the foundation? All necessary activities can be divided into three stages:
- Inspection of the joints of the ceiling with the walls and the elimination of irregularities that may interfere with the installation of the canvas.
- Elimination of base defects, which may subsequently lead to damage or sagging of your new ceiling. It is necessary to clean the rough surface from crumbling plaster or paint, check all unreliable areas: in those places where the stucco does not hold well, it is likely that sooner or later during the operation of the stretch ceiling it will fall off, damaging the canvas.
Particular attention should be paid to the seams between the slabs (rusts): they need to be expanded by cleaning out the remains of cement mortar from them, and repaired. Of course, the stretch ceiling will hide ugly seams, but heat can escape through the cracks between the floor slabs, moisture can seep out, if we are talking about an apartment on the top floor, therefore sealing and reinforcing rusts still needed.
- Surface priming (required). The primer will strengthen the base material, reduce the risk of defects and fungus, and prevent dust from accumulating between the two blades.

Stretch ceiling will save the apartment from flooding from the top floor. Although moisture is easily removed, the raw board will become a mildew propagation medium during drying.
Wiring Preparation
Before carrying out the installation of a stretch ceiling, they are determined with the choice of lamps for the room. All lighting elements must be purchased in advance, because the installation of wiring and fixtures for the fixtures must be done before installing the canvas.
USEFUL INFORMATION:Decoration of the ceiling in the nursery

It will no longer be possible to change the location of the fixtures on the stretch ceiling, since the holes cut out under them should be masked it will be extremely difficult, and to install the lighting device in a new place, you will inevitably have to remove the canvas, and then fasten again.
When thinking through lighting, consider the following rules:
- For a tensile structure, it is necessary to choose incandescent lamps with a power of not higher than 60 W, since the material can be damaged by overheating. The best option would be energy-saving or LED lamps.
- It is important to correctly measure the distance from the lamp to the draft ceiling in order to calculate the height of the tension web.
- After preparing the base, it is necessary to mark the locations of the light sources and bring the wiring to them.
- In order to avoid danger before installation, it is mandatory to check the correctness of the wiring.
You also need to decide on the placement ventilation and other systems that will be hidden after repairs. In the future, access to communications will require dismantling the canvas in several places.

Wall preparation
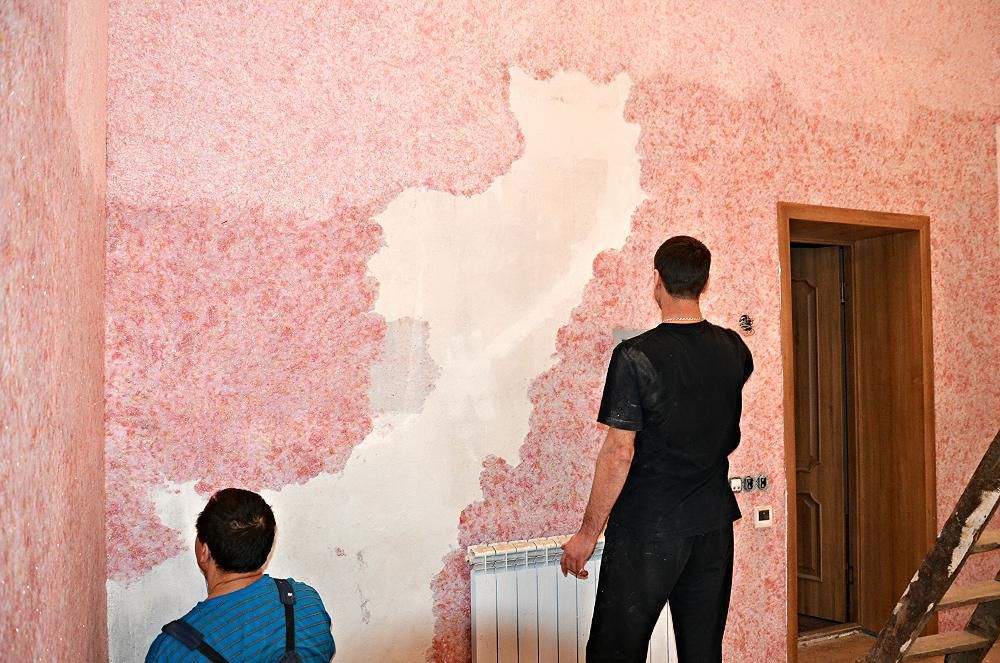
If the room has not yet been repaired, then you must first prepare the walls. To this end, from surfaces remove old paintWallpaper and level the surface. If you prepare the walls after installing the stretch ceiling, during processing dirt and dust will settle on it. In addition, the risk of damage to the web increases. Wallpapering the walls is best done after repair, so that when mounting the profile on the wall, the wallpaper does not get dirty and does not move away from the walls under the influence of hot air from the heat gun.
- To glue ordinary wallpaper, you can simply remove the old finish. If you plan to apply liquid wallpaper or plaster, you must completely clean the surface to brick or concrete. At the same time, screws and nails are removed.
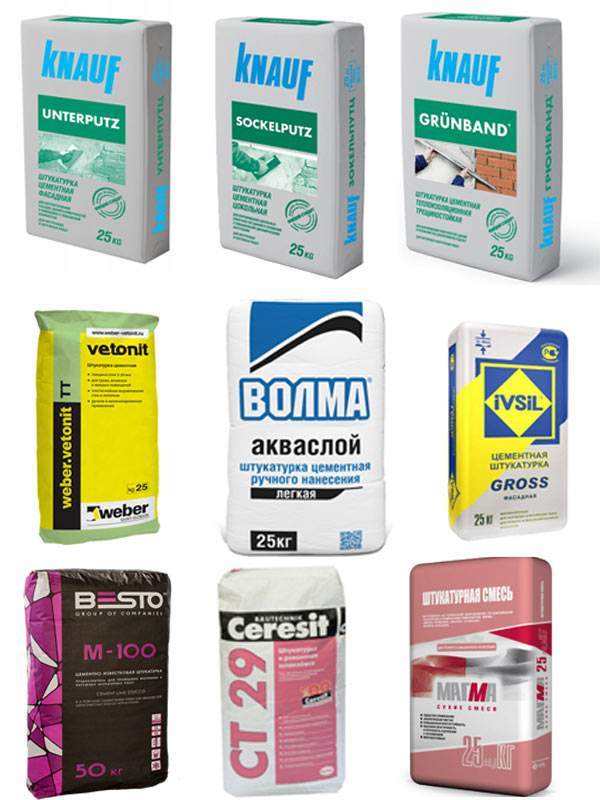
- All irregularities on the walls are eliminated. Large cracks are treated with gypsum and several layers of plaster. Shallow cracks close up with a solution of cement and gypsum, taken in a ratio of 1: 3. Then, a serpentine tape is glued to this area and putty.
- Having eliminated the defects, they begin to putty the walls. This procedure is carried out in one direction, moving horizontally or vertically. To cover the cracks, the putty knife is kept at least 30 degrees at an angle to the wall. The larger the angle to the wall, the smaller the thickness of the layer should be. The solution is periodically mixed with a spatula, which will not allow the mass to thicken. When the first layer dries, it is cleaned with an abrasive grater, and after a day with a fine-grained sandpaper.
- Then the surface is primed, which contributes to its hardening and dust removal.
USEFUL INFORMATION:Do-it-yourself installation of a ceiling box made of drywall

Plasterboard constructionsin which the tension web will be mounted need fitting. On the inside of such structures, a horizontal profile is installed, which will be 2-3 cm higher than the stretch ceiling.
How to apply markup
The stretch fabric is attached to a plastic or aluminum profile, which is fixed with dowels, self-tapping screws on the walls or the primary ceiling. Therefore, the last stage of surface preparation will be marking. To conduct it, you need to determine the level at which the lower point of the structure will be located. The minimum distance from the stretch ceiling to the base is 6 cm.
In the case of multi-level ceilings, markings are needed for each level with strict observance of the geometry of the room. The distance from the rough surface will vary depending on the shape and number of layers of the structure.

For the installation of tension structures, a complex and lengthy preparation of the base ceiling is not required. They are installed without problems even on an uneven surface with defects that will be masked after repair. But in order for your stretch ceiling to last a long time, minimal preparatory work is still necessary.

EXPERT SITE
Tsugunov Anton Valerevich
Master Station Wagon
- Since 2003, I have been engaged in the repair and decoration of premises.
- Over 100 completed objects.
- I appreciate the quality, more than the quantity!
Personal page >>>
Friends!
I offer you the service "Friend Builder"
As this site develops, subscribers and visitors are turning to me more and more often asking for help with advice on various issues of repair and decoration.
Questions are sometimes asked very complex and interesting. You can’t write an article for each situation, so I decided to advise you individually.
Thanks to you, friends, a new direction of my favorite work has been born - share your experience and benefit everyone who is undergoing repairs!
Get a one-time consultation from me >>>
Order full apartment repair support >>>